Love this? Save it for later!
Share the inspiration with your friends
The fall I turned twelve, my mom started a new job and I got handed the job of making treats for my little brother’s Halloween class party. I was so nervous—I mean, I’d barely mastered boxed brownies. My neighbor, Mrs. Kowalski, saw me sitting on the front steps, frantically scribbling ideas in a notebook that was mostly doodles. She didn’t say anything at first. Then she walked over with a bag of Oreos and a box of instant pudding, and just shrugged. “It’s dirt,” she said. “Kids lose their minds over it.”
She showed me right there on my own kitchen counter, letting me crush the cookies with a rolling pin while she whisked the pudding. Her version was simple—just pudding, crushed cookies, and a few gummy worms. But I remember thinking how clever it was. No baking, no fuss, and the kids at that party went absolutely wild. I mean, they actually squealed. For years after, I made it the same way, but over time I’ve added my own touches—some cream cheese for tang, a better layering trick, and those cute little graveyard decorations that make it feel like a real Halloween centerpiece.
This recipe has followed me through college dorm parties, my own kids’ classroom celebrations, and now it’s the one my youngest requests every single October. Maybe you’ve been there—scrolling for something that looks impressive but won’t have you sweating in the kitchen for hours. Honestly, you don’t need fancy skills or expensive ingredients. You just need a few pantry staples, a little patience for layering, and the willingness to let kids help crush things. Let me tell you, that part never gets old.
Why You’ll Love This Recipe
These Easy Graveyard Dirt Pudding Cups are the kind of treat that makes you look like a Halloween hero without any of the stress. I’ve tested this version more times than I can count, and it’s the one that gets the biggest reactions—from my own kids, their friends, and even the adults who sneak one when they think no one’s watching.
- Super Simple for Busy Families: No oven required, no complicated techniques. You can throw these together in about 20 minutes of active time, then let the fridge do the rest.
- Budget-Friendly Ingredients: Everything on the list is affordable and easy to find. You probably already have milk and vanilla in your fridge.
- Perfect for Halloween Parties: Whether it’s a classroom celebration, a neighborhood gathering, or just a fun family movie night, these cups fit right in.
- Kid-Approved and Adult-Friendly: The creamy pudding, crunchy cookie “dirt,” and sweet gummy worms are a combo that pleases just about everyone. I’ve never had leftovers.
- Make-Ahead Magic: You can prep these a day in advance, and they actually get better as the flavors meld together in the fridge.
What makes this version different from the basic recipe you might remember? It’s the little upgrades—the cream cheese adds a subtle tang that balances the sweetness, and the layering technique keeps the “dirt” crunchy instead of turning into a soggy mess. Plus, those graveyard decorations turn a simple dessert into a conversation starter. It’s comfort food with a spooky twist, and it’s the kind of treat that makes you close your eyes after the first bite—if you can get one before the kids grab them all.
What Ingredients You Will Need
This recipe uses simple, everyday ingredients to create something that feels special. Most of these are pantry staples or easy to pick up on a regular grocery run. Let me walk you through each one and why it matters.
- 1 (3.9 oz) package instant chocolate pudding mix – I recommend Jell-O brand for consistent results, but any store brand works fine. The instant kind is key here—no cooking required.
- 2 cups cold whole milk – Whole milk gives the richest, creamiest texture. You can use 2% in a pinch, but avoid skim or the pudding won’t set up as nicely.
- 4 oz cream cheese, softened to room temperature – This is my secret ingredient. It adds a slight tang and makes the pudding layer extra thick and luscious. Let it sit out for about 30 minutes before you start.
- 1/4 cup powdered sugar – Just a little sweetness to balance the tang of the cream cheese. You can skip this if you prefer a less sweet dessert.
- 1 (14.3 oz) package chocolate sandwich cookies (like Oreos) – You’ll use the whole cookie, cream filling and all. The filling helps the “dirt” clump together a bit, which looks more realistic.
- 1 (4.25 oz) package gummy worms – Any brand works, but I like the sour ones for a little extra zing. You’ll use some inside the cups and a few for decoration on top.
- 1 cup prepared whipped topping (like Cool Whip), thawed – This lightens the pudding mixture and makes it extra fluffy. You can also use homemade whipped cream if you prefer.
- For the graveyard decorations: Small plastic skeletons, candy pumpkins, or any Halloween-themed candy you like. I’ve also used small pretzel sticks stuck into the “dirt” to look like tombstones.
A quick note on substitutions: If you need a dairy-free version, you can use almond milk and dairy-free cream cheese and whipped topping. The texture will be slightly different, but it still tastes great. For a gluten-free option, look for gluten-free chocolate sandwich cookies—they exist and work perfectly.
Equipment Needed
You don’t need any fancy gadgets for this recipe, which is part of its charm. Here’s what you’ll want to have on hand:
- Large mixing bowl – For the pudding mixture. A glass or stainless steel bowl works best.
- Medium mixing bowl – For beating the cream cheese and powdered sugar together.
- Hand mixer or stand mixer – You can whisk by hand, but a mixer makes the cream cheese mixture silky smooth in seconds.
- Whisk – For combining the pudding mix and milk.
- Rolling pin or food processor – For crushing the cookies into “dirt.” A rolling pin and a zip-top bag is the classic method, and honestly, it’s more fun for kids. A food processor gives you a finer, more uniform texture.
- Small clear cups or glasses – I use 8-ounce plastic cups for parties, but small mason jars or even clear tumblers work beautifully. The clear cups let you see the layers, which is half the fun.
- Spatula – For scraping every bit of that creamy goodness into the cups.
- Measuring cups and spoons – Basic kitchen staples for accuracy.
If you don’t have a hand mixer, a sturdy whisk and some elbow grease will do the job. Just make sure the cream cheese is really soft before you start. And if you’re using a food processor for the cookies, give it a few short pulses rather than running it continuously—you want some texture, not dust.
Preparation Method
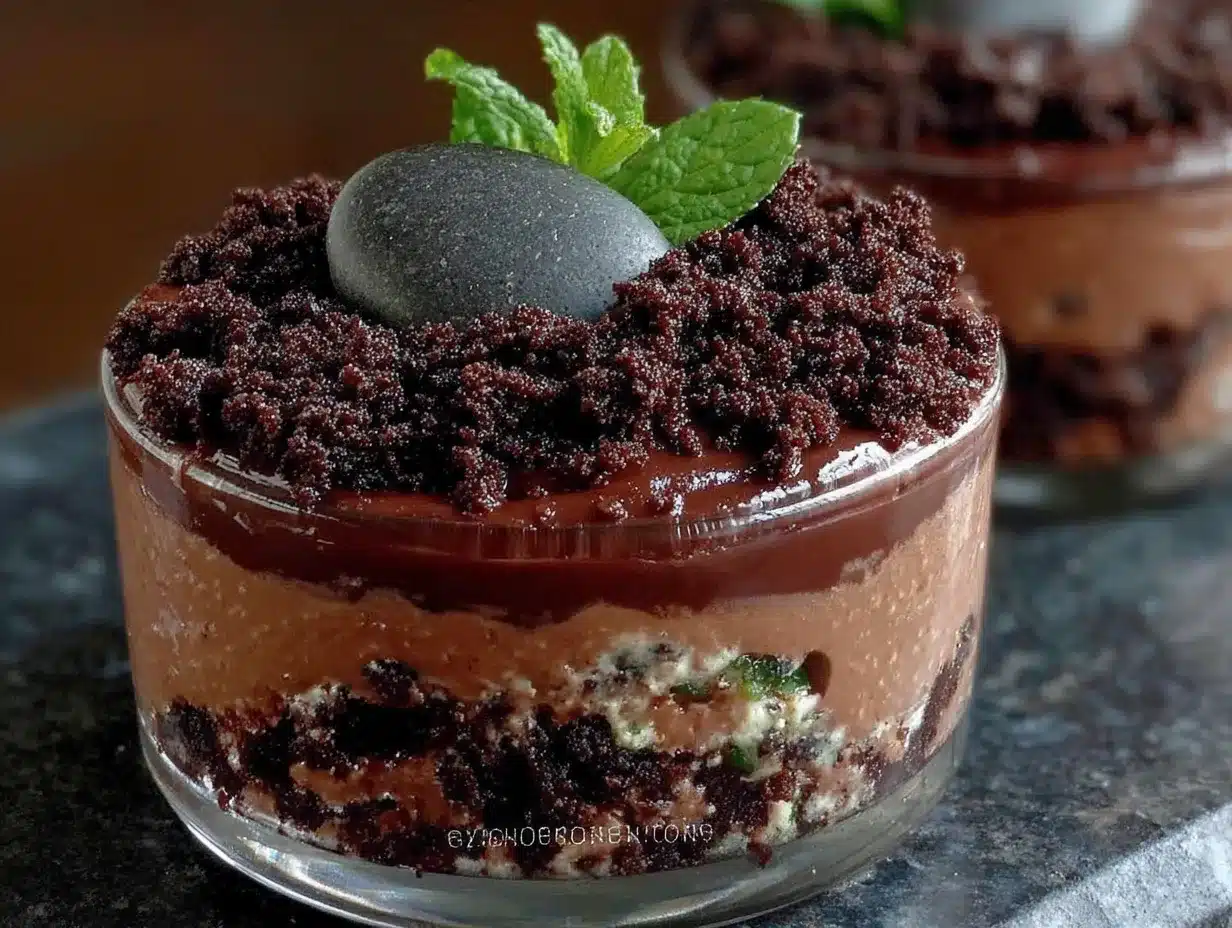
Let’s get to the fun part. I’ve broken this down into clear steps, with all the little tricks I’ve learned over the years. Trust me, these details make a difference.
- Crush the cookies. Place the entire package of chocolate sandwich cookies (cream filling included) into a large zip-top bag. Seal it, then use a rolling pin to crush them into fine crumbs. You want a mix of fine “dirt” and a few slightly larger pieces for texture. Alternatively, pulse them in a food processor until you get the same result. Set the crumbs aside.
- Make the cream cheese layer. In a medium mixing bowl, beat the softened cream cheese and powdered sugar together with a hand mixer on medium speed until smooth and fluffy—about 2 minutes. Scrape down the sides of the bowl once or twice. This step is crucial because cold cream cheese will leave lumps, so make sure it’s really at room temperature.
- Prepare the pudding. In a large mixing bowl, whisk together the instant chocolate pudding mix and cold milk. Whisk for about 2 minutes until the mixture thickens. It should look glossy and start to hold its shape. Don’t overmix, or it can get a bit grainy.
- Combine the mixtures. Add the cream cheese mixture to the pudding mixture and fold them together gently with a spatula until just combined. Then, fold in the thawed whipped topping. The goal is a uniform, creamy mixture without streaks. This is your “mud” layer, and it should be thick and luscious.
- Start layering. Spoon about 2 tablespoons of the cookie crumbs into the bottom of each clear cup. Press them down lightly with the back of a spoon to create a solid base. This first layer of “dirt” helps anchor everything.
- Add the pudding mixture. Spoon or pipe the pudding mixture over the cookie layer, filling each cup about halfway. If you want to be precise, use a piping bag with a wide tip—it’s neater and faster. Otherwise, a spoon works fine.
- Add gummy worms. Press 2 or 3 gummy worms into the pudding layer in each cup, letting a little bit stick out. This is where the “creepy” factor comes in—kids love seeing the worms peeking out.
- Top with more pudding. Add another layer of the pudding mixture to fill each cup almost to the top. Leave about 1/2 inch of space for the final “dirt” layer.
- Finish with cookie crumbs. Sprinkle a generous layer of the remaining cookie crumbs over the top of each cup. This is the “dirt” surface of your graveyard. Tap the cup gently to settle the crumbs.
- Decorate the graveyard. This is where you get creative. Stick a small plastic skeleton or a candy pumpkin into the “dirt.” You can also use small pretzel sticks as tombstones—just write “R.I.P.” on them with a food-safe marker. Add a few more gummy worms crawling out of the dirt for effect.
- Chill before serving. Place the cups in the refrigerator for at least 2 hours, or overnight. This allows the pudding to set completely and the flavors to meld. The longer they sit, the better they taste—the cookie crumbs soften slightly and the whole thing becomes a cohesive, spoonable treat.
A few warnings from personal experience: Don’t skip the chilling time. I once served these after only 30 minutes, and the layers were a runny mess. Also, if you’re making these for a party, assemble them the night before. The texture is perfect, and it’s one less thing to worry about on the day.
Cooking Tips & Techniques
Over the years, I’ve made these dirt pudding cups more times than I can count, and I’ve learned a few things the hard way. Let me save you some trouble.
Don’t overcrush the cookies. You want a mix of fine crumbs and small chunks. If you turn them into dust, the “dirt” layer can become too dense and muddy. A few larger pieces give it that realistic, crumbly texture.
Soften the cream cheese properly. This is non-negotiable. If you try to beat cold cream cheese, you’ll end up with lumps that never fully disappear. Leave it on the counter for 30-40 minutes before you start. In a pinch, you can microwave it for 10-15 seconds, but watch it carefully—you don’t want it to melt.
Use a piping bag for the pudding layer. This is a game-changer for neatness. Spoon the pudding mixture into a large zip-top bag, snip off a corner, and pipe it into the cups. No drips, no mess, and the layers stay clean. I learned this after my first few attempts looked like a mudslide.
Let the kids help with the crushing. Honestly, this is the best part. Hand your little ones a rolling pin and a bag of cookies, and let them go to town. It keeps them entertained and gives them ownership over the treat. Just make sure the bag is well-sealed—I’ve had a few explosions in my time.
Plan your decorations ahead. If you’re using plastic skeletons or other non-edible decorations, remind everyone before they take a bite. I once had a friend almost swallow a tiny plastic pumpkin. Now I always give a heads-up or use only edible decorations like candy pumpkins and pretzel tombstones.
Make extra cookie crumbs. You’ll likely have some left over, and that’s a good thing. Store them in an airtight container and use them to top ice cream, yogurt, or even another batch of these cups. Waste not, want not.
Variations & Adaptations
One of the best things about this recipe is how easy it is to tweak. Here are a few variations I’ve tried and loved.
Peanut Butter Dirt Cups: Add 1/4 cup of creamy peanut butter to the cream cheese mixture before combining with the pudding. It adds a rich, nutty flavor that pairs beautifully with the chocolate. My oldest son says this is the only way he’ll eat them now.
Mint Chocolate Dirt Cups: Use mint-flavored chocolate sandwich cookies (like Mint Oreos) and add 1/2 teaspoon of peppermint extract to the pudding mixture. Top with a few crushed candy canes for extra crunch. This is a great option for Christmas parties too.
Vegan Dirt Cups: Use dairy-free milk, vegan cream cheese, and coconut-based whipped topping. The texture is slightly less firm, but the flavor is still fantastic. I’ve made these for a friend’s vegan Halloween party, and they were gone in minutes.
Pumpkin Spice Dirt Cups: For a fall twist, add 1/2 cup of canned pumpkin puree and 1 teaspoon of pumpkin pie spice to the pudding mixture. Use ginger snaps instead of chocolate cookies for the “dirt.” The combination is surprisingly good—earthy, sweet, and perfectly autumnal.
Individual Trifle Cups: Layer in some fresh berries or sliced bananas between the pudding and cookie layers for a fruity variation. The tartness of raspberries cuts through the sweetness beautifully.
Serving & Storage Suggestions
These dirt pudding cups are best served cold, straight from the fridge. The chilled pudding contrasts perfectly with the slightly softened cookie crumbs, and the gummy worms stay nice and chewy.
For parties: Arrange the cups on a platter or tray and let guests grab their own. I like to add a few extra gummy worms around the base of the cups for a spooky effect. If you’re serving a crowd, double the recipe easily—it scales perfectly.
Storage: Cover each cup with plastic wrap or a lid and store in the refrigerator for up to 3 days. The cookies will continue to soften over time, so the texture changes slightly, but it’s still delicious. I actually prefer them on day two, when everything has melded together.
Freezing: You can freeze these cups for up to a month, but the texture will be different. The pudding becomes icy and the cookies get soggy upon thawing. If you do freeze them, let them thaw in the fridge overnight and give them a good stir before serving.
Reheating: These are meant to be served cold, so no reheating needed. But if you want a warm twist, you can microwave one cup for about 15 seconds—the pudding gets slightly warm and the cookies soften even more. It’s not traditional, but it’s cozy.
Nutritional Information & Benefits
Let’s be honest—this is a treat, not a health food. But that doesn’t mean it can’t fit into a balanced lifestyle. Here’s a rough estimate per serving (based on 8 servings):
- Calories: 380
- Fat: 18g
- Carbohydrates: 52g
- Protein: 6g
- Sugar: 38g
- Fiber: 2g
The cream cheese adds a small amount of protein and calcium, and the milk contributes vitamin D and B vitamins. The dark chocolate in the cookies contains antioxidants, though in small amounts. If you’re watching your sugar intake, you can use sugar-free pudding mix and reduce the powdered sugar in the cream cheese layer.
For those with dietary restrictions, this recipe contains dairy, gluten, and soy (in the cookies). I’ve included vegan and gluten-free variations above. Always check labels on gummy worms—some contain gelatin, which is not vegetarian.
From a personal perspective, I believe treats like this have a place in a happy life. They’re about celebration, connection, and a little bit of silliness. One cup won’t derail your health goals, but it might just make your Halloween a whole lot more fun.
Frequently Asked Questions
Can I make these dirt pudding cups ahead of time?
Absolutely! In fact, I recommend it. Assemble the cups the night before your party and let them chill in the fridge overnight. The flavors meld beautifully, and the texture is perfect. Just add any non-edible decorations right before serving.
Can I use homemade pudding instead of instant?
You can, but the texture will be different. Instant pudding sets up firmly without cooking, which is ideal for layering. Homemade pudding is softer and may not hold its shape as well. If you prefer homemade, cook it until it’s very thick and let it cool completely before assembling.
How do I keep the cookie crumbs from getting soggy?
The key is layering properly. Start with a base layer of cookie crumbs, then add the pudding, then another layer of crumbs on top right before serving. The crumbs in the middle will soften, but the top layer stays crunchy. If you’re making these ahead, wait to add the top layer of crumbs until just before serving.
Can I use a different type of cookie?
Yes! Golden Oreos, chocolate wafers, or even crushed graham crackers work well. Each gives a different flavor and texture. I’ve even used crushed vanilla wafers for a lighter “dirt.” Just keep in mind that the sweetness level will change.
What can I use instead of gummy worms?
Any gummy candy works—gummy spiders, worms, or even gummy bones. You can also use candy corn, chocolate spiders, or small plastic toys for decoration. For a non-candy option, try pretzel sticks or licorice strings.
Conclusion
These Easy Graveyard Dirt Pudding Cups are more than just a Halloween dessert—they’re a memory in the making. I’ve watched kids’ faces light up when they see the gummy worms crawling out of the “dirt,” and I’ve seen adults sneak a second cup when they think no one’s looking. That’s the magic of a simple recipe done right.
I hope you’ll make these for your own family and friends. Don’t be afraid to get creative with the decorations—let your kids pick out the candy and arrange the graveyard scene. The best part is that there’s no wrong way to do it. Whether you use plastic skeletons, candy pumpkins, or just a pile of gummy worms, it’s going to be a hit.
If you try this recipe, I’d love to hear about it. Leave a comment below and tell me how your family liked it, or share a photo of your graveyard creations. And if you have your own twist on dirt pudding cups, I’m all ears—I’m always looking for new ideas. Happy Halloween, and happy eating!
Pin This Recipe!
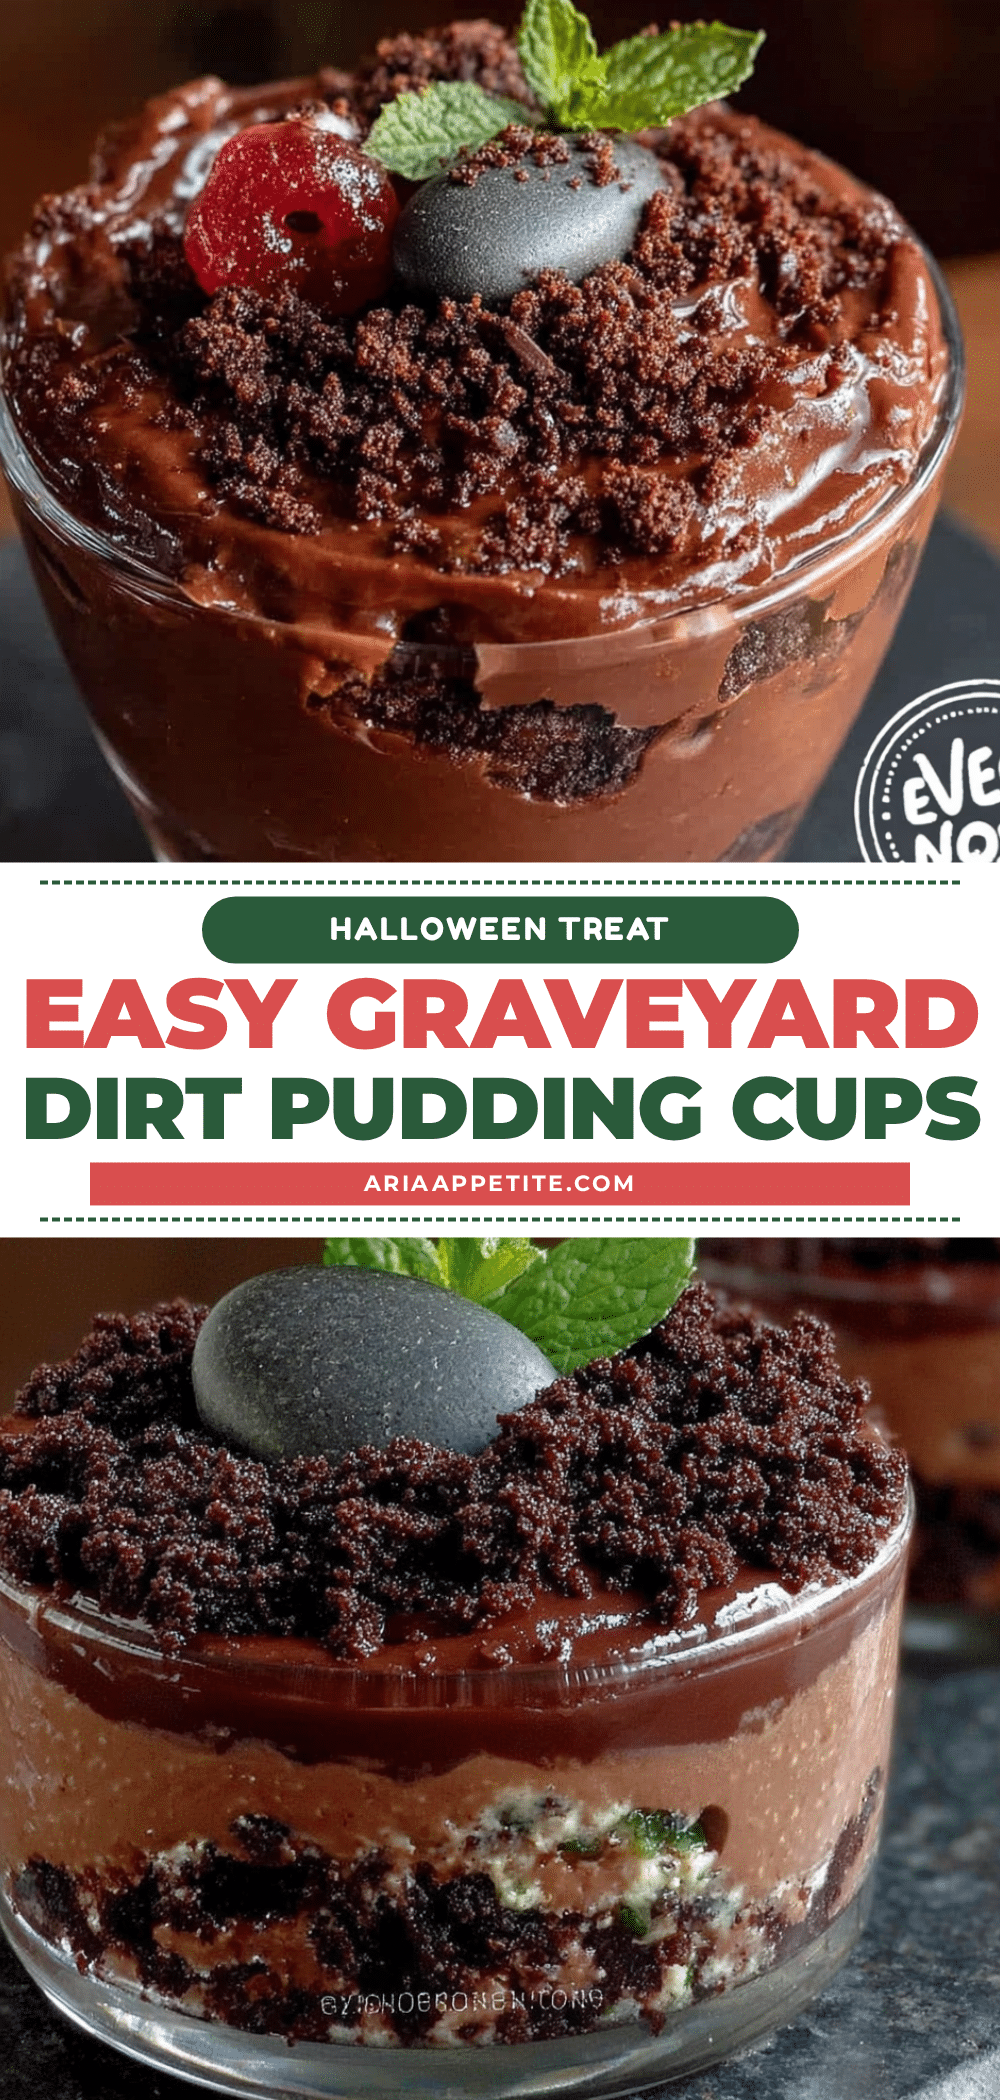
Easy Graveyard Dirt Pudding Cups: Best Kid-Approved Halloween Treat

These Easy Graveyard Dirt Pudding Cups are a no-bake Halloween dessert that kids absolutely love. With layers of creamy chocolate pudding, crushed Oreo ‘dirt,’ and gummy worms, they’re simple to make and perfect for parties.
- Prep Time: 20 minutes
- Cook Time: 0 minutes
- Total Time: 2 hours 20 minutes (includes chilling)
- Yield: 8 servings 1x
- Category: Dessert
- Cuisine: American
Ingredients
- 1 (3.9 oz) package instant chocolate pudding mix
- 2 cups cold whole milk
- 4 oz cream cheese, softened to room temperature
- 1/4 cup powdered sugar
- 1 (14.3 oz) package chocolate sandwich cookies (like Oreos)
- 1 (4.25 oz) package gummy worms
- 1 cup prepared whipped topping (like Cool Whip), thawed
- Small plastic skeletons, candy pumpkins, or other Halloween-themed decorations (optional)
Instructions
- Crush the cookies: Place the entire package of chocolate sandwich cookies (cream filling included) into a large zip-top bag. Seal it, then use a rolling pin to crush them into fine crumbs. Alternatively, pulse them in a food processor until you get a mix of fine ‘dirt’ and a few slightly larger pieces. Set aside.
- Make the cream cheese layer: In a medium mixing bowl, beat the softened cream cheese and powdered sugar together with a hand mixer on medium speed until smooth and fluffy, about 2 minutes. Scrape down the sides of the bowl once or twice.
- Prepare the pudding: In a large mixing bowl, whisk together the instant chocolate pudding mix and cold milk. Whisk for about 2 minutes until the mixture thickens and looks glossy.
- Combine the mixtures: Add the cream cheese mixture to the pudding mixture and fold them together gently with a spatula until just combined. Then, fold in the thawed whipped topping until uniform and creamy.
- Start layering: Spoon about 2 tablespoons of the cookie crumbs into the bottom of each clear cup. Press them down lightly with the back of a spoon to create a solid base.
- Add the pudding mixture: Spoon or pipe the pudding mixture over the cookie layer, filling each cup about halfway.
- Add gummy worms: Press 2 or 3 gummy worms into the pudding layer in each cup, letting a little bit stick out.
- Top with more pudding: Add another layer of the pudding mixture to fill each cup almost to the top, leaving about 1/2 inch of space.
- Finish with cookie crumbs: Sprinkle a generous layer of the remaining cookie crumbs over the top of each cup. Tap the cup gently to settle the crumbs.
- Decorate the graveyard: Stick small plastic skeletons, candy pumpkins, or pretzel stick tombstones into the ‘dirt.’ Add a few more gummy worms crawling out for effect.
- Chill before serving: Place the cups in the refrigerator for at least 2 hours, or overnight, to allow the pudding to set completely.
Notes
Don’t skip the chilling time—it’s essential for the pudding to set properly. For best results, assemble the cups the night before serving. If using non-edible decorations, remind guests before eating. You can make extra cookie crumbs and store them in an airtight container for other uses.
Nutrition
- Serving Size: 1 cup
- Calories: 380
- Sugar: 38
- Fat: 18
- Carbohydrates: 52
- Fiber: 2
- Protein: 6
Keywords: Halloween dessert, dirt pudding cups, graveyard pudding, no-bake dessert, kid-friendly Halloween treat, Oreo pudding cups, gummy worm dessert


