Love this? Save it for later!
Share the inspiration with your friends
The office cold-and-flu season potluck was in three hours and I’d completely forgotten. Everyone else would be bringing their legendary soups, grandma’s chicken broth, or those fancy immune-boosting smoothies that cost thirty bucks a batch. I had a jar of apple cider vinegar in the pantry, a knob of ginger that was starting to wrinkle, and a nagging cough that had been brewing for two days. Honestly, I was the one who needed a remedy, not the one who should be handing them out.
I grabbed the jar, threw in some chopped garlic, sliced ginger, a halved habanero (maybe that was a mistake), and drowned it all in raw honey. I stuck it in the cupboard and prayed. By the time the potluck started, my “fire cider” had been steeping for maybe two hours—nowhere near the usual month-long process. I poured a tiny shot for myself, winced, and coughed. It was harsh. It was spicy. It was also… kind of amazing.
I brought the jar anyway, feeling like a fraud next to the slow-cooked broths. I set it on the table with a little sign that said “Zesty Fire Cider Immunity Shots.” People looked at me funny. But then Janice from accounting, who swears by everything natural, tried a sip. She made a face, then took another sip. Then she asked for the recipe. By the end of the hour, the jar was half-empty and people were actually feeling better—or at least more awake. That’s the thing about these zesty fire cider immunity shots with ginger and honey. They don’t pretend to be anything fancy. They’re just honest, spicy, and they work. Maybe you’ve been there—desperate for something, anything, to kick that icky feeling before it settles in. This is that thing.
Why You’ll Love This Recipe
I’ve tested this recipe through three different cold seasons, two batches that were way too spicy, and one that was so sweet I could have called it cough syrup. After all that trial and error—and a little help from my friend who’s a holistic nutritionist—I landed on a version that’s balanced, potent, and actually enjoyable to take. These zesty fire cider immunity shots with ginger and honey aren’t just another wellness trend. They’re a kitchen staple that’s earned its place in my fridge.
- Quick & Easy: Active prep time is about 10 minutes. The hardest part is waiting for it to steep, but you can start sipping after 24 hours if you’re impatient (I won’t judge).
- Simple Ingredients: You probably have most of these in your pantry right now. No trips to a specialty health store required.
- Perfect for Cold Season: When you feel that first tickle in your throat, this is your go-to. It’s also great for warding off travel bugs or post-party recovery.
- Crowd-Pleaser: I know it sounds weird, but people actually love the zing. It’s become a hit at my family’s holiday gatherings—everyone takes a shot before dinner.
- Unbelievably Delicious: The combo of spicy ginger, warm honey, and tangy vinegar creates a flavor that’s surprisingly addictive. It’s not medicine—it’s a zesty treat.
What makes this different from every other fire cider recipe out there? It’s the ratio. Most recipes drown you in vinegar or burn your throat with too much hot pepper. This version uses the honey to mellow the bite and the ginger to provide that gentle warmth without overwhelming heat. It’s the kind of recipe that makes you close your eyes after the first sip—not because it hurts, but because it feels like your body just got a wake-up call. It’s comfort for your immune system, reimagined as a spicy little shot.
What Ingredients You Will Need
This recipe uses simple, wholesome ingredients that each play a specific role in boosting your immunity and waking up your taste buds. Most of these are pantry staples, and the ones that aren’t are easy to find at any grocery store.
- Raw Apple Cider Vinegar (with the mother): 2 cups. This is the base of your fire cider. I recommend Bragg’s or a local unfiltered brand. The “mother” contains beneficial bacteria and enzymes that are great for gut health.
- Fresh Ginger Root: 1 large knob (about 4 inches), thinly sliced. No need to peel it—just scrub it clean. The skin adds extra zing and nutrients.
- Fresh Turmeric Root: 1 small knob (about 2 inches), thinly sliced. Adds a beautiful golden color and anti-inflammatory properties. If you can’t find fresh, use 1 teaspoon dried turmeric.
- Garlic Cloves: 4-5 cloves, smashed. Garlic is the immune-boosting powerhouse here. Use fresh, not pre-minced.
- Habanero or Jalapeño Pepper: 1 small pepper, halved. For heat. Use habanero if you like a kick, jalapeño for a milder warmth. Remove seeds if you want less spice.
- Raw Honey: ¼ cup, plus more to taste. This balances the acidity and adds natural sweetness. Local raw honey is ideal for seasonal allergy relief.
- Onion: ½ small red or yellow onion, thinly sliced. Adds depth and antimicrobial properties. Sounds weird, but trust me.
- Lemon: 1 medium, thinly sliced. Use organic if you can, since you’re using the peel. Adds vitamin C and brightness.
- Whole Black Peppercorns: 1 teaspoon. Helps activate the turmeric and adds a subtle warmth.
- Optional Add-ins: A sprig of fresh rosemary, a cinnamon stick, or a star anise for extra flavor complexity.
Ingredient Selection Tips: Look for ginger that feels firm and heavy for its size—avoid wrinkled or soft spots. For the turmeric, fresh is best, but dried works in a pinch. If you’re sensitive to spice, start with a jalapeño and taste after 24 hours before adding more heat.
Substitution Guidance: For a milder version, skip the hot pepper entirely and add an extra slice of lemon. If you’re avoiding sugar, you can reduce the honey, but it won’t balance the vinegar as well. For a vegan option, use maple syrup instead of honey—just note the flavor will be slightly different.
Equipment Needed
You don’t need much to make these zesty fire cider immunity shots with ginger and honey. That’s part of the beauty.
- A 32-ounce Glass Jar with a Tight-Fitting Lid: A mason jar works perfectly. Make sure it’s clean and dry. I’ve used a repurposed pickle jar before—just wash it really well.
- A Sharp Knife and Cutting Board: For slicing the ginger, turmeric, onion, and lemon. Nothing fancy needed.
- A Small Saucepan: For gently warming the honey if it’s too thick to pour. Use low heat—you don’t want to cook the honey.
- A Fine-Mesh Strainer or Cheesecloth: For straining the finished cider. If you don’t have one, you can just pour carefully, leaving the solids behind.
- A Funnel: Helps when pouring the strained cider into smaller bottles for storage. Not essential, but saves mess.
- Small Shot Glasses or a Dark Glass Bottle: For storing and serving. Dark glass protects the cider from light, which can degrade some of the beneficial compounds over time.
I’ve made this recipe with just a jar and a knife more times than I can count. Don’t let a lack of fancy equipment stop you. The only thing I’d recommend splurging on is a good quality jar—cheap lids can rust over time, especially with the vinegar.
Preparation Method
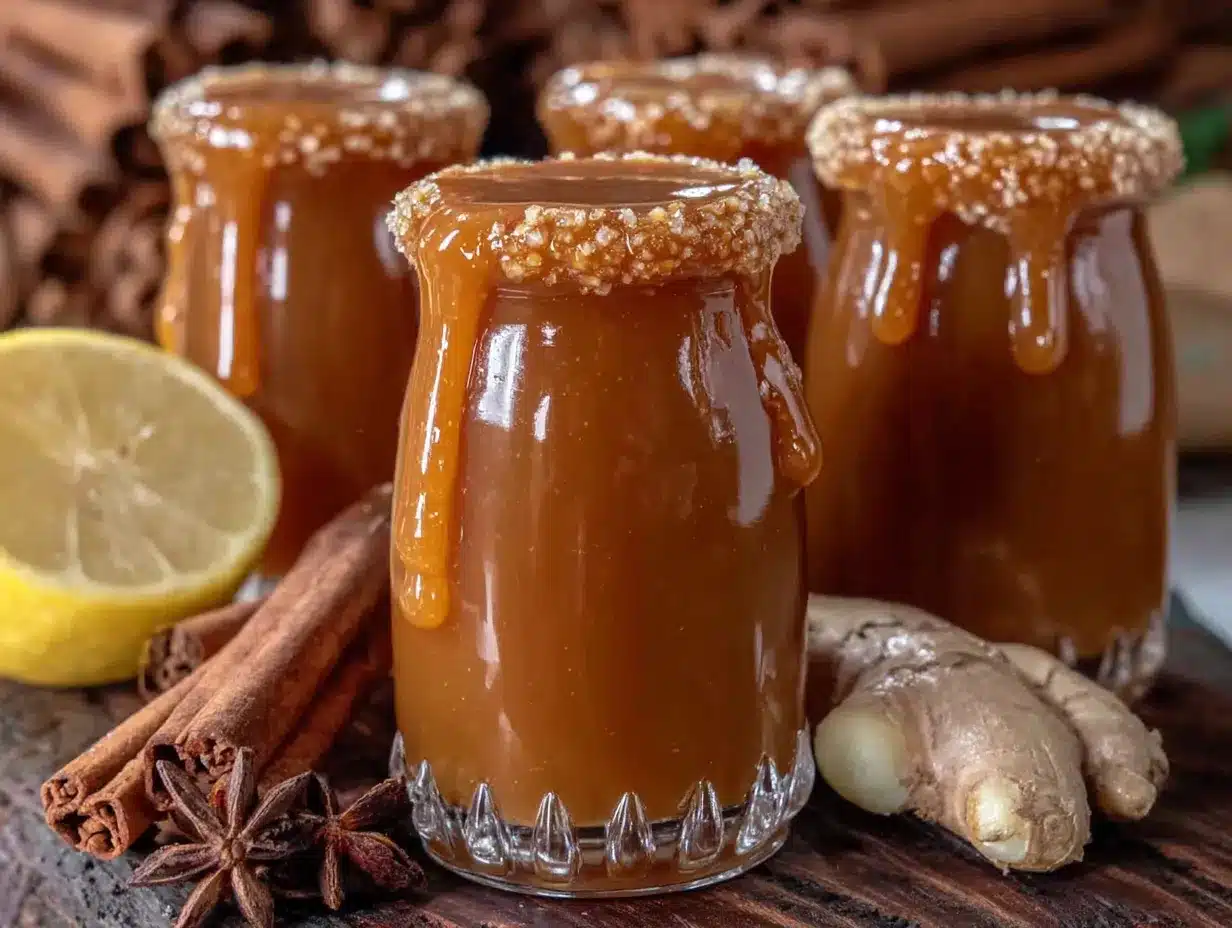
Making these zesty fire cider immunity shots with ginger and honey is more about patience than skill. The actual work takes ten minutes. The waiting is where the magic happens.
- Prep your ingredients. Wash the ginger and turmeric thoroughly. No need to peel—just scrub away any dirt. Slice them into thin rounds, about ⅛-inch thick. Smash the garlic cloves with the flat side of your knife to release their oils. Slice the lemon and onion into thin rounds. Halve the hot pepper—leave the seeds in if you want heat, remove them for a milder cider.
- Layer everything in the jar. Start with the ginger and turmeric slices at the bottom. Add the garlic, onion, lemon slices, and hot pepper. Toss in the black peppercorns. If you’re using any optional add-ins like rosemary or cinnamon, add them now. The layering isn’t crucial, but it looks pretty and helps everything pack down evenly.
- Pour in the apple cider vinegar. Slowly pour the vinegar over the solids until everything is completely submerged. Use a chopstick or a butter knife to gently poke around and release any air bubbles. You want every bit of the ingredients to be in contact with the vinegar—this prevents mold and ensures even extraction.
- Add the honey. If your honey is thick and crystallized, warm it gently in a small saucepan over low heat until it’s runny. Don’t boil it—raw honey loses its beneficial enzymes when overheated. Pour the honey into the jar and stir gently with a clean spoon to combine. Screw the lid on tightly.
- Shake and store. Give the jar a good shake to mix everything. Label it with the date. Store it in a cool, dark place—like a cupboard or pantry—for at least 2 weeks. I know, I know, it’s hard to wait. But the flavors really develop and mellow over time. If you’re desperate, you can start tasting after 24 hours. It will be harsher and spicier, but it’s still effective.
- Shake daily. This is the only maintenance. Once a day, give the jar a gentle shake to redistribute the ingredients. It’s a nice little ritual—a reminder that you’re taking care of yourself.
- Strain and bottle. After 2-4 weeks (I usually go for 3 weeks), place a fine-mesh strainer or cheesecloth over a large bowl or measuring cup. Pour the cider through, letting the solids drain completely. Don’t press on the solids too hard—you’ll get bitter compounds. Discard the solids. Using a funnel, pour the strained cider into clean glass bottles or jars. Store in the refrigerator.
- Serve. To take a shot, pour about 1-2 ounces into a small glass. You can take it straight, or dilute it with a little warm water if the vinegar is too intense. Some people like to add a splash of sparkling water for a fizzy immune tonic. Start with one shot per day, especially during cold season.
Sensory Cues: When you open the jar after the first week, you should smell a pungent, spicy aroma—ginger and garlic should be dominant. The liquid will be a cloudy golden-brown. If you see any mold on the surface, discard everything and start over with clean equipment. Properly submerged ingredients shouldn’t mold, but it can happen if something was floating.
Troubleshooting: If your cider tastes too sharp, add a little more honey and let it sit for another few days. If it’s not spicy enough, slice another pepper and add it in for the last week of steeping. If it’s too spicy, dilute it with more vinegar and honey when you strain it. This recipe is forgiving—you can always adjust after the fact.
Cooking Tips & Techniques
I’ve made a lot of mistakes with fire cider over the years. Let me save you from the same ones.
Don’t skip the daily shake. I once forgot to shake my jar for a whole week, and the top layer of ingredients started looking sad and dry. Shaking redistributes the vinegar and prevents anything from sitting above the liquid line, which is where mold can start. Set a phone reminder if you have to.
Use the freshest ingredients you can find. Old, wrinkly ginger has less juice and less flavor. Fresh turmeric stains everything it touches (wear an apron), but the flavor is worth it. The quality of your ingredients directly affects the potency of your shots.
Temperature matters for steeping. A cool, dark place is ideal—around 60-70°F. If your kitchen gets hot in summer, stick the jar in the fridge after the first week. The cold slows down the extraction, but it also prevents any unwanted fermentation. I’ve left a batch in a hot cupboard and ended up with fizzy, slightly fermented cider. It wasn’t bad, but it wasn’t what I was going for.
Multitasking strategy: Make this when you’re already prepping other things. While you’re chopping vegetables for dinner, slice the ginger and turmeric. While you’re waiting for water to boil, layer the jar. The active time is so short that you can fit it into any kitchen routine.
Consistency tip: If you want a more consistent flavor batch to batch, write down exactly how much of each ingredient you used. I keep a little notebook in my kitchen for this. It sounds nerdy, but when you find the perfect ratio, you’ll want to replicate it.
Variations & Adaptations
This recipe is a template, not a rulebook. Here are some ways to make it your own.
Mild & Sweet Version: Skip the hot pepper entirely and double the honey. Add a cinnamon stick and a vanilla bean for a warming, dessert-like shot. This is great for kids or anyone sensitive to spice. I made this for my nephew who was fighting a cold, and he actually asked for more.
Extra Herbal Version: Add a handful of fresh rosemary, thyme, or oregano to the jar. These herbs have their own antimicrobial properties and add an earthy complexity. I did this with a batch last fall, and it became my go-to for sinus congestion.
Ginger-Lemon Concentrate: Double the ginger and lemon, reduce the vinegar to 1 cup, and add ½ cup of honey. This creates a thicker, more concentrated syrup that you can take by the spoonful or mix into hot tea. It’s like a spicy, grown-up lemonade concentrate.
Dietary Adaptations: For a low-sugar version, use only 2 tablespoons of honey or replace it with stevia (though the flavor won’t be as rich). For a nightshade-free version, skip the hot pepper and add extra black pepper and ginger for warmth. For a low-FODMAP version, use the garlic-infused vinegar method—steep garlic in vinegar separately for a few days, then remove it before adding the other ingredients.
Different Cooking Methods: You can speed up the process by gently warming the vinegar and honey together before pouring over the ingredients. This extracts flavors faster—your cider will be ready in 3-5 days instead of 2-4 weeks. The trade-off is that the flavor won’t be as deep or complex. I’ve done this when I needed a batch urgently, and it works fine in a pinch.
Serving & Storage Suggestions
These zesty fire cider immunity shots with ginger and honey are best served cold or at room temperature. I keep my bottle in the fridge and take a shot first thing in the morning, before breakfast. The cold temperature actually helps mellow the vinegar’s bite.
How to Serve:
- Straight up: 1-2 ounces in a shot glass. Brace yourself for the zing.
- Diluted: Mix 1 tablespoon with 4 ounces of warm water and a squeeze of lemon for a soothing tea.
- As a mixer: Add a splash to sparkling water with a little honey for a spicy, probiotic soda.
- In cooking: Use it as a tangy marinade for chicken or tofu, or drizzle it over roasted vegetables for a kick.
Storage Instructions:
- Refrigerator: Strained fire cider will keep for up to 6 months in a sealed glass bottle. The flavors will continue to mellow over time.
- Freezer: You can freeze it in ice cube trays for individual portions. Pop a cube out and thaw it when you feel a cold coming on. The texture might change slightly, but the potency remains.
- Unstrained: If you leave the solids in, the cider will continue to get stronger and spicier. I’ve kept an unstrained jar in the fridge for a year—it was still good, just very intense.
Flavor Development: The cider is at its peak between 2 weeks and 3 months. After that, the flavors start to fade very slowly. I usually make a new batch every 2 months to keep a fresh supply. The older batch gets used for cooking or diluted drinks.
Nutritional Information & Benefits
Per 1-ounce shot (approximate values):
| Nutrient | Amount |
|---|---|
| Calories | 25-30 |
| Sugar | 5-7g (from honey) |
| Sodium | 5mg |
| Vitamin C | 4% DV |
| Iron | 1% DV |
Health Benefits:
- Ginger: Anti-inflammatory and aids digestion. It’s the star of this show for soothing sore throats and settling upset stomachs.
- Garlic: Contains allicin, a compound known for its immune-boosting and antimicrobial properties. It’s what gives this cider its punch.
- Apple Cider Vinegar: May help balance blood sugar and support gut health thanks to the probiotics in the mother.
- Raw Honey: Soothes coughs and provides antioxidants. Local honey can also help with seasonal allergies.
- Turmeric: Curcumin, its active compound, is a powerful anti-inflammatory. Black pepper helps your body absorb it better.
Dietary Considerations: This recipe is gluten-free, dairy-free, and vegan if you use maple syrup instead of honey. It’s also paleo-friendly. The main allergen to watch for is honey (avoid if you have a bee allergy). The vinegar is very acidic, so if you have acid reflux or sensitive teeth, dilute it with water or take it with food.
Personal Note: I’m not a doctor, and this isn’t a cure-all. But I’ve personally found that taking a daily shot during cold season keeps the sniffles at bay. It’s not a replacement for medical advice, but it’s a delicious, proactive way to support your body.
Conclusion
These zesty fire cider immunity shots with ginger and honey have become a non-negotiable part of my wellness routine. They’re not fancy, they’re not expensive, and they don’t require a trip to a specialty store. They’re just honest, spicy, and effective—exactly what you need when you feel that first tickle in your throat.
I love that this recipe is endlessly customizable. You can make it as mild or as fiery as you like. You can add herbs, adjust the sweetness, or turn it into a concentrate. It’s your kitchen, your rules. The only requirement is that you give it time to work its magic—the waiting is part of the process, and it’s worth it.
So go ahead, grab a jar and some ginger. Make a batch this weekend. Keep it in your fridge as a little insurance policy against the next cold that comes your way. And when you take that first shot—the one that makes your eyes water and your sinuses clear—come back and tell me about it. I’d love to hear how you made it your own. Share your variations, your successes, and even your happy accidents in the comments below. Let’s keep each other healthy, one spicy shot at a time.
Frequently Asked Questions
Can I drink fire cider every day?
Yes, most people can safely take 1-2 ounces daily. Start with a smaller amount to see how your stomach handles the acidity. If you have digestive issues or take certain medications, check with your doctor first.
How long does homemade fire cider last?
Strained and stored in the refrigerator, it lasts 6-12 months. The flavor will gradually mellow, but it remains effective. Always check for mold or off smells before using.
Why is my fire cider not spicy enough?
You can add more fresh ginger or another hot pepper during the steeping process. Just slice them and add them to the jar for another week. You can also increase the steeping time up to 6 weeks for a stronger extraction.
Can I use dried herbs instead of fresh?
Yes, but use about half the amount. Dried herbs are more concentrated. For ginger and turmeric, fresh is strongly recommended for the best flavor and potency.
Is it safe to use a plastic container?
Glass is best because vinegar can leach chemicals from plastic over time. If you must use plastic, choose a food-grade container and don’t store it for more than a few days.
Pin This Recipe!
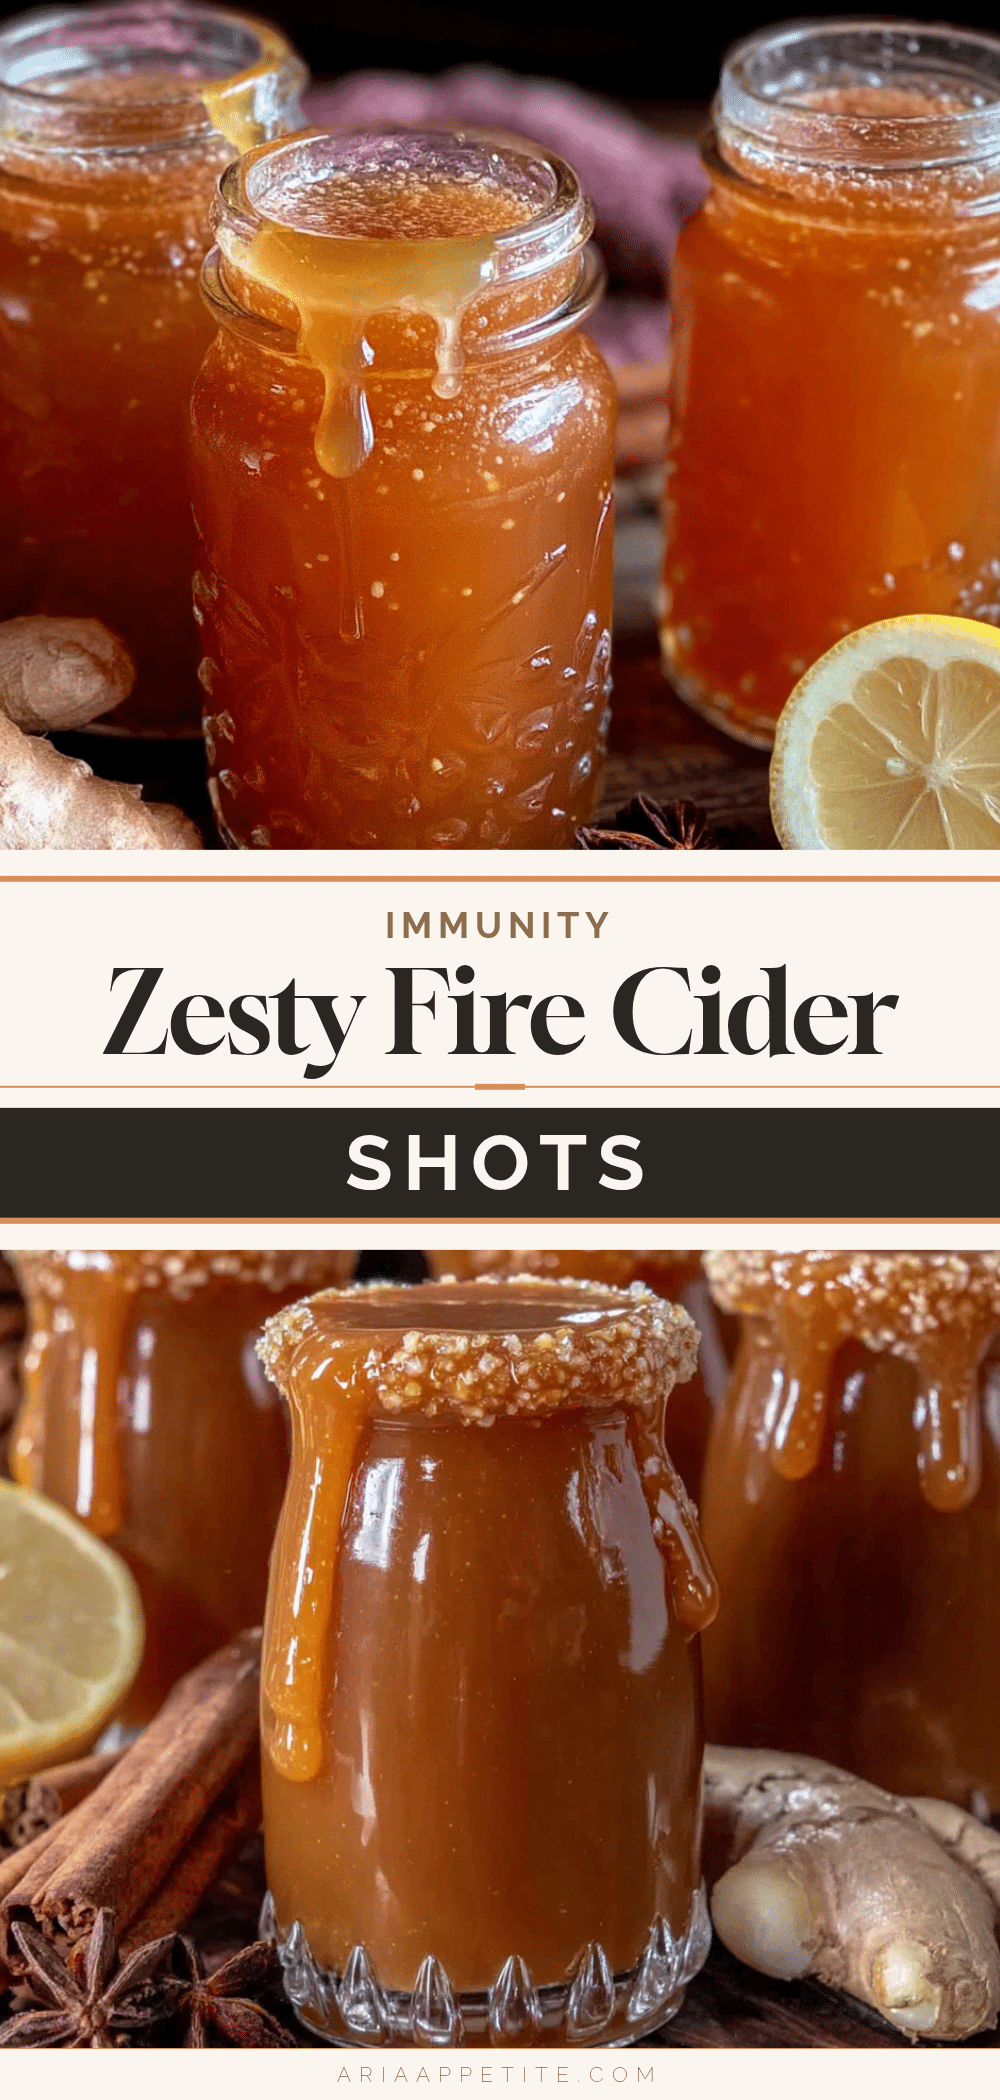
Zesty Fire Cider Immunity Shots with Ginger and Honey – Easy Homemade Remedy
These zesty fire cider immunity shots with ginger and honey are a simple, potent homemade remedy to support your immune system during cold season. Made with apple cider vinegar, fresh ginger, garlic, and honey, they’re a spicy, tangy wellness staple that’s easy to customize.
- Prep Time: 10 minutes
- Cook Time: 0 minutes
- Total Time: 10 minutes (plus 2-4 weeks steeping)
- Yield: About 2 cups (16-32 servings, 1-2 oz each) 1x
- Category: Beverage / Wellness Shot
- Cuisine: American
Ingredients
- 2 cups raw apple cider vinegar (with the mother)
- 1 large knob fresh ginger root (about 4 inches), thinly sliced
- 1 small knob fresh turmeric root (about 2 inches), thinly sliced (or 1 teaspoon dried turmeric)
- 4–5 garlic cloves, smashed
- 1 small habanero or jalapeño pepper, halved (seeds removed for less heat)
- ¼ cup raw honey, plus more to taste
- ½ small red or yellow onion, thinly sliced
- 1 medium lemon, thinly sliced (organic preferred)
- 1 teaspoon whole black peppercorns
- Optional: fresh rosemary sprig, cinnamon stick, or star anise
Instructions
- Wash the ginger and turmeric thoroughly (no need to peel). Slice into thin rounds, about ⅛-inch thick. Smash the garlic cloves. Slice the lemon and onion into thin rounds. Halve the hot pepper.
- Layer the ginger, turmeric, garlic, onion, lemon slices, hot pepper, and black peppercorns in a 32-ounce glass jar. Add any optional add-ins.
- Pour the apple cider vinegar over the solids until everything is completely submerged. Use a chopstick to release air bubbles.
- If honey is thick, warm it gently in a small saucepan over low heat until runny (do not boil). Pour honey into the jar and stir gently to combine. Screw the lid on tightly.
- Shake the jar well. Label with the date. Store in a cool, dark place for at least 2 weeks (up to 4 weeks for deeper flavor). Shake daily.
- After steeping, strain the cider through a fine-mesh strainer or cheesecloth into a bowl. Discard solids. Using a funnel, pour into clean glass bottles or jars.
- Store in the refrigerator. Serve 1-2 ounces straight or diluted with warm water or sparkling water.
Notes
For a milder version, skip the hot pepper and add extra lemon. For a quicker batch, gently warm the vinegar and honey before pouring over ingredients; steep for 3-5 days. Always use fresh ingredients for best potency. If mold appears, discard and start over with clean equipment.
Nutrition
- Serving Size: 1 ounce (about 2 tab
- Calories: 2530
- Sugar: 57
- Sodium: 5
- Carbohydrates: 68
Keywords: fire cider, immunity shots, ginger, honey, apple cider vinegar, homemade remedy, cold season, wellness