Love this? Save it for later!
Share the inspiration with your friends
You know that moment when you want to throw a Halloween party but also want to feel good about what you’re serving? That’s exactly where this board comes in. It’s got all the spooky fun without the sugar crash, and honestly, it’s become my go-to for every October gathering.
- Quick & Easy: This board comes together in under 30 minutes. Seriously, you can assemble it while the kids are getting their costumes on.
- Simple Ingredients: No weird candy or processed snacks here. You probably already have most of these items in your fridge and pantry.
- Perfect for Halloween Parties: Whether it’s a school gathering, a work potluck, or a cozy family movie night, this board fits right in.
- Crowd-Pleaser: I’ve served this to kids, adults, and even picky relatives — everyone goes back for seconds.
- Unbelievably Delicious: The combination of creamy cheese pumpkins, savory meats, and fresh veggies is next-level satisfying. It’s comfort food that actually nourishes you.
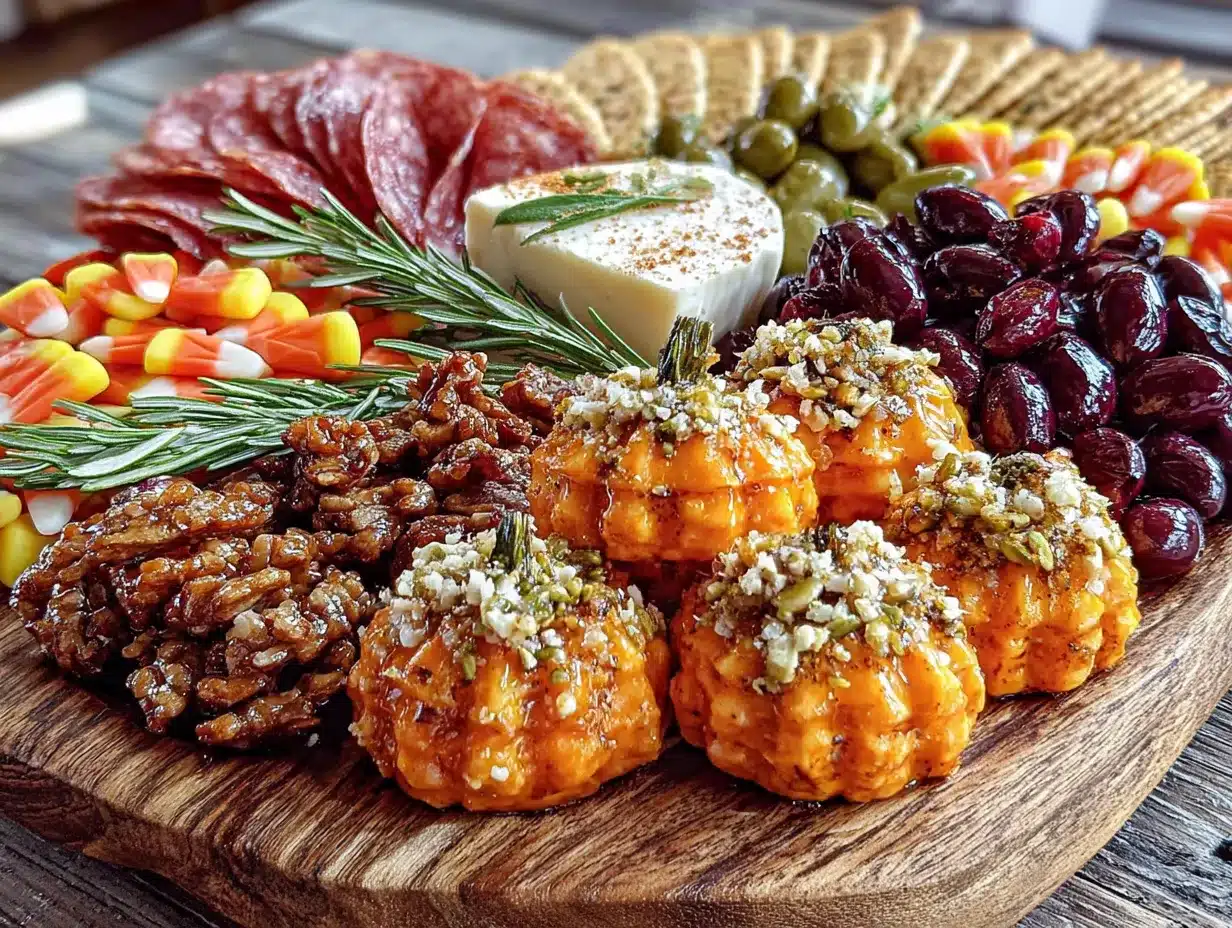
What makes this board different from the rest? It’s the cheese pumpkins. Instead of carving a real pumpkin that rots in a day, you get these adorable little cheese balls shaped like pumpkins. They’re creamy, flavorful, and way more fun to eat. Plus, the whole board leans into wholesome ingredients — think nuts, fresh fruit, and whole-grain crackers — so you can indulge without the guilt.
Honestly, this recipe is the kind that makes you feel like a Halloween hero. You show up with this board, and people lose their minds. It’s festive, it’s healthy-ish, and it’s the perfect centerpiece for any spooky celebration.
What Ingredients You Will Need
This recipe uses simple, wholesome ingredients to deliver bold flavor and satisfying texture without the fuss. Everything is easy to find at your local grocery store, and most items are pantry staples.
For the Cheese Pumpkins
- 8 ounces cream cheese, softened (I recommend Philadelphia for best creaminess)
- 4 ounces sharp cheddar cheese, finely shredded (adds that rich, tangy flavor)
- 1/2 teaspoon garlic powder
- 1/4 teaspoon smoked paprika (for that subtle smoky depth)
- 1/4 teaspoon salt
- 1/8 teaspoon black pepper
- Fresh chives or parsley, finely chopped (for the pumpkin stem — use a small piece of pretzel stick or rosemary sprig as an alternative)
For the Charcuterie Board
- 8 ounces sliced turkey or chicken breast (nitrate-free if possible)
- 4 ounces salami or prosciutto (optional, for a savory kick)
- 1 cup mixed nuts (almonds, walnuts, or pecans work great)
- 1 cup grapes, red or green
- 1 cup apple slices (toss in lemon juice to prevent browning)
- 1 cup carrot sticks or cucumber rounds
- 1/2 cup cherry tomatoes
- 1/2 cup whole-grain crackers or rice cakes
- 1/4 cup pumpkin seeds (pepitas) for garnish
- Fresh rosemary or thyme sprigs for decoration
Ingredient Tips: For the cheese pumpkins, use full-fat cream cheese for the creamiest texture. If you’re dairy-sensitive, swap in dairy-free cream cheese and vegan cheddar shreds — the flavor will still be great. For a smoky twist, add a pinch of chipotle powder to the cheese mixture.
Equipment Needed
- Large mixing bowl (I use a glass bowl for easy mixing)
- Hand mixer or stand mixer (or a strong arm and a wooden spoon)
- Plastic wrap or parchment paper
- Small pretzel sticks or rosemary sprigs (for pumpkin stems)
- Large wooden board or serving platter (at least 12×16 inches)
- Small cookie scoop or tablespoon (for portioning cheese)
- Sharp knife and cutting board
- Small bowls or ramekins (for nuts and seeds if desired)
Budget-Friendly Alternatives: No hand mixer? Just soften the cream cheese to room temperature and mix with a fork. No fancy board? Use a large baking sheet or even a clean cutting board. It all works!
Preparation Method
- Make the cheese pumpkin mixture: In a large mixing bowl, combine the softened cream cheese, shredded cheddar, garlic powder, smoked paprika, salt, and pepper. Beat with a hand mixer on medium speed until smooth and well combined. This should take about 2-3 minutes. The mixture will be thick and creamy — it should hold its shape when you scoop it.
- Shape the cheese pumpkins: Scoop out about 2 tablespoons of the cheese mixture and roll it into a ball with your hands. If the mixture is too sticky, lightly wet your hands with cold water. Place the ball on a piece of plastic wrap. Gently press down to flatten slightly, then use your fingers to create ridges around the sides — think of a pumpkin’s natural grooves. You can also use the back of a fork to make lines. Repeat until you have 6-8 mini pumpkins.
- Add the stems: Gently press a small piece of pretzel stick or a rosemary sprig into the top center of each cheese pumpkin. This creates the stem. If using rosemary, trim it to about 1 inch long. The pretzel gives a nice salty crunch, while rosemary adds an earthy aroma.
- Chill the cheese pumpkins: Place the cheese pumpkins on a plate and refrigerate for at least 20 minutes. This helps them firm up and hold their shape when you assemble the board. You can make them up to 2 days ahead — just keep them covered in the fridge.
- Prepare the board ingredients: While the cheese pumpkins chill, wash and slice your fruits and vegetables. Cut the apples into thin wedges and toss with a little lemon juice to keep them from browning. Slice the cucumber into rounds or sticks. Halve the cherry tomatoes if they’re large. Arrange the meats in loose folds or rolls for visual appeal.
- Assemble the board: Take your large board or platter. Start by placing the cheese pumpkins in a cluster near the center or off to one side — they’re the star of the show. Arrange the meats in small piles around them. Fill in the gaps with the fruits, vegetables, nuts, and crackers. Scatter the pumpkin seeds over the board for a spooky, textured look. Tuck small rosemary or thyme sprigs between items for a festive touch.
- Add final touches: If you want extra Halloween flair, add a few edible eyes (available at baking stores) or small ghost-shaped cheese slices. The board should look abundant but not crowded — you want each ingredient to be visible and easy to grab.
- Serve immediately or refrigerate: This board is best served at room temperature, so take it out of the fridge 15-20 minutes before serving. If you’re making it ahead, cover the whole board with plastic wrap and refrigerate for up to 4 hours. Add the crackers and nuts just before serving to keep them crunchy.
Cooking Tips & Techniques
I’ve made this board about a dozen times now, and I’ve learned a few things the hard way. First, don’t skip chilling the cheese pumpkins. The first time I made them, I was impatient and served them right away — they were a little too soft and started losing their shape. Trust me, 20 minutes in the fridge makes all the difference.
Another tip: use a cookie scoop for perfectly uniform cheese pumpkins. It saves time and makes them look professional. If you don’t have one, just eyeball it — imperfection is part of the charm.
When it comes to the board layout, think about color contrast. The orange cheese pumpkins pop beautifully against dark grapes, green cucumbers, and red tomatoes. Don’t be afraid to rearrange until it looks balanced. I usually step back and take a photo — that helps me see what’s missing.
One mistake I made early on was putting the crackers directly on the board next to moist ingredients like tomatoes. They got soggy fast. Now I place crackers in a small cluster away from anything wet, or I serve them in a separate bowl on the side.
Finally, if you’re short on time, you can use store-bought cheese balls and just shape them into pumpkins. No one will know — your secret is safe with me.
Variations & Adaptations
Dietary Variations: For a dairy-free version, use vegan cream cheese and vegan cheddar shreds. The texture will be slightly different but still delicious. For a gluten-free board, swap the crackers for rice cakes or gluten-free crackers. Most meats and nuts are naturally gluten-free, so you’re already halfway there.
Seasonal Twists: In fall, add roasted pumpkin seeds or pomegranate seeds for extra color and crunch. In summer, swap the apples for fresh berries and the carrots for snap peas. You can also add seasonal cheese like brie or goat cheese for variety.
Flavor Customizations: Spice up the cheese pumpkins by adding 1/4 teaspoon cayenne pepper or a dash of hot sauce. For a sweeter version, mix in 2 tablespoons of honey or maple syrup with the cream cheese. I tried a honey-cheddar version last year, and it was a hit with the kids.
Protein Swaps: If you’re vegetarian, skip the meat and add more cheese, nuts, or roasted chickpeas. For a heartier board, include hard-boiled eggs or smoked salmon. The beauty of charcuterie is that you can customize it to your crowd.
Serving & Storage Suggestions
Serve this board at room temperature for the best flavor. The cheese pumpkins soften slightly and become extra creamy. Arrange everything on a large wooden board or a white platter for a striking visual contrast. If you’re serving a crowd, make two smaller boards instead of one giant one — it’s easier for guests to reach.
For drinks, pair this board with sparkling water with lemon, apple cider, or a light white wine like Sauvignon Blanc. For kids, serve with apple juice or a fun Halloween punch. The board also works beautifully as a pre-dinner appetizer or a main meal for a casual gathering.
Storage: Leftovers can be stored in an airtight container in the refrigerator for up to 3 days. The cheese pumpkins will keep their shape, but the crackers and nuts will lose crunch. Store those separately. The fruits and vegetables should be eaten within 24 hours for best texture.
Reheating: You don’t need to reheat anything — just let the board sit at room temperature for 15 minutes before serving again. If the cheese pumpkins seem too firm, let them sit out a bit longer.
Flavor Development: Honestly, the board tastes better after an hour or so at room temperature. The flavors meld together, and the cheese becomes more spreadable. Just don’t leave it out longer than 2 hours for food safety.
Nutritional Information & Benefits
This board is packed with protein, healthy fats, and fiber, making it a balanced option for a Halloween treat. Here’s an approximate breakdown per serving (about 1/6 of the board):
- Calories: 320
- Protein: 18g
- Fat: 22g
- Carbohydrates: 18g
- Fiber: 4g
- Sugar: 8g
Health Benefits: The cream cheese and cheddar provide calcium and protein, while the nuts offer heart-healthy fats and vitamin E. Grapes and apples are rich in antioxidants, and the vegetables add fiber and essential vitamins. This board is naturally low in added sugar — a win for anyone watching their intake.
Dietary Considerations: This recipe can be made gluten-free, dairy-free, and vegetarian with simple swaps. It’s also nut-free if you omit the nuts and pumpkin seeds. Always check labels for hidden allergens in processed meats and crackers.
From my perspective, this board is a great way to enjoy Halloween without the sugar overload. It’s satisfying, colorful, and leaves you feeling energized rather than sluggish. That’s a win in my book.
Conclusion
If you’re looking for a Halloween recipe that’s fun, festive, and actually good for you, this Wholesome Halloween Charcuterie Board with Cheese Pumpkins is it. It’s quick to assemble, endlessly customizable, and always gets rave reviews. I love how it brings people together around the table — no tricks, just treats.
I encourage you to make this board your own. Swap in your favorite cheeses, add spooky decorations, or double the cheese pumpkins because they disappear fast. Share your creations with me in the comments below — I’d love to see how you make it special.
So go ahead, grab your board, and get ready to impress your Halloween guests. You’ve got this!
Frequently Asked Questions
Can I make the cheese pumpkins ahead of time?
Yes, absolutely! You can make the cheese pumpkins up to 2 days in advance. Just keep them covered in the refrigerator. Let them sit at room temperature for 15 minutes before serving for the best texture.
What if I don’t have a hand mixer?
No problem! Just soften the cream cheese to room temperature and mix everything with a sturdy spoon or fork. It will take a little more elbow grease, but the result will be just as creamy.
Can I use other cheeses for the pumpkins?
Definitely. Try using pepper jack for a spicy kick, or gouda for a smoky flavor. Just make sure the cheese is finely shredded so it blends smoothly with the cream cheese.
How do I keep the apple slices from turning brown?
Toss the apple slices in a little lemon juice or lime juice right after cutting. This prevents oxidation and keeps them looking fresh for hours. You can also use apple cider vinegar in a pinch.
Is this board kid-friendly?
Yes! Kids love the cheese pumpkins and the fun shapes. You can add their favorite fruits and skip the spicy meats. The board is interactive and fun — perfect for little hands to grab and explore.
Pin This Recipe!
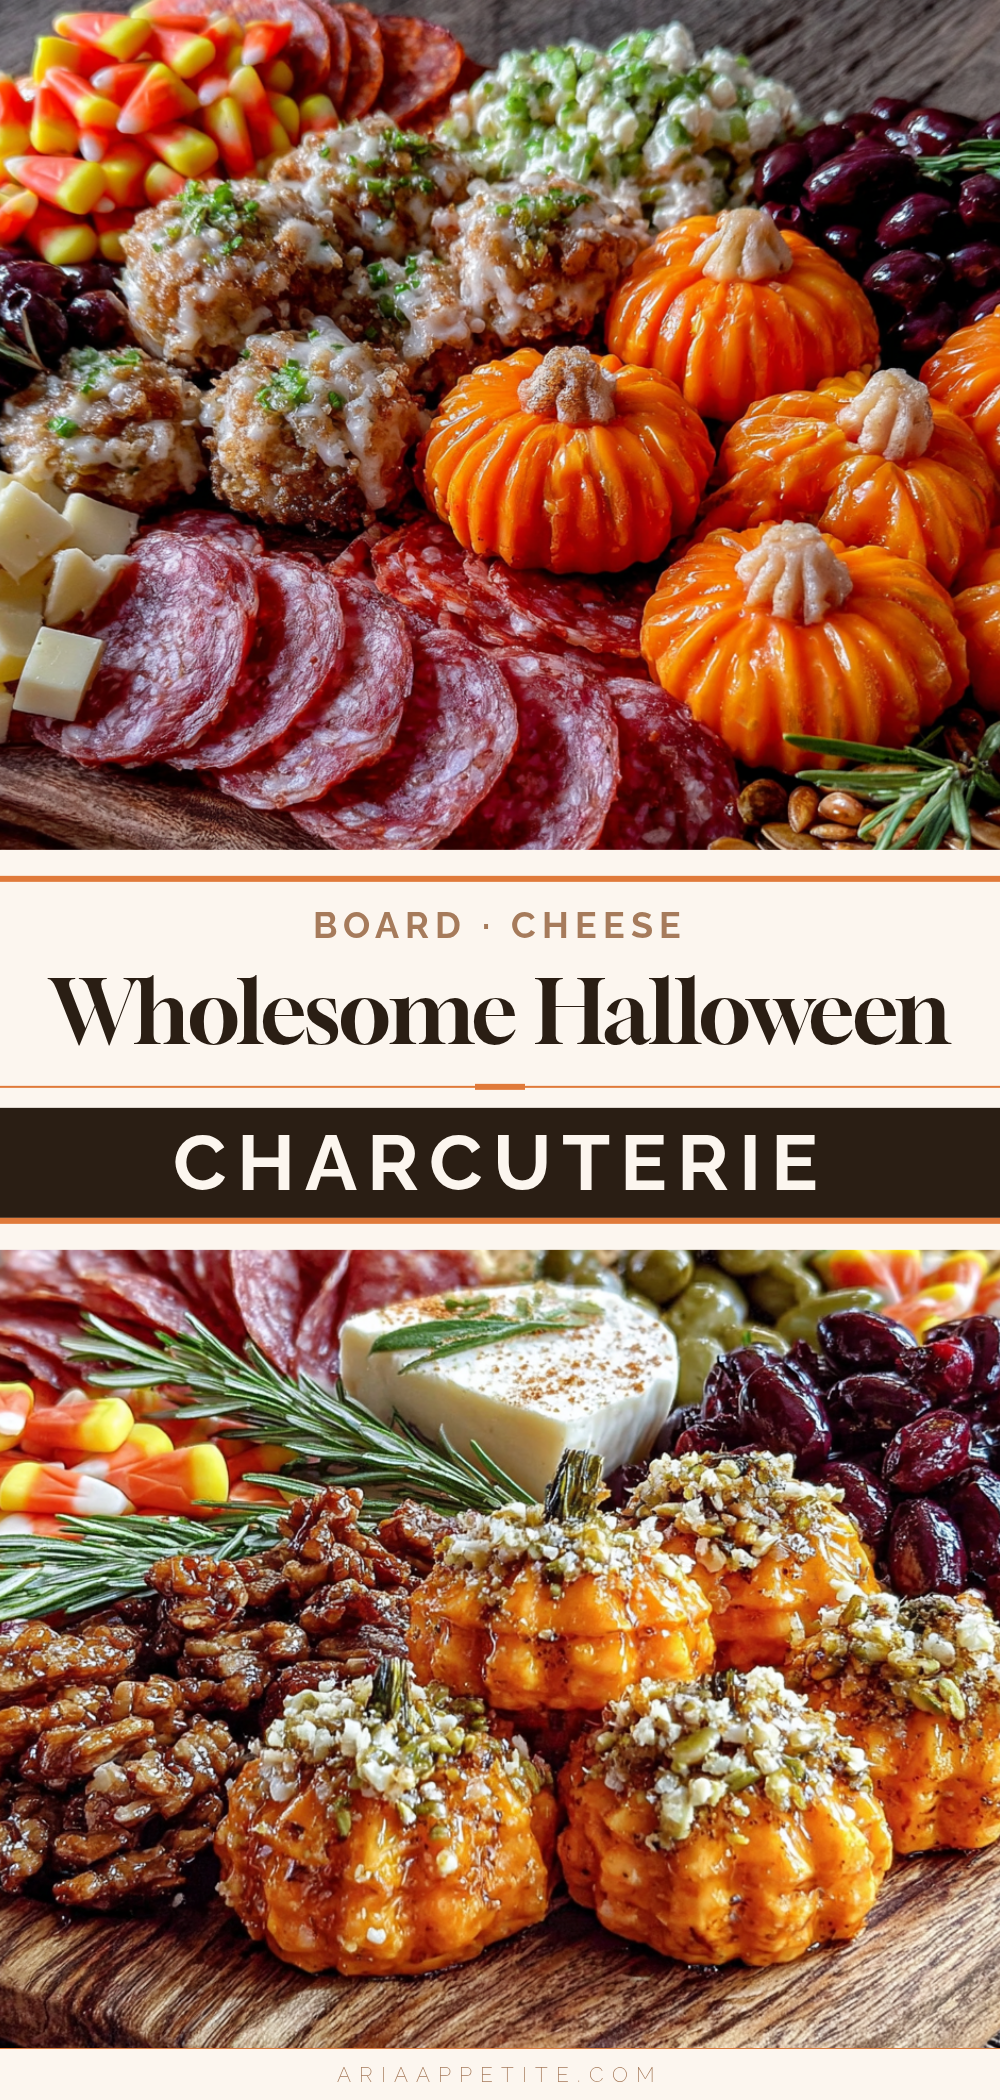
Wholesome Halloween Charcuterie Board with Cheese Pumpkins
A fun and festive Halloween charcuterie board featuring adorable cheese pumpkins, savory meats, fresh fruits, and crunchy nuts. It’s a wholesome, crowd-pleasing centerpiece that comes together in under 30 minutes.
- Prep Time: 20 minutes
- Cook Time: 0 minutes
- Total Time: 20 minutes
- Yield: 6 servings 1x
- Category: Appetizer
- Cuisine: American
Ingredients
- 8 ounces cream cheese, softened
- 4 ounces sharp cheddar cheese, finely shredded
- 1/2 teaspoon garlic powder
- 1/4 teaspoon smoked paprika
- 1/4 teaspoon salt
- 1/8 teaspoon black pepper
- Fresh chives or parsley, finely chopped (for pumpkin stem)
- 8 ounces sliced turkey or chicken breast (nitrate-free if possible)
- 4 ounces salami or prosciutto (optional)
- 1 cup mixed nuts (almonds, walnuts, or pecans)
- 1 cup grapes, red or green
- 1 cup apple slices (tossed in lemon juice)
- 1 cup carrot sticks or cucumber rounds
- 1/2 cup cherry tomatoes
- 1/2 cup whole-grain crackers or rice cakes
- 1/4 cup pumpkin seeds (pepitas) for garnish
- Fresh rosemary or thyme sprigs for decoration
Instructions
- Make the cheese pumpkin mixture: In a large mixing bowl, combine the softened cream cheese, shredded cheddar, garlic powder, smoked paprika, salt, and pepper. Beat with a hand mixer on medium speed until smooth and well combined, about 2-3 minutes.
- Shape the cheese pumpkins: Scoop out about 2 tablespoons of the cheese mixture and roll it into a ball with your hands. Place the ball on a piece of plastic wrap. Gently press down to flatten slightly, then use your fingers to create ridges around the sides. Repeat until you have 6-8 mini pumpkins.
- Add the stems: Gently press a small piece of pretzel stick or a rosemary sprig into the top center of each cheese pumpkin.
- Chill the cheese pumpkins: Place the cheese pumpkins on a plate and refrigerate for at least 20 minutes.
- Prepare the board ingredients: While the cheese pumpkins chill, wash and slice your fruits and vegetables. Cut the apples into thin wedges and toss with lemon juice. Slice the cucumber into rounds or sticks. Halve the cherry tomatoes if large. Arrange the meats in loose folds or rolls.
- Assemble the board: Place the cheese pumpkins in a cluster near the center or off to one side. Arrange the meats in small piles around them. Fill in the gaps with fruits, vegetables, nuts, and crackers. Scatter pumpkin seeds over the board. Tuck small rosemary or thyme sprigs between items.
- Add final touches: If desired, add edible eyes or small ghost-shaped cheese slices for extra Halloween flair.
- Serve immediately or refrigerate: Best served at room temperature. Take out of the fridge 15-20 minutes before serving. If making ahead, cover the board with plastic wrap and refrigerate for up to 4 hours. Add crackers and nuts just before serving.
Notes
Don’t skip chilling the cheese pumpkins for at least 20 minutes to help them hold their shape. Use a cookie scoop for uniform pumpkins. Place crackers away from moist ingredients to prevent sogginess. The board can be made up to 4 hours ahead; add crackers and nuts just before serving.
Nutrition
- Serving Size: 1/6 of the board
- Calories: 320
- Sugar: 8
- Sodium: 450
- Fat: 22
- Saturated Fat: 10
- Carbohydrates: 18
- Fiber: 4
- Protein: 18
Keywords: Halloween charcuterie board, cheese pumpkins, healthy Halloween snack, party appetizer, fall entertaining


