Love this? Save it for later!
Share the inspiration with your friends
“You know that moment when you’re halfway through dinner and realize the chicken breast is as dry as the Sahara?” That’s exactly what happened to me one hectic Wednesday evening. I was trying to whip up a quick meal after a long day, and honestly, I thought baking chicken breasts was foolproof. Spoiler alert: it wasn’t. The kitchen smelled hopeful, but the first bite told a different story—dry, tough, and totally disappointing.
But here’s the thing: instead of tossing the whole dinner idea, I got curious. I grabbed a cracked measuring cup, jotted down what I’d done, and started experimenting. The next time, I tweaked the temperature, adjusted the marinating time, and yes, even tried a little secret ingredient a friend swore by. The result? A juicy, tender baked chicken breast that made me want to lick my plate clean.
Maybe you’ve been there too—standing over the oven with crossed fingers, hoping for a moist chicken dinner. This recipe is what I landed on after that night and many messy, frustrating trials. It’s simple, reliable, and honestly, a little comforting. And hey, if I can nail it on a chaotic weeknight, I’m pretty sure you can too.
So let me tell you why this version of tender never-dry baked chicken breast has stuck around in my rotation—and why it just might become your go-to, too.
Why You’ll Love This Tender Never-Dry Baked Chicken Breast Recipe
After countless attempts, this recipe stands out because it really understands the quirks of chicken breasts and how to work with them for juicy success. I mean, not every baked chicken breast can make you close your eyes with satisfaction, but this one does.
- Quick & Easy: Comes together in under 35 minutes, perfect for busy weeknights or last-minute cravings.
- Simple Ingredients: No fancy or hard-to-find items—just pantry staples you likely already have.
- Perfect for Any Occasion: Whether it’s a casual dinner or a meal prep winner, this chicken fits right in.
- Crowd-Pleaser: Family, friends, even picky eaters give it a thumbs up every time.
- Unbelievably Delicious: The texture is tender and juicy without being mushy, with a balanced flavor that’s far from boring.
What makes this recipe different? It’s a blend of a gentle brine and a specific baking method that locks in moisture without turning the chicken into a rubbery mess. I also swear by a tiny sprinkle of smoked paprika—not for spice but for depth, which makes every bite a little more interesting. Honestly, this isn’t just another baked chicken breast recipe; it’s the one that’s saved dinners and made me less anxious about cooking chicken forever.
What Ingredients You Will Need
This recipe uses simple, wholesome ingredients to deliver bold flavor and satisfying texture without any fuss. Most of these are kitchen staples, and substitutions are easy to make if needed.
- Chicken breasts: 2 boneless, skinless (about 6 oz / 170 g each) – choose even-sized pieces for uniform cooking
- Salt: 1 teaspoon kosher salt (for the brine) – Diamond Crystal is my go-to for consistent seasoning
- Sugar: 1/2 teaspoon granulated sugar (helps tenderize and balance flavor)
- Water: 1 cup (240 ml) warm, for brining
- Olive oil: 2 tablespoons (extra virgin, for brushing)
- Garlic powder: 1/2 teaspoon (adds savory depth)
- Smoked paprika: 1/2 teaspoon (optional, for subtle smoky flavor)
- Black pepper: Freshly ground, to taste
- Lemon juice: 1 tablespoon fresh (brightens the flavor)
- Dried herbs: 1 teaspoon mixed herbs like thyme, oregano, or rosemary (optional but recommended)
For gluten-free options, this recipe is naturally safe as there are no wheat-based ingredients. If you want to swap olive oil for avocado oil, that’s totally fine too—I sometimes do when I want a milder taste.
Equipment Needed
- Baking dish: A 9×9-inch (23×23 cm) or similar-sized oven-safe dish works great. I prefer glass or ceramic for even heat distribution.
- Mixing bowl: For preparing the brine and seasoning.
- Measuring spoons and cups: Precise measurements help keep the chicken juicy every time.
- Tongs or spatula: For flipping and handling the chicken without piercing it.
- Instant-read thermometer: Optional but highly recommended to check doneness without overcooking.
If you don’t have a fancy thermometer, no worries. I’ll share cues in the steps to help you tell when your chicken is perfectly cooked. Also, a simple wire rack placed inside the baking dish can help if you want the chicken to bake without sitting in its juices.
Preparation Method
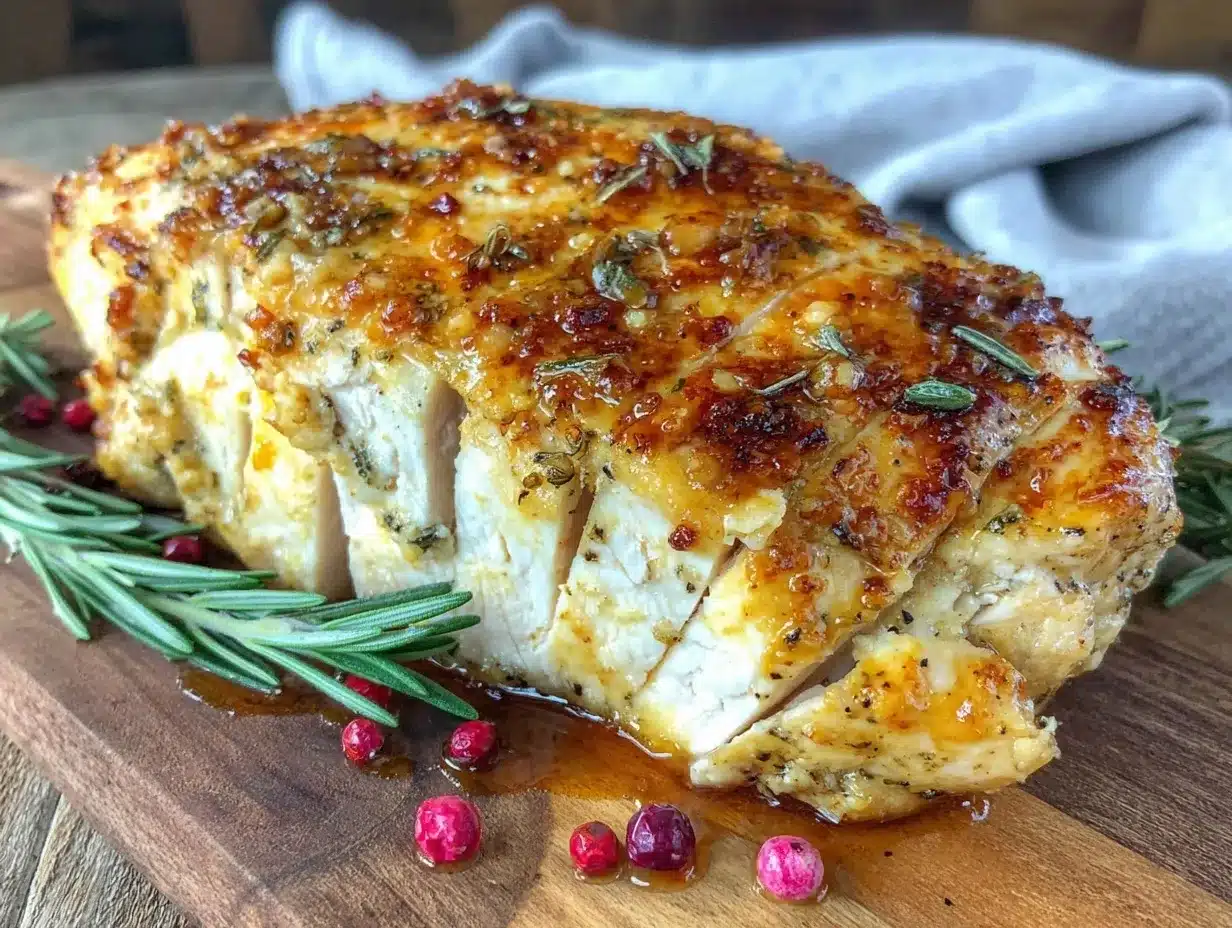
- Make the brine: In a mixing bowl, stir together 1 cup (240 ml) warm water, 1 teaspoon kosher salt, and 1/2 teaspoon sugar until dissolved. This quick brine helps the chicken stay moist and tender. (Time: 5 minutes)
- Brine the chicken: Submerge the chicken breasts in the brine for 15-20 minutes at room temperature. I know it feels a bit odd to soak raw chicken in water, but this step makes a big difference. Don’t skip it! (Time: 15-20 minutes)
- Preheat the oven: Set to 425°F (220°C). High heat cooks the chicken quickly, sealing in juices without drying it out.
- Prepare the chicken: Remove the breasts from the brine and pat dry with paper towels. Brush both sides with 2 tablespoons olive oil. Then sprinkle evenly with garlic powder, smoked paprika (if using), black pepper, and dried herbs. Squeeze lemon juice over the top. (Time: 5 minutes)
- Bake: Place the chicken breasts in your baking dish. Bake uncovered for 18-20 minutes. Start checking at 18 minutes to avoid overcooking. The chicken should reach an internal temperature of 160°F (71°C) when checked with a thermometer, or the juices should run clear when pierced. (Time: 18-20 minutes)
- Rest the chicken: Remove from oven and tent loosely with aluminum foil. Let rest for 5 minutes before slicing. This allows juices to redistribute and keeps the meat tender. (Time: 5 minutes)
Note: If your chicken breasts are larger than 7 oz (200 g), add a couple of extra minutes to baking time but keep a close eye. Overcooking is the enemy here. Also, I learned the hard way that skipping the resting step leads to drier bites—so don’t rush it!
Cooking Tips & Techniques
Honestly, baking chicken breast that isn’t dry feels like black magic until you get the hang of a few tricks. Here are some tips I swear by:
- Don’t skip the brine: Even a short 15-minute brine can dramatically improve juiciness by helping the chicken absorb and hold moisture.
- Use high heat: Baking at 425°F (220°C) cooks the chicken fast enough to seal in juices but be sure to watch the time closely.
- Pat dry before seasoning: This helps the oil and spices stick better for a flavorful crust.
- Check with a thermometer: It’s the best way to avoid guesswork. Aim for 160°F (71°C) internal temp; the chicken will continue cooking slightly as it rests.
- Rest your chicken: A 5-minute rest is non-negotiable. I used to skip this and ended up with dry meat.
- Even thickness helps: If your breasts are uneven, gently pound them to a uniform thickness for even cooking.
When I first tried baking chicken without brining or resting, it was a sad, dry mess. But these simple tweaks made all the difference and honestly, made me less nervous about cooking chicken breast for guests.
Variations & Adaptations
One of the fun parts of this baked chicken breast recipe is how easy it is to customize. Here are some ways you can make it your own:
- Herb swap: Use fresh herbs like rosemary and thyme if you have them. Just chop and sprinkle before baking for a fresher taste.
- Spicy kick: Add a pinch of cayenne pepper or chili powder to the seasoning mix for a mild heat boost.
- Gluten-free option: This recipe is naturally gluten-free, but if you want a crustier texture, toss the chicken in gluten-free panko crumbs before baking.
- Dairy-free version: Stick with olive oil and skip any butter or dairy-based marinades.
- Marinade twist: Swap lemon juice with balsamic vinegar or apple cider vinegar for a tangy variation.
One personal favorite variation I tried was adding a teaspoon of soy sauce to the brine for an umami punch. It was unexpected but delicious and kept the chicken wonderfully moist.
Serving & Storage Suggestions
This tender baked chicken breast is best served warm, right out of the oven after resting. Slice it thinly against the grain for the juiciest mouthfeel.
Pair it with a simple side like roasted vegetables, a crisp salad, or creamy mashed potatoes. For a light meal, serve over mixed greens with a drizzle of olive oil and fresh lemon.
Store leftovers in an airtight container in the refrigerator for up to 3 days. When reheating, cover loosely with foil and warm gently in a 300°F (150°C) oven for 10-15 minutes to avoid drying out. Microwave reheating works in a pinch but tends to make the chicken tougher.
Flavors develop nicely after a day in the fridge, so it’s great for meal prep or packed lunches. Just remember to slice after reheating to keep the texture tender.
Nutritional Information & Benefits
This recipe provides a lean, high-protein meal with minimal fat when using olive oil. Each 6 oz (170 g) baked chicken breast contains approximately:
| Nutrient | Amount |
|---|---|
| Calories | 280 kcal |
| Protein | 52 g |
| Fat | 6 g |
| Carbohydrates | 0 g |
Chicken breast is a great source of lean protein, important for muscle repair and overall health. Using olive oil adds heart-healthy fats, and the garlic and herbs bring antioxidants and flavor without calories.
This recipe fits well into gluten-free, low-carb, and paleo diets and avoids common allergens like dairy and nuts. Personally, I appreciate how this meal keeps me full and satisfied without feeling heavy.
Conclusion
If you’ve ever struggled with dry, tough baked chicken breasts, this recipe is your new best friend. It’s straightforward, uses simple ingredients, and delivers reliably juicy results every single time. I love how adaptable it is, too—you can tweak the flavors to suit your mood or pantry.
Try it once, and I bet you’ll be making this tender never-dry baked chicken breast again and again. And hey, if you add your own spin or have tips to share, I’d love to hear about it in the comments. Let’s make chicken dinner less stressful and a lot more delicious, together!
Frequently Asked Questions
How do I prevent my baked chicken breast from drying out?
Brining the chicken for 15-20 minutes and baking at a high temperature (425°F/220°C) while monitoring the internal temperature helps keep it juicy. Also, resting the chicken after baking is key.
Can I bake frozen chicken breasts using this recipe?
It’s best to thaw chicken breasts fully before baking to ensure even cooking. Baking frozen chicken requires different timing and can lead to uneven results.
What if I don’t have smoked paprika?
You can skip it or substitute with regular paprika or a pinch of chili powder for a different flavor profile.
How do I know when the chicken is done without a thermometer?
Check that the juices run clear when you pierce the thickest part of the breast with a knife and that it feels firm but not hard when pressed.
Can I double this recipe for more servings?
Absolutely! Just make sure to use a larger baking dish and keep the chicken pieces spaced evenly for consistent cooking.
Pin This Recipe!
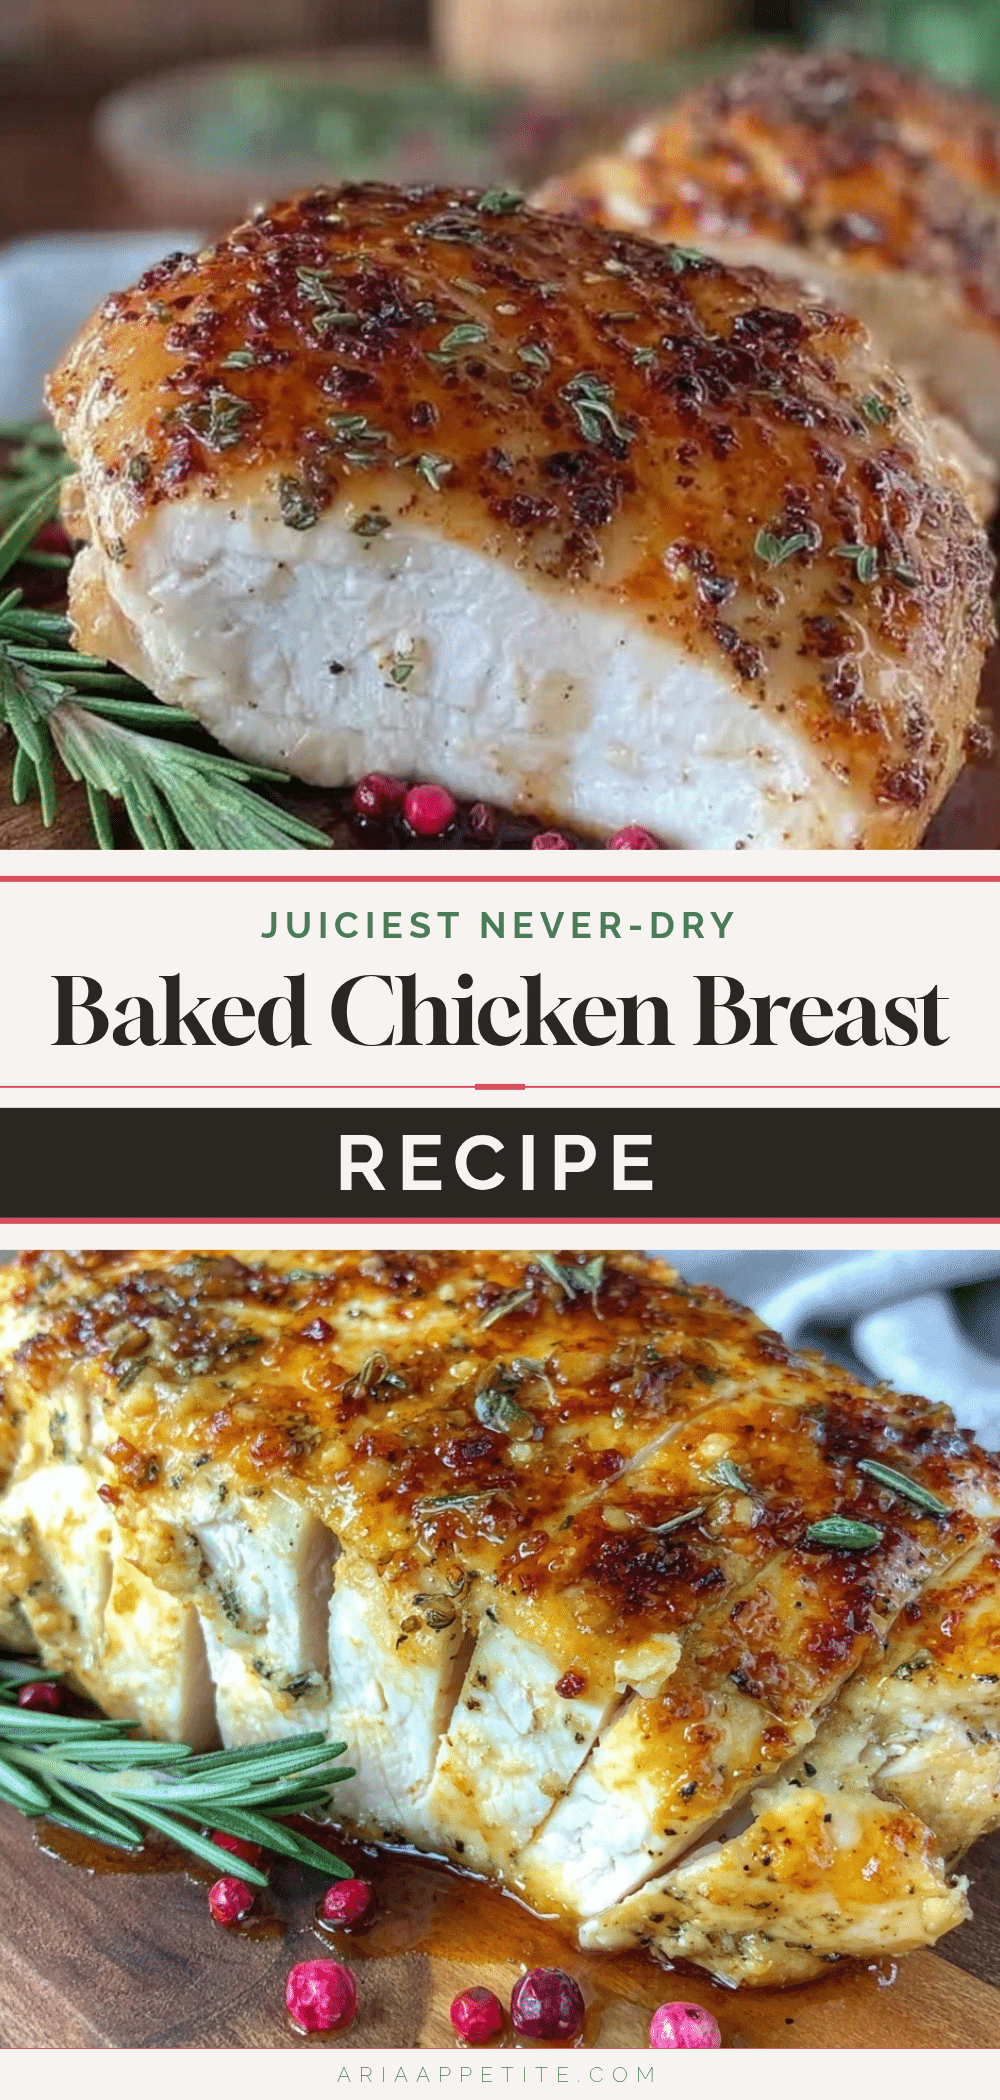
Tender Never-Dry Baked Chicken Breast Recipe Easy Perfect Juicy Chicken Every Time

A simple and reliable baked chicken breast recipe that delivers juicy, tender results every time using a gentle brine and high-heat baking method.
- Prep Time: 25 minutes
- Cook Time: 18-20 minutes
- Total Time: 43-45 minutes
- Yield: 2 servings 1x
- Category: Main Course
- Cuisine: American
Ingredients
- 2 boneless, skinless chicken breasts (about 6 oz / 170 g each)
- 1 teaspoon kosher salt (for the brine)
- 1/2 teaspoon granulated sugar
- 1 cup (240 ml) warm water (for brining)
- 2 tablespoons extra virgin olive oil (for brushing)
- 1/2 teaspoon garlic powder
- 1/2 teaspoon smoked paprika (optional)
- Freshly ground black pepper, to taste
- 1 tablespoon fresh lemon juice
- 1 teaspoon mixed dried herbs (thyme, oregano, or rosemary, optional)
Instructions
- Make the brine: In a mixing bowl, stir together 1 cup warm water, 1 teaspoon kosher salt, and 1/2 teaspoon sugar until dissolved. (5 minutes)
- Brine the chicken: Submerge the chicken breasts in the brine for 15-20 minutes at room temperature. (15-20 minutes)
- Preheat the oven to 425°F (220°C).
- Prepare the chicken: Remove breasts from brine and pat dry with paper towels. Brush both sides with olive oil. Sprinkle garlic powder, smoked paprika (if using), black pepper, and dried herbs evenly. Squeeze lemon juice over the top. (5 minutes)
- Bake: Place chicken breasts in a baking dish and bake uncovered for 18-20 minutes. Start checking at 18 minutes. Chicken should reach an internal temperature of 160°F (71°C) or juices run clear. (18-20 minutes)
- Rest the chicken: Remove from oven, tent loosely with foil, and let rest for 5 minutes before slicing. (5 minutes)
Notes
Do not skip the brining and resting steps to ensure juicy chicken. Use an instant-read thermometer to avoid overcooking. If breasts are larger than 7 oz, add a couple of extra minutes to baking time. A wire rack inside the baking dish can help prevent the chicken from sitting in its juices. Variations include swapping herbs, adding cayenne for heat, or using gluten-free panko for a crustier texture.
Nutrition
- Serving Size: 1 chicken breast (6
- Calories: 280
- Fat: 6
- Protein: 52
Keywords: baked chicken breast, juicy chicken, easy chicken recipe, tender chicken, weeknight dinner, gluten-free, paleo, healthy chicken