Love this? Save it for later!
Share the inspiration with your friends
The plumber was in my kitchen. Not because anything was broken, honestly, but because he’d come to check a weird noise in the pipes after a storm. I was standing there, trying to look useful, when he glanced at the half-melted bag of white chocolate chips on my counter and said, “You know what my wife makes for the neighborhood Halloween party? She dips pretzel rods in that stuff and makes them look like witch fingers.” I wasn’t expecting cooking advice from a man holding a pipe wrench, but there I was, listening to him describe exactly how to arrange the almonds for the fingernails. He even drew a little diagram on a napkin. That was three Octobers ago, and I haven’t missed a year since.
These Spooky White Chocolate Witch Finger Pretzel Rods are the kind of recipe that makes you feel like a Halloween hero with almost zero effort. They’re creepy in the best way, with that little almond nail and a dab of red gel for a bloodied cuticle. I mean, let’s be honest—they’re just pretzels dipped in white chocolate. But the presentation? That’s where the magic happens. The first batch I made, I forgot to chill the chocolate long enough, and the almond nails slid right off into a sad little pile. My kitchen looked like a crime scene, but not the fun kind.
You know that feeling when you need a treat that looks complicated but isn’t? That’s these witch fingers. They’re perfect for a classroom party, a spooky movie night, or even just to surprise your coworkers. I keep making them because they’re the kind of recipe that sparks a reaction—people’s eyes go wide, they laugh, and then they grab three. There’s something about edible creepy fingers that brings out the kid in everyone. And honestly, if a plumber can make them look good, so can you.
Why You’ll Love This Recipe
I’ve tested this recipe more times than I care to admit, and I can tell you with confidence—this is the version that works. No melted nails, no chocolate that seizes up, just perfectly spooky pretzels every time. Here’s why these are going to become your go-to Halloween treat:
- Quick & Easy: From start to finish, these come together in about 30 minutes. Most of that time is just waiting for the chocolate to set, which means you can multitask like a pro.
- Simple Ingredients: You need exactly five things—pretzel rods, white chocolate chips, sliced almonds, green food coloring, and red decorating gel. That’s it. No weird specialty items.
- Perfect for Halloween: Whether it’s a school party, a trunk-or-treat event, or just a cozy night watching Hocus Pocus, these witch fingers fit right in. They’re creepy without being terrifying, which makes them great for all ages.
- Crowd-Pleaser: I’ve brought these to three different Halloween gatherings, and they disappear every single time. Kids love the gross factor, adults love the nostalgia.
- Unbelievably Delicious: The combination of salty pretzel, sweet white chocolate, and crunchy almond is honestly addictive. The green color might throw you off, but one bite and you’ll be hooked.
What makes this recipe different from all the other witch finger pretzels out there? It’s the technique. I learned the hard way that if you don’t chill the dipped pretzels before adding the almond nails, they’ll slide right off. I also figured out that a tiny dab of melted chocolate under the almond acts like glue—no slipping, no sliding, just perfect witchy fingers every time.
This recipe isn’t just good—it’s the kind that makes people ask for the recipe before they’ve even finished eating. It’s Halloween fun reimagined: faster, easier, but with the same spooky satisfaction. Perfect for impressing your kid’s class without spending hours in the kitchen, or turning a simple snack into something memorable.
What Ingredients You Will Need
This recipe uses simple, everyday ingredients to create something that looks like it came from a haunted bakery. Most of these are pantry staples or easily found at any grocery store. Let me walk you through each one.
- Pretzel rods (12-15 rods): Look for thick, sturdy pretzel rods, not the thin ones. I recommend Snyder’s of Hanover or the store brand—just make sure they’re not broken. You want nice, long witch fingers. (Check the bag carefully at the store; I once bought a bag where half were snapped in half.)
- White chocolate chips (2 cups / 340g): Use good-quality white chocolate chips or melting wafers. Ghirardelli works beautifully, but Baker’s or even store brand will do. Avoid white chocolate morsels with stabilizers that don’t melt smoothly—they’ll seize up on you. (I learned this one the hard way, and it was not pretty.)
- Sliced almonds (about 30-40 slices): You need the flat, oval-shaped slices for the fingernails. Whole almonds won’t work, and slivered almonds are too skinny. Look for “sliced almonds” in the baking aisle. (Pro tip: buy a small bag; you’ll have leftovers for salads.)
- Green food coloring (gel or liquid, 5-10 drops): Gel food coloring gives a more vibrant, witchy green without thinning the chocolate. Liquid works too, but you’ll need more drops, and it can make the chocolate a bit runny. I prefer Wilton’s gel colors for consistency.
- Red decorating gel (1 small tube): This is for the “blood” at the cuticle area. You can find it in the baking aisle next to the sprinkles. Wilton and Betty Crocker both make good versions. (Don’t use liquid red food coloring—it’ll run and make a mess.)
Optional but helpful: a teaspoon of coconut oil or shortening. If your white chocolate seems thick when melted, stirring in a tiny bit of coconut oil will thin it out and give you a smoother dip. I only use this if my chocolate is being stubborn.
For substitutions: if you need a dairy-free option, use dairy-free white chocolate chips (Enjoy Life makes a good one). The coconut oil trick works even better with dairy-free chocolate. If you can’t find sliced almonds, you can use small candy eyes or even green M&Ms for the nail—but honestly, the almond looks the most realistic.
Equipment Needed
You don’t need a fancy kitchen for this recipe. Here’s what you’ll need, plus a few alternatives I’ve tested:
- Baking sheet: A standard half-sheet pan works perfectly. Line it with parchment paper or a silicone baking mat for easy cleanup. (I’ve used wax paper in a pinch—it works, but it’s flimsy.)
- Microwave-safe bowl: For melting the white chocolate. A glass measuring cup works great because the spout makes dipping easier. (I use a Pyrex 2-cup measure.)
- Small spatula or spoon: For stirring the chocolate and food coloring. A rubber spatula is ideal because it scrapes the sides clean.
- Parchment paper: For lining the baking sheet. If you don’t have any, a silicone baking mat is even better. Aluminum foil works but can be sticky.
- Refrigerator space: You need a flat spot in your fridge to chill the pretzels. Clear a shelf beforehand—trust me on this.
Budget-friendly tip: skip the fancy dipping tools. A regular spoon works fine for drizzling any extra chocolate. If you don’t have a microwave, you can melt the chocolate in a double boiler—just be careful not to get any water in the bowl, or the chocolate will seize.
Preparation Method
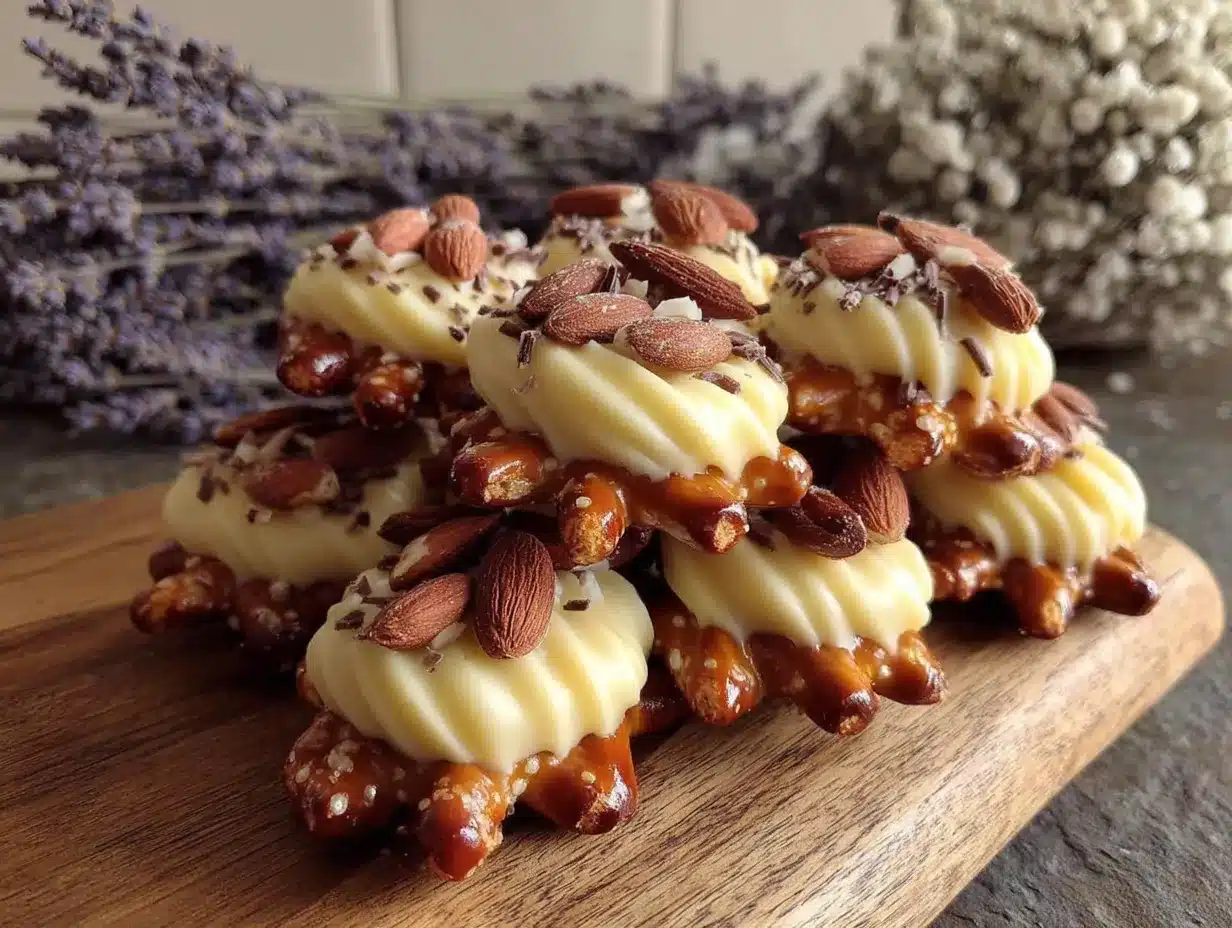
Let me walk you through this step by step. I’ve included all the little details I wish someone had told me the first time.
- Prep your workstation (5 minutes): Line your baking sheet with parchment paper. Arrange your pretzel rods nearby. Count out your almond slices—you want one for each pretzel, plus a few extras in case some break. If your almond slices are very curved, press them flat gently with your fingers. (They’ll look more like real nails that way.)
- Melt the white chocolate (2-3 minutes): Place the white chocolate chips in your microwave-safe bowl. Microwave in 30-second intervals, stirring well after each. It usually takes about 1.5 to 2 minutes total. Stop when the chips are mostly melted—the residual heat will finish the job. Don’t overheat, or the chocolate will turn grainy. (If it does seize, stir in a teaspoon of coconut oil to smooth it out.)
- Add the green color (1 minute): Add 5-6 drops of green food coloring to the melted white chocolate. Stir thoroughly. You want a pale, sickly green—like a zombie’s skin, not a St. Patrick’s Day parade. Add more drops if needed, but go slowly. (Remember, the chocolate will look slightly darker when melted than when set.)
- Dip the pretzels (10 minutes): Hold a pretzel rod by one end and dip it into the green chocolate, rotating to coat about two-thirds of the rod. Let the excess drip back into the bowl for a few seconds. Place the dipped pretzel on the parchment-lined sheet. Repeat with all pretzels. Work quickly—the chocolate will start to set as it cools. (If it thickens too much, pop it back in the microwave for 10 seconds.)
- Add the almond nails (5 minutes): Here’s the key step. Before the chocolate sets completely, gently press a sliced almond onto the tip of each pretzel, leaving about 1/4 inch of the pretzel tip showing. The almond should look like a long, pointy fingernail. Press lightly so it sticks, but don’t push it all the way in. (If the chocolate has already started to set, dab a tiny bit of melted chocolate on the back of the almond to glue it on.)
- Chill to set (15-20 minutes): Place the baking sheet in the refrigerator. Let the pretzels chill for at least 15 minutes, or until the chocolate is completely firm to the touch. Don’t skip this step—the chocolate needs to be fully set before you add the red gel, or it’ll smear.
- Add the bloody details (5 minutes): Once the chocolate is firm, take the red decorating gel and squeeze a small dot at the base of each almond nail, where it meets the pretzel. This looks like a bloody cuticle. You can also add a tiny streak of gel along the side for extra gruesome effect. (Less is more here—you want creepy, not messy.)
- Final chill (5-10 minutes): Return the pretzels to the fridge for another 5-10 minutes to set the gel. Then they’re ready to serve!
Sensory cue: when you press the almond into the chocolate, you should feel a slight resistance as it sticks. If it slides off, the chocolate is too warm—pop the pretzel in the fridge for 2 minutes first.
Cooking Tips & Techniques
I’ve made these witch fingers more times than I can count, and I’ve messed up plenty along the way. Here’s what I’ve learned so you don’t have to make the same mistakes.
The chocolate temperature is everything. If your white chocolate is too hot when you dip the pretzels, it’ll run right off and pool on the parchment. If it’s too cool, it’ll be thick and lumpy. The sweet spot is when it’s warm enough to flow smoothly but not so hot that it’s thin like water. Test it by dipping one pretzel—if it coats evenly and doesn’t drip excessively, you’re good.
Don’t skip the chill step. I know it’s tempting to rush, but the chocolate needs to be fully set before you add the red gel. The first time I made these, I added the gel while the chocolate was still slightly soft, and the red bled into the green like a horror movie. Which, okay, was kind of fitting for Halloween, but not the look I was going for.
Work in batches if needed. If you’re making a big batch (more than 20 pretzels), melt the chocolate in two separate bowls. It’ll stay at the right temperature longer, and you won’t be rushing against the clock. I learned this the hard way when my chocolate started setting before I’d finished dipping the first tray.
The almond placement matters. Don’t press the almond too far onto the pretzel tip. You want about 1/4 inch of the pretzel showing above the almond—that’s the “finger” part. If you press it all the way to the end, it looks like a weird knob instead of a nail. Trust me, I’ve made that mistake.
Multitasking strategy: While the first batch is chilling in the fridge, I clean up my workspace and set out the next round of pretzels. This keeps the workflow smooth and prevents that frantic “where did I put the almonds?” panic.
Variations & Adaptations
One of the best things about this recipe is how easy it is to customize. Here are some variations I’ve tried and loved:
Dark Chocolate Witch Fingers: Swap the white chocolate for dark or milk chocolate. Skip the green food coloring and use dark chocolate melting wafers instead. The dark chocolate against the white almond nail looks surprisingly elegant—like a witch with sophisticated taste. (I made these for an adult Halloween party, and they were a hit.)
Monster Fingers: Instead of green, use purple or orange food coloring. Add candy eyes (the little white and black ones) on top of the chocolate before it sets, placing them near the “knuckle” area. My nephew’s friends went crazy for these—they look like little monsters.
Gluten-Free Version: Use gluten-free pretzel rods. Many brands make them now, and they work exactly the same way. Just check the label to make sure your white chocolate is also gluten-free (most are, but some have wheat-based additives).
Spicy Witch Fingers: Before the chocolate sets, sprinkle a tiny pinch of cayenne pepper or chili powder over the wet chocolate. The heat pairs surprisingly well with the sweet white chocolate and salty pretzel. (I tried this on a whim, and it’s weirdly addictive.)
Dairy-Free Adaptation: Use dairy-free white chocolate chips (Enjoy Life is my go-to) and skip the coconut oil if your chocolate seems thin enough. The texture will be slightly different—a bit softer at room temperature—so keep them chilled until serving.
Serving & Storage Suggestions
These witch fingers are best served chilled, straight from the fridge. The cold chocolate gives them a satisfying snap when you bite into them. I like to arrange them on a platter with the “fingers” pointing outward, like a hand reaching up from the grave. Add some fake spider webs around the edges for extra spooky vibes.
For a Halloween party, I serve them alongside other creepy treats: spider web dip with crackers, or mummy hot dogs for a savory option. The sweet-salty combo of the pretzels balances out the savory snacks perfectly.
Storage: Place the finished pretzels in an airtight container, separated by layers of parchment paper. They’ll keep in the refrigerator for up to 5 days. Don’t stack them too high—the almonds can get knocked off if they’re jostled around. I usually store them in a single layer in a shallow container.
Freezing: You can freeze these for up to 2 months. Place them in a single layer on a baking sheet and freeze until solid (about 1 hour), then transfer to a freezer-safe bag or container. Thaw in the refrigerator for about 30 minutes before serving. The texture of the white chocolate stays surprisingly good after freezing.
Reheating: Don’t. These are meant to be served cold. If you let them sit at room temperature for more than an hour, the chocolate can get soft and the almond nails might slide off. Keep them chilled until just before serving.
One thing I’ve noticed: the flavors actually develop a bit overnight. The saltiness of the pretzel melds with the sweetness of the chocolate, and the almond gets a little toastier. If you can make them a day ahead, they’ll taste even better.
Nutritional Information & Benefits
Let’s be real—these are a treat, not a health food. But here’s what you’re looking at per serving (one witch finger pretzel):
| Nutrient | Amount |
|---|---|
| Calories | ~120-140 |
| Total Fat | 7g |
| Saturated Fat | 4g |
| Carbohydrates | 15g |
| Sugar | 10g |
| Protein | 2g |
| Sodium | 180mg |
The almonds actually bring a small nutritional boost—they’re a good source of vitamin E and healthy fats. The white chocolate, well, it’s mostly sugar and cocoa butter, but honestly, that’s part of the fun. These are meant to be an occasional indulgence, not an everyday snack.
Dietary considerations: these contain dairy (white chocolate), gluten (pretzels), and tree nuts (almonds). If you’re serving them at a party, put a small sign indicating the allergens—I learned this after a friend’s kid had a nut allergy scare. For a nut-free version, skip the almonds and use a small candy corn for the nail instead. It won’t look quite as realistic, but it’ll still be cute.
My personal take: I don’t make these for the nutritional value. I make them because they make people smile. And honestly, that’s a pretty good reason to make any recipe.
Conclusion
These Spooky White Chocolate Witch Finger Pretzel Rods are the Halloween treat you didn’t know you needed. They’re creepy, they’re cute, and they come together in about 30 minutes with ingredients you can find at any grocery store. The best part? They look like you spent hours on them, when really, the hardest part is just waiting for the chocolate to set.
I love this recipe because it’s flexible—you can make them as scary or as silly as you want. Add extra red gel for a gory look, or keep it simple with just the green chocolate and almond nails. They’re perfect for a classroom party, a Halloween movie marathon, or even just to surprise your coworkers. And honestly, if a plumber can make them look good, you’ve got this in the bag.
I’d love to see your witch fingers! Tag me in your photos or leave a comment below telling me how they turned out. Did you try a fun variation? Did your kids love them? Share your spooky creations—I read every comment and I’m always looking for new ideas. Now go make some magic in your kitchen!
Frequently Asked Questions
Can I make these witch fingers ahead of time?
Absolutely! These are perfect for making a day or two ahead. Store them in an airtight container in the refrigerator, and they’ll stay fresh for up to 5 days. Just keep them chilled until you’re ready to serve.
My white chocolate seized up and got grainy. What went wrong?
This usually happens when the chocolate gets too hot or when a tiny bit of water gets into the bowl. To fix it, stir in a teaspoon of coconut oil or vegetable shortening—it’ll smooth right out. Next time, microwave in shorter bursts and make sure your bowl is completely dry.
Can I use candy melts instead of white chocolate?
Yes! Candy melts (or melting wafers) work great for this recipe. They’re designed to melt smoothly and set firmly, so they’re actually easier to work with than real white chocolate. Just use green candy melts instead of coloring white chocolate.
How do I keep the almond nails from falling off?
The trick is to press the almond into the chocolate while it’s still wet, but not too wet. If the chocolate is too warm, the almond will slide off. If it’s too cold, the almond won’t stick. Chill the dipped pretzels for 2-3 minutes before adding the almonds—that’s the sweet spot. And always dab a tiny bit of melted chocolate on the back of the almond as “glue.”
Can I make these without food coloring?
Sure! Skip the green food coloring and you’ll have “bone” fingers instead of witch fingers. They’ll look like little skeleton bones, which is still perfect for Halloween. You can even add a small dab of black gel at the tip for a “dead” look.
Pin This Recipe!
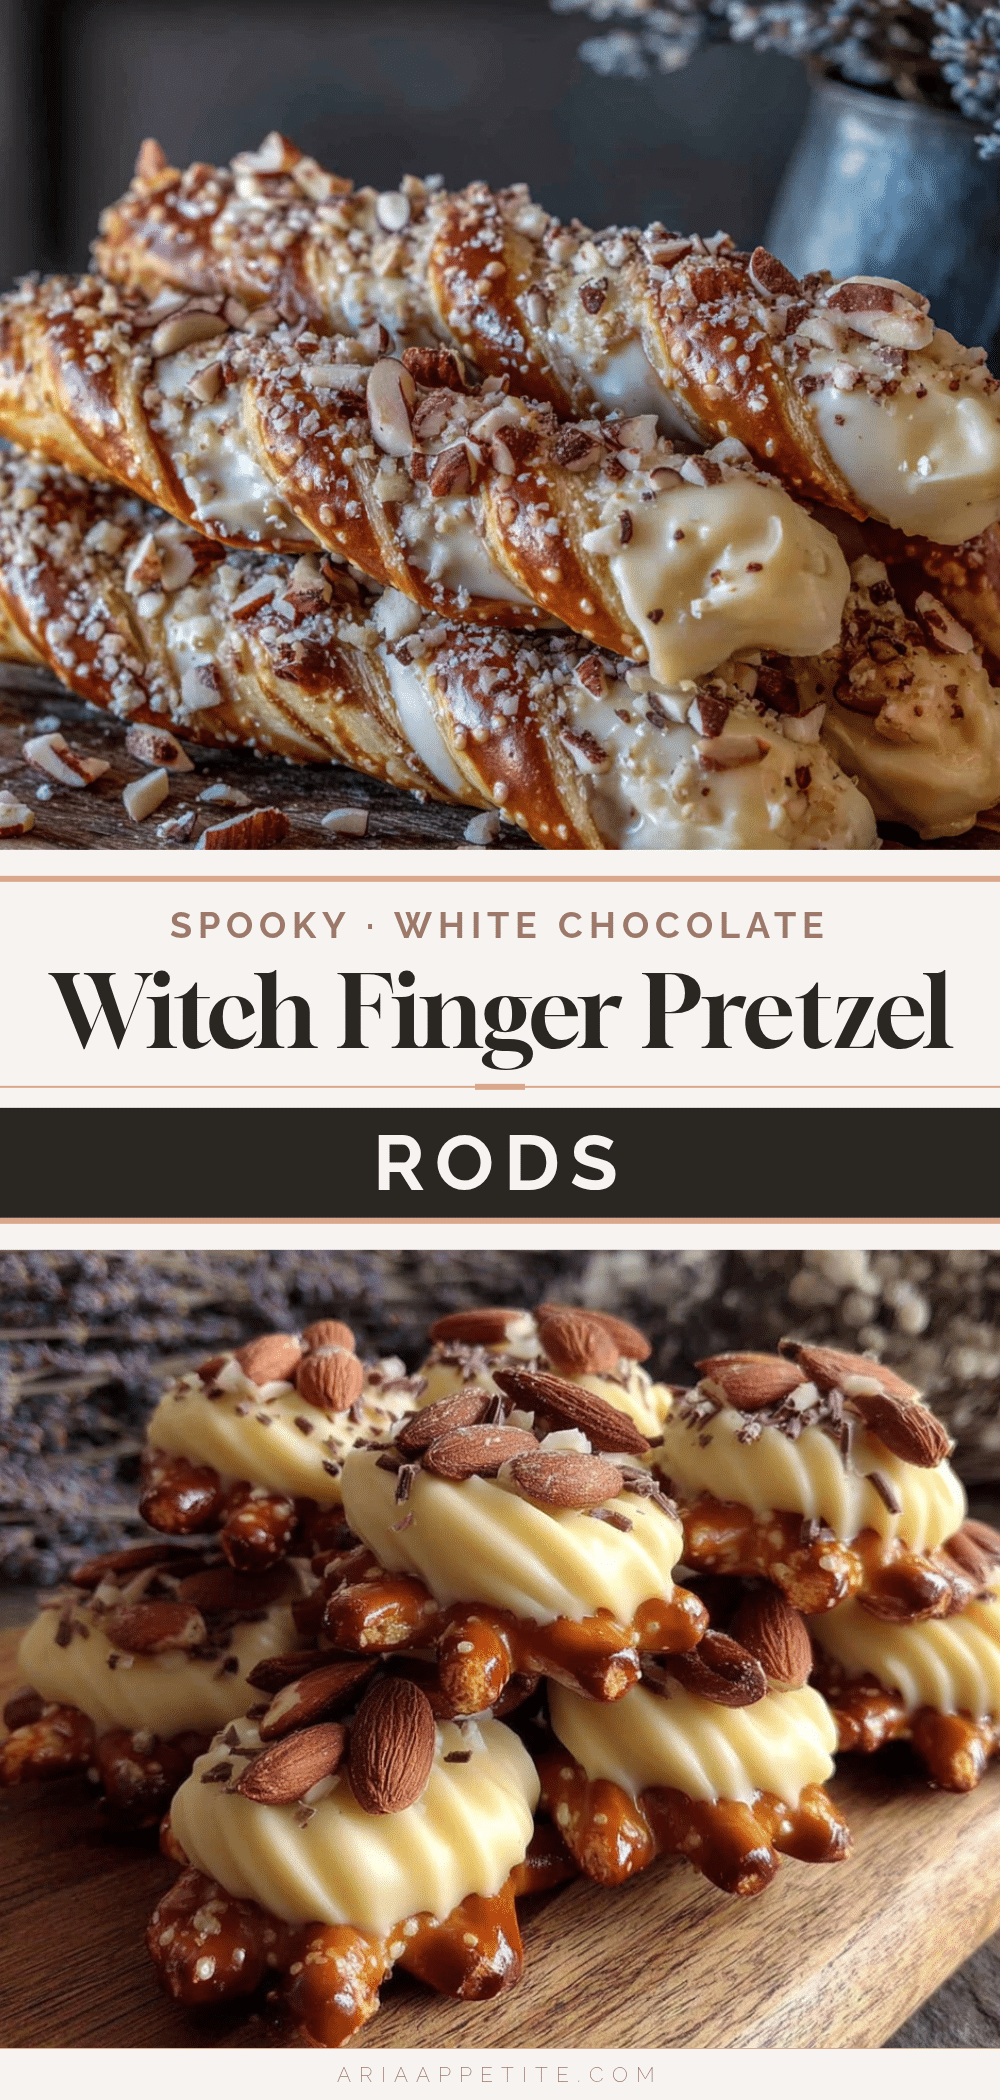
Spooky White Chocolate Witch Finger Pretzels: Easy Halloween Treat

These Spooky White Chocolate Witch Finger Pretzel Rods are the kind of recipe that makes you feel like a Halloween hero with almost zero effort. They’re creepy in the best way, with that little almond nail and a dab of red gel for a bloodied cuticle.
- Prep Time: 15 minutes
- Cook Time: 5 minutes
- Total Time: 30 minutes
- Yield: 12-15 servings 1x
- Category: Dessert
- Cuisine: American
Ingredients
- 12–15 pretzel rods
- 2 cups (340g) white chocolate chips
- 30–40 sliced almonds
- 5–10 drops green food coloring (gel or liquid)
- 1 small tube red decorating gel
- 1 teaspoon coconut oil or shortening (optional, for thinning chocolate)
Instructions
- Prep your workstation: Line your baking sheet with parchment paper. Arrange your pretzel rods nearby. Count out your almond slices—you want one for each pretzel, plus a few extras in case some break. If your almond slices are very curved, press them flat gently with your fingers.
- Melt the white chocolate: Place the white chocolate chips in your microwave-safe bowl. Microwave in 30-second intervals, stirring well after each. It usually takes about 1.5 to 2 minutes total. Stop when the chips are mostly melted—the residual heat will finish the job. Don’t overheat, or the chocolate will turn grainy. (If it does seize, stir in a teaspoon of coconut oil to smooth it out.)
- Add the green color: Add 5-6 drops of green food coloring to the melted white chocolate. Stir thoroughly. You want a pale, sickly green—like a zombie’s skin, not a St. Patrick’s Day parade. Add more drops if needed, but go slowly.
- Dip the pretzels: Hold a pretzel rod by one end and dip it into the green chocolate, rotating to coat about two-thirds of the rod. Let the excess drip back into the bowl for a few seconds. Place the dipped pretzel on the parchment-lined sheet. Repeat with all pretzels. Work quickly—the chocolate will start to set as it cools. (If it thickens too much, pop it back in the microwave for 10 seconds.)
- Add the almond nails: Before the chocolate sets completely, gently press a sliced almond onto the tip of each pretzel, leaving about 1/4 inch of the pretzel tip showing. The almond should look like a long, pointy fingernail. Press lightly so it sticks, but don’t push it all the way in. (If the chocolate has already started to set, dab a tiny bit of melted chocolate on the back of the almond to glue it on.)
- Chill to set: Place the baking sheet in the refrigerator. Let the pretzels chill for at least 15 minutes, or until the chocolate is completely firm to the touch. Don’t skip this step—the chocolate needs to be fully set before you add the red gel, or it’ll smear.
- Add the bloody details: Once the chocolate is firm, take the red decorating gel and squeeze a small dot at the base of each almond nail, where it meets the pretzel. This looks like a bloody cuticle. You can also add a tiny streak of gel along the side for extra gruesome effect. (Less is more here—you want creepy, not messy.)
- Final chill: Return the pretzels to the fridge for another 5-10 minutes to set the gel. Then they’re ready to serve!
Notes
The chocolate temperature is everything. If your white chocolate is too hot when you dip the pretzels, it’ll run right off and pool on the parchment. If it’s too cool, it’ll be thick and lumpy. The sweet spot is when it’s warm enough to flow smoothly but not so hot that it’s thin like water. Don’t skip the chill step. Work in batches if needed. The almond placement matters—don’t press the almond too far onto the pretzel tip. These are best served chilled, straight from the fridge. Store in an airtight container in the refrigerator for up to 5 days. Can be frozen for up to 2 months.
Nutrition
- Serving Size: 1 witch finger pretz
- Calories: 130
- Sugar: 10
- Sodium: 180
- Fat: 7
- Saturated Fat: 4
- Carbohydrates: 15
- Protein: 2
Keywords: Halloween treats, witch finger pretzels, white chocolate pretzels, easy Halloween recipe, spooky snacks, no-bake dessert