Love this? Save it for later!
Share the inspiration with your friends
My neighbor Carla wasn’t trying to impress anyone. I’d stopped by to borrow her citrus juicer—mine had given up mid-margarita—and this warm, almost candied smell hit me before I even got through her screen door. She was standing at the counter, pulling baking sheets out of the oven with these perfect, translucent orange rounds that looked like little stained glass windows. “Oh, those?” she said when I asked, sliding them onto a cooling rack like she was just making toast. “They’re just for drinks.” Just for drinks. She handed me one still warm, and I swear I almost forgot why I’d come over.
That moment changed how I think about holiday hosting. You know that feeling when you want your table to look special, but you’re already juggling a dozen things? These dried orange slices are the answer. They’re stupidly simple to make, but they look like you spent hours at a fancy kitchen boutique. And honestly, they make every single drink—hot cider, mulled wine, sparkling water, even plain tea—feel like a celebration.
I’ve been making them for every gathering since that afternoon at Carla’s house, and they’ve become my secret weapon for holiday hosting. People always ask where I bought them, and I get to shrug and say, “Oh, I just threw them together.” The casualness is the whole point. This recipe was made like it was nothing, but it stops people cold every time.
Why You’ll Love This Recipe
Let me tell you why these dried orange slices have become my most-requested party trick. I’ve tested this method dozens of times—through humid summers, dry winter months, and everything in between—and I’ve dialed it in so you get perfect results every single time.
- Stunning Visuals, Minimal Effort: These slices look like something from a high-end cocktail bar, but they take about 10 minutes of active prep. The oven does all the heavy lifting.
- Simple Ingredients: You literally need oranges and nothing else if you want to keep it basic. Sugar and spices are optional upgrades, not requirements.
- Perfect for Holiday Hosting: Make them a week ahead, store them in a jar, and suddenly every drink you serve looks like a masterpiece. Your guests will think you hired a bartender.
- Crowd-Pleaser: Kids love them floating in sparkling cider. Adults love them in cocktails. Non-drinkers love them in herbal tea. Everyone wins.
- Unbelievably Versatile: Beyond drinks, you can use them as cake decorations, gift toppers, or just snack on them like candy. They’re dangerously good.
What makes this version different from the random tutorials you’ll find online? I’ve tested the temperature sweet spot (trust me, too hot and they burn, too low and they never dry), the perfect thickness for curling over a glass rim, and the best orange varieties for color and flavor. This isn’t my first rodeo—it’s the one I’d serve to my own dinner party guests without a second thought.
There’s something about watching a guest pick up their drink, notice the dried orange slice, and pause for a second. That little moment of delight? That’s why I keep making these. They turn an ordinary cocktail into a story.
What Ingredients You Will Need
This recipe uses the simplest ingredients to deliver big visual impact and bright, concentrated citrus flavor. You probably already have most of what you need in your kitchen right now.
- Fresh Oranges: 3-4 medium oranges (navel, blood orange, or cara cara). Look for firm, heavy oranges with bright, unblemished skin. Navel oranges give you that classic bright orange color. Blood oranges make stunning deep red slices that look incredible in cocktails. Cara cara oranges have a beautiful pinkish hue. I personally prefer using a mix for visual variety when I’m hosting.
- Optional: Granulated Sugar: 2 tablespoons for sprinkling (adds a subtle candy-like sweetness and helps with browning). You can skip this entirely if you want a more natural, tart flavor. I only use sugar if I’m serving these to kids or making them for a dessert garnish.
- Optional: Cinnamon Sticks: 1-2 broken into pieces (for infusing during drying). The warm spice aroma is incredible if you’re making these for mulled wine or hot cider season.
- Optional: Whole Cloves: 1 teaspoon (adds that classic holiday spice note). Go easy—cloves are potent and can overpower the orange if you’re not careful.
- Optional: Star Anise: 2-3 whole pods (beautiful and fragrant). These make the slices look even more festive and smell amazing while drying.
I should mention that the spices are purely optional. Honestly, the plain orange slices are already gorgeous and fragrant on their own. The first time I made these, I didn’t add anything—just oranges and time—and they were perfect. I’ve since experimented with different spice combinations, and my current favorite is a light dusting of cinnamon and a single star anise pod on the baking sheet. It adds just enough holiday aroma without overwhelming that pure orange scent.
For the best results, I recommend using organic oranges if you can find them. The peel is the star of the show here, and you don’t want any wax or pesticide residue on your final product. I’ve used conventional oranges in a pinch, and they work fine—just scrub them really well under warm water before slicing.
Equipment Needed
You don’t need anything fancy for this recipe, which is part of why I love it. Here’s what you’ll need:
- Sharp Knife or Mandoline: A sharp chef’s knife works perfectly. A mandoline gives you more consistent thickness, which means more even drying. I’ve used both, and honestly, I prefer my knife because I have better control. If you use a mandoline, watch your fingers—those blades are no joke.
- Cutting Board: Any sturdy cutting board will do. I use a wooden one because it’s gentler on my knives.
- Baking Sheets: 2 large rimmed baking sheets. You want rims so any juice that pools doesn’t run off onto your oven floor.
- Parchment Paper or Silicone Baking Mats: Absolutely essential. The slices will stick to bare metal, and peeling them off is a nightmare. I learned this the hard way during my first batch.
- Paper Towels or Clean Kitchen Towels: For blotting the slices before baking. This step makes a bigger difference than you’d think.
- Cooling Rack: Optional but helpful. The slices cool faster and more evenly on a rack.
- Airtight Storage Container: A mason jar or any sealed container works perfectly. I use a big glass cookie jar so I can see how many I have left.
If you don’t have a mandoline, don’t run out and buy one. A sharp knife and a steady hand will get you exactly where you need to go. The key is consistent thickness, not fancy equipment.
Preparation Method
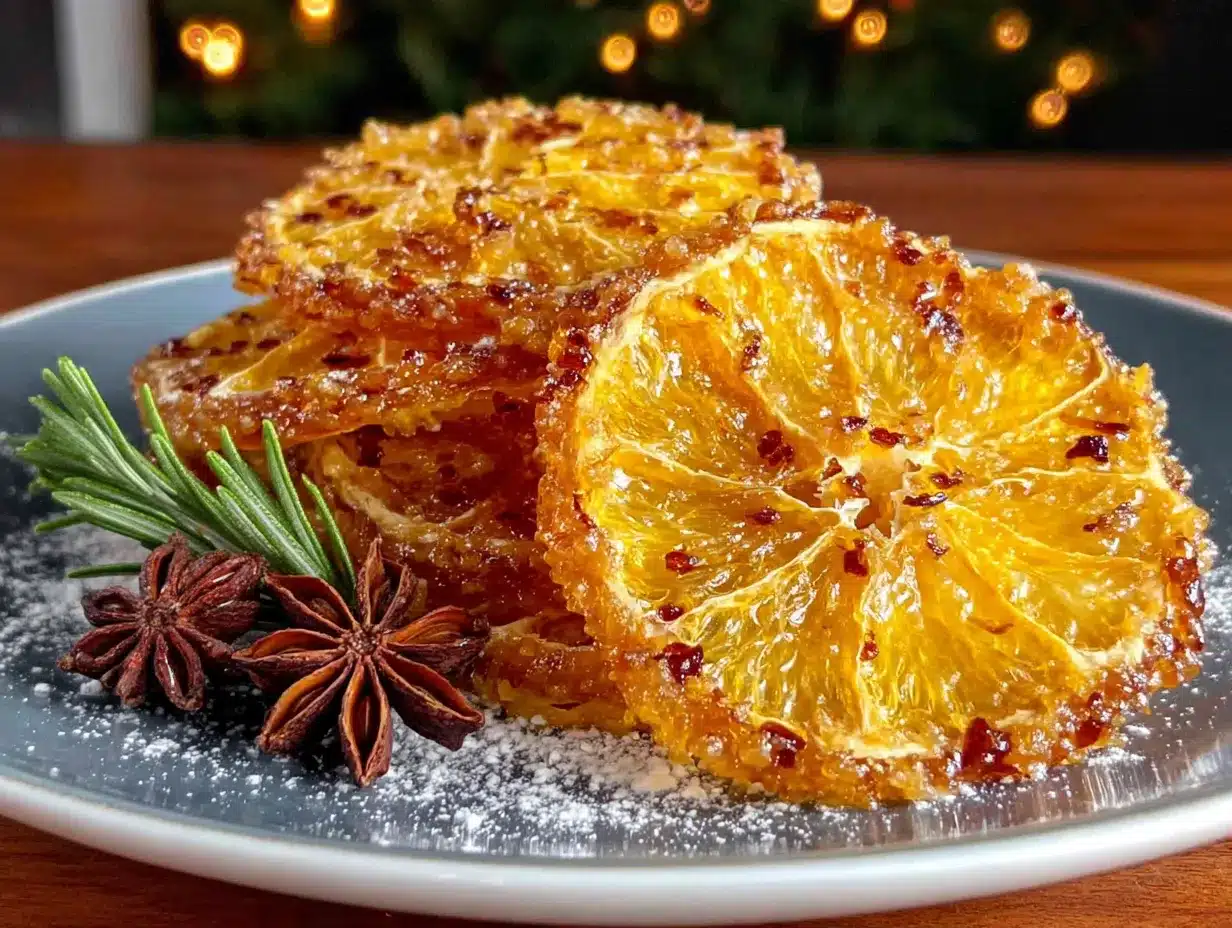
Alright, let’s get to the good part. I’m going to walk you through this step by step, with all the little tricks I’ve picked up along the way.
- Preheat your oven to 200°F (93°C). This is the magic temperature. Lower than this and they take forever. Higher than this and they’ll brown too fast, turning bitter instead of sweet. I’ve tested 175°F, 200°F, and 225°F, and 200°F is the sweet spot.
- Wash and dry your oranges thoroughly. If you’re using conventional oranges, give them a good scrub under warm water. Pat them completely dry with a clean towel. Any moisture on the skin will make the slices stickier and harder to handle.
- Slice your oranges into even rounds, about 1/4 inch (6mm) thick. This thickness is crucial. Too thin, and they’ll shrivel up and become brittle. Too thick, and they’ll never dry all the way through and might mold later. I aim for slices that are just thick enough to hold their shape when I pick them up. A good trick: if you can see light through the slice, it’s thin enough. If it looks solid, it’s too thick.
- Blot the slices with paper towels. Lay the slices out on a layer of paper towels, place another layer on top, and press gently. You want to absorb as much surface moisture as possible. This is the step most people skip, and it’s the one that makes the biggest difference in drying time and final texture. I usually change the paper towels once halfway through.
- Arrange the slices on your prepared baking sheets. Place them in a single layer with a little space between each slice. Don’t overlap them, or they’ll stick together and dry unevenly. If you’re adding spices, now’s the time—sprinkle a pinch of sugar on each slice, tuck a cinnamon stick piece or star anise pod nearby on the sheet.
- Bake for 2.5 to 3 hours. Here’s where patience pays off. After about 1.5 hours, flip each slice over using a spatula. This helps them dry evenly. Keep an eye on them during the last 30 minutes—ovens vary, and you want them dry but not browned. They’re done when they feel dry to the touch but still slightly pliable, like thin leather. They should bend without cracking.
- Let them cool completely on the baking sheets. This takes about 20-30 minutes. As they cool, they’ll firm up a bit more. Don’t rush this step, or you’ll trap moisture in your storage container.
- Store in an airtight container. Once completely cool, transfer your dried orange slices to a jar or container. They’ll keep for months at room temperature, though I doubt they’ll last that long.
A quick note about timing: I usually make these while I’m doing other kitchen prep. They don’t need constant attention—just a flip halfway through and a peek near the end. Pop them in, set a timer, and go about your business.
One thing I learned the hard way: don’t crowd the baking sheets. My first batch, I tried to cram 20 slices onto one sheet, and they took almost 4 hours to dry. The edges were done, but the centers were still tacky. Give them room to breathe, and they’ll reward you with perfect results.
Cooking Tips & Techniques
After making these more times than I can count, I’ve collected a few tricks that make the process smoother and the results better. Let me share what I’ve learned.
The thickness trap. I cannot stress this enough—consistent thickness is everything. If some slices are 1/8 inch and others are 3/8 inch, they’ll finish at completely different times. The thin ones will be crispy and dark, while the thick ones will still be wet in the center. Take your time with slicing. If you’re using a knife, use a smooth, single motion rather than sawing back and forth. A clean cut means less ragged edges and a prettier final product.
The blotting mistake. I skipped this step once because I was in a hurry. Big mistake. The slices took an extra hour to dry, and they had these weird cloudy spots where moisture had pooled. Blotting is not optional—it’s the difference between a 2.5-hour batch and a 4-hour batch. Trust me on this one.
Oven hot spots. Every oven has them. I rotate my baking sheets halfway through drying to ensure even results. If you notice some slices browning faster than others, move them around. You can also pull out the ones that are done early and let the others keep going. There’s no rule that says they all have to finish at the same time.
The humidity factor. If you live in a humid climate like I do, your drying time will be longer. I add about 30 minutes to my standard time during summer months. You can also let the slices sit out on the counter for an extra day after baking to fully dry out. They’ll continue to crisp up as they cool and rest.
Don’t rush the cooling. I made this mistake more than once. The slices feel slightly soft when they come out of the oven, and I’d think they weren’t done. But as they cool, they firm up beautifully. If you put them away while they’re still warm, condensation will form inside your container, and you’ll have a sticky, sad mess the next day. Patience, my friend.
One more thing: if you accidentally over-dry a batch and they become brittle, don’t throw them away. Crush them up and use them as a rim garnish for cocktail glasses, or grind them into a citrus powder for baking. There’s always a way to salvage a mistake.
Variations & Adaptations
Once you’ve mastered the basic dried orange slice, the possibilities are endless. Here are some of my favorite variations that I’ve tested and loved.
Spiced Holiday Slices: Before baking, brush each slice lightly with honey or maple syrup, then sprinkle with a mix of cinnamon, nutmeg, and a tiny pinch of ground cardamom. These are incredible in mulled wine or hot buttered rum. The honey adds a subtle sweetness that complements the orange beautifully. I made these for a Christmas party last year, and they disappeared from the drink station in twenty minutes.
Citrus Medley: Don’t stop at oranges. Grapefruit slices add a beautiful pink color and a slightly bitter edge that works wonderfully in gin cocktails. Lemon slices are perfect for tea or sparkling water. Lime slices are fantastic in margaritas or mojitos. I like to make a mix of all four and arrange them in a jar for a stunning visual display. Just note that thinner-skinned citrus like lemons and limes will dry faster than oranges, so check them earlier.
Vanilla Bean Infusion: Split a vanilla bean and scrape the seeds into a tablespoon of sugar. Sprinkle this over the orange slices before baking. The vanilla adds a warm, sweet fragrance that’s absolutely dreamy in hot cider or bourbon cocktails. This is my go-to variation for fall gatherings—it feels cozy and luxurious without any extra effort.
Chili-Lime Kick: For a savory twist, sprinkle the slices with a tiny bit of chili powder and sea salt before baking. Use these in margaritas, micheladas, or even as a garnish for grilled fish tacos. The heat and salt balance the sweetness of the orange in a way that’s surprisingly addictive. My husband was skeptical about this one, but now he requests it.
Dietary Adaptations: These are naturally gluten-free, vegan, and dairy-free. If you’re watching sugar, skip the sugar sprinkle entirely—the natural sweetness of the orange is plenty. For a low-FODMAP diet, stick with navel oranges and avoid adding honey or agave.
The beauty of this recipe is that it’s a canvas. Once you know the basic technique, you can adapt it to whatever flavor profile suits your occasion. I’ve made everything from spicy Thai-inspired slices with a hint of lemongrass to floral versions with dried lavender buds.
Serving & Storage Suggestions
Let’s talk about how to make these slices shine on your holiday table, and how to keep them fresh for whenever you need them.
Serving Temperature and Presentation: Dried orange slices are best at room temperature. They’re ready to go straight from your storage jar to the glass. For a stunning presentation, arrange them in a clear glass jar or a small wooden bowl near your drink station. I like to layer them with cinnamon sticks and star anise for a visual that looks like a holiday decoration. Your guests will grab them automatically.
How to Use Them in Drinks: For hot drinks like mulled wine, hot cider, or tea, drop a slice directly into the mug. The heat will release the oils and infuse the drink with a subtle citrus aroma. For cold cocktails, float a slice on top or make a small slit and perch it on the rim of the glass. If you’re serving sparkling water or champagne, the slice looks beautiful floating with the bubbles rising around it.
Beyond Drinks: These slices are incredibly versatile. Use them as cake toppers, garnish for cheese boards, decorations on holiday gift packages, or even as a natural air freshener simmered in a pot of water with cinnamon. I’ve threaded them onto twine with cranberries and pine sprigs to make a gorgeous garland for my mantel.
Storage Instructions: Store completely cooled slices in an airtight container at room temperature. They’ll keep for 3-6 months, though the color may fade slightly after the first month. I use a glass mason jar with a tight-fitting lid. If you live in a humid climate, add a food-safe silica gel packet to the jar to absorb any excess moisture. Check on them occasionally—if you see any signs of moisture inside the jar, take them out and let them air dry for a few hours before returning them to the container.
Re-crisping: If your slices lose their crunch over time, pop them in a 200°F oven for 10-15 minutes, then let them cool completely. They’ll be good as new. I’ve done this several times with no loss of quality.
One thing I love about these slices is that their flavor actually improves over the first week or two. The orange oils continue to concentrate, and any spices you’ve added meld together beautifully. If you’re planning for a holiday party, make them at least a week ahead.
Nutritional Information & Benefits
Let’s be real—dried orange slices are more of a garnish than a meal, but they do offer some surprising benefits. Here’s the breakdown.
Estimated Nutritional Values (per slice, without added sugar): Approximately 15-20 calories, 0g fat, 4g carbohydrates, 3g sugar, 0g protein, and 1g fiber. If you add sugar, add about 5-10 calories per slice depending on how generously you sprinkle.
Health Benefits of Key Ingredients: Oranges are packed with vitamin C, which supports immune function—perfect for cold and flu season. They also contain antioxidants like flavonoids that help fight inflammation. The peel, which you’re eating in its entirety here, contains higher concentrations of these beneficial compounds than the flesh alone. You’re getting all the good stuff.
Dietary Considerations: These slices are naturally gluten-free, vegan, dairy-free, egg-free, and nut-free. They’re suitable for most dietary restrictions. If you’re watching your sugar intake, skip the optional sugar sprinkle—the natural sweetness of the orange is plenty satisfying. For those on a low-carb or keto diet, these can be enjoyed in moderation as a decorative element rather than a snack.
Potential Allergens: Oranges themselves are not common allergens, though citrus allergies do exist. If you’re serving guests with known citrus sensitivities, be sure to label the garnish clearly. The optional spices (cinnamon, cloves, star anise) are also generally well-tolerated but can cause reactions in rare cases.
I’m not a nutritionist, and I don’t pretend to be one. What I can tell you is that swapping a plastic cocktail sword or a sugary rim garnish for a dried orange slice feels like a small win for both aesthetics and health. Plus, you’re not adding any artificial colors or flavors—just pure, concentrated orange goodness.
Conclusion
These dried orange slices have become my signature hostess move, and I’m honestly a little bit proud of that. They’re the kind of detail that makes guests feel special without making you feel stressed. You can make them weeks ahead, store them in a jar, and pull them out whenever you need a moment of effortless elegance.
I think about Carla sometimes, the way she shrugged off something so beautiful. She probably doesn’t even remember that afternoon, but she changed how I approach hosting. Now I look for those small, simple things that make a big impression—the garnish that makes people pause, the detail that turns a drink into a memory. That’s what these slices are for me, and I hope they become that for you too.
I’d love to hear how you use them. Do you have a favorite variation? A go-to drink pairing? Drop a comment below and share your creation—I genuinely read every single one. And if you make these for your next holiday gathering, tag me in your photos. There’s nothing that makes my day like seeing someone else’s kitchen filled with the smell of oranges and cinnamon.
Now go slice some oranges. Your holiday drinks are waiting for their glow-up.
Frequently Asked Questions
Can I use a dehydrator instead of an oven?
Absolutely. A dehydrator works beautifully for this recipe and gives you even more control over the drying process. Set it to 135°F (57°C) and dry for 4-6 hours, checking periodically. The result is often more vibrant in color since the lower temperature preserves the orange’s natural pigments better than an oven can.
Do I have to flip the slices halfway through baking?
Yes, I highly recommend it. Flipping ensures even drying on both sides and prevents the bottom from becoming tacky while the top dries out. It takes just a minute with a spatula, and it makes a noticeable difference in the final texture. Trust me on this one—I’ve tested it both ways.
Why did my orange slices turn brown instead of staying bright?
This usually happens when the oven temperature is too high. At 200°F, the slices should dry without significant browning. If yours are turning brown, your oven might run hot—try reducing the temperature by 10-15 degrees. Also, make sure you’re blotting the slices well before baking, as excess moisture can cause uneven heating and browning.
How long do dried orange slices actually last?
Stored properly in an airtight container at room temperature, they’ll last 3-6 months. The color will gradually fade, and they may lose some of their fragrance, but they’ll remain usable for garnishing. Keep them away from direct sunlight and moisture, and they’ll serve you well through the entire holiday season and beyond.
Can I eat the dried orange slices, or are they just for decoration?
You can absolutely eat them! They’re completely edible and actually quite delicious—like a chewy, concentrated orange candy. The flavor intensifies as they dry, becoming sweeter and more citrus-forward. I snack on them straight from the jar, and they’re wonderful chopped up in baked goods or sprinkled over yogurt. Just be aware that the peel can be a bit tough, so chew thoroughly.
Pin This Recipe!
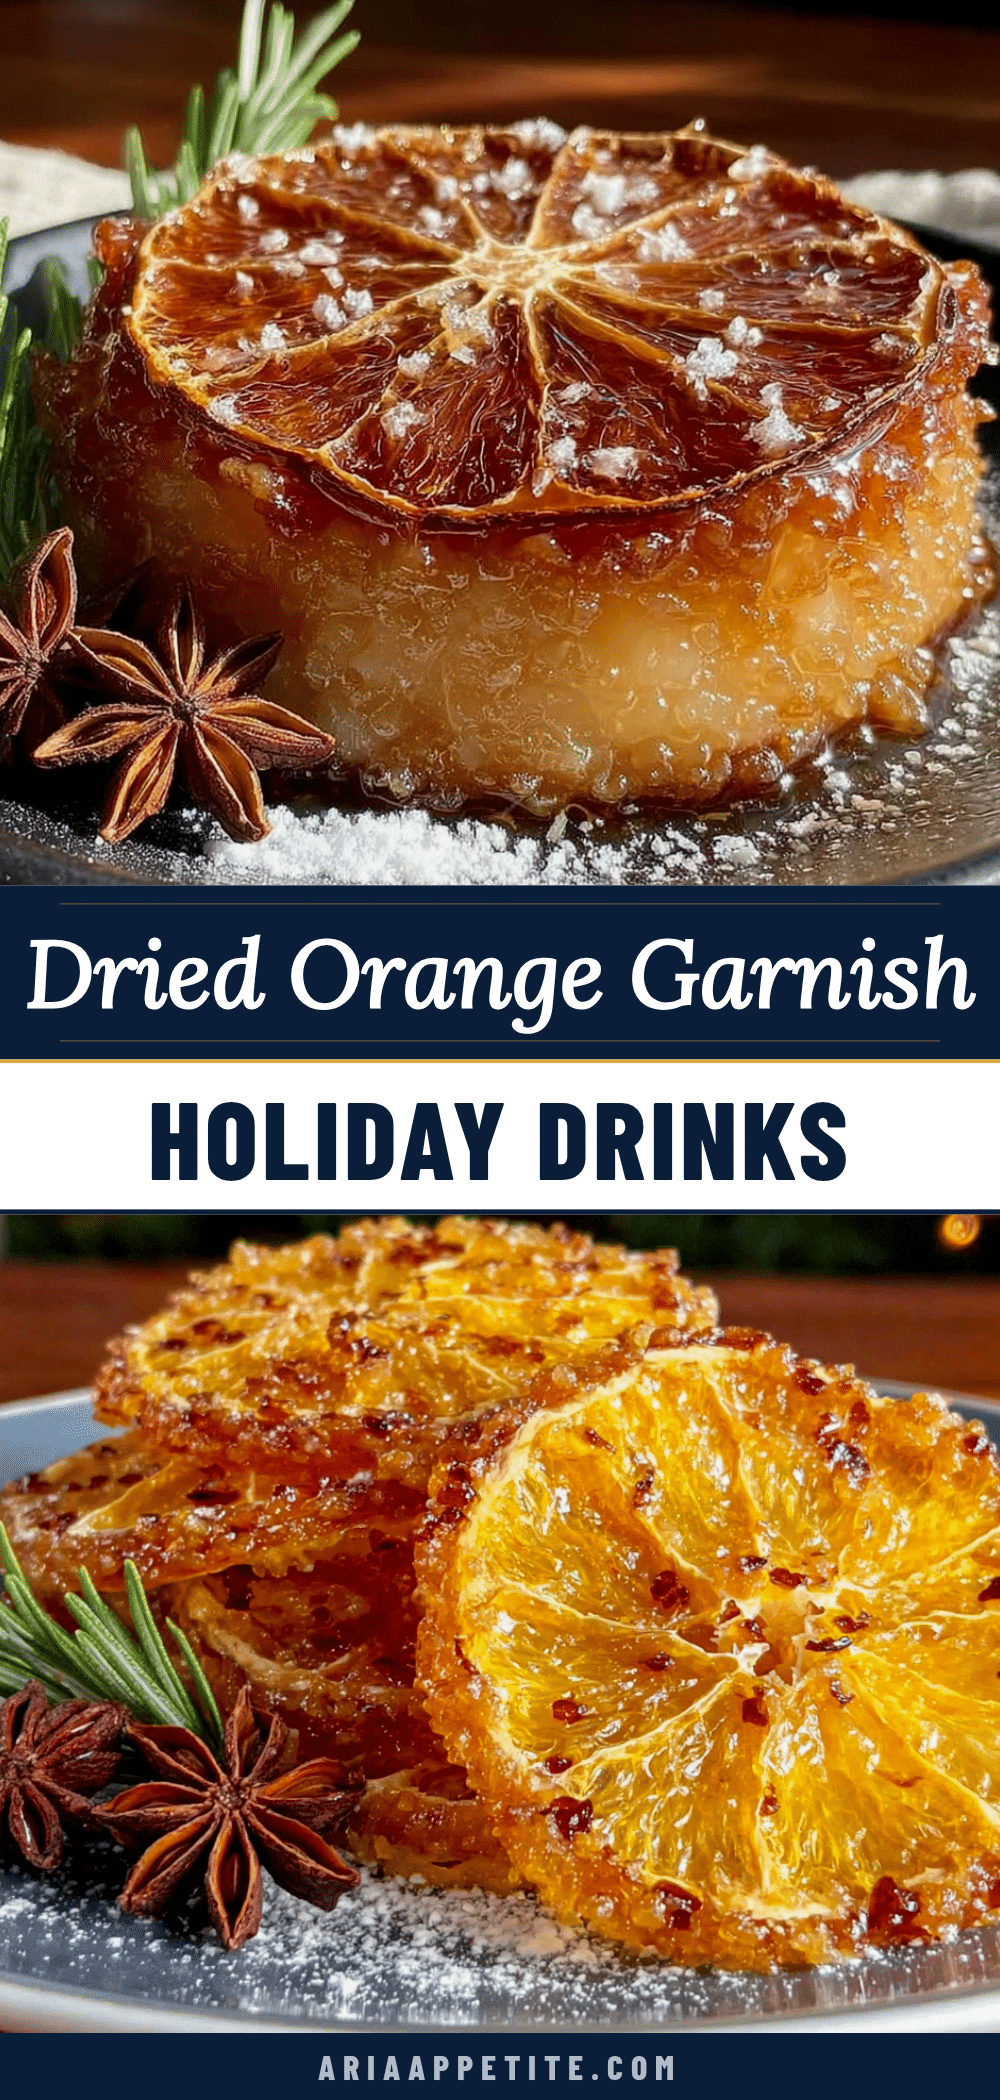
Best Dried Orange Slices for Holiday Drinks
Transform your holiday drinks with these stunning, easy-to-make dried orange slices. With minimal effort and simple ingredients, you can create beautiful garnishes that look like they came from a high-end cocktail bar.
- Prep Time: 10 minutes
- Cook Time: 2 hours 30 minutes
- Total Time: 2 hours 40 minutes
- Yield: 20-30 slices 1x
- Category: Garnish
- Cuisine: American
Ingredients
- 3–4 medium fresh oranges (navel, blood orange, or cara cara)
- 2 tablespoons granulated sugar (optional)
- 1–2 cinnamon sticks, broken into pieces (optional)
- 1 teaspoon whole cloves (optional)
- 2–3 whole star anise pods (optional)
Instructions
- Preheat your oven to 200°F (93°C).
- Wash and dry your oranges thoroughly. If using conventional oranges, scrub them under warm water. Pat completely dry.
- Slice oranges into even rounds, about 1/4 inch (6mm) thick.
- Blot the slices with paper towels to absorb surface moisture.
- Arrange slices in a single layer on parchment-lined baking sheets, leaving space between each. If using, sprinkle with sugar and add spices nearby.
- Bake for 2.5 to 3 hours, flipping slices after 1.5 hours. They are done when dry to the touch but still slightly pliable.
- Let cool completely on baking sheets for 20-30 minutes.
- Store in an airtight container at room temperature.
Notes
For best results, use organic oranges to avoid wax or pesticide residue. Consistent thickness is crucial for even drying. Blotting slices before baking significantly reduces drying time. In humid climates, add 30 minutes to drying time. Slices can be re-crisped in a 200°F oven for 10-15 minutes if they lose crunch.
Nutrition
- Serving Size: 1 slice
- Calories: 1520
- Sugar: 3
- Carbohydrates: 4
- Fiber: 1
Keywords: dried orange slices, holiday drinks, cocktail garnish, homemade garnish, citrus garnish, edible decoration


