Love this? Save it for later!
Share the inspiration with your friends
I was standing in my driveway last October, holding a pumpkin that had definitely seen better days, when the smell hit me. Not the pumpkin itself — it was the faint, toasty scent drifting from my neighbor’s kitchen window. Roasted seeds. And just like that, I was nine years old again, sitting cross-legged on Mrs. Kowalski’s linoleum floor while she pulled a baking sheet from the oven. She wasn’t my grandmother or my aunt — she was just the lady next door who let me hang around her kitchen after school. She’d let the seeds cool on a paper towel, and we’d eat them still warm, salt crystals sticking to our fingers. I haven’t thought about her in years. But that smell, man. It stopped me right there in the driveway. I realized I had never actually made pumpkin seeds myself. I mean, I’d watched her do it a hundred times, but somehow I never bothered. So I carved that pumpkin, saved every last seed, and marched inside with a mission. The oven felt too slow, too much waiting around. That’s when I glanced at my air fryer sitting on the counter like it had been waiting for this exact moment. Honestly, I was skeptical — could it really work in five minutes? Let me tell you, the first batch came out so good I ate the whole thing standing at the counter, and I knew I’d never do them any other way. Maybe you’ve been there — staring at a pile of pumpkin seeds after a carving session, wondering if it’s even worth the hassle. It is. And it takes almost no time at all.
Why You’ll Love This Recipe
Let’s be real for a second — most pumpkin seed recipes are a whole production. You’ve got to boil them, dry them for hours, then roast them for what feels like forever. Who has time for that on a Tuesday night? This air fryer version changes everything. I’ve tested it a dozen times to make sure the texture is spot-on, because nobody wants chewy or burnt seeds.
- Quick & Easy: From seed to snack in under 10 minutes. That’s faster than deciding what to watch on Netflix.
- Simple Ingredients: You only need pumpkin seeds, oil, and salt. That’s it. No fancy spice blends required, though I’ll show you some fun options later.
- Perfect for Weeknights: Great for after-school snacks, salad toppers, or something to munch on while you’re cooking dinner.
- Crowd-Pleaser: I brought a batch to a potluck and someone asked for the recipe before they even sat down. Kids and adults both go crazy for these.
- Unbelievably Crunchy: The air fryer gives them this perfect, even crunch that ovens just can’t match. No burnt edges, no raw centers.
What makes this different from every other pumpkin seed recipe out there? It’s the speed, sure, but it’s also the control. The air fryer circulates heat so evenly that every single seed gets that golden-brown color. I’ve ruined more batches in the oven than I care to admit, but the air fryer? It’s foolproof. This isn’t just another version — it’s the version I wish I’d had back in Mrs. Kowalski’s kitchen. It’s comfort food reimagined for people who don’t have all afternoon to stand by the stove.
What Ingredients You Will Need
This recipe uses simple ingredients you probably already have in your kitchen. The beauty of it is that the seeds themselves do most of the work — you’re just helping them reach their full potential.
- Fresh pumpkin seeds: About 1 cup, straight from your carving project. Rinse them in a colander and pick off the biggest stringy bits. Don’t stress about getting every last fiber — a little pumpkin guts adds character, honestly. (Pro tip: larger seeds from bigger pumpkins tend to have a better crunch.)
- Olive oil or avocado oil: 1 tablespoon. You want an oil with a higher smoke point so nothing burns in the air fryer. I use avocado oil most of the time because it’s neutral, but good olive oil works great too. (Adds richness and helps the salt stick.)
- Salt: ½ teaspoon, plus more to taste. I prefer flaky sea salt here — it clings to the seeds better than regular table salt. But honestly, whatever you’ve got in the shaker will work.
- Optional seasonings: This is where you can get creative. Garlic powder, smoked paprika, cayenne, cinnamon sugar — whatever sounds good. I’ll share my favorite combos later in the variations section.
For the best texture, look for seeds that are plump and uniform in size. If you’re using seeds from a sugar pumpkin or pie pumpkin, they’ll be smaller and more tender. Jack-o’-lantern pumpkins give you bigger, crunchier seeds. I’ve used both, and honestly, they’re both delicious — just adjust your cooking time by a minute if the seeds are on the smaller side.
One thing I learned the hard way — don’t skip the oil. I tried making these with just salt and water once, thinking I’d save a few calories, and they came out dry and sad. The oil is what gives them that satisfying crunch and helps the seasoning stick. Use dairy-free oil if you need to, but don’t leave it out.
Equipment Needed
You don’t need much for this recipe, which is kind of the point. Here’s what you’ll grab:
- Air fryer: Any model works. I use a 5.8-quart basket style, but I’ve tested this in a smaller 2-quart model too. Just don’t overcrowd the basket — work in batches if you need to.
- Colander: For rinsing the seeds. Nothing fancy.
- Paper towels or a clean kitchen towel: For drying the seeds. This step matters more than you think — wet seeds steam instead of crisp.
- Mixing bowl: Any medium bowl will do. I use the same one I use for everything else.
- Spatula or spoon: For tossing the seeds with oil and seasonings.
If you don’t have an air fryer, you can absolutely use an oven — just spread the seeds on a baking sheet and roast at 350°F for 15-20 minutes, stirring halfway through. But honestly, the air fryer version is faster and gives you a more even crunch. I picked up my air fryer on sale for thirty bucks, and it’s paid for itself in time saved alone. No special maintenance needed — just wipe it out after use and you’re good to go.
Preparation Method
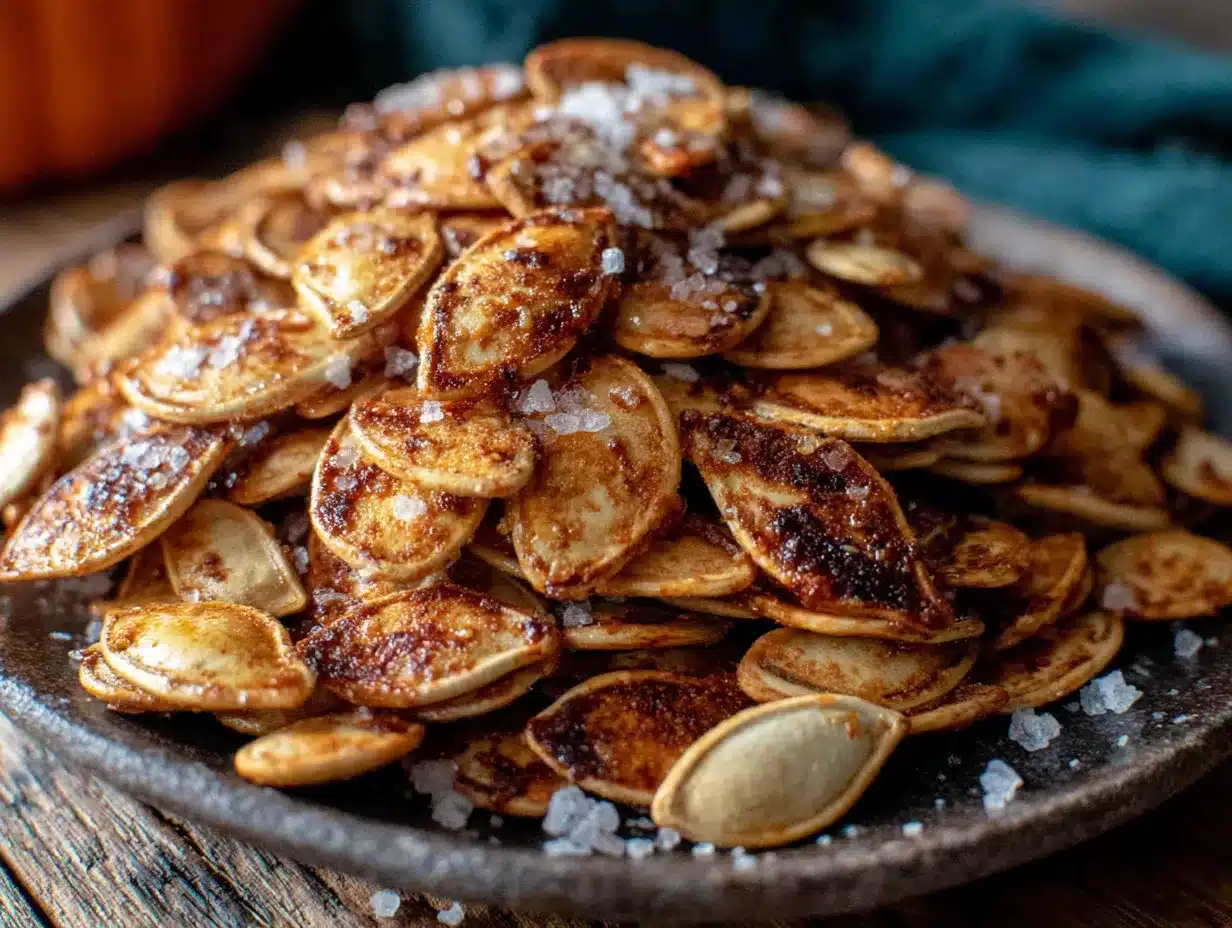
Alright, let’s get to it. This whole process takes about 10 minutes from start to finish, and most of that is the air fryer doing the work.
- Rinse the seeds: Place your pumpkin seeds in a colander and run cold water over them. Use your fingers to rub off the biggest pieces of pumpkin pulp. Don’t worry about getting them perfectly clean — a little bit of fiber adds flavor and crisps up nicely. (I used to spend forever picking every last string off, and honestly, it made no difference in the taste.)
- Dry thoroughly: This is the secret step most people skip. Spread the rinsed seeds on a paper towel or clean kitchen towel and pat them dry. Let them sit for 5 minutes if you have time. Wet seeds won’t crisp up properly — they’ll steam and turn chewy. I learned this after my first soggy batch. (The seeds should feel dry to the touch, not slippery.)
- Preheat your air fryer: Set it to 350°F (175°C) and let it run for 2-3 minutes. Most air fryers heat up fast, so this step goes quick. Preheating ensures the seeds start cooking immediately and get that even golden color.
- Toss with oil and salt: In a medium bowl, combine the dried seeds with 1 tablespoon of oil and ½ teaspoon of salt. Stir until every seed is coated. Add any extra seasonings now if you’re using them. (I like to use my hands for this — it’s faster and I can feel when everything’s coated evenly.)
- Spread in the air fryer basket: Pour the seasoned seeds into the basket in a single layer. Don’t pile them up — they need room for the hot air to circulate. If you have a lot of seeds, do two batches. It’s worth the extra 5 minutes.
- Cook for 5 minutes: Air fry at 350°F for 5 minutes. At the 3-minute mark, pull the basket out and give it a shake. This helps the seeds cook evenly. (Set a timer — it’s easy to forget and let them go too long.)
- Check for doneness: After 5 minutes, the seeds should be golden brown and smell incredibly toasty. Let one cool for a few seconds and taste it. If it’s not crunchy enough, give them another minute. Every air fryer runs a little differently — mine is hot, so 5 minutes is perfect.
- Cool completely: Transfer the seeds to a plate or paper towel to cool. They’ll continue to crisp up as they cool. Don’t skip this step — hot seeds are still a little soft, and they need that cooling time to reach full crunch potential. (Resist the urge to eat them immediately. I never resist. But you should.)
Cooking Tips & Techniques
After making these about fifteen times in the last month (don’t judge me), I’ve picked up a few tricks that make a real difference.
Dry your seeds like you mean it. This is the number one mistake people make. If your seeds are even slightly damp, they’ll steam instead of crisp. I pat mine dry, then let them sit on the counter for 10 minutes while I clean up the pumpkin mess. It’s a small step that pays off big.
Don’t overcrowd the basket. I know it’s tempting to dump all the seeds in at once, but they need space. If they’re piled up, the ones in the middle will stay soft while the ones on the edges burn. Work in batches if you have to — it takes an extra 5 minutes and the results are so much better.
Shake halfway through. Set a timer for 3 minutes and give that basket a good shake. It redistributes the seeds so they all get equal time against the hot air. I forgot to do this once, and half the batch came out pale and sad while the other half was overdone.
Watch your air fryer closely the first time. Every model runs at a slightly different temperature. My friend’s air fryer takes a full 7 minutes to get the same results mine gets in 5. Start with 5 minutes, check them, and add more time in 1-minute increments until you know your machine.
Season after cooking for stronger flavor. If you want really punchy seasoning, toss the hot seeds with a little extra salt or spice right after they come out of the air fryer. The heat helps the seasoning stick, and you’ll taste it more than if you added it all before cooking. I do this with garlic powder especially — it can burn in the air fryer, so adding it after keeps the flavor fresh.
One failure I’ll admit to — I tried making these without any oil at all, thinking I’d be healthy. They came out dry, bland, and honestly kind of sad. The oil isn’t just for flavor; it helps conduct heat evenly and gives you that satisfying crunch. Use a light hand, but don’t skip it.
Variations & Adaptations
Once you’ve got the basic recipe down, the possibilities are endless. Here are some of my favorite twists:
Spicy Chili Lime: Toss the seeds with oil, salt, ½ teaspoon chili powder, and the zest of one lime before cooking. After they’re done, squeeze a little fresh lime juice over the top. The tangy heat is addictive — I made these for a game day snack and they disappeared in minutes.
Cinnamon Sugar: Skip the salt and toss the seeds with 1 tablespoon melted butter (or coconut oil), 1 tablespoon brown sugar, and ½ teaspoon cinnamon. Cook at 325°F for 5 minutes so the sugar doesn’t burn. These taste like a warm fall dessert and are amazing on top of yogurt or oatmeal.
Everything Bagel: After tossing with oil and salt, sprinkle on 1 tablespoon of everything bagel seasoning. Cook as directed. These are incredible on salads or just eaten by the handful. I keep a jar of these on my counter for when I need a savory crunch.
Garlic Parmesan: Toss the cooked seeds with 1 tablespoon melted butter, ¼ cup grated Parmesan, and ½ teaspoon garlic powder. The cheese gets a little crispy in the residual heat — it’s ridiculous how good this is.
For food allergies: These are naturally gluten-free, nut-free, and dairy-free if you use a dairy-free oil. Just watch your seasonings — some spice blends contain hidden allergens. When in doubt, stick with plain salt and experiment from there.
I once tried a maple-soy version that was supposed to be sweet and savory. Let’s just say it was… experimental. The sugar burned in the air fryer and I had to scrub the basket for an hour. Stick with dry seasonings or add sticky stuff after cooking. Learn from my mistakes, friends.
Serving & Storage Suggestions
These seeds are best served at room temperature, straight from the air fryer after they’ve cooled for a few minutes. The texture is at its peak — crunchy on the outside, with a little give when you bite down. I like to serve them in a small bowl on the counter for grazing, or portion them out into snack bags for lunchboxes.
They’re fantastic as a salad topper — sprinkle them over a simple green salad with apples, dried cranberries, and a tangy vinaigrette. The crunch adds texture that croutons just can’t match. I also love them on soups, especially creamy butternut squash or tomato soup. A handful on top of a bowl of chili? Game changer.
For drinks, these pair beautifully with a cold beer or a crisp apple cider. If you’re serving them at a party, set them out next to a cheese board — they’re excellent with sharp cheddar or aged gouda.
Storage: Keep your pumpkin seeds in an airtight container at room temperature. They’ll stay fresh and crunchy for up to 2 weeks. I use a glass jar with a tight lid, but a zip-top bag works fine too. Don’t refrigerate them — the moisture from the fridge will soften them over time.
Reheating: If they lose their crunch after a few days (which happens if your container isn’t perfectly sealed), just pop them back in the air fryer at 350°F for 2 minutes. Let them cool completely before storing again. I’ve done this multiple times with the same batch, and they crisp right back up.
One thing I’ve noticed — the flavors actually meld and deepen after a day or two. The garlic powder version especially gets more aromatic. So don’t worry if they taste a little mild right after cooking. Give them a day, and they’ll be even better.
Nutritional Information & Benefits
Pumpkin seeds are a nutritional powerhouse, and this recipe keeps them wholesome without adding junk. Here’s the breakdown for a ¼ cup serving (about 30 grams):
| Nutrient | Amount |
|---|---|
| Calories | 180 |
| Protein | 9g |
| Fat | 15g (mostly healthy fats) |
| Carbohydrates | 4g |
| Fiber | 2g |
| Magnesium | 40% of daily value |
| Zinc | 20% of daily value |
These little seeds are packed with magnesium, which helps with muscle function and sleep quality. The zinc content is great for immune health — perfect for snacking during cold season. They’re also a good source of plant-based protein, making them a satisfying snack that actually keeps you full.
This recipe is naturally gluten-free, dairy-free, and low-carb. The only potential allergen is the oil, but you can easily swap for a nut-free option. If you’re watching your sodium, cut the salt in half or use a salt-free seasoning blend.
I personally love that I can feel good about munching on these. They’re not empty calories — they’re actually doing something useful for my body. Plus, using the air fryer means I’m not heating up my whole kitchen or using a ton of oil. It’s a win-win.
Conclusion
Look, I know pumpkin seeds aren’t exactly a groundbreaking recipe. But there’s something special about taking something you’d normally throw away and turning it into a snack this good in under 10 minutes. It feels almost like cheating. The air fryer makes it so easy that I actually look forward to carving pumpkins now, just for the seeds.
I love that this recipe is flexible enough to be whatever you need it to be — savory, spicy, sweet, or plain. You can dress it up for a party or keep it simple for a weekday snack. And honestly, there’s something deeply satisfying about that first crunchy bite, knowing you made it yourself from scratch.
I’d love to hear how yours turn out. What seasoning combos did you try? Did you find a new favorite? Drop a comment below and let me know — I’m always looking for new ideas to test in my own kitchen. And if you make a batch for your neighbors, well, maybe you’ll be the Mrs. Kowalski on your block. Happy snacking!
Frequently Asked Questions
Can I use store-bought raw pumpkin seeds?
Absolutely. Just skip the rinsing and drying steps. Toss them with oil and salt, then cook as directed. They might cook a minute faster since they’re already dry, so check them at the 4-minute mark.
Why did my seeds come out chewy instead of crunchy?
They were probably too wet when they went into the air fryer. Make sure you dry them thoroughly after rinsing. Also, don’t overcrowd the basket — the seeds need room for the hot air to circulate and crisp them up evenly.
Can I make these without an air fryer?
Yes! Spread the seasoned seeds on a baking sheet in a single layer and roast at 350°F for 15-20 minutes, stirring halfway through. They won’t be quite as evenly crunchy, but they’ll still be delicious.
How long do these stay fresh?
Stored in an airtight container at room temperature, they’ll stay crunchy for up to 2 weeks. If they soften, just pop them back in the air fryer for 2 minutes to re-crisp them.
Can I use salted pumpkin seeds instead of raw?
You can, but reduce or skip the added salt. Keep in mind that pre-salted seeds may cook a little faster since they’re already dry. Check them at the 4-minute mark to avoid burning.
Pin This Recipe!
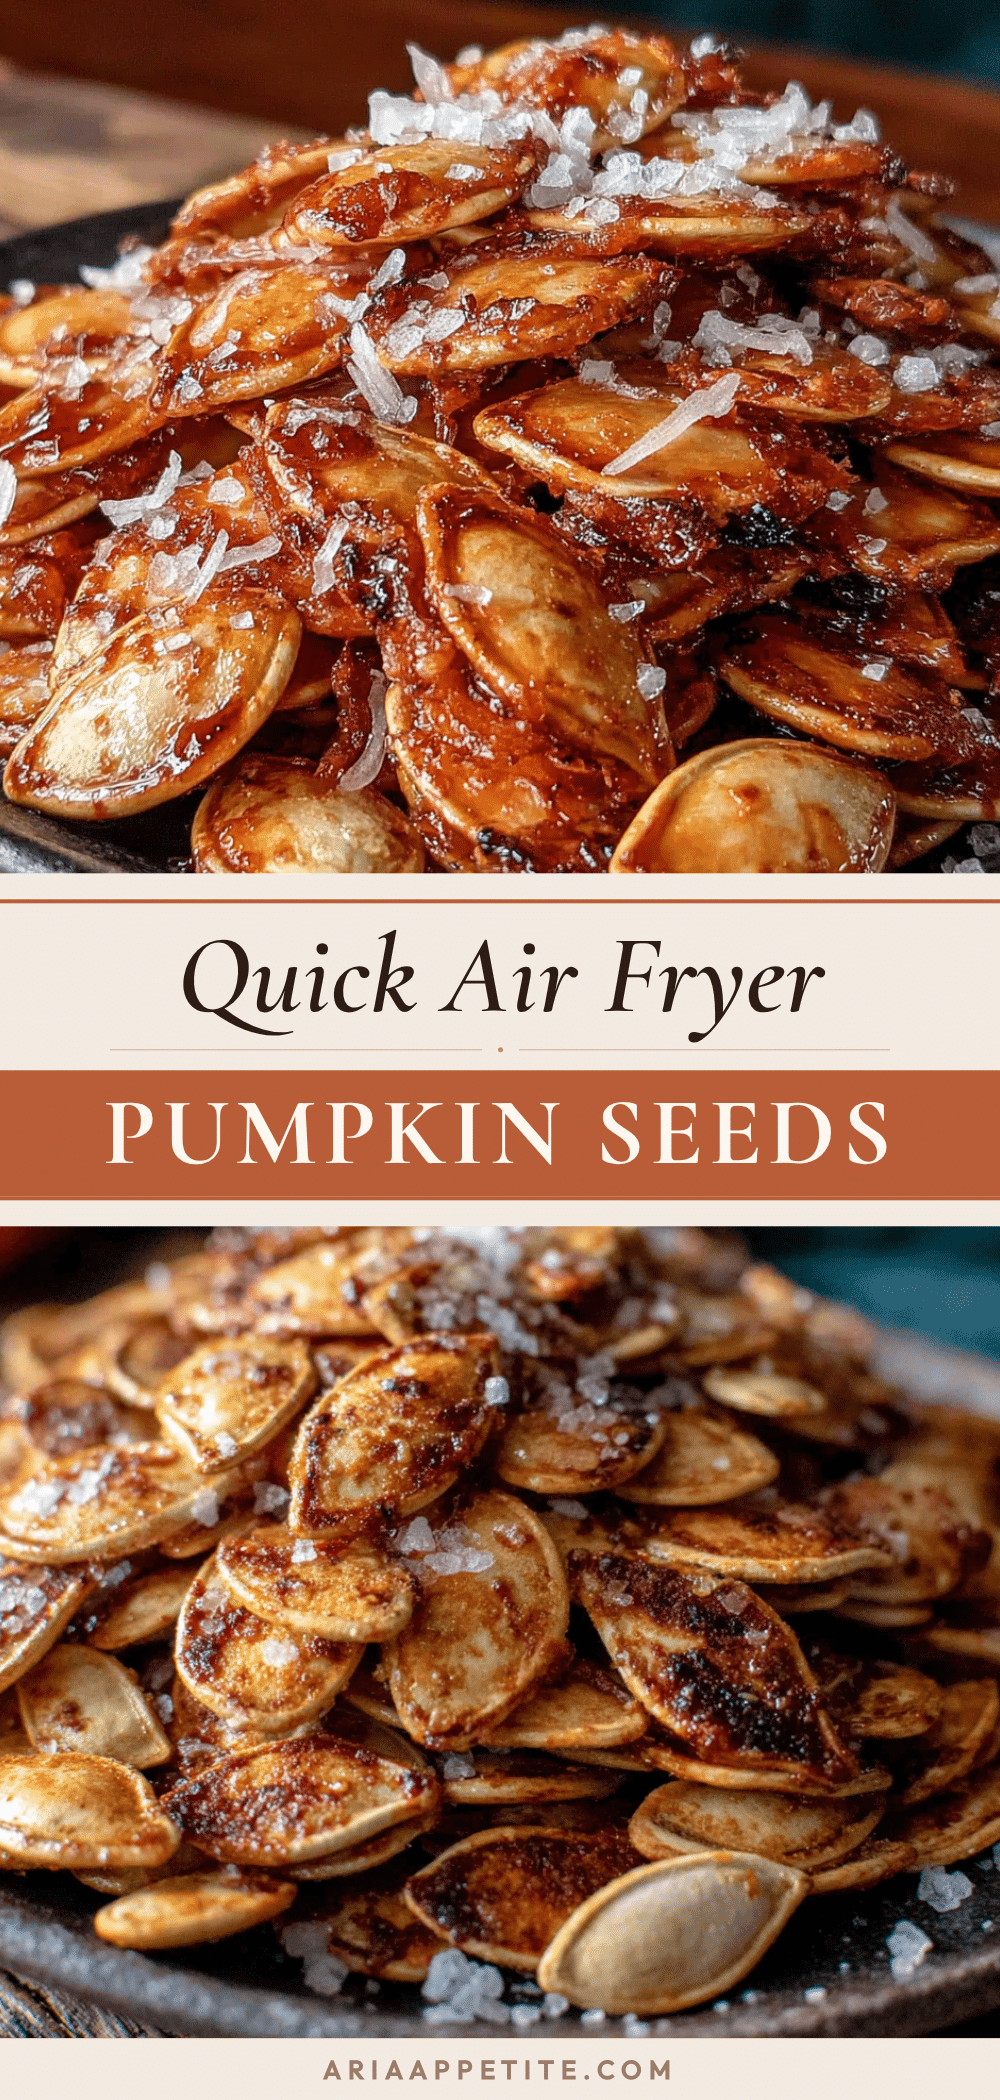
Quick Air Fryer Pumpkin Seeds: 5-Minute Easy Snack

Crunchy, golden air fryer pumpkin seeds ready in under 10 minutes. A simple, foolproof snack made with fresh pumpkin seeds, oil, and salt — perfect for fall snacking or anytime you crave something savory.
- Prep Time: 5 minutes
- Cook Time: 5 minutes
- Total Time: 10 minutes
- Yield: 4 servings 1x
- Category: Snack
- Cuisine: American
Ingredients
- 1 cup fresh pumpkin seeds (from a carving pumpkin)
- 1 tablespoon olive oil or avocado oil
- ½ teaspoon flaky sea salt (or to taste)
- Optional seasonings: garlic powder, smoked paprika, cayenne, cinnamon sugar, everything bagel seasoning, chili powder, lime zest, brown sugar, cinnamon, melted butter, grated Parmesan
Instructions
- Rinse the pumpkin seeds in a colander under cold water, rubbing off the biggest pieces of pulp. Don’t worry about getting them perfectly clean.
- Dry the seeds thoroughly by spreading them on a paper towel or clean kitchen towel and patting them dry. Let them sit for 5-10 minutes if possible.
- Preheat your air fryer to 350°F (175°C) for 2-3 minutes.
- In a medium bowl, toss the dried seeds with 1 tablespoon oil and ½ teaspoon salt until evenly coated. Add any optional seasonings now if desired.
- Spread the seasoned seeds in a single layer in the air fryer basket. Do not overcrowd; work in batches if needed.
- Air fry at 350°F for 5 minutes. At the 3-minute mark, shake the basket to redistribute the seeds.
- Check for doneness: seeds should be golden brown and smell toasty. If not crunchy enough, cook for 1 more minute.
- Transfer the seeds to a plate or paper towel to cool completely. They will continue to crisp as they cool.
Notes
Dry seeds thoroughly for best crunch. Don’t overcrowd the basket. Shake halfway through cooking. For stronger seasoning, add extra salt or spices after cooking. If seeds lose crunch, re-crisp in air fryer at 350°F for 2 minutes. Store in airtight container at room temperature for up to 2 weeks.
Nutrition
- Serving Size: ¼ cup (about 30g)
- Calories: 180
- Sodium: 150
- Fat: 15
- Saturated Fat: 2
- Carbohydrates: 4
- Fiber: 2
- Protein: 9
Keywords: air fryer pumpkin seeds, roasted pumpkin seeds, quick snack, fall recipe, healthy snack, gluten-free, dairy-free, low-carb


