Love this? Save it for later!
Share the inspiration with your friends
This was supposed to be pumpkin bread. I had the recipe memorized—the one my mom used to make when the leaves started turning, the one that filled the whole house with that warm, spicy smell that just screams fall. I’d pulled out the big mixing bowl, the good cinnamon, the can of pumpkin I’d been saving since last October. But somewhere between wrestling a toddler who’d decided that 6 AM was a perfectly reasonable wake-up time and realizing I was out of the third egg the recipe called for, the whole plan went sideways.
I stood there, staring at the half-mixed batter, feeling that familiar knot of frustration tighten in my chest. The pumpkin was already in the bowl. The oats I’d meant to save for breakfast were already scattered across the counter. I was already late for everything. And I had a hungry, grumpy kid clinging to my leg. Throwing it all away wasn’t an option—not with grocery prices these days, honestly. So I did what any sensible, slightly desperate parent would do. I grabbed the oat flour I’d been meaning to use, tossed in some extra oats for good measure, poured the whole mess into a square pan, and crossed my fingers.
What came out of that oven wasn’t pumpkin bread. It was better. It was denser, chewier, more forgiving. It didn’t need to be sliced with a knife and served on a plate—it could be grabbed with one hand while you’re hunting for lost shoes. It was sweet enough to feel like a treat but sturdy enough to actually fill you up. Maybe you’ve been there, standing in your kitchen with a half-failed recipe and a sinking feeling that you’ve just wasted good ingredients. Let me tell you, sometimes those are the moments that teach you the most. This recipe stayed with me because it proved that you don’t need perfection to make something your family will actually love.
Why You’ll Love This Recipe
These Healthy Pumpkin Oat Breakfast Bars are the kind of recipe that makes you wonder why you ever bothered with anything else. I’ve tested this version more times than I can count, tweaking the oat-to-pumpkin ratio, adjusting the sweetness, and even getting a friend who’s a nutritionist to give it a quick once-over. It’s not just another pumpkin recipe—it’s the one that actually works for real life.
- Quick & Easy: From start to finish, these bars come together in about 35 minutes. That’s less time than it takes to argue about what’s for breakfast.
- Simple Ingredients: You probably have most of this stuff in your pantry right now. No fancy superfood powders or trips to a specialty store.
- Perfect for Busy Mornings: Make them on Sunday, and you’ve got breakfast sorted for the whole week. Grab one on your way out the door and you’re good to go.
- Crowd-Pleaser: I’ve served these to picky toddlers, skeptical teenagers, and adults who claim they don’t like “healthy” breakfast foods. They disappear every single time.
- Unbelievably Delicious: The texture is what gets you—soft and almost cake-like in the middle, with a slightly chewy edge from the oats. The pumpkin keeps everything moist without being heavy, and the spices are warm without being overpowering.
What makes these bars different from all the other pumpkin oatmeal recipes out there is the technique. Instead of just mixing everything together and hoping for the best, I figured out that letting the oats soak in the pumpkin mixture for a few minutes makes them incredibly tender. It’s a small step, but it transforms the whole texture. And honestly, this recipe isn’t just good—it’s the kind that makes you close your eyes after the first bite. It’s comfort food that actually makes you feel good, without the sugar crash an hour later.
What Ingredients You Will Need
This recipe uses simple, wholesome ingredients that work together to create bars that are filling, flavorful, and genuinely good for you. Most of these are pantry staples, which makes this an easy recipe to whip up whenever the craving hits.
- Rolled Oats: 2 cups (180g). Not the instant kind—use old-fashioned rolled oats for the best texture. They hold their shape better and give the bars a nice chew. I usually buy the store brand, but Bob’s Red Mill is great if you want something reliable.
- Pumpkin Purée: 1 cup (245g). Make sure you’re getting 100% pumpkin purée, not pumpkin pie filling. The pie filling has added sugar and spices that will throw off the whole recipe. Libby’s is the classic choice, but any brand works.
- Ripe Bananas: 2 medium, mashed (about 1 cup or 240g). The riper the better—those spotty brown bananas are perfect here. They add natural sweetness and help bind everything together.
- Eggs: 2 large, room temperature. They help the bars rise just a little and give them a lighter texture. If you’re out of eggs, you can substitute with 2 flax eggs (2 tablespoons flaxseed meal mixed with 5 tablespoons water).
- Honey or Maple Syrup: ⅓ cup (80ml). Either works beautifully. Honey gives a slightly floral sweetness, while maple syrup adds that classic fall flavor. Use pure maple syrup if you go that route—the pancake syrup stuff is too thin.
- Coconut Oil or Butter: ¼ cup (60ml), melted and slightly cooled. Coconut oil keeps these dairy-free and adds a subtle richness. Butter works too and gives a slightly more tender crumb.
- Pumpkin Pie Spice: 2 teaspoons. If you don’t have a pre-mixed blend, make your own: 1 teaspoon cinnamon, ½ teaspoon ginger, ¼ teaspoon nutmeg, ¼ teaspoon cloves. It’s cheaper and you can adjust it to your taste.
- Cinnamon: 1 teaspoon. I add extra cinnamon because I love it, but you can reduce it if you prefer a milder flavor.
- Baking Soda: 1 teaspoon. This helps the bars rise just enough to be light without being cakey.
- Salt: ½ teaspoon. Don’t skip this—it balances the sweetness and makes the spices pop.
- Vanilla Extract: 1 teaspoon. Pure vanilla is best, but imitation works in a pinch.
- Optional Mix-Ins: ½ cup (60g) chopped walnuts, pecans, or chocolate chips. I usually add a handful of dark chocolate chips because, well, chocolate makes everything better. If you’re watching sugar, the chocolate chips add some, so keep that in mind.
Equipment Needed
You don’t need a fancy kitchen to make these bars. Here’s what you’ll need:
- 8×8-inch Baking Pan: This is the perfect size for these bars. If you only have a 9×9, the bars will be slightly thinner and may bake a few minutes faster. A 9×13 will make them too thin—double the recipe if you’re using that.
- Mixing Bowls: One large bowl for the wet ingredients and one medium bowl for the dry stuff. I use glass or stainless steel because they don’t hold onto smells.
- Parchment Paper: This is non-negotiable for easy removal. Cut two strips that overlap in the pan, leaving some overhang on the sides to use as handles.
- Whisk and Spatula: A whisk for combining the wet ingredients and a silicone spatula for folding everything together without overmixing.
- Measuring Cups and Spoons: Accurate measurements matter here, especially for the oats and pumpkin. I use dry measuring cups for the oats and liquid measuring cups for the pumpkin and honey.
If you don’t have an 8×8 pan, you can use a muffin tin instead—just grease it well and bake for about 15-18 minutes. The texture will be a little different, but they’re still delicious. And honestly, I’ve made these with a whisk and a fork when my spatula was in the dishwasher. It works. Don’t let missing equipment stop you.
Preparation Method
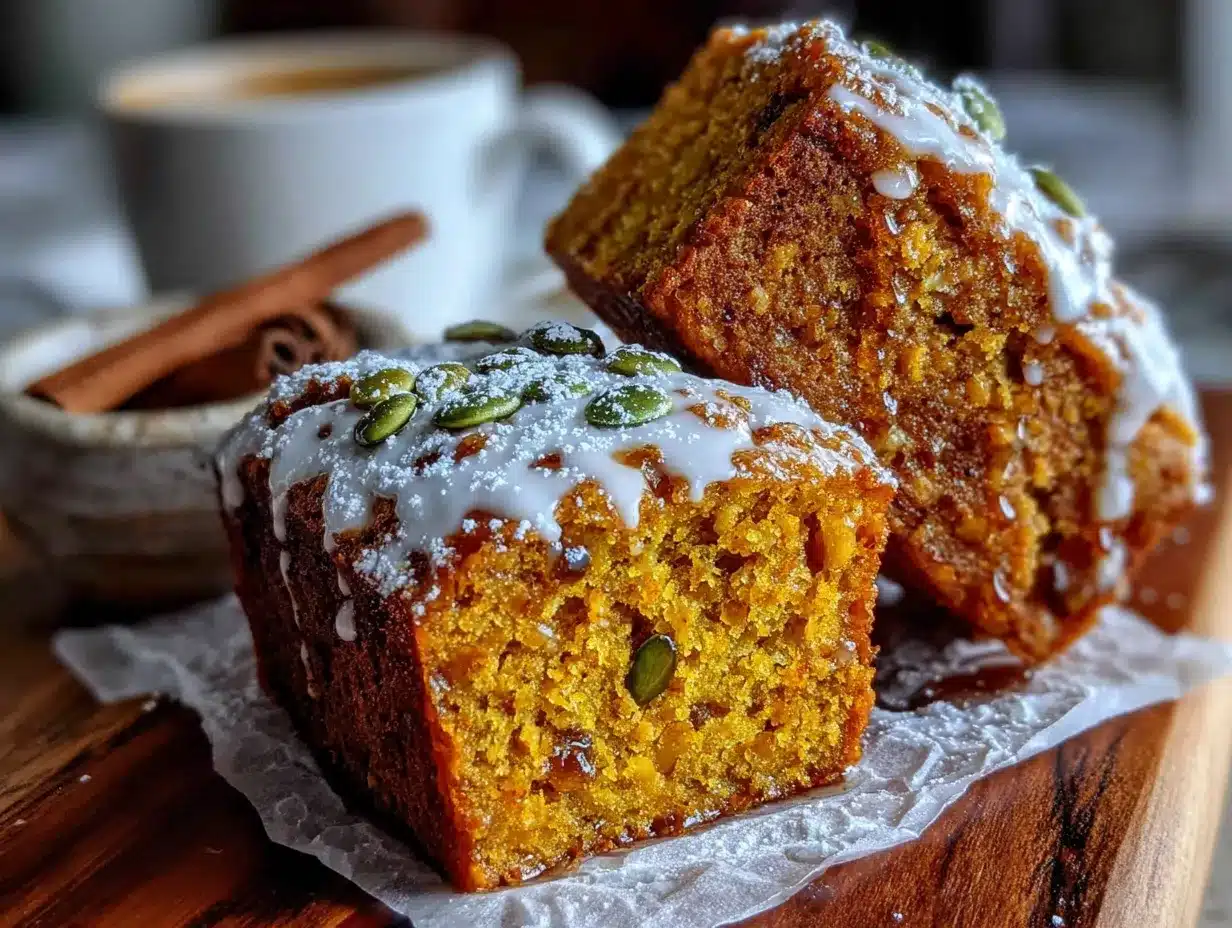
Let’s get these bars in the oven. The whole process takes about 10 minutes of active work, then 25 minutes of baking while you do something else.
- Preheat your oven to 350°F (175°C). Line your 8×8-inch baking pan with parchment paper, leaving some overhang on two opposite sides. This makes lifting the bars out so much easier—trust me on this one.
- Mash the bananas. In a large mixing bowl, mash those two ripe bananas with a fork until they’re mostly smooth. A few small lumps are fine—they add texture. You should have about 1 cup of mashed banana.
- Add the wet ingredients. To the mashed bananas, add the pumpkin purée, eggs, honey (or maple syrup), melted coconut oil (or butter), and vanilla extract. Whisk everything together until it’s smooth and well combined. The mixture should be a beautiful orange color and smell amazing already.
- Let the oats soak. This is the secret step. Stir in the rolled oats and let the mixture sit for 5 minutes. I know it feels like forever, but this allows the oats to absorb some of the liquid, which makes them tender instead of chewy and hard. Use this time to clean up a few dishes or pour yourself a coffee.
- Mix the dry ingredients. In a separate small bowl, whisk together the pumpkin pie spice, cinnamon, baking soda, and salt. This ensures the spices are evenly distributed instead of clumping in one spot.
- Combine everything. Sprinkle the dry ingredient mixture over the oat mixture. Fold everything together with a spatula until just combined. Be careful not to overmix—stir until you don’t see any dry flour patches, then stop. If you’re adding nuts or chocolate chips, fold them in now.
- Transfer to the pan. Pour the batter into your prepared pan and spread it into an even layer. The batter will be thick and slightly sticky—that’s normal. Use the back of your spatula to smooth the top.
- Bake. Place the pan on the middle rack of your oven and bake for 22-28 minutes. The bars are done when the edges are golden brown and a toothpick inserted into the center comes out clean or with just a few moist crumbs. My oven runs hot, so I start checking at 22 minutes.
- Cool completely. This is the hardest part. Let the bars cool in the pan for about 10 minutes, then use the parchment overhang to lift them out onto a wire rack. Let them cool completely before slicing—about 30 minutes. If you cut them while they’re warm, they’ll fall apart. I learned this the hard way.
- Slice and serve. Cut into 9 squares (3 rows by 3 rows) or 12 smaller rectangles. I prefer 9 bars because they’re more satisfying, but smaller ones work well for little kids.
Cooking Tips & Techniques
After making these bars probably two dozen times, I’ve picked up a few tricks that make a real difference.
Don’t skip the oat soak. I know it seems like an unnecessary step, but it’s the difference between bars that are tender and bars that are dry and crumbly. The oats need time to absorb the pumpkin and banana moisture. Five minutes is enough—set a timer if you have to.
Watch your baking time. Every oven is different, and these bars can go from perfectly moist to dry in about two minutes. Start checking at 22 minutes. The edges should be set and slightly pulling away from the pan, and the center should spring back when you gently press it. If a toothpick comes out completely clean, you might have overbaked them slightly.
Use room temperature eggs. Cold eggs can cause the coconut oil to seize up if you’re using it, creating little lumps of hard fat in your batter. Leave your eggs on the counter for 15 minutes before you start, or place them in a bowl of warm water for 5 minutes.
Don’t overmix the batter. Once you add the dry ingredients, stir just until everything comes together. Overmixing develops the gluten in the oats (yes, oats have gluten-like proteins) and makes the bars tough. A few streaks of flour are better than a tough bar.
Let them cool completely. I cannot stress this enough. Warm bars are soft and fragile. If you try to cut them too soon, you’ll end up with a crumbly mess. I know the smell is tempting, but patience pays off here. Cool them on a wire rack so air circulates around them.
One time, I was rushing to get these done before a playdate and skipped the oat soak. The bars were edible, but they were dense and almost gritty. My three-year-old still ate them, but I knew they could be better. That mistake taught me that shortcuts don’t always save time—sometimes they just waste ingredients.
Variations & Adaptations
This recipe is incredibly forgiving, so feel free to make it your own. Here are some variations I’ve tried and loved:
- Gluten-Free Version: Use certified gluten-free rolled oats. Most oats are naturally gluten-free, but they can be contaminated during processing. Bob’s Red Mill makes a good gluten-free option. The texture is exactly the same.
- Vegan Version: Replace the eggs with flax eggs (2 tablespoons flaxseed meal mixed with 5 tablespoons water, let sit for 5 minutes). Use maple syrup instead of honey to keep it fully plant-based. Coconut oil works perfectly here.
- Lower Sugar Option: Reduce the honey or maple syrup to ¼ cup. The bananas add enough sweetness that you won’t miss it much. You can also add a few drops of stevia if you want extra sweetness without the sugar.
- Nut-Free Version: Skip the walnuts or pecans and add sunflower seeds or pumpkin seeds instead. They add a nice crunch without the allergy risk.
- Add Protein: Stir in 2 tablespoons of your favorite protein powder. You might need to add an extra tablespoon of milk or water to keep the batter from getting too thick. Vanilla or unflavored works best—chocolate can overpower the pumpkin.
- Baked Oatmeal Style: Pour the batter into a 9×13 pan and bake for 15-18 minutes for thinner bars that are more like baked oatmeal. They’re great for little hands.
My personal favorite variation is adding a handful of dried cranberries and white chocolate chips. The tartness of the cranberries cuts through the sweetness, and the white chocolate adds a creamy note. It feels fancy, but it’s still just a simple breakfast bar.
Serving & Storage Suggestions
These bars are incredibly versatile when it comes to serving. Here’s how I like to enjoy them:
Serving: These bars are perfect at room temperature, but they’re also delicious warmed up for about 10 seconds in the microwave. I like to serve them with a dollop of Greek yogurt on the side for extra protein, or crumbled over a bowl of oatmeal for a double-oat breakfast. They’re sturdy enough to pack in lunchboxes without falling apart, which is a huge win in my book.
Storage: Store the bars in an airtight container at room temperature for up to 3 days. If you live in a humid climate, keep them in the fridge—they’ll last up to a week. Layer them between sheets of parchment paper so they don’t stick together.
Freezing: These bars freeze beautifully. Wrap each bar individually in plastic wrap, then place them in a freezer-safe bag or container. They’ll keep for up to 3 months. To thaw, just leave one on the counter for 30 minutes, or microwave it for 20-30 seconds. I always keep a stash in the freezer for mornings when I’m running late.
Reheating: If you’re reheating from frozen, wrap the bar in a paper towel and microwave for 30-45 seconds. The paper towel catches any excess moisture and keeps the bar from getting soggy. From the fridge, 15-20 seconds is plenty.
Flavor Development: Honestly, these bars taste even better the next day. The spices have time to meld together, and the oats continue to absorb moisture, making the texture even more tender. If you can resist eating them all on day one, you’re in for a treat on day two.
Nutritional Information & Benefits
These bars are packed with good-for-you ingredients that make them a smart choice for breakfast or a snack.
Per bar (based on 9 servings):
- Calories: ~210
- Fat: 7g (mostly from coconut oil and nuts)
- Carbohydrates: 34g
- Fiber: 5g
- Sugar: 14g (from bananas and honey, no refined sugar)
- Protein: 6g
Health Benefits: Pumpkin is loaded with vitamin A, which is great for your eyes and immune system. Oats are full of soluble fiber, which helps keep you full and supports healthy digestion. Bananas add potassium, which is important for muscle function and heart health. The cinnamon in these bars has anti-inflammatory properties and can help regulate blood sugar levels.
Dietary Considerations: This recipe is naturally dairy-free if you use coconut oil, and can easily be made gluten-free and vegan with the substitutions mentioned above. It’s low in added sugar compared to most breakfast bars you’d buy at the store, and there are no preservatives or artificial ingredients.
I’m not a nutritionist, but I feel good about feeding these to my family. They’re filling enough to get us through the morning without a mid-morning snack attack, and they don’t leave anyone with that weird, jittery feeling you get from sugary cereals.
Conclusion
These Healthy Pumpkin Oat Breakfast Bars started as a kitchen disaster and ended up becoming a staple in our home. They’re proof that you don’t need a perfect plan or a flawless recipe to make something your family will love. Sometimes the best recipes come from mistakes, from running out of an ingredient, or from just making do with what you have.
I hope you’ll give these bars a try, and more than that, I hope you’ll make them your own. Add your favorite mix-ins, adjust the sweetness to your taste, or double the recipe so you have extra to share. Cooking should feel flexible and forgiving, not stressful and strict. If these bars teach you anything, let it be that a little imperfection in the kitchen can lead to something pretty wonderful.
I’d love to hear how they turn out for you! Drop a comment below and let me know what variations you tried, or tag me in your photos if you share them online. Your feedback helps me create better recipes, and honestly, it just makes my day to see these bars bringing a little warmth to someone else’s kitchen. Happy baking, friends!
Frequently Asked Questions
Can I use quick oats instead of rolled oats?
You can, but the texture will be different. Quick oats are cut into smaller pieces, so they absorb liquid faster and create a softer, more uniform bar. If you use quick oats, skip the soaking step and bake for a few minutes less. The bars won’t have that nice chewy texture, but they’ll still taste great.
Can I make these bars without bananas?
Yes, but you’ll need a substitute. Use ½ cup of unsweetened applesauce or an extra ½ cup of pumpkin purée. The bars will be a little less sweet and slightly more dense, so you might want to add an extra tablespoon of honey or maple syrup. The bananas also help with binding, so the bars might be a bit more crumbly without them.
Why did my bars turn out dry?
Dry bars usually mean they were overbaked or the oats weren’t soaked long enough. Check your oven temperature with an oven thermometer—many ovens run hotter than they say. Also, make sure you’re measuring your oats correctly. Scooping oats directly from the bag can pack them down, giving you too much. Use the spoon-and-level method: spoon oats into your measuring cup and level off the top with a knife.
Can I add protein powder to these bars?
Absolutely! Add 2-3 tablespoons of your favorite protein powder. Vanilla or unflavored works best. You might need to add an extra tablespoon of milk or water to keep the batter from getting too thick. Whey protein tends to dry out baked goods, so consider reducing the oats by 2 tablespoons to compensate.
How do I make these bars more like dessert?
If you want a sweeter treat, add ½ cup of chocolate chips or white chocolate chips. You can also drizzle a simple glaze over the top after they cool: mix ½ cup powdered sugar with 1-2 tablespoons of milk and a splash of vanilla extract. Drizzle over the bars and let it set before slicing. They’re still healthier than most desserts, but they feel indulgent.
Pin This Recipe!
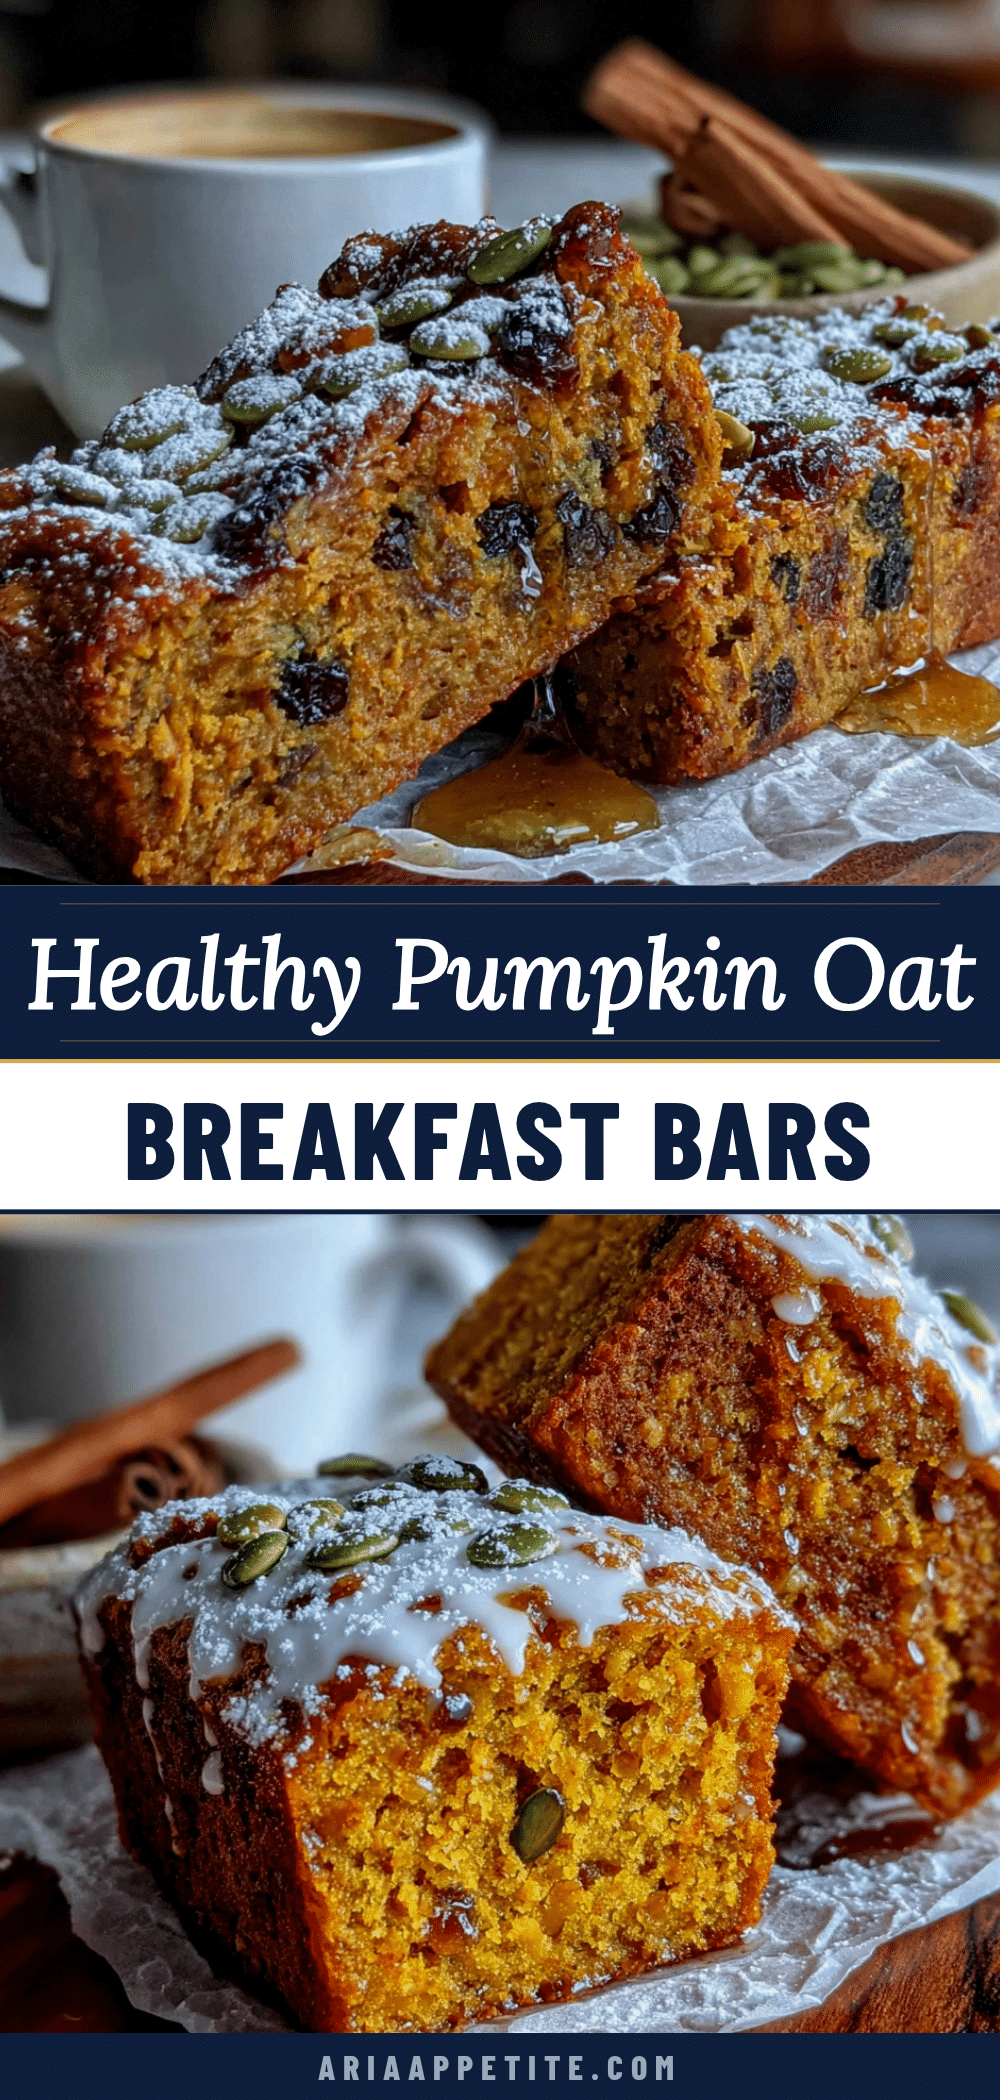
Healthy Pumpkin Oat Breakfast Bars: Easy Make-Ahead Recipe
These Healthy Pumpkin Oat Breakfast Bars are a quick and easy make-ahead breakfast, perfect for busy mornings. Made with simple ingredients like rolled oats, pumpkin purée, and ripe bananas, they are tender, flavorful, and naturally sweetened.
- Prep Time: 10 minutes
- Cook Time: 25 minutes
- Total Time: 35 minutes
- Yield: 9 servings 1x
- Category: Breakfast
- Cuisine: American
Ingredients
- 2 cups (180g) rolled oats (old-fashioned)
- 1 cup (245g) pumpkin purée (100% pumpkin, not pie filling)
- 2 medium ripe bananas, mashed (about 1 cup or 240g)
- 2 large eggs, room temperature
- ⅓ cup (80ml) honey or maple syrup
- ¼ cup (60ml) coconut oil or butter, melted and slightly cooled
- 2 teaspoons pumpkin pie spice
- 1 teaspoon cinnamon
- 1 teaspoon baking soda
- ½ teaspoon salt
- 1 teaspoon vanilla extract
- ½ cup (60g) chopped walnuts, pecans, or chocolate chips (optional)
Instructions
- Preheat your oven to 350°F (175°C). Line an 8×8-inch baking pan with parchment paper, leaving overhang on two opposite sides.
- In a large mixing bowl, mash the bananas with a fork until mostly smooth (about 1 cup).
- Add the pumpkin purée, eggs, honey (or maple syrup), melted coconut oil (or butter), and vanilla extract. Whisk until smooth and well combined.
- Stir in the rolled oats and let the mixture sit for 5 minutes to allow the oats to absorb liquid.
- In a separate small bowl, whisk together the pumpkin pie spice, cinnamon, baking soda, and salt.
- Sprinkle the dry ingredient mixture over the oat mixture. Fold together with a spatula until just combined. If using, fold in nuts or chocolate chips.
- Pour the batter into the prepared pan and spread into an even layer. The batter will be thick and slightly sticky.
- Bake on the middle rack for 22-28 minutes, until edges are golden brown and a toothpick inserted into the center comes out clean or with a few moist crumbs.
- Cool in the pan for 10 minutes, then lift out using the parchment overhang onto a wire rack. Cool completely before slicing (about 30 minutes).
- Slice into 9 squares (3×3) or 12 smaller rectangles.
Notes
Don’t skip the oat soak—it makes the bars tender. Use room temperature eggs to prevent coconut oil from seizing. Cool completely before slicing to avoid crumbling. Bars taste even better the next day.
Nutrition
- Serving Size: 1 bar (based on 9 se
- Calories: 210
- Sugar: 14
- Sodium: 200
- Fat: 7
- Saturated Fat: 3
- Carbohydrates: 34
- Fiber: 5
- Protein: 6
Keywords: pumpkin oat bars, healthy breakfast bars, make-ahead breakfast, pumpkin oatmeal bars, easy pumpkin recipe


