Love this? Save it for later!
Share the inspiration with your friends
Introduction
This was supposed to be just another batch of granola bars. I grabbed the wrong oats—quick-cooking instead of old-fashioned—the blender was overheating from a marathon smoothie session, and I was already late for a Zoom meeting that just wouldn’t end. Honestly, I was panicking a little, juggling a cracked bowl and a distracted toddler tugging at my sleeve. What came out was nothing like the plan—little sticky balls of peanut buttery goodness that set in the fridge without baking. I couldn’t believe it at first; they looked rough, and I thought, “Well, lunchboxes will have to wait.” But the first bite? Pure magic. The texture was chewy yet soft, and that familiar peanut butter flavor hit just right. Since then, these no-bake peanut butter energy balls have been my go-to snack for those rushed mornings and hurried lunch packing. Maybe you’ve been there too—trying to cram nutrition, taste, and speed into one bite-sized treat. This recipe stuck with me because it’s easy, forgiving, and honestly, way tastier than I ever expected from a “failed experiment.”
Why You’ll Love This Recipe
After testing countless snack recipes in my kitchen, I can confidently say these no-bake peanut butter energy balls are a keeper. Here’s why they’re perfect for your lunchbox routine:
- Quick & Easy: Takes just about 15 minutes from start to finish, no oven required—ideal for busy mornings or last-minute snack prep.
- Simple Ingredients: You probably already have everything on hand—peanut butter, oats, honey, and a few pantry staples.
- Perfect for Lunchboxes: Bite-sized and mess-free, they hold up well in kids’ lunchboxes or your own midday snack stash.
- Crowd-Pleaser: Sweet but natural, these energy balls get rave reviews from picky eaters and adults alike.
- Unbelievably Delicious: The blend of peanut butter and oats creates a comforting, chewy texture that feels indulgent but is actually wholesome.
What sets this recipe apart? I mix in a pinch of cinnamon and a dash of vanilla to punch up the flavor without extra sugar, and I use quick oats for that perfect chewy bite. No fancy equipment or rare ingredients—just wholesome, approachable snacks that don’t taste like “health food.” This is comfort food in a bite-sized, portable form, perfect for impressing lunchbox critics or treating yourself without fuss.
What Ingredients You Will Need
This recipe uses simple, wholesome ingredients to deliver bold flavor and satisfying texture without the fuss. Most are pantry staples, and you can easily swap some depending on your preferences or what’s in the fridge.
- Peanut butter, creamy or chunky (about 1 cup / 240 ml) – I prefer natural peanut butter with no added sugar for a pure nutty taste.
- Rolled oats (1 ½ cups / 135 g) – Quick oats work best here for that chewy texture. You can use old-fashioned oats but pulse them slightly in a food processor if you like a finer texture.
- Honey (⅓ cup / 113 g) – Acts as a natural sweetener and binder. Maple syrup works well as a vegan alternative.
- Ground flaxseed (2 tbsp / 14 g) – Adds a subtle nutty flavor and extra fiber; optional but recommended.
- Vanilla extract (1 tsp / 5 ml) – Just a splash to brighten the flavors.
- Ground cinnamon (½ tsp / 1 g) – Adds warmth and depth without extra calories.
- Mini chocolate chips (¼ cup / 45 g) – Optional, but they bring a fun, melty surprise in every bite.
- Salt (a pinch) – Balances sweetness and enhances overall flavor.
If you want to customize, feel free to swap peanut butter for almond or sunflower butter for allergy-friendly versions. For gluten-free diets, choose certified gluten-free oats. And if you’re after a bit more protein, stir in a scoop of your favorite protein powder—just remember to adjust the honey slightly if it feels too dry.
Equipment Needed
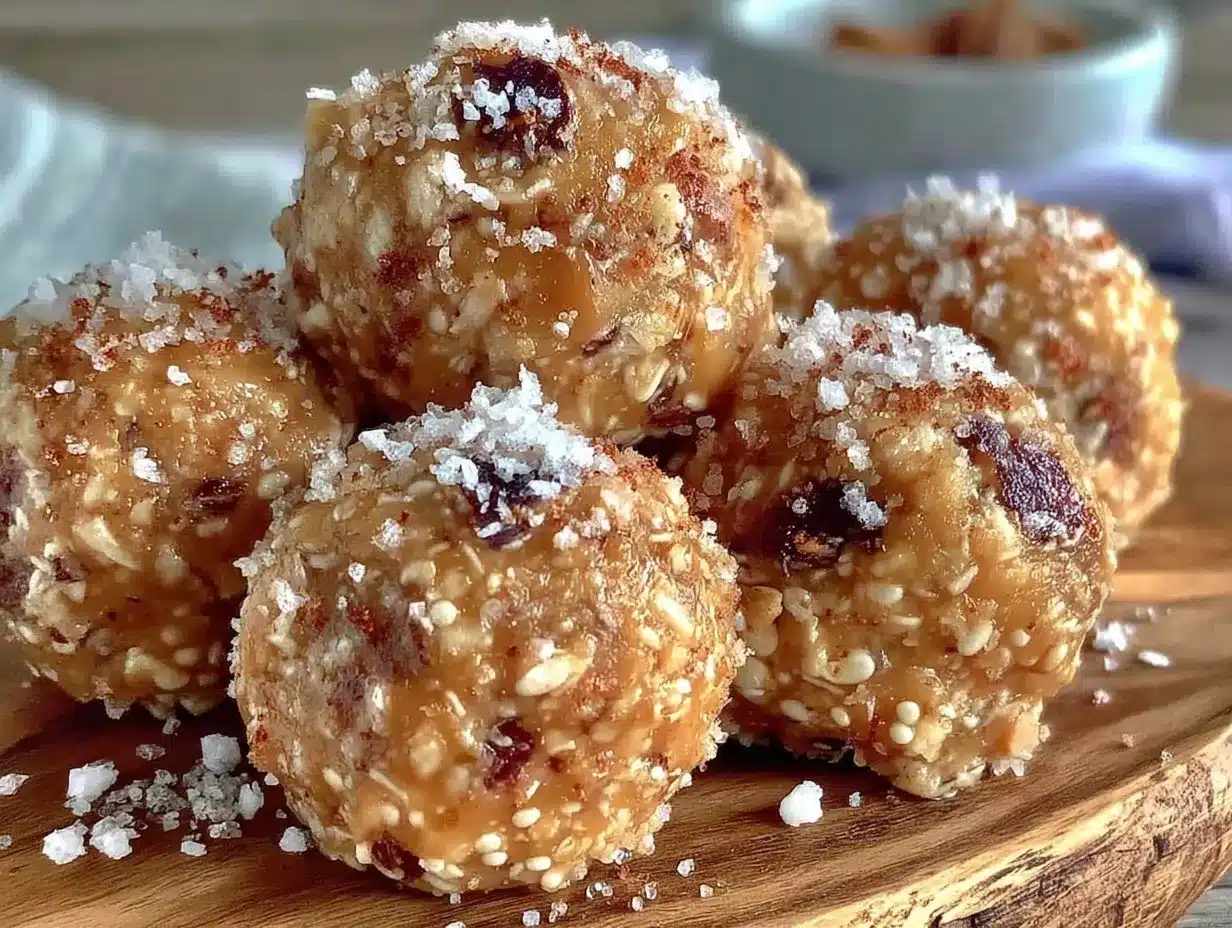
- Mixing bowl – A medium to large bowl to combine all ingredients.
- Spoon or spatula – For stirring the sticky mixture.
- Measuring cups and spoons – Accuracy helps, especially with the wet ingredients.
- Food processor (optional) – Handy if you want to pulse the oats or blend flaxseed finely, but not necessary.
- Baking sheet or plate – To place the shaped balls before chilling.
- Plastic wrap or airtight container – For storage after the balls are ready.
If you don’t have a food processor, no worries! I’ve made these countless times just mixing by hand. Using a silicone spatula helps scrape every bit of the sticky mixture. For budget-friendly prep, an old-fashioned wooden spoon works just fine. Also, if you want to speed things up, a small cookie scoop helps make even-sized balls quickly.
Preparation Method
- Gather and measure all ingredients. Having everything ready keeps the process smooth and mess-free. (Approx. 5 minutes)
- Mix the peanut butter and honey. In your bowl, stir together 1 cup (240 ml) creamy peanut butter and ⅓ cup (113 g) honey until smooth and well combined. If the peanut butter is cold, microwaving for 15 seconds helps make mixing easier.
- Add vanilla extract and cinnamon. Pour in 1 tsp (5 ml) vanilla and ½ tsp (1 g) cinnamon, then stir to blend the flavors evenly.
- Incorporate oats and flaxseed. Add 1 ½ cups (135 g) rolled oats and 2 tbsp (14 g) ground flaxseed. Mix thoroughly; the mixture will thicken and become sticky. Don’t worry if it looks crumbly—that’s normal. (Approx. 3 minutes)
- Fold in mini chocolate chips and a pinch of salt. Stir in ¼ cup (45 g) chocolate chips (optional) and a pinch of salt to balance the sweetness.
- Shape the energy balls. Using your hands or a small cookie scoop, form the mixture into 1-inch (2.5 cm) balls. Place them on a baking sheet or plate lined with parchment paper. (Approx. 10 minutes)
- Chill to set. Refrigerate the balls for at least 30 minutes to firm up. They’ll hold their shape better and taste fresher cold.
- Store properly. Transfer to an airtight container and keep refrigerated for up to one week, or freeze for longer storage.
If the mixture feels too sticky to handle, add a tablespoon more oats and chill a bit longer. If too dry, a teaspoon of water or extra honey helps bring it together. When rolling, dampen your hands slightly to prevent sticking. You’ll know they’re ready when they hold together without crumbling or getting mushy.
Cooking Tips & Techniques
Honestly, making no-bake peanut butter energy balls is almost foolproof, but a few tricks can make your batch even better:
- Peanut Butter Quality Matters: Use a natural-style peanut butter with just peanuts and salt. The flavor difference is noticeable, and it keeps the balls from getting overly sweet or greasy.
- Oats Texture: Quick oats blend more smoothly, but if you prefer more chew, old-fashioned oats work fine. Pulse them lightly in a food processor for a softer texture.
- Mixing Temperature: If your peanut butter or honey is too cold, the mixture can be tough to combine. Warm slightly to room temperature or microwave briefly.
- Rolling Tips: Slightly wet your hands to stop the mixture from sticking when shaping the balls. It also helps them get smoother and more uniform.
- Storage: Keep the energy balls cold to maintain their shape and freshness. If storing at room temperature, eat within a day or two to avoid them becoming too soft.
One time, I accidentally doubled the cinnamon and thought I ruined the batch—turns out, it gave a cozy, spicy kick that my kids loved. Letting the mixture chill before rolling also makes handling much easier, so don’t skip that step if your hands are getting tired. These little details really help make the whole process enjoyable and consistent.
Variations & Adaptations
You can customize these energy balls in so many ways to fit your taste or dietary needs:
- Chocolate Lover’s Twist: Add 2 tbsp (30 g) cocoa powder and replace honey with maple syrup for a vegan chocolate peanut butter version.
- Nut-Free Option: Swap peanut butter for sunflower seed butter to keep it allergy-friendly without sacrificing flavor.
- Boost Protein: Stir in ¼ cup (30 g) protein powder of your choice—vanilla or chocolate work great. Adjust honey slightly if too dry.
- Seasonal Flair: Mix in dried cranberries or chopped dates instead of chocolate chips for a fruity touch, especially nice in fall or winter.
- Spice it Up: Add a pinch of cayenne pepper or ginger for a subtle spicy warmth that surprises your palate.
Personally, I once tried a batch with shredded coconut and swapped oats for quinoa flakes—different texture, but honestly, still tasty and fun for a change. Feel free to experiment with what’s in your pantry or what your family loves; these energy balls are super flexible.
Serving & Storage Suggestions
Serve these peanut butter energy balls chilled or at room temperature—they’re delicious both ways. For lunchboxes, pack them in small reusable containers or wrap individually with parchment paper to keep them from sticking together.
They pair well with fresh fruit, a glass of milk, or even a cup of tea for a quick afternoon boost. If you enjoy savory snacks, try them alongside crunchy veggie sticks or a cheese slice for balance.
Store leftover energy balls in an airtight container in the fridge for up to a week. For longer storage, freeze them in a single layer on a baking sheet, then transfer to a freezer bag for up to three months. Thaw in the fridge overnight before eating.
Over time, the flavors meld and deepen, making them taste even better after a day or two. Just give them a quick stir in the container if they settle or firm up too much.
Nutritional Information & Benefits
Each no-bake peanut butter energy ball (based on 20 balls per batch) offers approximately:
| Nutrient | Amount |
|---|---|
| Calories | 90 kcal |
| Protein | 3 g |
| Fat | 6 g |
| Carbohydrates | 7 g |
| Fiber | 1.5 g |
| Sugar | 4 g (natural sugars from honey) |
Peanut butter provides heart-healthy fats and protein, while oats add fiber and slow-release energy. The flaxseed contributes omega-3 fatty acids and additional fiber, supporting digestion and heart health. This recipe is naturally gluten-free if you choose certified oats and can be made vegan by swapping honey for maple syrup. Just watch for nut allergies and adjust accordingly.
From a wellness perspective, these energy balls offer a satisfying yet balanced snack that helps keep energy steady through busy afternoons without the crash from processed sugars.
Conclusion
If you’re looking for a quick, tasty, and wholesome snack to keep lunchboxes happy and energy up, these easy no-bake peanut butter energy balls are a fantastic choice. They’re forgiving to make, customizable, and perfect for those hectic days when baking feels impossible. I love these because they remind me that sometimes, the best recipes come from little kitchen mishaps and a bit of patience. Whether you’re packing school lunches, meal prepping for yourself, or need a grab-and-go snack, these energy balls hit the spot every time.
Give them a try, tweak them to your taste, and let me know how they turn out in your kitchen. Sharing your favorite adaptations or questions in the comments always makes my day. Happy snacking!
Frequently Asked Questions
Can I make these energy balls nut-free?
Yes, swap the peanut butter for sunflower seed butter or tahini to make them nut-free. Just check that all other ingredients are safe for your allergy needs.
How long do these energy balls last?
Stored in an airtight container in the fridge, they last up to one week. For longer storage, freeze them for up to three months.
Can I use crunchy peanut butter?
Absolutely! Crunchy peanut butter adds extra texture and a bit of nutty crunch to the balls.
Are these energy balls suitable for kids?
Definitely. They’re a popular lunchbox snack for kids and adults alike—just watch for any nut allergies.
Can I add protein powder to increase nutrition?
Yes, adding a scoop of your favorite protein powder works well. You may need to adjust the wet ingredients slightly if the mixture feels dry.
And if you love this recipe, you might find my crispy garlic chicken perfect for quick dinners, or try the homemade vegetable soup for cozy meal ideas that complement these snacks beautifully.
Pin This Recipe!
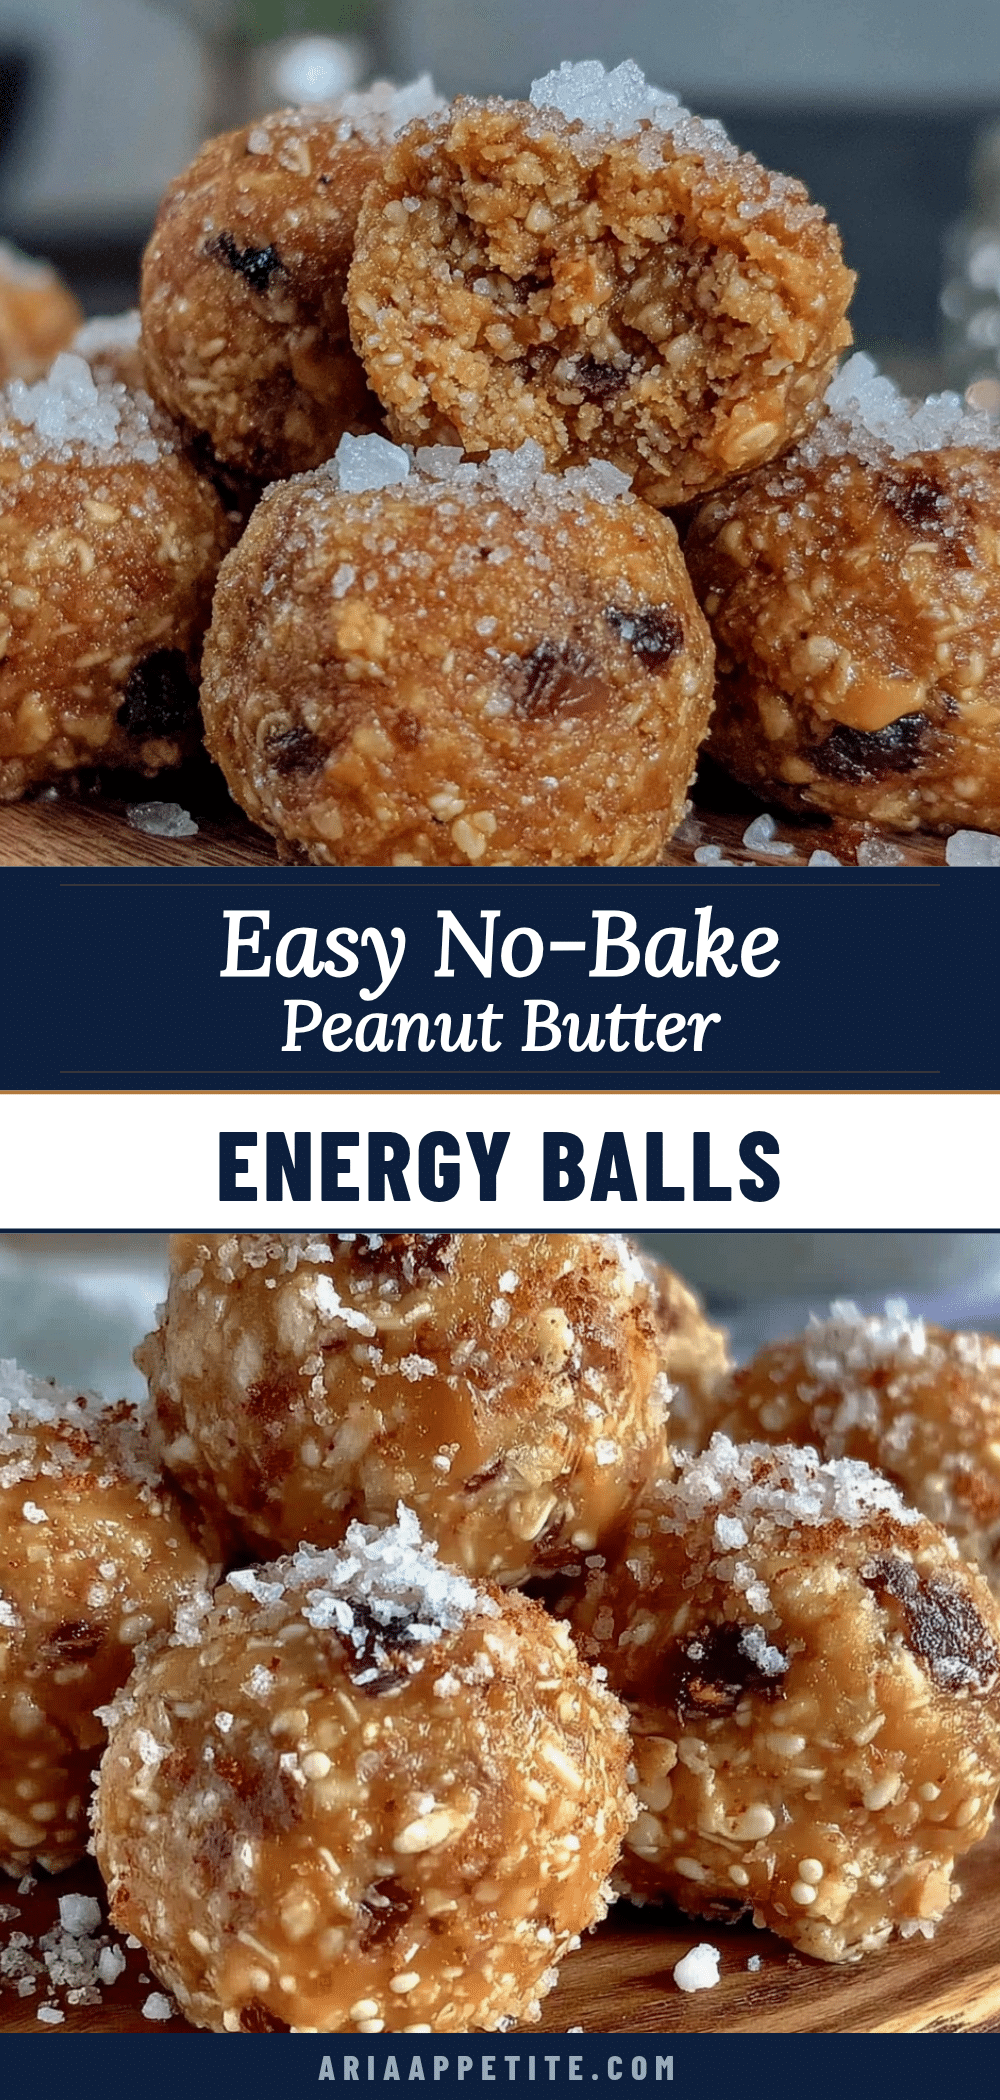
Easy No-Bake Peanut Butter Energy Balls

These no-bake peanut butter energy balls are quick, easy, and perfect for lunchboxes or a healthy snack. They combine peanut butter, oats, honey, and a few pantry staples into chewy, bite-sized treats that require no baking.
- Prep Time: 15 minutes
- Cook Time: 0 minutes
- Total Time: 45 minutes
- Yield: 20 balls 1x
- Category: Snack
- Cuisine: American
Ingredients
- 1 cup creamy or chunky peanut butter (240 ml)
- 1 ½ cups rolled oats (135 g)
- ⅓ cup honey (113 g)
- 2 tbsp ground flaxseed (14 g) – optional but recommended
- 1 tsp vanilla extract (5 ml)
- ½ tsp ground cinnamon (1 g)
- ¼ cup mini chocolate chips (45 g) – optional
- Pinch of salt
Instructions
- Gather and measure all ingredients (approx. 5 minutes).
- Mix the peanut butter and honey in a bowl until smooth and well combined. If peanut butter is cold, microwave for 15 seconds to soften.
- Add vanilla extract and cinnamon, then stir to blend evenly.
- Incorporate oats and ground flaxseed, mixing thoroughly until the mixture thickens and becomes sticky (approx. 3 minutes).
- Fold in mini chocolate chips and a pinch of salt.
- Shape the mixture into 1-inch balls using your hands or a small cookie scoop. Place on a baking sheet or plate lined with parchment paper (approx. 10 minutes).
- Refrigerate the balls for at least 30 minutes to set.
- Store in an airtight container in the fridge for up to one week or freeze for longer storage.
Notes
If mixture is too sticky, add a tablespoon more oats and chill longer. If too dry, add a teaspoon of water or extra honey. Slightly wet hands when rolling to prevent sticking. Use natural peanut butter for best flavor and texture. Store refrigerated or freeze for longer shelf life.
Nutrition
- Serving Size: 1 energy ball
- Calories: 90
- Sugar: 4
- Fat: 6
- Carbohydrates: 7
- Fiber: 1.5
- Protein: 3
Keywords: no-bake, peanut butter, energy balls, healthy snack, lunchbox snack, quick snack, easy recipe, gluten-free, vegan option