Love this? Save it for later!
Share the inspiration with your friends
I was standing in the checkout line at the hardware store—of all places—when the guy behind me, who I’d only ever seen buying lawn fertilizer, started talking about nachos. Not just any nachos, mind you. He had this look in his eye like he was about to share the combination to a safe. “You need a sheet pan,” he said, gesturing with a bag of mulch. “And you need to stop building them one chip at a time.” I blinked at him, holding a new spatula I didn’t really need, and listened to a complete stranger explain why my game-day snack game was fundamentally flawed. Honestly, it was the most passionate I’d ever seen anyone get about melted cheese.
His name was Dave, and he was the quiet neighbor three houses down—the one who waves but never stops to chat. Turns out, Dave had been perfecting his sheet-pan nacho method for years, ever since his college roommate (a line cook, apparently) showed him the trick. The secret, he told me, was abandoning the individual chip approach entirely. You spread everything out on one pan, you bake it all at once, and you end up with a glorious, chaotic landscape of crunch and melted cheese that feeds a crowd without making you crazy. Maybe you’ve been there—standing in an aisle surrounded by paint samples, suddenly realizing you’ve been doing something simple the hard way for way too long.
I went home that afternoon, grabbed a sheet pan, and made these Easy Loaded Sheet-Pan Nachos for Game Day. Let me tell you, Dave was right. The chips get perfectly toasted on the edges, the cheese melts into every crevice, and the whole thing comes together in about 15 minutes. I’ve made this for every game since, and I keep making it because it’s the kind of snack that disappears before the first quarter ends. No fuss, no layering individual chips, no sad dry corners. Just a pan full of everything you want in a game-day bite.
Why You’ll Love This Recipe
I’ve tested this recipe more times than I care to admit—through burnt edges, soggy middles, and one memorable incident where I forgot the cheese entirely (don’t ask). What I landed on is a method that works every single time. Here’s why this version stands out:
- Quick & Easy: From fridge to table in 15 minutes flat. That’s faster than ordering delivery, and honestly, it tastes better.
- Simple Ingredients: You probably have most of this in your kitchen right now. No hunting down specialty items at three different stores.
- Perfect for Game Day: It feeds a crowd, it’s hands-off after the initial prep, and it stays warm on the pan for a good 20 minutes. You can actually watch the game.
- Crowd-Pleaser: I’ve served these to picky eaters, vegetarians, and hardcore meat-lovers. The pan comes back empty every single time.
- Unbelievably Delicious: The edges get crispy, the middle stays gooey, and every chip gets some love. No more fighting over the loaded ones.
What makes this different from every other nacho recipe out there is the technique. Most recipes have you build individual chips, which is tedious and leaves you with uneven results. This method uses the whole sheet pan as your canvas—you spread everything in an even layer, and the oven does the heavy lifting. The chips on the edges get that perfect golden-brown crunch, while the ones in the center soak up all the good stuff. It’s not just another version; it’s the version that actually works for a crowd.
This is the kind of snack that makes you close your eyes after the first bite. It’s comfort food at its finest—salty, crunchy, cheesy, and completely satisfying. And because it comes together so fast, you can spend less time in the kitchen and more time cheering for your team.
What Ingredients You Will Need
This recipe uses simple, everyday ingredients to create something that tastes way more impressive than it should. Most of these are pantry staples or easy to find at any grocery store.
- Tortilla chips (1 large 13-ounce bag, restaurant-style or thick-cut)—Look for sturdy chips that can hold up to the toppings. I personally prefer the Tostitos Scoops for maximum topping capture, but any thick chip works.
- Ground beef (1 pound, 80/20 or 85/15)—The fat adds flavor and keeps the meat juicy. You can also use ground turkey or plant-based crumbles if you prefer.
- Taco seasoning (1 packet or 3 tablespoons homemade)—I use the Ortega packet for convenience, but a mix of chili powder, cumin, garlic powder, and paprika works beautifully.
- Shredded Mexican blend cheese (2 cups, about 8 ounces)—Pre-shredded is fine, but freshly shredded melts smoother. I like the Kraft Mexican blend for the mix of cheddar, Monterey Jack, and asadero.
- Shredded cheddar cheese (1 cup, sharp or medium)—Adds that extra punch of flavor. I use Tillamook sharp cheddar when I’m feeling fancy.
- Black beans (1 can, 15 ounces, drained and rinsed)—Adds fiber and makes the nachos more filling. You can skip these if you’re not a bean fan.
- Roma tomatoes (2 medium, diced)—Fresh tomato adds brightness and cuts through the richness.
- Jalapeños (2-3, sliced, seeds removed for less heat)—For that essential kick. Pickled jalapeños from a jar work great too.
- Black olives (1/2 cup, sliced, drained)—Optional but highly recommended for that classic nacho flavor.
- Sour cream (1/2 cup, for serving)—Full-fat or Greek yogurt both work. I like Daisy sour cream for the thick texture.
- Guacamole or sliced avocado (1 cup or 2 avocados, for serving)—Adds creaminess and healthy fats.
- Fresh cilantro (1/4 cup, chopped, for garnish)—Brightens everything up. If you’re a cilantro-hater, use fresh parsley or skip it.
- Lime wedges (2-3, for serving)—A squeeze of lime right before eating makes all the difference.
For the meat, look for ground beef that’s not too lean—the fat helps the seasoning stick and keeps the meat from drying out. If you’re using a plant-based alternative, cook it a little longer to get some browning before adding the seasoning.
Equipment Needed
You don’t need much for this recipe, and I’ve learned a few tricks about the tools that make the process smoother.
- Sheet pan (half-sheet, 13×18 inches)—This is non-negotiable. A half-sheet pan fits perfectly in most ovens and gives you enough space for an even layer of chips. I use the Nordic Ware aluminum half-sheet pan—it’s affordable, doesn’t warp, and cleans up easily.
- Large skillet (12-inch)—For browning the beef. A non-stick or stainless steel skillet works fine. Cast iron is great if you have it.
- Spatula or wooden spoon—For breaking up the meat as it cooks.
- Chef’s knife and cutting board—For dicing tomatoes, slicing jalapeños, and chopping cilantro.
- Small bowls—For holding prepped toppings. This isn’t strictly necessary, but it makes assembly way less chaotic.
- Aluminum foil or parchment paper—Lining the pan makes cleanup a breeze. I prefer parchment because nothing sticks to it.
If you don’t have a half-sheet pan, a 9×13 baking dish works in a pinch—just know the chips will be more crowded and might not get as crispy on the edges. I’ve also used two smaller baking sheets in a pinch, rotating them halfway through.
Preparation Method
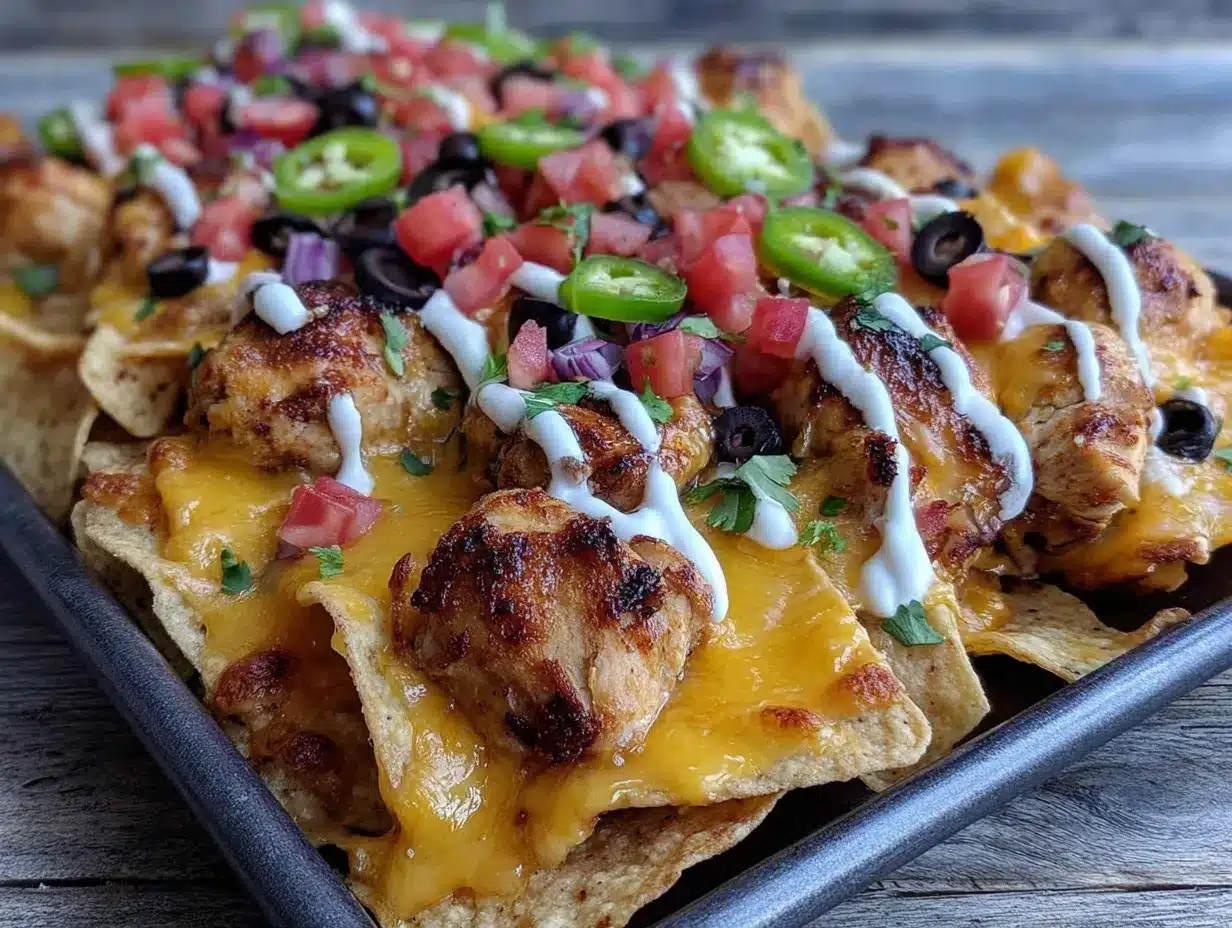
This comes together fast, so I like to have everything prepped and ready before I turn on the oven. Trust me on this—once you start assembling, you won’t want to stop to chop a tomato.
- Preheat your oven to 400°F (200°C). Line your sheet pan with aluminum foil or parchment paper. I use parchment because it doesn’t stick and makes cleanup almost effortless.
- Cook the ground beef. Place your large skillet over medium-high heat. Add the ground beef and break it apart with a spatula. Cook for 5-6 minutes, stirring occasionally, until it’s browned and no longer pink. The sizzle should be steady but not aggressive—if it’s smoking, turn the heat down slightly.
- Season the beef. Drain off any excess grease (leave about a tablespoon for flavor). Add the taco seasoning and 1/4 cup of water. Stir well and let it simmer for 2-3 minutes until the liquid thickens and coats the meat. You want it moist but not soupy. Taste it—it should be salty, spicy, and deeply savory.
- Spread the chips on the sheet pan. Dump the entire bag of tortilla chips onto the lined pan. Spread them in an even, single layer as much as possible. Some overlap is fine, but try to keep it to one chip deep. The edges should have chips that are mostly flat—these will get the crispiest.
- Add the beans and meat. Sprinkle the drained black beans evenly over the chips. Then spoon the seasoned ground beef over the top. Don’t dump it all in one spot—distribute it so every handful of chips gets some meat and beans.
- Layer on the cheese. Sprinkle the Mexican blend cheese and cheddar cheese evenly over everything. This is where you want to be generous—the cheese acts as the glue that holds everything together. Make sure the edges get some cheese too; it’ll melt and create those crispy, lacy bits that are the best part.
- Add the jalapeños and olives. Scatter the sliced jalapeños and black olives over the cheese. If you want less heat, use pickled jalapeños and pat them dry first.
- Bake for 8-10 minutes. Place the sheet pan in the preheated oven. Bake until the cheese is fully melted and bubbly, and the chips around the edges are golden brown. Keep an eye on it after 8 minutes—you want the cheese melted but not burnt. The chips should look toasted, not dark.
- Remove and top with fresh ingredients. Take the pan out of the oven (use oven mitts—that pan is hot). Immediately sprinkle the diced tomatoes over the top. The heat from the nachos will warm them slightly without making them soggy.
- Add the finishing touches. Dollop sour cream in small spoonfuls across the pan. Add spoonfuls of guacamole or arrange sliced avocado on top. Sprinkle the chopped cilantro over everything. Squeeze a lime wedge or two over the whole pan—the acidity brightens all the rich flavors.
- Serve immediately. Place the sheet pan in the center of the table with extra bowls of sour cream, guacamole, and lime wedges on the side. Let everyone dig in with their hands or small plates. The pan stays warm for about 20 minutes, so seconds are easy.
A note on timing: If you’re making this for a party, prep all your toppings ahead of time and store them in the fridge. Then you just need to cook the beef and assemble. The whole active cooking time is about 10 minutes, plus the bake time.
Cooking Tips & Techniques
I’ve made this recipe more times than I can count, and I’ve learned a few things the hard way. Here’s what I wish someone had told me.
Don’t overload the pan. I know it’s tempting to pile on as many chips as possible, but overcrowding leads to soggy nachos. You want a single layer of chips with some breathing room. If you’re feeding a big crowd, use two sheet pans and bake them one after the other, or bake them simultaneously on different racks (swap positions halfway through).
Toast the chips first if you want extra crunch. This is a pro tip from Dave himself. Spread the chips on the sheet pan and bake them for 3-4 minutes before adding any toppings. This dries them out slightly and makes them more resistant to sogginess. I do this when I’m using thinner chips or if I know the nachos will sit out for a while.
Use room-temperature cheese. Cold cheese takes longer to melt, and by the time it’s fully melted, the chips might be overdone. Take the cheese out of the fridge 15 minutes before you start assembling. It makes a noticeable difference in how evenly everything melts.
Layer strategically. Cheese goes on top of the meat and beans, not underneath. This creates a barrier that protects the chips from getting soggy from the meat juices. I learned this after one particularly sad batch where the bottom chips were basically mush.
Watch the edges. The chips on the perimeter of the pan cook faster than the ones in the center. If you notice the edges browning too quickly, you can rotate the pan halfway through baking. I usually check at the 6-minute mark and rotate if needed.
Let it rest for 2 minutes after baking. I know you want to dive in immediately, but giving the nachos a couple of minutes to set allows the cheese to firm up slightly. This prevents everything from sliding off when you grab a chip. Trust me on this one—I’ve burned my mouth more times than I’d like to admit.
Variations & Adaptations
One of the best things about this recipe is how adaptable it is. I’ve tried several variations over the years, and here are my favorites.
Vegetarian Sheet-Pan Nachos: Skip the ground beef and double up on the black beans. Add roasted corn, bell peppers, and diced zucchini for extra texture. I’ve also used crumbled tofu seasoned with taco seasoning—it’s surprisingly good and mimics the texture of ground meat.
Chicken or Pork Nachos: Swap the ground beef for shredded rotisserie chicken or pulled pork. Warm the meat in the skillet with the taco seasoning and a splash of chicken broth before adding it to the chips. This version is especially good with a drizzle of crema or ranch dressing on top.
Breakfast Nachos: This is my secret weekend indulgence. Use the same base but top with scrambled eggs, crumbled bacon, and a drizzle of hot sauce. Bake for 8 minutes, then add fresh pico de gallo and avocado. It’s ridiculous and wonderful.
Low-Carb Option: Replace the tortilla chips with pork rinds or baked cheese crisps. The cooking time stays the same, but keep an eye on the cheese crisps—they brown faster. I’ve also used sliced bell peppers as the base for a completely grain-free version.
Spicy Version: Add a teaspoon of chipotle powder to the taco seasoning, use pepper jack cheese instead of cheddar, and top with fresh habanero slices if you’re brave. I once made this for a group of friends who claimed they could handle heat—the pan was empty in 10 minutes, and nobody complained.
Seasonal Twist: In the summer, I add fresh corn kernels straight off the cob and diced mango for sweetness. In the fall, roasted butternut squash cubes and a sprinkle of pumpkin seeds add warmth and crunch. The base recipe is so forgiving that you can really play with what’s in season.
Serving & Storage Suggestions
These nachos are best served fresh from the oven, but I’ve learned a few tricks for making them work for different situations.
Serving temperature: Serve immediately while the cheese is hot and stretchy. The pan stays warm for about 20 minutes on the counter, which is perfect for grazing during a game. If you’re serving them buffet-style, keep the pan on a warming tray or in a low oven (200°F) to maintain temperature.
Presentation: Place the sheet pan on a trivet in the center of the table. I like to surround it with small bowls of extra toppings—sour cream, guacamole, salsa, and extra jalapeños. Let everyone customize their own plate. It makes the meal feel interactive and fun.
What to serve alongside: These nachos are a meal on their own, but they pair beautifully with a simple side salad dressed with lime vinaigrette. The acidity cuts through the richness. For drinks, cold beer (a light lager or Mexican cerveza) is the classic choice. Margaritas work too, obviously.
Storage: Leftover nachos are tricky because the chips lose their crunch. If you have leftovers, store them in an airtight container in the refrigerator for up to 2 days. To reheat, spread them on a sheet pan and bake at 350°F for 5-7 minutes. They won’t be as crispy as fresh, but they’re still tasty. I’ve also repurposed leftovers into a nacho casserole—layer the leftovers with extra cheese in a baking dish and bake until bubbly.
Freezer instructions: I don’t recommend freezing fully assembled nachos—the texture suffers too much. However, you can freeze the seasoned ground beef separately for up to 3 months. Thaw it in the fridge overnight, then reheat and assemble fresh chips. This cuts the prep time in half for future game days.
Flavor development: Unlike soups or stews, nachos don’t improve with time. The magic is in that first bite when the chips are crunchy, the cheese is molten, and everything is perfectly warm. That’s why I always make them fresh and encourage everyone to eat immediately. No shame in going back for seconds.
Nutritional Information & Benefits
Let’s be honest—nachos aren’t health food, but they’re not devoid of redeeming qualities either. Here’s a rough breakdown per serving (about 1/6 of the pan):
- Calories: Approximately 450-550
- Protein: 22-28 grams (from beef, cheese, and beans)
- Fat: 28-35 grams (mostly from cheese, beef, and avocado)
- Carbohydrates: 35-45 grams (from chips and beans)
- Fiber: 6-8 grams (thanks to beans and avocado)
- Sodium: 800-1000 mg (can be reduced by using low-sodium beans and seasoning)
The black beans add a solid dose of fiber and plant-based protein, which helps keep you full. The tomatoes and cilantro provide vitamins A and C, plus antioxidants. Avocado brings healthy monounsaturated fats that are good for heart health. The calcium from the cheese is a bonus for bone health.
If you’re watching your sodium, use homemade taco seasoning (which lets you control the salt) and low-sodium canned beans. You can also reduce the cheese slightly and add more fresh vegetables to lighten things up. For a lower-fat version, use lean ground turkey and reduced-fat cheese—it won’t be as indulgent, but it’ll still hit the spot.
This recipe is naturally gluten-free if you use certified gluten-free tortilla chips. It’s also easy to make dairy-free by using plant-based cheese and skipping the sour cream. I’ve tried both versions, and while they’re different, they’re still delicious in their own right.
Conclusion
I’ve made these Easy Loaded Sheet-Pan Nachos for Game Day more times than I can count, and they never get old. There’s something about pulling that sheet pan out of the oven—bubbling cheese, crispy edges, the smell of taco seasoning filling the kitchen—that feels like a small victory. And honestly, that’s what game day is about, right? Good food, good company, and the simple joy of sharing something delicious.
What I love most about this recipe is how forgiving it is. You can customize it based on what you have in the fridge, adjust the spice level to your crowd, and it still turns out great. It’s the kind of recipe that makes you look like a hero without actually doing much work. And let’s face it—we could all use more of those in our lives.
I’d love to hear how yours turn out. Did you add something unexpected? Did your crowd demolish the pan in record time? Drop a comment below and let me know—I read every single one. And if you have a friend who’s still building nachos one chip at a time, share this recipe with them. They’ll thank you later.
Now go make some nachos. Your game day spread is about to get a whole lot better.
Frequently Asked Questions
Can I make these nachos ahead of time?
I don’t recommend assembling them fully ahead, as the chips will get soggy. However, you can prep all the toppings and cook the ground beef up to 2 days in advance. Store everything separately in the fridge, then assemble and bake when you’re ready to serve.
What’s the best chip for sheet-pan nachos?
Restaurant-style or thick-cut tortilla chips work best. They’re sturdy enough to hold the toppings without breaking. I avoid thin or “restaurant-style” chips that are too delicate—they tend to get soggy quickly. Scoop-shaped chips are great for catching all the good stuff.
How do I keep the chips from getting soggy?
Spread the chips in a single layer, don’t overload the pan, and use room-temperature cheese. Toasting the chips for 3-4 minutes before adding toppings also helps. And remember—cheese goes on top of the meat and beans, not underneath, to create a barrier against moisture.
Can I use a different protein instead of ground beef?
Absolutely. Shredded chicken, pulled pork, ground turkey, or plant-based crumbles all work beautifully. Just cook the protein with the taco seasoning before adding it to the chips. Rotisserie chicken is a great shortcut—just shred it and warm it in the skillet with seasoning.
How do I reheat leftover nachos without ruining them?
Spread leftovers on a sheet pan and bake at 350°F for 5-7 minutes. This helps restore some crunch to the chips. Avoid using the microwave—it makes everything soggy and sad. If you have a toaster oven, that works even better for small portions.
Pin This Recipe!
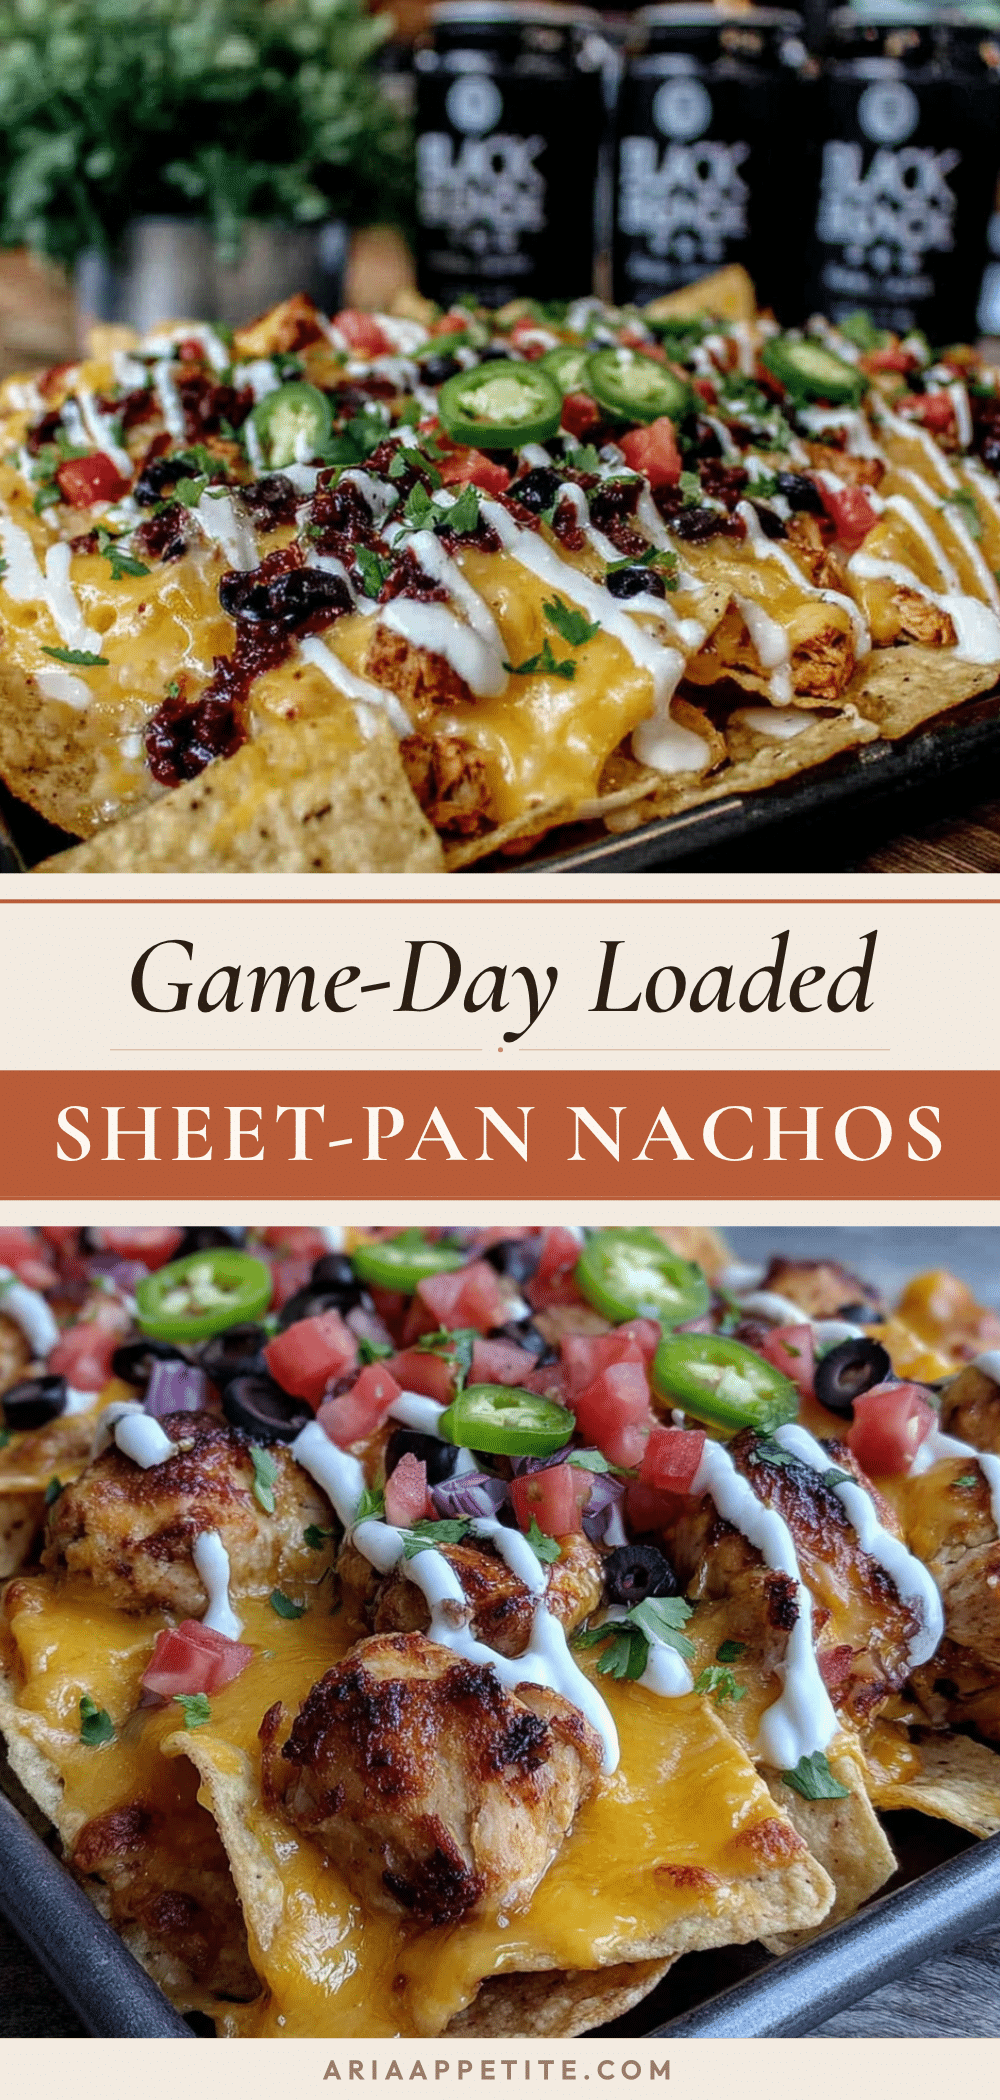
Easy Loaded Sheet-Pan Nachos: Best 15-Min Game Day Snack

These Easy Loaded Sheet-Pan Nachos are the ultimate game day snack, ready in just 15 minutes. With crispy chips, seasoned ground beef, melted cheese, and all your favorite toppings, this crowd-pleasing recipe is perfect for feeding a hungry crowd without the fuss.
- Prep Time: 10 minutes
- Cook Time: 10 minutes
- Total Time: 20 minutes
- Yield: 6 servings 1x
- Category: Appetizer
- Cuisine: Mexican-American
Ingredients
- 1 large (13-ounce) bag tortilla chips (restaurant-style or thick-cut)
- 1 pound ground beef (80/20 or 85/15)
- 1 packet (or 3 tablespoons) taco seasoning
- 2 cups (8 ounces) shredded Mexican blend cheese
- 1 cup shredded cheddar cheese (sharp or medium)
- 1 can (15 ounces) black beans, drained and rinsed
- 2 medium Roma tomatoes, diced
- 2–3 jalapeños, sliced (seeds removed for less heat)
- 1/2 cup sliced black olives, drained
- 1/2 cup sour cream (for serving)
- 1 cup guacamole or 2 avocados, sliced (for serving)
- 1/4 cup fresh cilantro, chopped (for garnish)
- 2–3 lime wedges (for serving)
Instructions
- Preheat your oven to 400°F (200°C). Line a half-sheet pan (13×18 inches) with aluminum foil or parchment paper.
- Cook the ground beef: Place a large skillet over medium-high heat. Add the ground beef and break it apart with a spatula. Cook for 5-6 minutes, stirring occasionally, until browned and no longer pink.
- Season the beef: Drain off excess grease (leave about 1 tablespoon). Add the taco seasoning and 1/4 cup water. Stir well and let simmer for 2-3 minutes until the liquid thickens and coats the meat.
- Spread the chips on the sheet pan in an even, single layer as much as possible.
- Sprinkle the drained black beans evenly over the chips, then spoon the seasoned ground beef over the top, distributing it evenly.
- Sprinkle the Mexican blend cheese and cheddar cheese evenly over everything, making sure the edges get some cheese.
- Scatter the sliced jalapeños and black olives over the cheese.
- Bake for 8-10 minutes, until the cheese is fully melted and bubbly and the chips around the edges are golden brown.
- Remove from the oven and immediately sprinkle the diced tomatoes over the top.
- Dollop sour cream and guacamole (or arrange sliced avocado) over the nachos. Sprinkle with chopped cilantro and squeeze lime wedges over the whole pan.
- Serve immediately, placing the sheet pan in the center of the table with extra toppings on the side.
Notes
For extra crunch, toast the chips for 3-4 minutes before adding toppings. Use room-temperature cheese for even melting. Let the nachos rest for 2 minutes after baking to allow the cheese to set. Leftovers can be stored in an airtight container in the refrigerator for up to 2 days and reheated on a sheet pan at 350°F for 5-7 minutes.
Nutrition
- Serving Size: 1/6 of the pan
- Calories: 500
- Sugar: 3
- Sodium: 900
- Fat: 31
- Saturated Fat: 12
- Carbohydrates: 40
- Fiber: 7
- Protein: 25
Keywords: sheet-pan nachos, game day snack, loaded nachos, easy nachos, 15-minute nachos, ground beef nachos


