Love this? Save it for later!
Share the inspiration with your friends
I was in the middle of a very serious argument with a bag of flour—trying to get the perfect pie crust for a Thanksgiving potluck—when my accountant, a man named Gary who I’d only ever seen in a beige office, walked into the kitchen. He was there to pick up a dish his wife had left at my neighbor’s house, and he found me covered in flour, muttering about gluten. Instead of running away, he just leaned against the counter and said, “You know, for pumpkin pie, you don’t need a heavy hand. You need it to be light. Like a cloud.” I laughed, honestly, because Gary didn’t seem like the “cloud” type. But he was serious. He told me about his grandmother’s trick—a method that involved separating eggs and folding in whipped whites. I scribbled it down on a napkin, thanked him, and made the pie. It was the first time I ever got a standing ovation for a dessert. That napkin is still in my cookbook, stained with vanilla extract. This recipe, my Light & Fluffy Homemade Pumpkin Pie from Scratch, is my perfected version of that accountant’s grandmother’s wisdom. It’s the pie that changed everything for me, and I think it might just do the same for you.
Why You’ll Love This Recipe
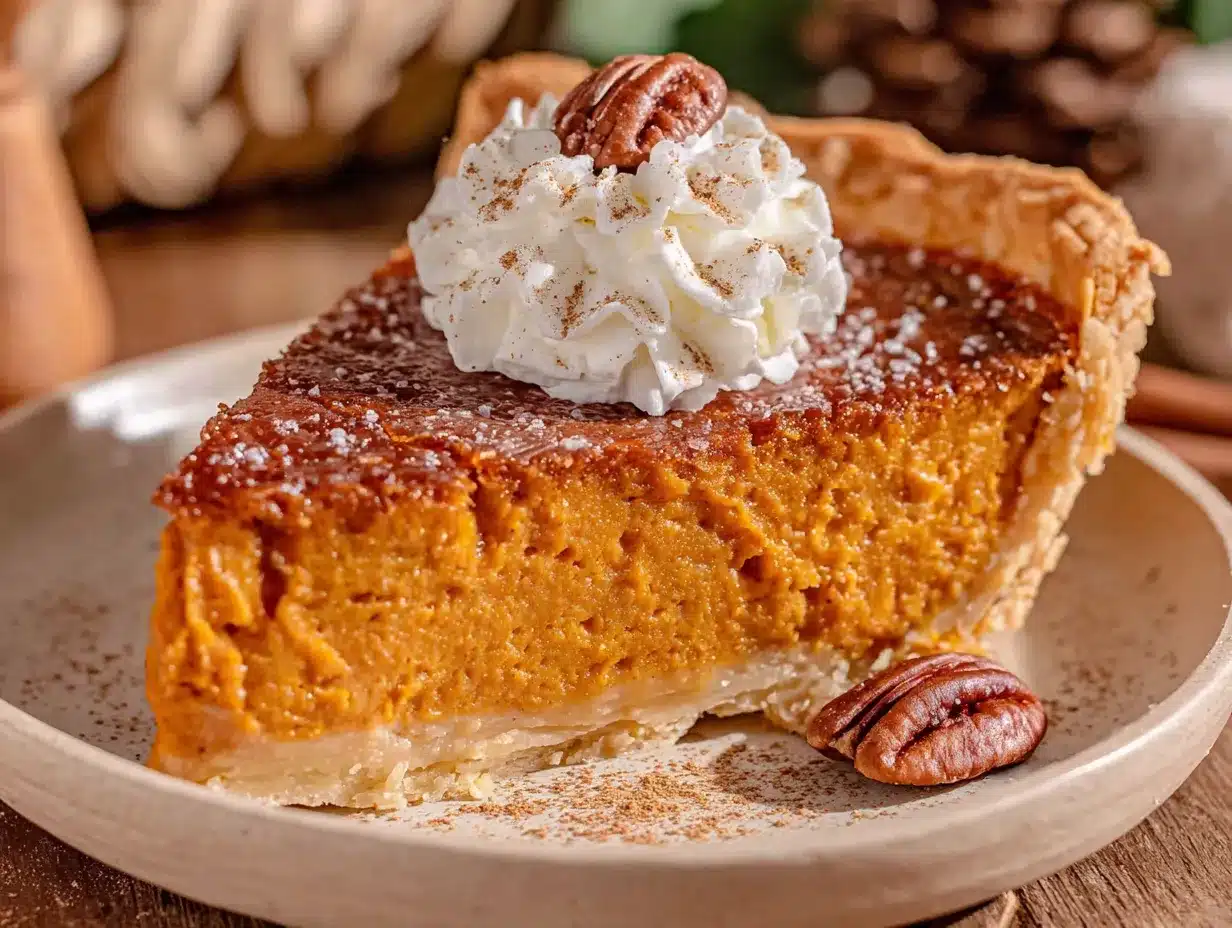
Let’s be real for a second. Most pumpkin pies are dense. They sit on your stomach like a brick after a big turkey dinner. This one doesn’t. It’s a game changer. I’ve tested this recipe at three different Thanksgivings (and one random Tuesday) to make sure it’s foolproof. It has that classic, spiced flavor you crave but with a texture that feels almost like a pumpkin mousse baked into a flaky crust.
- Quick & Easy: While the filling comes together in about 15 minutes, the real magic is in the hands-off baking. It’s mostly oven time, giving you space to tackle the rest of the meal.
- Simple Ingredients: You probably have most of these in your pantry right now. No weird, hard-to-find items. Just pumpkin, eggs, cream, and spices.
- Perfect for the Holidays: This is the star of the dessert table. It’s light enough to enjoy after a heavy meal but satisfying enough to feel like a real treat.
- Crowd-Pleaser: I’ve served it to pumpkin pie purists and pumpkin pie skeptics. Everyone loves the airy texture. It’s a conversation starter.
- Unbelievably Delicious: The secret is the whipped egg whites. They give the filling a soufflé-like lift that makes every bite melt in your mouth. It’s comfort food that feels fancy.
This isn’t just another pumpkin pie recipe. It’s the one that makes you look like a pastry chef without the stress. The texture is so unique—light, creamy, and almost fluffy—that people will ask you what you did differently. And you can just smile and say, “It’s a secret.” Or, you know, tell them about Gary the accountant.
What Ingredients You Will Need
This recipe uses simple, wholesome ingredients to create that signature light texture. The key is the separation of eggs and the quality of your pumpkin puree. Here’s what you’ll need to pull this off.
For the Pie Crust (or use a store-bought one!)
- 1 ¼ cups all-purpose flour (spooned and leveled)
- ½ teaspoon salt
- ½ cup cold unsalted butter, cubed (I prefer Kerrygold for its rich flavor)
- 3-4 tablespoons ice water
For the Light & Fluffy Filling
- 1 ¾ cups pumpkin puree (canned is fine, but make sure it’s 100% pumpkin, not pumpkin pie filling. I like Libby’s)
- ¾ cup packed light brown sugar (adds moisture and a deeper flavor)
- 2 large eggs, separated (room temperature is crucial for the whites to whip up)
- 1 ½ teaspoons pumpkin pie spice (or a mix of cinnamon, ginger, nutmeg, and cloves)
- ½ teaspoon ground cinnamon (for extra warmth)
- ½ teaspoon salt
- 1 cup heavy cream (cold)
- 1 teaspoon vanilla extract
Ingredient Tips: For the best texture, make sure your pumpkin puree is at room temperature. Cold puree can shock the mixture and make it harder to fold in the egg whites. If you can’t find pumpkin pie spice, just mix ½ teaspoon cinnamon, ¼ teaspoon ginger, ¼ teaspoon nutmeg, and an ⅛ teaspoon of cloves. Also, don’t skip the salt in the filling—it balances the sweetness and enhances the spices.
Equipment Needed
You don’t need a professional bakery setup for this, but a few key tools make the process much smoother. Here is my list of must-haves.
- 9-inch pie dish: A standard glass or ceramic dish works best. I love my old Pyrex dish for even heat distribution.
- Stand mixer or hand mixer: You need this to whip the egg whites to stiff peaks. Doing it by hand is possible, but your arm will hate you.
- Large mixing bowls: One for the dry ingredients, one for the filling base, and one for the egg whites.
- Whisk and rubber spatula: The whisk is for the filling, and the spatula is for gently folding in the egg whites without deflating them.
- Rolling pin: For the crust. If you don’t have one, a clean wine bottle works in a pinch.
- Parchment paper and pie weights: For blind baking the crust. Dry beans or rice work just as well as expensive pie weights.
Budget-Friendly Tip: If you don’t have a stand mixer, a $20 hand mixer will do the job perfectly. Also, don’t stress about the pie dish—a disposable aluminum one from the grocery store will work fine, though the crust might not get as golden on the bottom.
Preparation Method
This method is broken down into simple steps. Take your time with the folding—it’s the most important part for achieving that light texture. Let’s get started.
Step 1: Make the Pie Crust (or Prep Your Store-Bought One)
In a large bowl, whisk together the flour and salt. Add the cold, cubed butter. Using a pastry cutter or your fingertips, work the butter into the flour until it resembles coarse meal with some pea-sized butter lumps. Drizzle in the ice water, one tablespoon at a time, mixing with a fork until the dough just comes together. It should be shaggy, not wet. Form it into a disc, wrap in plastic, and refrigerate for at least 1 hour. This step is crucial—it relaxes the gluten and keeps the crust tender.
Step 2: Blind Bake the Crust
Preheat your oven to 375°F (190°C). On a floured surface, roll the dough out to a 12-inch circle. Carefully transfer it to your pie dish, gently pressing it into the corners. Trim the edges and crimp as desired. Line the crust with parchment paper and fill with pie weights or dried beans. Bake for 15 minutes. Remove the paper and weights, then bake for another 5-7 minutes until the bottom looks dry and lightly golden. Set aside to cool slightly. This prevents a soggy bottom.
Step 3: Make the Pumpkin Filling Base
Lower the oven temperature to 350°F (175°C). In a large bowl, whisk together the pumpkin puree, brown sugar, egg yolks (save the whites!), pumpkin pie spice, cinnamon, and salt until smooth. Slowly whisk in the heavy cream and vanilla extract. The mixture should be thick and aromatic. Set it aside.
Step 4: Whip the Egg Whites
In a completely clean, dry bowl (a speck of grease will ruin the whites), beat the egg whites on high speed until stiff peaks form. This means when you lift the beater, the whites stand up straight without flopping over. It usually takes about 3-4 minutes with a stand mixer. Don’t over-whip them, or they’ll become dry and grainy.
Step 5: Fold and Assemble
This is the magic step. Take a large spoonful of the whipped egg whites and stir it into the pumpkin base to lighten it up. This is called “sacrificing.” Then, gently fold in the remaining egg whites using a rubber spatula. Use a cutting motion down the middle of the bowl, then scoop up the mixture from the bottom and fold it over the top. Rotate the bowl and repeat. Do this until no white streaks remain. The batter will be very airy and voluminous. Pour it into the pre-baked crust.
Step 6: Bake to Perfection
Bake the pie for 45-55 minutes. The edges should be set, but the center will still jiggle slightly when you gently shake the pan. It should look puffed and golden. If the crust is browning too quickly, tent the edges with foil or a pie shield after 20 minutes. Let the pie cool completely on a wire rack for at least 2 hours. The center will continue to set as it cools. Do not cut it while it’s warm—it will be too soft.
Cooking Tips & Techniques
I’ve made this pie about a dozen times, and I’ve learned a few things the hard way. Here are my best tips to make sure your pie is perfect on the first try.
- The Egg White Bowl Must Be Clean: I once made a batch of meringue that refused to whip. I couldn’t figure out why until I realized my bowl had a tiny smear of butter from the crust. Any fat will kill your egg whites. Wash your bowl and beaters with hot, soapy water and dry them thoroughly before starting.
- Don’t Over-Fold: It’s tempting to keep mixing until the batter is completely uniform, but over-folding deflates the egg whites. It’s okay if you see a few tiny white streaks. It’s better to have a slightly marbled batter than a flat pie.
- Check Your Oven Temperature: Ovens can be liars. I use an oven thermometer to make sure my oven is actually at 350°F. If it’s running hot, the pie will puff up too quickly and then collapse. If it’s too cool, it won’t set properly.
- Use Room Temperature Ingredients: This is non-negotiable for the filling. Cold pumpkin or eggs can cause the batter to seize up, making it hard to fold in the egg whites. Let everything sit out for 30 minutes before you start.
- The Jiggle Test: Don’t rely on a toothpick for this pie. The center should jiggle like Jell-O when you shake the pan. If it’s completely firm, it’s over-baked and will be dense. It will firm up as it cools.
Variations & Adaptations
One of the best things about this recipe is how flexible it is. I’ve tried a few different versions, and they all turned out great. Here are some ways to make it your own.
- Dairy-Free Version: Swap the heavy cream for full-fat coconut cream. The texture will be slightly different (a bit more tropical), but it still stays light and fluffy. Use a vegan butter for the crust.
- Spiced-Up Twist: Add a pinch of cayenne pepper or black pepper to the filling for a little heat. The warmth of the spice plays beautifully with the sweetness of the pumpkin. I did this for a “Mexican Hot Chocolate” themed party, and it was a hit.
- Gluten-Free Crust: Use a 1:1 gluten-free baking flour blend for the crust. Just make sure it contains xanthan gum. The filling is naturally gluten-free, so this is an easy swap.
- Extra Fluffy: For an even lighter texture, add an extra egg white. Just make sure you don’t overfill the pie dish. You might have a little leftover batter for a ramekin.
Serving & Storage Suggestions
This pie is delicious at room temperature, but I actually prefer it cold from the fridge. The flavors meld together and the texture becomes even more creamy. Here’s how to serve and store it.
Serving: Serve slices with a generous dollop of lightly sweetened whipped cream. A sprinkle of cinnamon on top adds a nice touch. For a special occasion, drizzle with a little caramel sauce. It’s also fantastic with a scoop of vanilla bean ice cream.
Storage: Cover the pie loosely with plastic wrap or aluminum foil and store it in the refrigerator for up to 4 days. The crust will stay crisp, and the filling will remain perfectly set.
Freezing: You can freeze the baked pie for up to 2 months. Wrap it tightly in a layer of plastic wrap, then a layer of foil. Thaw it overnight in the refrigerator before serving. Do not freeze an unbaked pie—the texture will be ruined.
Reheating: I don’t recommend reheating this pie. It’s best served cold or at room temperature. If you absolutely must have it warm, place a slice in a low oven (300°F) for just 5 minutes, but be careful not to melt the filling.
Nutritional Information & Benefits
While this is a dessert, it does have some surprising benefits. Pumpkin is packed with Vitamin A and fiber, which is great for your immune system and digestion. Here are the estimated values per slice (based on 8 slices).
| Nutrient | Amount per Slice |
|---|---|
| Calories | ~320 |
| Fat | 18g |
| Carbohydrates | 35g |
| Fiber | 3g |
| Sugar | 22g |
| Protein | 5g |
| Vitamin A | 200% DV |
Dietary Considerations: This recipe is vegetarian. To make it low-carb, you can try a nut-based crust and a sugar substitute like monk fruit, but the texture will change. It contains dairy, eggs, and gluten (in the crust).
Conclusion
This Light & Fluffy Homemade Pumpkin Pie from Scratch is more than just a dessert. It’s a story. It’s a reminder that the best recipes often come from the most unexpected places—like your accountant’s grandmother. It’s a pie that feels special without being complicated, and it’s guaranteed to make people smile. I love this recipe because it proves that you don’t have to sacrifice flavor for texture. You can have both. I really hope you give it a try. Let me know in the comments how it turns out! Did you make any fun variations? I’d love to hear about your own kitchen adventures. Happy baking, friend.
Frequently Asked Questions
Can I use a store-bought crust for this recipe?
Absolutely! A store-bought crust will save you time and still taste great. Just make sure you blind bake it first to avoid a soggy bottom. A frozen deep-dish crust works perfectly.
My egg whites won’t stiffen. What went wrong?
This is usually a fat contamination issue. Make sure your bowl and beaters are perfectly clean and dry. Even a tiny bit of egg yolk can prevent the whites from whipping. Start over with a clean bowl.
Can I make this pie a day ahead of time?
Yes, and I actually recommend it! The pie needs to cool completely and set in the fridge anyway. Making it a day ahead allows the flavors to meld together beautifully. Just cover it and keep it chilled.
Why did my pie crack on top?
A few small cracks are normal, especially with a fluffy pie. Large cracks usually mean the pie was over-baked or the oven was too hot. Make sure you take it out when the center is still slightly jiggly.
Can I use fresh pumpkin instead of canned?
You can, but you need to make sure it’s not too watery. Roast a sugar pumpkin, puree it, and then strain it through a cheesecloth or a fine-mesh sieve to remove excess moisture. Canned pumpkin is more consistent and easier to use.
Pin This Recipe!
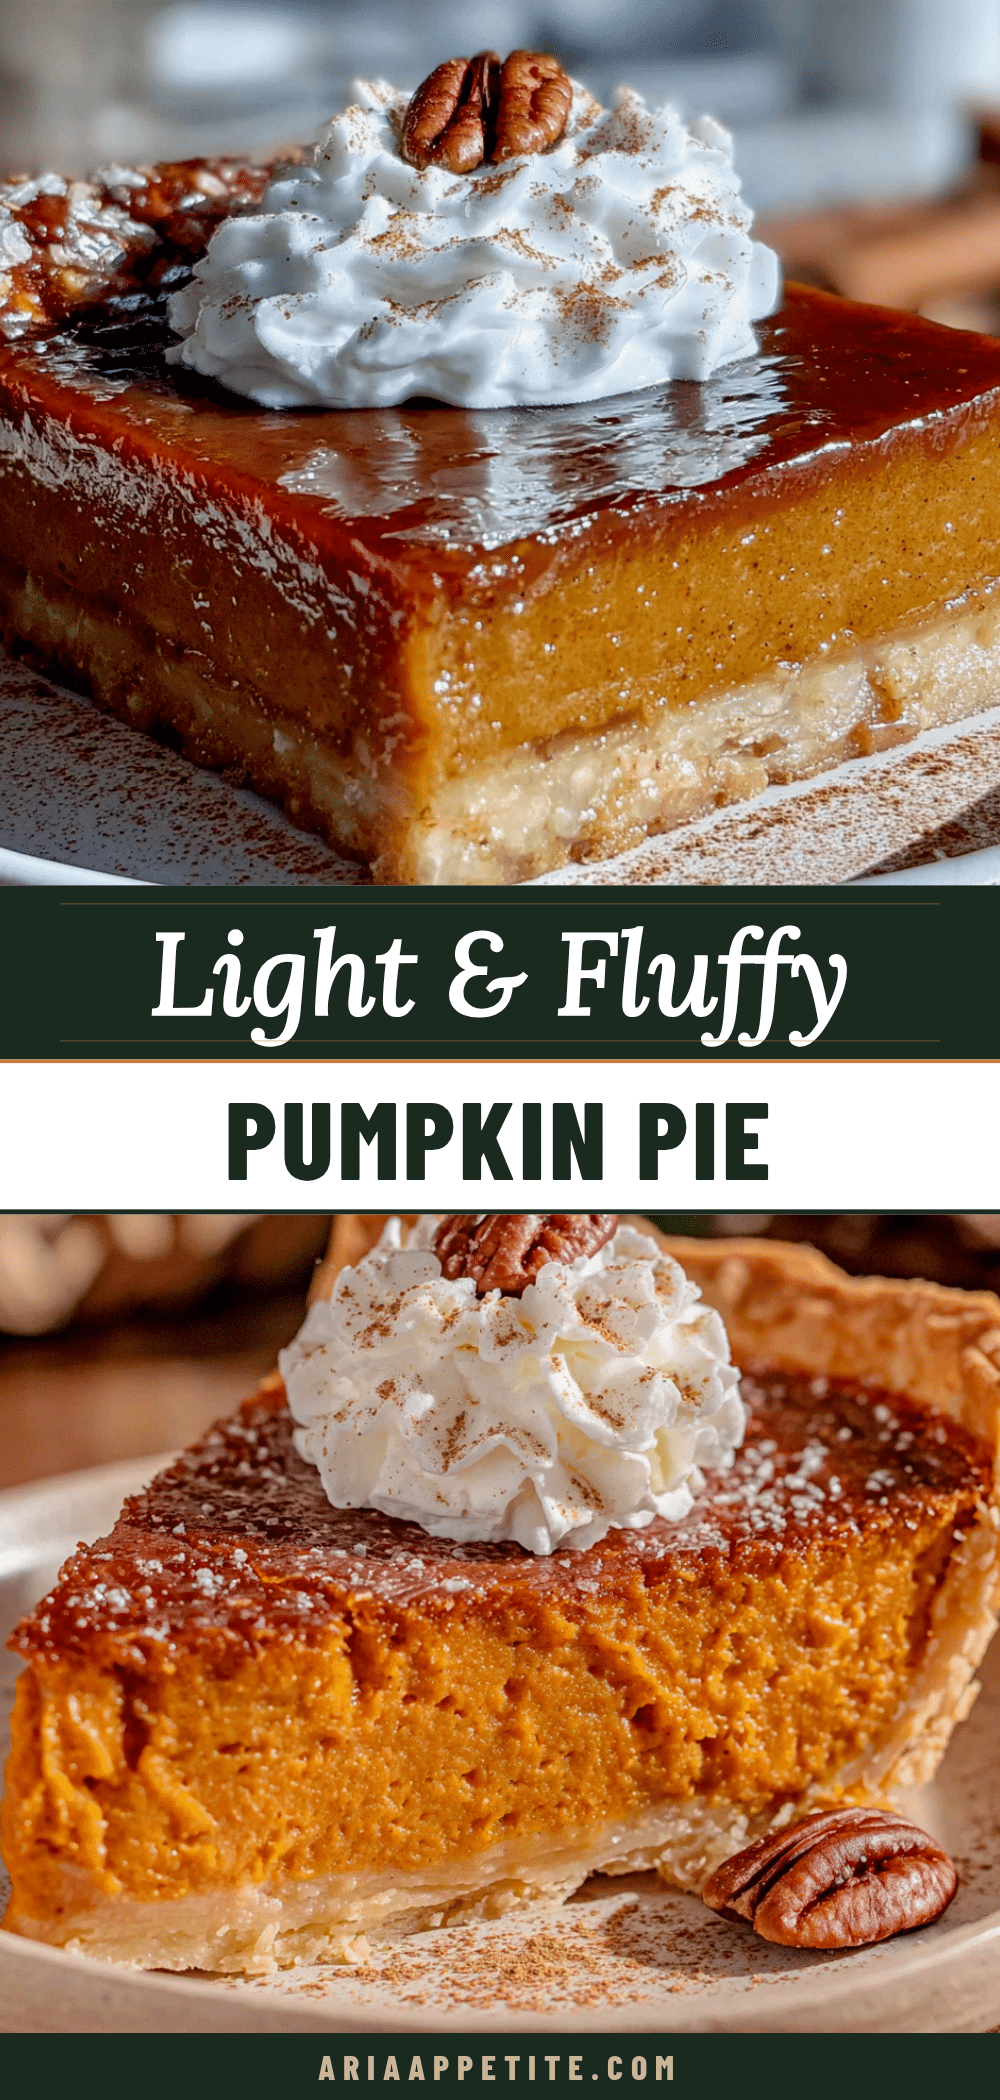
Easy Homemade Pumpkin Pie – Best Light & Fluffy Recipe
This Light & Fluffy Homemade Pumpkin Pie from Scratch is a game changer. It has that classic, spiced flavor you crave but with a texture that feels almost like a pumpkin mousse baked into a flaky crust.
- Prep Time: 15 minutes
- Cook Time: 50 minutes
- Total Time: 1 hour 5 minutes
- Yield: 8 servings 1x
- Category: Dessert
- Cuisine: American
Ingredients
- 1 ¼ cups all-purpose flour (spooned and leveled)
- ½ teaspoon salt
- ½ cup cold unsalted butter, cubed
- 3–4 tablespoons ice water
- 1 ¾ cups pumpkin puree (100% pumpkin, not pumpkin pie filling)
- ¾ cup packed light brown sugar
- 2 large eggs, separated (room temperature)
- 1 ½ teaspoons pumpkin pie spice
- ½ teaspoon ground cinnamon
- ½ teaspoon salt
- 1 cup heavy cream (cold)
- 1 teaspoon vanilla extract
Instructions
- Make the pie crust: In a large bowl, whisk together the flour and salt. Add the cold, cubed butter. Using a pastry cutter or your fingertips, work the butter into the flour until it resembles coarse meal with some pea-sized butter lumps. Drizzle in the ice water, one tablespoon at a time, mixing with a fork until the dough just comes together. Form it into a disc, wrap in plastic, and refrigerate for at least 1 hour.
- Blind bake the crust: Preheat oven to 375°F (190°C). On a floured surface, roll the dough out to a 12-inch circle. Transfer to a 9-inch pie dish, trim edges, and crimp. Line with parchment paper and fill with pie weights or dried beans. Bake for 15 minutes. Remove paper and weights, then bake for another 5-7 minutes until the bottom looks dry and lightly golden. Set aside to cool slightly. Lower oven temperature to 350°F (175°C).
- Make the pumpkin filling base: In a large bowl, whisk together the pumpkin puree, brown sugar, egg yolks (save the whites), pumpkin pie spice, cinnamon, and salt until smooth. Slowly whisk in the heavy cream and vanilla extract. Set aside.
- Whip the egg whites: In a completely clean, dry bowl, beat the egg whites on high speed until stiff peaks form (about 3-4 minutes with a stand mixer).
- Fold and assemble: Take a large spoonful of the whipped egg whites and stir it into the pumpkin base to lighten it. Then, gently fold in the remaining egg whites using a rubber spatula until no white streaks remain. Pour the batter into the pre-baked crust.
- Bake: Bake for 45-55 minutes. The edges should be set, but the center will still jiggle slightly when shaken. If the crust is browning too quickly, tent edges with foil after 20 minutes. Let cool completely on a wire rack for at least 2 hours before serving.
Notes
For best texture, ensure pumpkin puree is at room temperature. The egg white bowl must be completely clean and dry. Do not over-fold the egg whites. Use an oven thermometer to check temperature. The center should jiggle like Jell-O when done. Cool completely before slicing.
Nutrition
- Serving Size: 1 slice
- Calories: 320
- Sugar: 22
- Fat: 18
- Carbohydrates: 35
- Fiber: 3
- Protein: 5
Keywords: pumpkin pie, light and fluffy pumpkin pie, homemade pumpkin pie, Thanksgiving dessert, easy pumpkin pie, best pumpkin pie recipe


