Love this? Save it for later!
Share the inspiration with your friends
I was at my local butcher shop last October, trying to grab a quick pound of prosciutto before the after-work rush. The place was packed, and I was already mentally planning a boring store-bought cheese platter for our annual Halloween get-together. That’s when Frank, the head butcher—a guy built like a refrigerator who rarely says more than two words—caught my eye from behind the counter. “You’re overthinking it,” he said, wiping his hands on his apron. “Just make it look like a skeleton.” I laughed, thinking he was joking. He wasn’t. He grabbed a piece of butcher paper and sketched out a rough shape—a skull made of cheese, bones made of salami, all laid out on a board like some edible anatomy lesson. I walked out with my prosciutto and a completely new vision for Halloween entertaining. Honestly, I was skeptical at first. I mean, a charcuterie board shaped like a skeleton? It sounded like something that would look messy, not spooky. But Frank’s idea stuck with me, and that weekend, I gave it a shot. The result was so much fun—and surprisingly easy—that it’s become our Halloween tradition. Let me tell you, there’s something deeply satisfying about watching your guests’ faces light up when they realize the “skull” on the table is actually a wheel of brie. Maybe you’ve been there, looking for that one centerpiece that’s both impressive and effortless. This is it.
Why You’ll Love This Recipe
This Spooky Skull and Bones Halloween Charcuterie Board isn’t just another cheese platter. It’s a conversation starter, a showstopper, and a genuinely delicious spread that comes together faster than you’d think.
- Quick & Easy: You can assemble this entire board in under 20 minutes. No cooking, no baking—just clever arranging. Perfect for those last-minute Halloween parties or when you want to impress without stress.
- Simple Ingredients: Everything on this board is grocery-store friendly. No need to hunt down obscure cheeses or specialty meats. You probably have half of these items in your fridge right now.
- Perfect for Halloween: This board is the ultimate party centerpiece. It sets the spooky mood instantly and gives guests something to talk about before they even take a bite.
- Crowd-Pleaser: From kids to adults, everyone loves a good charcuterie board. The playful skull-and-bones design makes it approachable and fun, even for picky eaters.
- Unbelievably Delicious: This isn’t just about looks. The flavor combinations—creamy brie, sharp cheddar, salty prosciutto, sweet grapes—are classic for a reason. It’s comfort food, party-style.
What makes this board different is the technique. Instead of just throwing everything on a platter, you’re creating a visual story. The skull shape isn’t just cute—it’s functional, guiding how you arrange the ingredients for maximum impact and easy grabbing. I’ve tested this with different cheese wheels and meat layouts, and this version is the most forgiving and foolproof. Trust me, I’ve made a few skeleton-shaped messes in my day.
This recipe is the kind that makes you close your eyes after that first bite of brie with a drizzle of honey. It’s Halloween entertaining, reimagined—spookier, simpler, and way more satisfying than a plastic skeleton from the dollar store.
What Ingredients You Will Need
This recipe uses simple, crowd-pleasing ingredients to create a board that’s both visually striking and delicious. Everything is easy to find at your local grocery store.
- For the Skull (Cheese Base):
- 1 large wheel of brie (about 8 oz / 225 g) – this forms the skull shape. I prefer a double-cream brie for its soft, spreadable texture.
- 1 block of sharp cheddar (about 8 oz / 225 g) – cut into thin slices or small cubes to create the skull’s “teeth” and add a sharp, tangy contrast.
- 1 small round of goat cheese or camembert (about 4 oz / 115 g) – optional, for adding “eye sockets” or other facial features.
- For the Bones (Meat & Crackers):
- 1 package of salami or prosciutto (about 6 oz / 170 g) – slice the salami into thin rounds to create “bones” or use prosciutto for a more delicate look.
- 1 box of long, thin crackers (like breadsticks or grissini) – these are perfect for creating the “ribs” or “spine” of the skeleton.
- 1 bag of pretzel sticks – another great option for bones, offering a salty, crunchy texture.
- For the Filling & Decoration:
- 1 cup (150 g) of red grapes – they look like little “organs” or “blood drops” and add a sweet pop of color.
- 1/2 cup (75 g) of black olives – for the “eyes” or “pupils” and a briny, savory bite.
- 1/4 cup (60 ml) of honey – for drizzling over the brie. It adds a touch of sweetness that balances the salty cheese.
- Fresh rosemary sprigs – to create “hair” or “eyebrows” on the skull for a spooky, herbaceous touch.
- 1 small jar of red pepper jelly or fig jam – for a sweet and spicy element that pairs beautifully with the cheese.
- Optional Garnishes:
- 1/2 cup (60 g) of dried cranberries or cherries – for extra color and a chewy, tart bite.
- 1/4 cup (30 g) of pumpkin seeds – for a crunchy, seasonal topping.
- Fresh thyme or sage leaves – for additional herbaceous decoration.
Ingredient Tips & Substitutions:
- For the skull, any large, round, soft-ripened cheese will work. I’ve used a whole camembert in a pinch, and it was just as effective.
- If you can’t find brie, a large round of goat cheese or even a wedge of triple-cream cheese will do the trick. The key is to have a soft, moldable base.
- For the bones, feel free to swap the salami for pepperoni, summer sausage, or even thinly sliced ham. The goal is to have long, thin pieces that look like bones.
- For a vegetarian version, use long, thin slices of roasted red pepper or strips of firm tofu for the bones, and load up on extra veggies like cucumber sticks and carrot ribbons.
- If you’re gluten-free, use gluten-free crackers and pretzel sticks. The rest of the ingredients are naturally gluten-free.
Equipment Needed
You don’t need any fancy equipment for this board, which is part of its charm. Here’s what you’ll need:
- Large wooden board or platter: At least 16×12 inches (40×30 cm). A simple cutting board, a wooden serving board, or even a large baking sheet lined with parchment paper will work. I use a large acacia wood board I found at a home goods store for under $20.
- Small bowls or ramekins: For the honey, jam, and olives. You’ll need at least 3-4 small bowls to keep things organized.
- Cheese knife or spreader: For serving the brie. A small, sharp knife is also helpful for cutting the cheddar.
- Tongs or small serving forks: For guests to pick up the meat and olives.
- Parchment paper (optional): If your board isn’t food-safe, you can line it with parchment paper for easy cleanup.
Budget-Friendly Tip: Don’t have a large board? Use a clean, flat baking sheet or a large, rimmed serving tray. You can even use a large, flat piece of cardboard covered in foil or parchment paper for a truly budget-friendly option. I’ve done this for camping trips, and it works perfectly.
Preparation Method
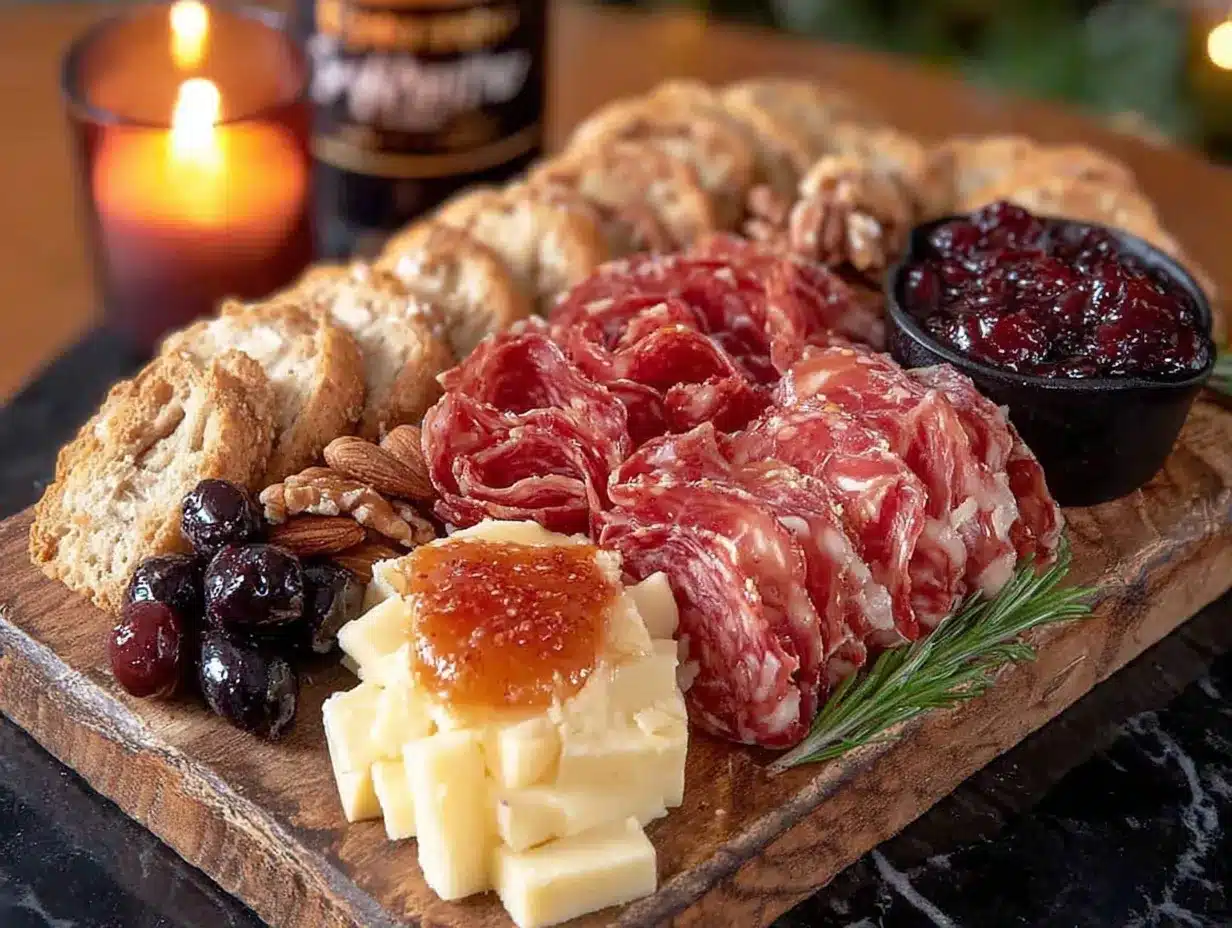
This is the fun part—bringing the skeleton to life! Follow these steps, and you’ll have a spooky, stunning board in no time.
- Prepare the Board: Place your large board on a flat surface. If using parchment paper, cut it to size and lay it down. This will make cleanup a breeze.
- Create the Skull Base: Unwrap the wheel of brie and place it in the center of the board, slightly off-center towards the top. This will be the skull’s main shape. If your brie is very soft, you can gently press it into a slightly more oval shape to resemble a skull.
- Add the Skull’s Features:
- Teeth: Cut the sharp cheddar block into thin, rectangular slices (about 1 inch long and 1/2 inch wide). Arrange these slices in a curved line below the brie to form the skull’s teeth. You can create a slightly jagged line for a more menacing look.
- Eye Sockets: Using a small knife or a spoon, carefully scoop out two small, shallow indentations in the top half of the brie wheel. Place one black olive in each indentation to create the eyes. For a truly spooky look, use pitted black olives.
- Nose: Place a small, triangular piece of cheddar or a single black olive below the eyes to form the nose.
- Form the Bones (Spine & Ribs):
- From the bottom of the skull (the brie), create the spine by laying a line of salami slices or prosciutto strips down the center of the board. Overlap them slightly to create a continuous line.
- For the ribs, place long crackers (breadsticks or grissini) or pretzel sticks perpendicular to the spine, curving outward slightly on both sides. You’ll want about 4-5 pairs of “ribs” to create a full skeleton effect.
- Fill in the Body:
- Around the ribs and spine, start filling in the rest of the board with the remaining ingredients. Arrange the red grapes in small clusters to look like “organs” or “blood drops.”
- Scatter the remaining cheddar cubes or slices around the board. Place the small bowls of honey, red pepper jelly, and extra olives in the corners or empty spaces.
- Add the Hair & Eyebrows: Take a few sprigs of fresh rosemary and place them on top of the brie skull, fanning out to look like wild, spooky hair. You can also use the rosemary to create bushy “eyebrows” above the olive eyes.
- Final Garnishes: Sprinkle the dried cranberries and pumpkin seeds over the board for extra color and texture. Drizzle a little honey over the top of the brie skull. Add a few fresh thyme or sage leaves around the edges for a finishing touch.
- Serve Immediately or Refrigerate: This board is best served at room temperature, so if you’re making it ahead, assemble it, cover it loosely with plastic wrap, and refrigerate for up to 2 hours. Take it out 30 minutes before serving to let the cheese soften. The flavors will meld beautifully.
Cooking Tips & Techniques
Over the years, I’ve learned a few tricks to make this board even better. Here are my top tips:
- Soften the Brie: For the best texture and easiest shaping, let your brie sit at room temperature for 30-60 minutes before you start. This makes it much easier to scoop out the eye sockets and shape the skull.
- Use a Template (Optional): If you’re nervous about the skeleton shape, sketch a rough outline on a piece of parchment paper first. Place the paper on your board, arrange the ingredients on top, then remove the paper once you’re done. I did this my first time, and it saved me a lot of rearranging.
- Don’t Overcrowd: It’s tempting to fill every inch, but leaving a little negative space around the skeleton makes the design pop. Plus, it gives guests room to grab things without knocking over the skull.
- Balance Flavors: For every salty item (like salami or olives), have a sweet item nearby (like grapes or honey). This creates a natural flavor journey for your guests as they graze.
- My Biggest Mistake: The first time I made this, I used a very soft, ripe brie. It was delicious, but it completely collapsed under the weight of the olives and rosemary. Now I always use a slightly firmer brie or camembert to hold its shape. Learn from my gooey mistake!
- Timing is Everything: If you’re serving this at a party, assemble the board just before guests arrive. The cheese and meats look their best when freshly arranged. If you have to make it ahead, keep the crackers separate and add them at the last minute to prevent sogginess.
Variations & Adaptations
This board is incredibly versatile. Here are a few ways to make it your own:
- Vegetarian “Skeleton”: Skip the meat entirely. Use long, thin slices of roasted red pepper or grilled zucchini for the bones. Add extra cheese varieties, marinated artichoke hearts, and roasted nuts for protein.
- Spicy “Skeleton”: Add a kick by using spicy salami (like soppressata), pepper jack cheese for the teeth, and a drizzle of sriracha honey. Swap the red pepper jelly for a spicy jalapeño jam.
- Sweet “Skeleton”: Turn this into a dessert board! Use a wheel of brie or camembert as the skull, but fill the board with dark chocolate pieces, fresh berries, dried figs, honeycomb, and spiced nuts. Use dark chocolate-covered pretzels for the bones.
- Seasonal Fall Board: Incorporate autumn flavors. Use apple slices, pear slices, and a sharp aged gouda for the skull. Add candied pecans and a drizzle of maple syrup instead of honey. The colors will be gorgeous.
- My Personal Variation: I once made a “zombie” version of this board for a friend’s party. I added a small bowl of “brains” (hummus with a swirl of beet puree) and used green olives with pimentos for the eyes. It was a hit, and honestly, it was even easier than the skull version.
Serving & Storage Suggestions
This board is designed to be a centerpiece, so presentation is key. Here’s how to serve and store it.
- Serving Temperature: Serve the board at room temperature. This allows the cheese to soften and the flavors to fully develop. Take the board out of the refrigerator 30-45 minutes before serving.
- Presentation: Place the board in the center of your table or buffet. Surround it with small plates, napkins, and a few cheese knives. For a truly spooky effect, dim the lights and place a few battery-operated tea lights around the board. The flickering light makes the skull look incredibly realistic.
- Complementary Dishes & Beverages:
- Drinks: This board pairs beautifully with a crisp white wine (like Sauvignon Blanc), a light red (like Pinot Noir), or a sparkling cider for a non-alcoholic option. A dark, spooky cocktail like a “Blackberry Bourbon Smash” also works wonderfully.
- Dips: Add small bowls of honey, fig jam, whole-grain mustard, or a balsamic glaze for extra dipping options.
- Extras: Serve alongside a bowl of spiced nuts, a plate of fresh veggies (like cucumber rounds and bell pepper strips), or a small pile of dried fruit.
- Storage Instructions:
- Refrigerator: If you have leftovers, remove the crackers and any fresh herbs (they can get soggy). Wrap the brie tightly in plastic wrap and store it in the refrigerator for up to 3 days. Store the remaining meats, cheeses, and fruits separately in airtight containers.
- Freezer: I don’t recommend freezing this board. The cheese and meats will lose their texture upon thawing. It’s best to enjoy it fresh.
- Reheating: There’s no need to reheat anything. Simply let the refrigerated leftovers sit at room temperature for 20 minutes before serving again. The flavors will be just as delicious the next day.
- Flavor Development: Honestly, this board tastes even better the next day. The flavors of the cheese, meat, and honey meld together overnight. If you’re making it for a party, I actually recommend assembling the base (cheese and meat) the night before and adding the crackers and fresh garnishes just before serving.
Nutritional Information & Benefits
While this is an indulgent treat, it does offer some surprising nutritional benefits. Here’s a general breakdown per serving (assuming 8 servings):
- Calories: Approximately 350-450 per serving
- Protein: 15-20g (from cheese and meat)
- Fat: 25-35g (mostly healthy fats from cheese and nuts)
- Carbohydrates: 15-20g (from crackers, fruit, and honey)
- Fiber: 2-3g (from grapes, nuts, and seeds)
Health Benefits of Key Ingredients:
- Brie & Cheddar: Good sources of calcium and protein. They also contain probiotics (especially in raw or unpasteurized versions) which are great for gut health.
- Red Grapes: Packed with antioxidants, including resveratrol, which is known for its heart-health benefits.
- Olives: Rich in healthy monounsaturated fats and vitamin E, which is great for skin health.
- Honey: A natural source of antioxidants and has antibacterial properties. A little goes a long way.
- Pumpkin Seeds: Excellent source of magnesium, zinc, and healthy fats. They add a nice crunch.
Dietary Considerations:
- Gluten-Free: Use gluten-free crackers and pretzels. The rest of the ingredients are naturally gluten-free.
- Low-Carb/Keto: Skip the crackers and grapes. Load up on extra cheese, meat, and olives. The board will still look fantastic.
- Vegetarian: Omit the salami and prosciutto. Add extra cheese varieties, roasted vegetables, and nuts.
- Potential Allergens: This recipe contains dairy (cheese), gluten (crackers), and tree nuts (if using pecans or almonds). Always check labels if serving guests with allergies.
From a personal wellness perspective, I love that this board encourages mindful eating. Because it’s so visually engaging, people tend to eat slowly, savoring each bite. It’s a wonderful way to enjoy a treat without overindulging.
Conclusion
This Spooky Skull and Bones Halloween Charcuterie Board is more than just a party platter—it’s an experience. It’s the kind of recipe that makes you the hero of any Halloween gathering, without spending hours in the kitchen. The combination of creamy brie, sharp cheddar, salty salami, and sweet grapes is a classic for a reason, and the playful skeleton design adds a layer of fun that guests of all ages will love.
I encourage you to make this board your own. Experiment with different cheeses, swap in your favorite meats, or add a few spooky garnishes like edible flowers or candy eyes. The beauty of this recipe is its flexibility. It’s a canvas for your creativity.
Honestly, every time I make this board, I think of Frank the butcher and his simple, brilliant idea. It’s a reminder that the best recipes often come from the most unexpected places. So go ahead, channel your inner butcher, and create something spooky, delicious, and unforgettable.
I’d love to see your creations! Leave a comment below and tell me how your board turned out. Did you add any unique twists? What’s your favorite Halloween party food? Don’t forget to share this recipe with your friends and family—they’ll thank you when they’re the hit of their next Halloween party. Happy haunting, and happy eating!
Frequently Asked Questions (FAQs)
Can I make this charcuterie board ahead of time?
Yes, you can! Assemble the base (cheese and meat) up to 24 hours in advance. Cover it loosely with plastic wrap and refrigerate. Add the crackers, fresh herbs, and any delicate garnishes just before serving to keep everything crisp and fresh.
What if I can’t find a wheel of brie?
No problem at all! You can use a large round of camembert, a soft goat cheese log, or even a wedge of triple-cream cheese. The key is to have a soft, moldable cheese that can hold the shape of a skull. You can also use a block of cream cheese if you’re in a pinch.
How do I keep the crackers from getting soggy?
The best way to prevent soggy crackers is to add them right before serving. If you’re making the board ahead, store the crackers in a separate airtight container and arrange them on the board at the last minute. This ensures they stay perfectly crunchy.
Can I make this board dairy-free or vegan?
Absolutely! Use a vegan brie or camembert alternative (many brands use cashew or coconut bases). For the meat, use vegan salami or pepperoni, or simply load up on veggies, nuts, and olives. Use a dairy-free cracker and a plant-based honey alternative like agave syrup.
What’s the best way to serve this to a large crowd?
For a large party, consider making two smaller boards instead of one giant one. This allows guests to access the food from different spots and prevents crowding. You can also set up a “build your own skeleton” station with separate bowls of ingredients and let guests assemble their own spooky snack plates.
Pin This Recipe!
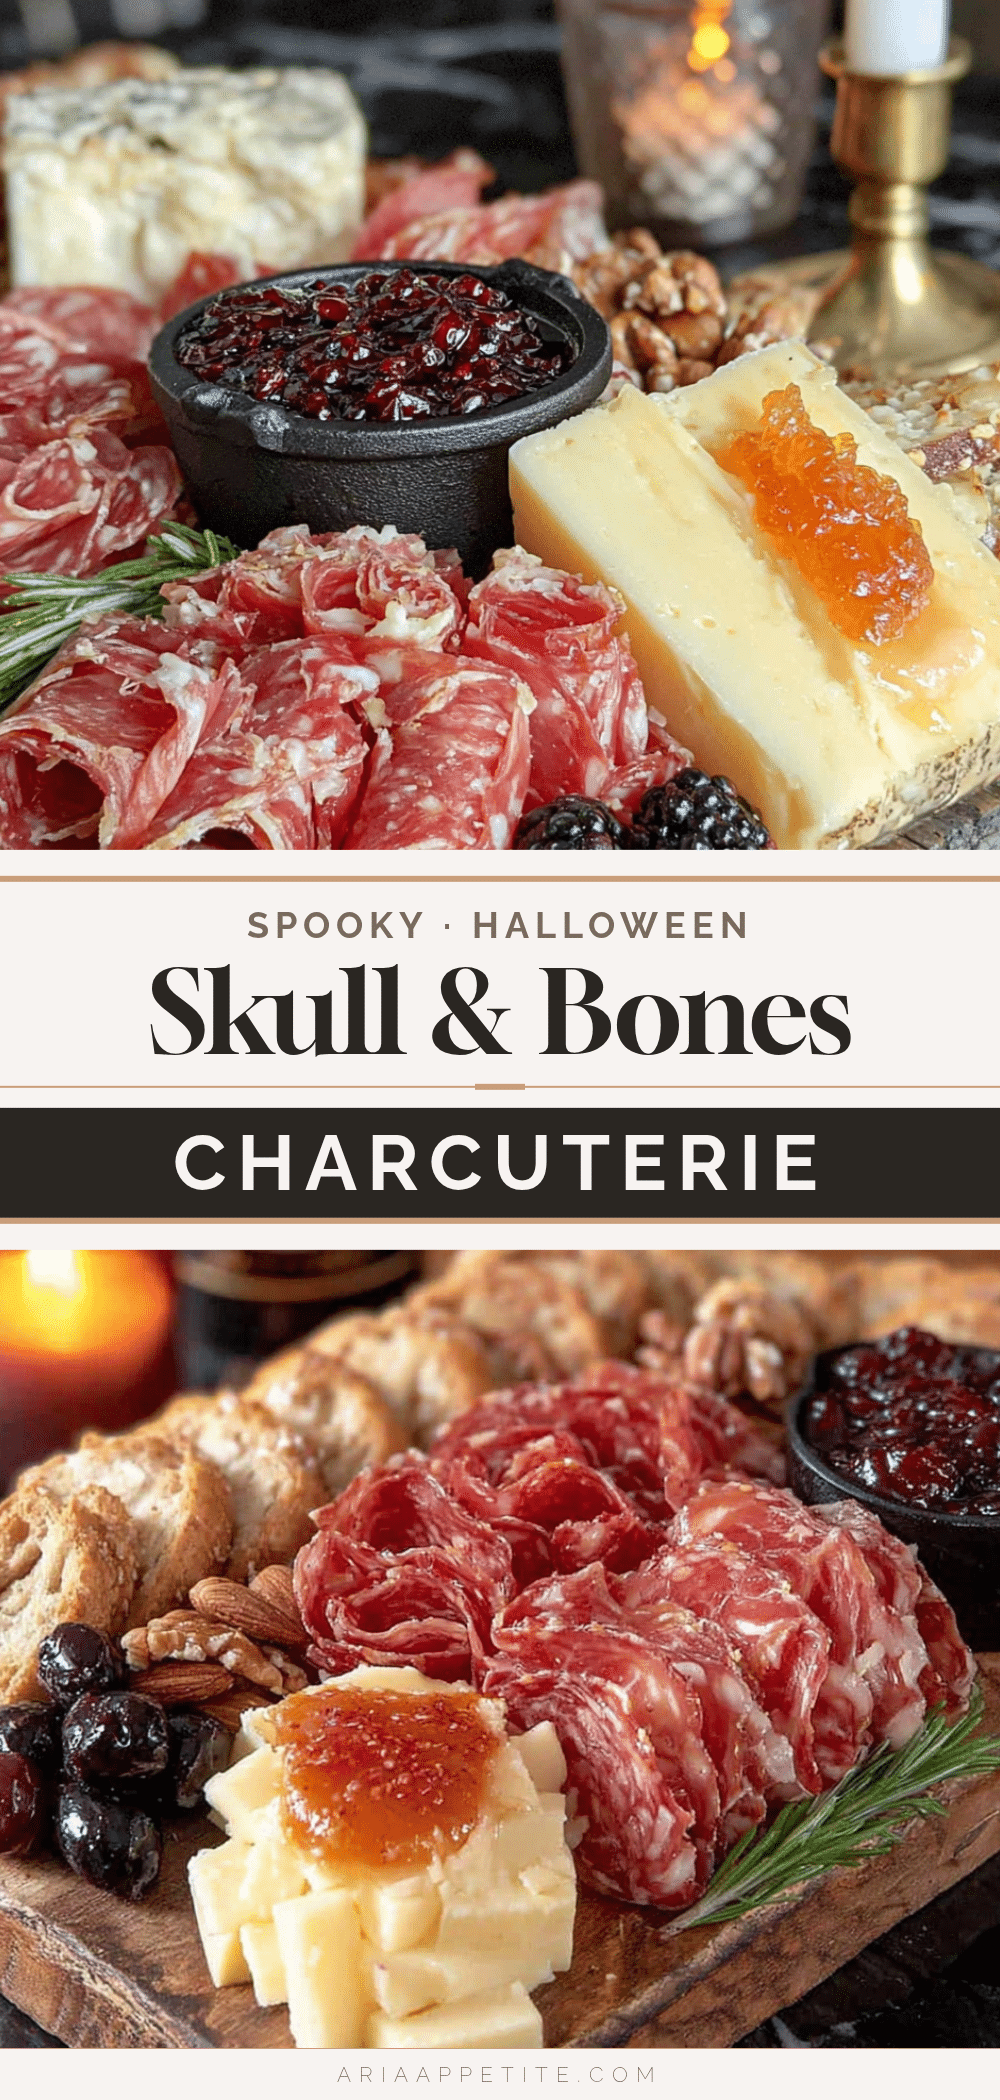
Best Halloween Charcuterie Board: Easy Spooky Skull & Bones
This Spooky Skull and Bones Halloween Charcuterie Board is a conversation starter and a showstopper. It’s a genuinely delicious spread that comes together in under 20 minutes, perfect for Halloween parties.
- Prep Time: 20 minutes
- Cook Time: 0 minutes
- Total Time: 20 minutes
- Yield: 8 servings 1x
- Category: Appetizer
- Cuisine: American
Ingredients
- 1 large wheel of brie (about 8 oz / 225 g)
- 1 block of sharp cheddar (about 8 oz / 225 g)
- 1 small round of goat cheese or camembert (about 4 oz / 115 g), optional
- 1 package of salami or prosciutto (about 6 oz / 170 g)
- 1 box of long, thin crackers (like breadsticks or grissini)
- 1 bag of pretzel sticks
- 1 cup (150 g) of red grapes
- 1/2 cup (75 g) of black olives
- 1/4 cup (60 ml) of honey
- Fresh rosemary sprigs
- 1 small jar of red pepper jelly or fig jam
- 1/2 cup (60 g) of dried cranberries or cherries, optional
- 1/4 cup (30 g) of pumpkin seeds, optional
- Fresh thyme or sage leaves, optional
Instructions
- Prepare the Board: Place your large board on a flat surface. If using parchment paper, cut it to size and lay it down.
- Create the Skull Base: Unwrap the wheel of brie and place it in the center of the board, slightly off-center towards the top. If your brie is very soft, gently press it into a slightly more oval shape.
- Add the Skull’s Features: Cut the sharp cheddar block into thin, rectangular slices (about 1 inch long and 1/2 inch wide). Arrange these slices in a curved line below the brie to form the skull’s teeth. Using a small knife or spoon, carefully scoop out two small, shallow indentations in the top half of the brie wheel. Place one black olive in each indentation to create the eyes. Place a small, triangular piece of cheddar or a single black olive below the eyes to form the nose.
- Form the Bones (Spine & Ribs): From the bottom of the skull, create the spine by laying a line of salami slices or prosciutto strips down the center of the board. Overlap them slightly. For the ribs, place long crackers or pretzel sticks perpendicular to the spine, curving outward slightly on both sides. Use about 4-5 pairs of ‘ribs’.
- Fill in the Body: Around the ribs and spine, arrange the red grapes in small clusters. Scatter the remaining cheddar cubes or slices around the board. Place the small bowls of honey, red pepper jelly, and extra olives in the corners or empty spaces.
- Add the Hair & Eyebrows: Take a few sprigs of fresh rosemary and place them on top of the brie skull, fanning out to look like hair. Use rosemary to create bushy ‘eyebrows’ above the olive eyes.
- Final Garnishes: Sprinkle the dried cranberries and pumpkin seeds over the board. Drizzle a little honey over the top of the brie skull. Add a few fresh thyme or sage leaves around the edges.
- Serve Immediately or Refrigerate: This board is best served at room temperature. If making ahead, assemble it, cover loosely with plastic wrap, and refrigerate for up to 2 hours. Take it out 30 minutes before serving.
Notes
Soften the brie at room temperature for 30-60 minutes before starting for easier shaping. Use a slightly firmer brie to prevent collapse. For a vegetarian version, use long, thin slices of roasted red pepper or grilled zucchini for the bones. Add crackers just before serving to prevent sogginess.
Nutrition
- Serving Size: 1 serving (approxima
- Calories: 400
- Sugar: 10
- Sodium: 800
- Fat: 30
- Saturated Fat: 15
- Carbohydrates: 18
- Fiber: 2
- Protein: 18
Keywords: Halloween charcuterie board, spooky skull and bones, easy Halloween appetizer, cheese board, party platter