Love this? Save it for later!
Share the inspiration with your friends
It was 11:47 PM on a random Thursday, and I had a serious hankering for chili. Not the kind of chili you make on a Sunday afternoon when you have all the time in the world. I mean the deep, dark, stick-to-your-ribs kind that warms you from the inside out. The problem? I didn’t have ground beef. I had about two pounds of venison that my buddy Mark had dropped off three weeks ago, a sad-looking bell pepper, and a can of tomatoes I was pretty sure had been in the pantry since the Obama administration.
I also had my trusty Dutch oven, which honestly felt like cheating. Something about that heavy cast iron just makes everything taste like you know what you’re doing. I was tired. I’d had a long day. But that craving wouldn’t let up. So I started chopping and browning, half asleep, making it up as I went along. I tossed in some coffee grounds on a whim—don’t ask me why, it just felt right at that hour—and let the whole thing simmer while I scrolled through my phone.
The next day, I reheated a bowl for lunch and literally stopped chewing after the first bite. It was the best chili I’d ever made. The venison was tender, not gamey at all, and that little bit of coffee gave it this haunting depth I couldn’t quite explain. Maybe you’ve been there—you throw something together when no one’s watching, and it turns out to be the thing you’ll make for years to come. This is that chili. And let me tell you, it’s perfect for feeding a crowd. Honestly, I think the late-night chaos is what made it so good.
Why You’ll Love This Recipe
This isn’t just another chili recipe you’ll find on the internet. I’ve tested this one about seven times now, tweaking the spice blend and the cooking time until it was just right. Here’s why I think you’ll absolutely love it:
- Feeds a Crowd with Ease: This recipe makes a generous batch—enough for 10 to 12 people easily. Perfect for game day, a potluck, or a cozy dinner party where you want to impress without being stuck in the kitchen.
- Simple, Real Ingredients: No weird processed stuff. You’ll find everything at a regular grocery store or already in your pantry. The venison is the star, but the supporting cast is humble and honest.
- Deep, Complex Flavor: The secret is in the layering. Browning the meat properly, toasting the spices, and that tiny pinch of coffee grounds—it all adds up to a chili that tastes like it simmered all day, even if you only have an hour.
- Crowd-Pleaser Guaranteed: I’ve served this to hunters who swear by their own chili and to folks who “don’t really like venison.” Every single bowl came back empty. It’s that good.
- Make-Ahead Magic: Chili always tastes better the next day. You can make this a day or two before your gathering, and it only gets better. Less stress for you, more flavor for everyone.
What makes this recipe different? It’s the combination of a perfectly seasoned Dutch oven, a careful hand with the spices, and the confidence to let the venison shine without covering it up. This isn’t a chili that hides the meat—it celebrates it. And honestly, it’s the kind of recipe that makes you close your eyes after the first bite. Pure comfort, made for sharing.
What Ingredients You Will Need
This recipe uses simple, hearty ingredients to build layers of flavor. Most of these are pantry staples or easy to find at the store. Here’s what you’ll need:
- For the Chili Base:
- 2 lbs ground venison (or 1 lb venison + 1 lb ground pork for extra fat and moisture)
- 2 tablespoons olive oil or bacon fat (bacon fat adds incredible flavor)
- 1 large yellow onion, diced (about 2 cups)
- 1 large red bell pepper, diced (about 1.5 cups)
- 4 cloves garlic, minced
- 2 jalapeños, seeded and minced (leave seeds in for more heat)
- For the Spice Blend:
- 3 tablespoons chili powder (I prefer a blend like Gebhardt or a mix of ancho and New Mexico)
- 1 tablespoon ground cumin
- 1 teaspoon smoked paprika
- 1 teaspoon dried oregano
- 1/2 teaspoon cayenne pepper (adjust to your heat preference)
- 1 tablespoon unsweetened cocoa powder (trust me on this one)
- 1 teaspoon finely ground coffee (leftover grounds work perfectly)
- Salt and black pepper to taste
- For the Liquid & Body:
- 1 (28 oz) can crushed fire-roasted tomatoes
- 1 (15 oz) can tomato sauce
- 1 (15 oz) can dark red kidney beans, drained and rinsed
- 1 (15 oz) can pinto beans, drained and rinsed
- 1 (12 oz) bottle of dark beer (like a stout or porter) or 1.5 cups beef broth
- 1 tablespoon Worcestershire sauce
- 1 tablespoon brown sugar (optional, to balance acidity)
- For Serving (optional but recommended):
- Shredded sharp cheddar cheese
- Sour cream or Greek yogurt
- Fresh cilantro, chopped
- Diced red onion or green onions
- Cornbread or crusty bread for dipping
A few notes on ingredients: If you can find ground venison that includes some fat, that’s ideal. Pure venison is very lean, so adding a little pork or using bacon fat helps keep the chili from being dry. I personally love using a dark stout beer—it adds a roasty richness that pairs beautifully with the venison. For a non-alcoholic version, just use beef broth. And that coffee? It doesn’t make the chili taste like coffee. It just deepens the savory notes, making everything taste more complex.
Equipment Needed
You don’t need a ton of fancy gear for this recipe, but a few key tools make a big difference:
- 6 to 8-Quart Dutch Oven: This is non-negotiable for me. A heavy, enameled cast iron Dutch oven holds heat evenly and is perfect for browning meat and slow-simmering chili. If you don’t have one, a heavy-bottomed stockpot will work, but you’ll lose some of that even heat distribution.
- Chef’s Knife: A sharp 8-inch chef’s knife makes dicing onions and peppers a breeze. I’ve used the same one for years, and it’s worth every penny.
- Cutting Board: Go for a large wooden or plastic board. You’ll be doing a decent amount of chopping.
- Wooden Spoon or Silicone Spatula: For stirring and scraping up those delicious browned bits from the bottom of the pot.
- Measuring Spoons and Cups: Accuracy matters with the spice blend, so don’t just eyeball it.
- Can Opener: A classic one. Nothing fancy.
- Ladle: For serving. A nice deep ladle makes portioning easy.
If you’re on a budget, a good enameled Dutch oven from a brand like Lodge is affordable and works beautifully. I’ve had mine for five years, and it’s still going strong. Just don’t use metal utensils on the enamel—it can scratch over time.
Preparation Method
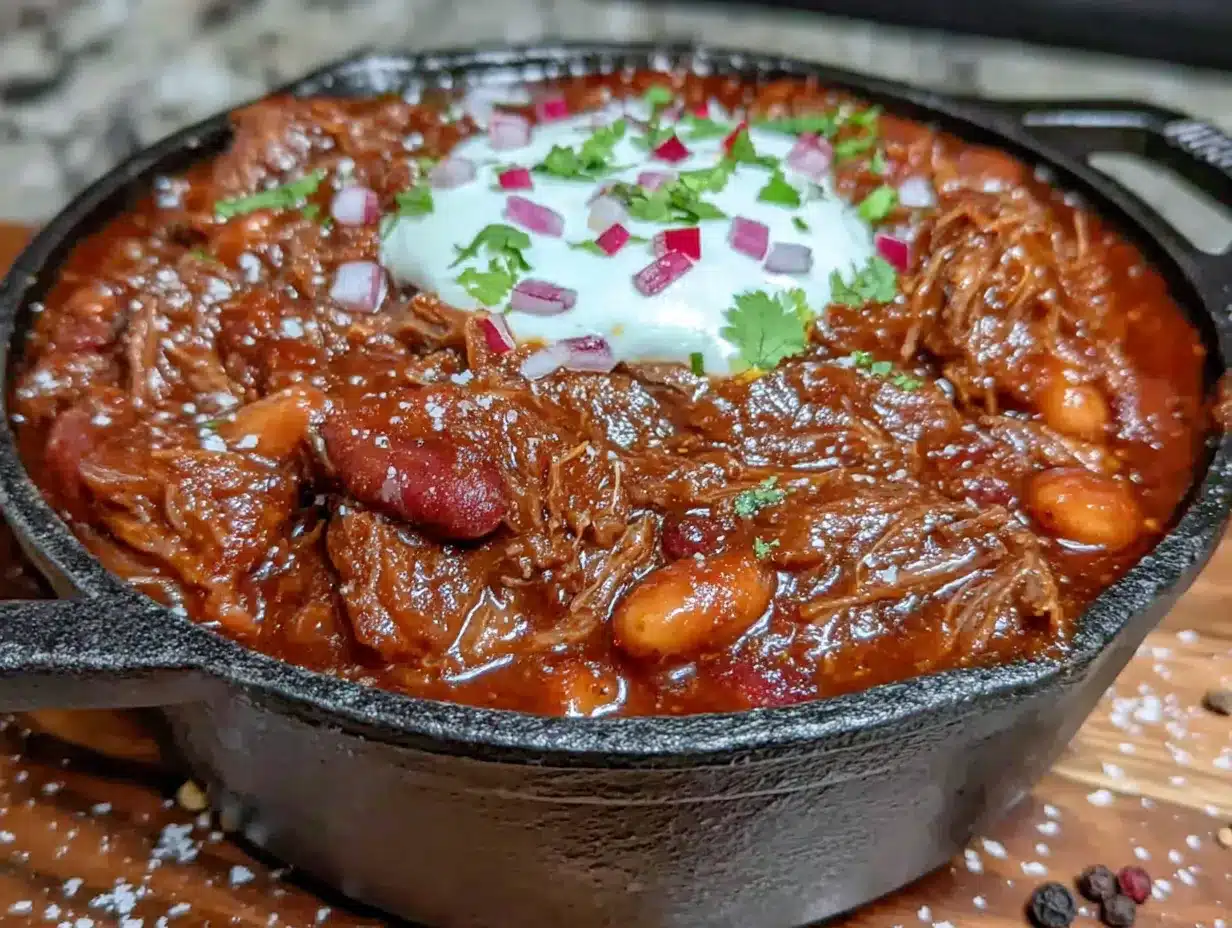
Let’s get cooking. This recipe takes about an hour and a half from start to finish, but most of that is hands-off simmering. Here’s how to do it:
- Prep Your Ingredients (10 minutes): Dice the onion, bell pepper, and jalapeños. Mince the garlic. Measure out all your spices into a small bowl—this makes the cooking process go much smoother. Open your cans and drain the beans.
- Brown the Venison (8-10 minutes): Heat your Dutch oven over medium-high heat. Add the olive oil or bacon fat. Once it shimmers, add the ground venison. Break it up with a wooden spoon and let it brown without stirring too much. You want a good sear on the meat. If the pan seems dry, that’s okay—venison is lean. Cook until no longer pink, about 6-8 minutes. Use a slotted spoon to transfer the meat to a bowl, leaving any fat and juices in the pot.
- Sauté the Aromatics (5-7 minutes): Reduce the heat to medium. Add the diced onion, bell pepper, and jalapeños to the pot. Cook, stirring occasionally, until the vegetables have softened, about 5 minutes. Add the minced garlic and cook for another 30 seconds until fragrant. Scrape up any browned bits from the bottom of the pot—that’s pure flavor.
- Toast the Spices (1-2 minutes): Add your pre-measured spice blend (chili powder, cumin, smoked paprika, oregano, cayenne, cocoa powder, and coffee) to the pot. Stir constantly for about a minute until the spices are fragrant. This step wakes up the flavors and makes a huge difference in the final taste.
- Deglaze with Beer (2 minutes): Pour in the dark beer (or beef broth). Use your wooden spoon to scrape up any remaining browned bits from the bottom of the pot. Let it bubble and reduce slightly for about 2 minutes.
- Add Tomatoes and Simmer (45-60 minutes): Return the browned venison to the pot. Add the crushed tomatoes, tomato sauce, Worcestershire sauce, and brown sugar (if using). Stir everything together. Bring the chili to a gentle boil, then reduce the heat to low. Cover and let it simmer for 45 minutes, stirring occasionally. The chili should be gently bubbling, not boiling hard.
- Add the Beans (last 10 minutes): After 45 minutes, stir in the drained kidney beans and pinto beans. Let the chili simmer uncovered for another 10 minutes. This allows the beans to warm through and the chili to thicken slightly.
- Season and Adjust (5 minutes): Taste the chili and add salt and black pepper as needed. Remember, the flavors will continue to meld as it sits. If it’s too thick, add a splash of beef broth or water. If it’s too thin, let it simmer uncovered for a few more minutes.
- Rest and Serve (5-10 minutes): Remove the pot from the heat and let the chili rest for about 5-10 minutes before serving. This allows the flavors to settle. Ladle into bowls and top with your favorite garnishes.
A quick note: The chili will look a bit soupy at first, but it will thicken beautifully as it simmers. Don’t be tempted to add too much liquid early on. Trust the process.
Cooking Tips & Techniques
I’ve made this chili more times than I can count, and I’ve learned a few things along the way. Here are my best tips:
- Don’t Crowd the Pan: When browning the venison, work in batches if needed. If you pile too much meat in the pot at once, it will steam instead of sear. A good sear equals deep flavor.
- Toast Your Spices: This is a game-changer. Just 60 seconds in the hot fat wakes up the essential oils in the spices. You’ll smell the difference immediately. Don’t skip this step.
- Low and Slow is Your Friend: A rapid boil will toughen the venison and make the flavors harsh. Keep the chili at a gentle simmer. The longer it cooks, the more the flavors marry together.
- Taste as You Go: Spice levels vary. What’s mild to me might be fiery to you. Add the cayenne gradually and taste at the end. You can always add more heat, but you can’t take it away.
- Let It Rest: Chili is one of those dishes that genuinely tastes better the next day. If you have time, make it a day ahead. The flavors deepen and the texture improves. Just reheat gently on the stove.
- My Biggest Failure: I once forgot to add salt until the very end. The chili tasted flat and lifeless. Salt is crucial—it doesn’t just add saltiness; it amplifies all the other flavors. Don’t be shy with it.
Variations & Adaptations
This recipe is a great starting point, but feel free to make it your own. Here are some variations I’ve tried:
- Spicy Smoked Chili: Add 2-3 chipotle peppers in adobo sauce (minced) along with the tomatoes. This adds a smoky, deep heat that’s incredible with the venison.
- White Bean & Turkey Twist: Swap the venison for ground turkey and use cannellini beans instead of kidney and pinto. The flavor is lighter but still satisfying. Use chicken broth instead of beer.
- Vegetarian Version: Omit the meat entirely. Double up on the beans (use black beans and chickpeas) and add a diced sweet potato or two. The sweet potato adds body and a touch of sweetness that balances the spices.
- Slow Cooker Adaptation: Brown the meat and sauté the aromatics on the stove first, then transfer everything except the beans to a slow cooker. Cook on low for 6-8 hours. Add the beans in the last 30 minutes.
- Toppings Bar: For a party, set up a chili toppings bar with shredded cheese, diced avocado, pickled jalapeños, crushed tortilla chips, and hot sauce. Let guests customize their bowls. It’s always a hit.
I once made a version with leftover pulled pork instead of venison, and it was fantastic. Don’t be afraid to experiment—chili is forgiving.
Serving & Storage Suggestions
This chili is best served steaming hot, straight from the Dutch oven. Ladle it into deep bowls and let everyone add their own toppings. I always set out a small tray with shredded cheddar, sour cream, diced red onion, and fresh cilantro. A side of warm cornbread or crusty sourdough is perfect for sopping up every last drop.
For storage, let the chili cool completely before transferring it to airtight containers. It will keep in the refrigerator for up to 5 days. The flavors actually get better after a day or two in the fridge. To reheat, simply warm it in a pot over medium-low heat, stirring occasionally. Add a splash of water or broth if it’s too thick.
This chili also freezes beautifully. Portion it into freezer-safe bags or containers, leaving a little room for expansion. It will keep for up to 3 months. Thaw overnight in the refrigerator before reheating. I often double the recipe and freeze half for a busy weeknight dinner. It’s like having a home-cooked meal waiting for you.
One thing to note: the beans will soften a bit more upon reheating, so the texture might be slightly different. But honestly, it’s still delicious.
Nutritional Information & Benefits
Here’s an approximate nutritional breakdown per serving (based on 10 servings, not including toppings):
- Calories: 320
- Protein: 28g
- Fat: 12g
- Carbohydrates: 28g
- Fiber: 8g
- Sugar: 8g
- Sodium: 680mg
Venison is a fantastic source of lean protein, rich in iron and B vitamins. It’s lower in fat and calories compared to beef, making this chili a heartier yet healthier option. The beans add a good dose of fiber, which helps with digestion and keeps you feeling full. The tomatoes provide lycopene, a powerful antioxidant. And the spices—cumin, chili powder, and oregano—all have anti-inflammatory properties.
If you’re watching your sodium, use no-salt-added canned tomatoes and beans, and go easy on the salt. You can also swap the beer for low-sodium beef broth. This chili is naturally gluten-free (just check your Worcestershire sauce and spice blends). It’s also dairy-free if you skip the cheese and sour cream toppings.
Conclusion
This Dutch oven venison chili is one of those recipes that proves the best dishes often come from happy accidents. What started as a late-night craving with whatever I had on hand turned into a family favorite and a go-to for feeding a crowd. The venison is tender, the spice blend is perfectly balanced, and that little hint of coffee and cocoa makes everyone ask, “What’s in this?”
I hope you give this recipe a try. Don’t be afraid to tweak it to your liking—add more heat, swap in different beans, or load it up with toppings. That’s the beauty of chili. It’s meant to be shared and customized. When you make it, I’d love to hear how it turns out. Leave a comment below and let me know what you think. And if you’re looking for another crowd-pleaser to serve alongside, check out my skillet cornbread recipe—it’s the perfect partner for this chili.
Happy cooking, friends. I’ll be over here with a second bowl and a warm piece of cornbread. You deserve the same.
Frequently Asked Questions
Can I use ground beef instead of venison?
Absolutely. Ground beef (80/20 blend) works perfectly in this recipe. Just follow the same steps. The flavor will be slightly different but still delicious.
How can I make this chili less spicy?
Skip the cayenne pepper and use only one jalapeño, removing all the seeds and membranes. You can also use mild chili powder instead of a hot blend.
Can I make this in an Instant Pot?
Yes. Use the sauté function to brown the meat and cook the aromatics. Then add all ingredients except the beans and cook on high pressure for 15 minutes. Quick release, stir in the beans, and let it sit for 10 minutes before serving.
How do I prevent venison from being gamey?
Proper browning is key. Searing the meat well and using bold spices like cumin, chili powder, and coffee helps mask any gamey notes. Adding a little fat (like bacon fat or pork) also helps.
Can I freeze this chili?
Yes, this chili freezes wonderfully. Let it cool completely, then portion into freezer-safe containers. It will keep for up to 3 months. Thaw overnight in the fridge and reheat gently on the stove.
Pin This Recipe!
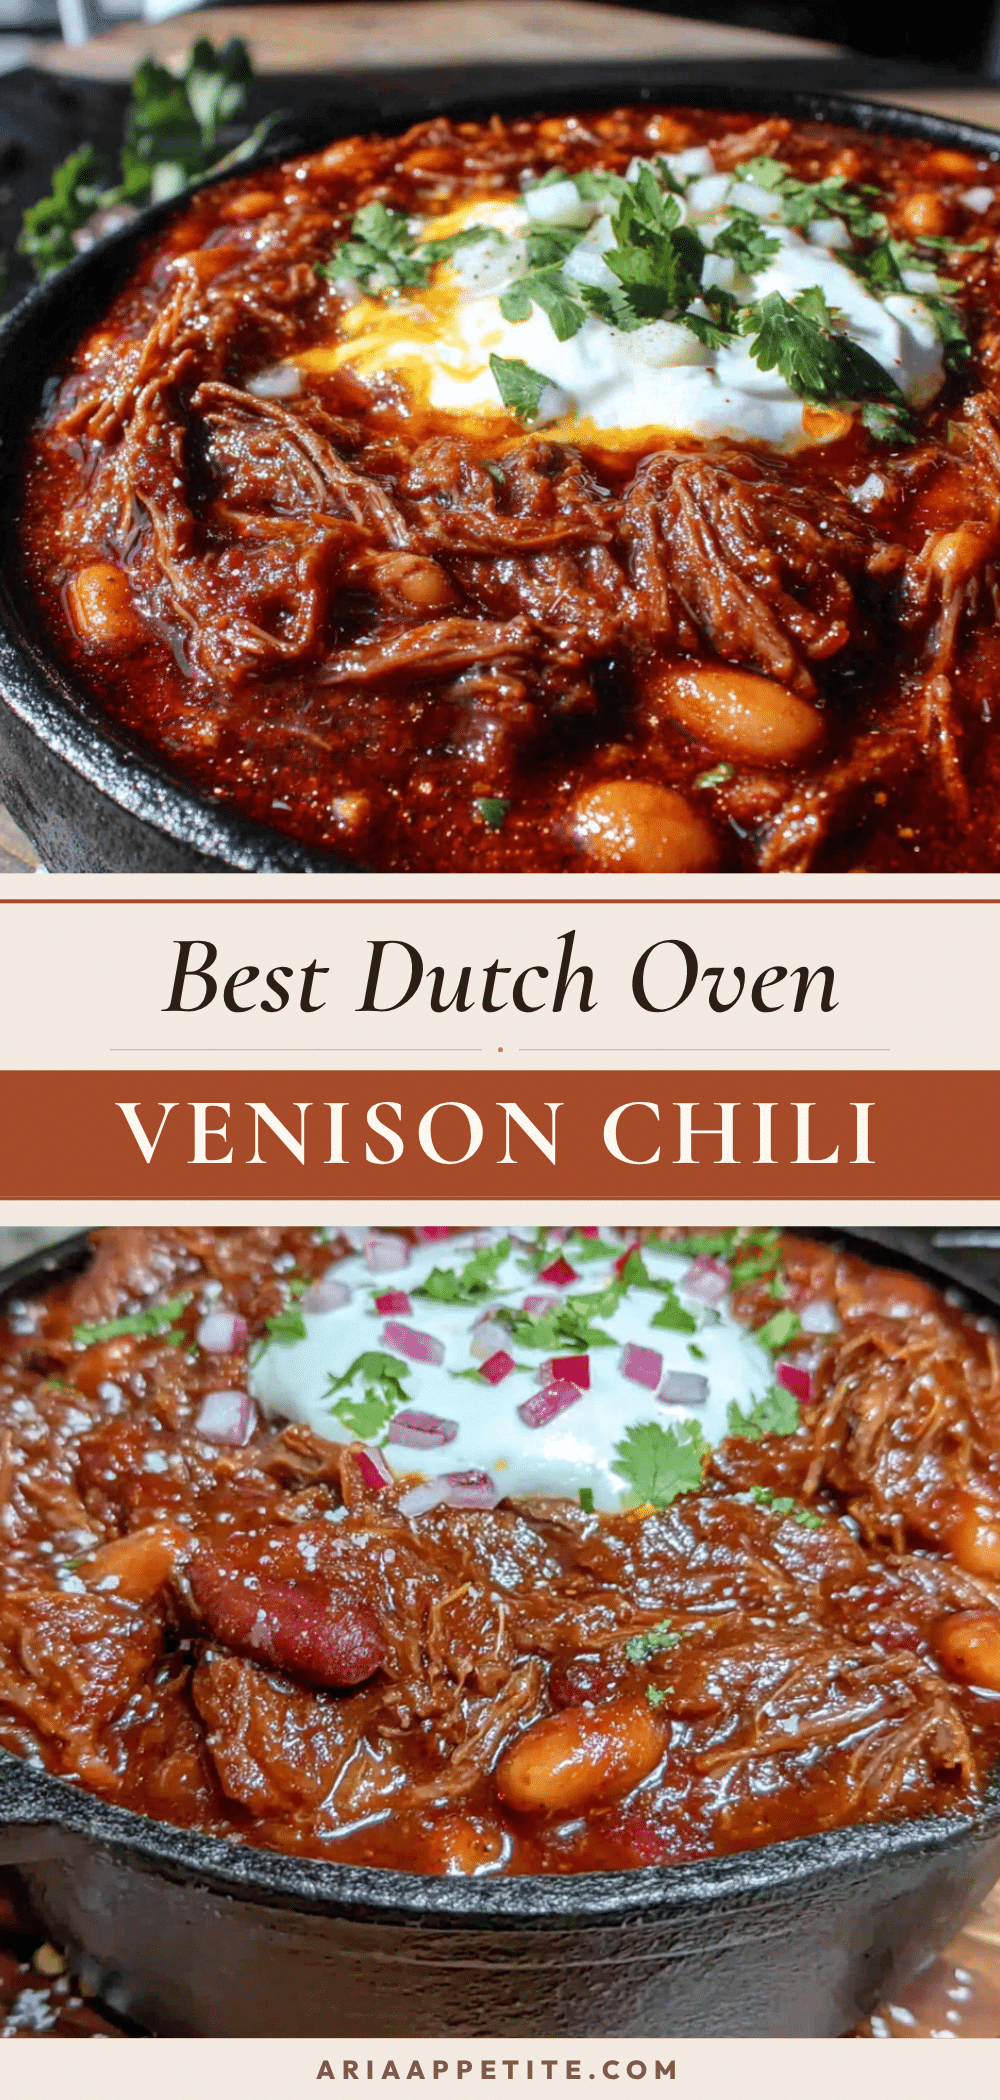
Best Dutch Oven Venison Chili for a Crowd

This deep, dark, stick-to-your-ribs venison chili is perfect for feeding a crowd. Made with simple ingredients and a secret touch of coffee and cocoa, it’s a crowd-pleaser that tastes even better the next day.
- Prep Time: 15 minutes
- Cook Time: 1 hour 15 minutes
- Total Time: 1 hour 30 minutes
- Yield: 10-12 servings 1x
- Category: Main Course
- Cuisine: American
Ingredients
- 2 lbs ground venison (or 1 lb venison + 1 lb ground pork)
- 2 tablespoons olive oil or bacon fat
- 1 large yellow onion, diced (about 2 cups)
- 1 large red bell pepper, diced (about 1.5 cups)
- 4 cloves garlic, minced
- 2 jalapeños, seeded and minced
- 3 tablespoons chili powder
- 1 tablespoon ground cumin
- 1 teaspoon smoked paprika
- 1 teaspoon dried oregano
- 1/2 teaspoon cayenne pepper
- 1 tablespoon unsweetened cocoa powder
- 1 teaspoon finely ground coffee
- Salt and black pepper to taste
- 1 (28 oz) can crushed fire-roasted tomatoes
- 1 (15 oz) can tomato sauce
- 1 (15 oz) can dark red kidney beans, drained and rinsed
- 1 (15 oz) can pinto beans, drained and rinsed
- 1 (12 oz) bottle dark beer (stout or porter) or 1.5 cups beef broth
- 1 tablespoon Worcestershire sauce
- 1 tablespoon brown sugar (optional)
- Shredded sharp cheddar cheese (for serving)
- Sour cream or Greek yogurt (for serving)
- Fresh cilantro, chopped (for serving)
- Diced red onion or green onions (for serving)
- Cornbread or crusty bread (for serving)
Instructions
- Prep your ingredients: dice the onion, bell pepper, and jalapeños; mince the garlic; measure out all spices into a small bowl; open cans and drain beans.
- Heat Dutch oven over medium-high heat. Add olive oil or bacon fat. Once shimmering, add ground venison. Break it up and let it brown without stirring too much, about 6-8 minutes. Transfer meat to a bowl, leaving fat and juices in the pot.
- Reduce heat to medium. Add diced onion, bell pepper, and jalapeños. Cook, stirring occasionally, until softened, about 5 minutes. Add minced garlic and cook for 30 seconds until fragrant. Scrape up browned bits from the bottom.
- Add the spice blend (chili powder, cumin, smoked paprika, oregano, cayenne, cocoa powder, coffee) to the pot. Stir constantly for about 1 minute until fragrant.
- Pour in the dark beer (or beef broth). Use a wooden spoon to scrape up remaining browned bits. Let it bubble and reduce slightly for about 2 minutes.
- Return browned venison to the pot. Add crushed tomatoes, tomato sauce, Worcestershire sauce, and brown sugar (if using). Stir together. Bring to a gentle boil, then reduce heat to low. Cover and simmer for 45 minutes, stirring occasionally.
- After 45 minutes, stir in drained kidney beans and pinto beans. Simmer uncovered for another 10 minutes.
- Taste and add salt and black pepper as needed. If too thick, add a splash of broth or water. If too thin, simmer uncovered a few more minutes.
- Remove from heat and let rest for 5-10 minutes before serving. Ladle into bowls and top with desired garnishes.
Notes
For best flavor, make a day ahead. The chili freezes well for up to 3 months. If venison is very lean, add a little pork or use bacon fat to keep it moist. The coffee and cocoa deepen the savory notes without tasting like either.
Nutrition
- Serving Size: 1 serving (based on
- Calories: 320
- Sugar: 8
- Sodium: 680
- Fat: 12
- Saturated Fat: 4
- Carbohydrates: 28
- Fiber: 8
- Protein: 28
Keywords: venison chili, Dutch oven chili, game day chili, crowd-pleasing chili, venison recipe, chili with coffee, chili with cocoa


