Love this? Save it for later!
Share the inspiration with your friends
Someone asked me last week why I always seem to have a second batch of crescent roll dough hiding in my fridge during October. I laughed, but honestly, I didn’t have a good answer at the time. It’s just become one of those seasonal habits you don’t really question — like buying too many pumpkins or pretending you’ll actually carve that second one. But later that night, standing over a baking sheet with little strips of dough wrapped around tiny hot dogs, I realized it goes back to a very specific Tuesday afternoon about seven years ago.
I was at my neighbor Maria’s house, and her kitchen looked like a tiny flour bomb had gone off. She was making these adorable little mummy hot dogs for her son’s Halloween class party, and I just sat there watching her work. She had this system — cutting the dough into thin strips, wrapping them just so, leaving that tiny gap for the mustard eyes. I remember thinking, “That’s it? That’s all it takes to make something this cute?” I mean, I’d seen a million Pinterest fails in my day, so I was skeptical. But she slid that tray into the oven, and twenty minutes later, I was holding the most ridiculous, perfect, slightly imperfect little mummy I’d ever seen. The dough was a little too thick on one side, and one of the mustard eyes had smeared into a weird blob, but it was perfect. You know that feeling when something is so simple it almost feels like cheating, but it works anyway?
That’s this recipe. It’s the one I keep coming back to because it delivers every single time without any drama. No complicated steps, no fancy ingredients, just a little bit of patience and a lot of payoff. And honestly, if you’ve ever stared at a Pinterest board full of elaborate Halloween treats and felt that familiar wave of “nope, not doing that,” this is your recipe. It’s the one that makes you look like you tried way harder than you actually did.
Why You’ll Love This Recipe
Let me tell you, I’ve tested this one more times than I care to admit. I’ve tried different doughs, different hot dogs, different baking times — and this version is the one that finally stuck. It’s not just another pigs in a blanket recipe. It’s the one that makes people at the party say, “Wait, you made these?” with actual surprise in their voice.
- Quick & Easy : We’re talking 25 minutes from start to finish. That’s less time than it takes to decide what to watch on Netflix.
- Simple Ingredients : You need exactly three things — hot dogs, crescent roll dough, and mustard. That’s it. No weird specialty items.
- Perfect for Halloween Parties : These little guys disappear faster than anything else on the snack table. I’ve seen it happen.
- Crowd-Pleaser : Kids love them because they’re fun. Adults love them because they’re delicious and nostalgic. It’s a win-win.
- Unbelievably Delicious : The flaky, buttery dough wrapped around a juicy hot dog with that tiny pop of tangy mustard — it’s comfort food at its finest.
What makes this recipe different from the dozens of others out there? It’s the wrapping technique. I figured out that leaving a specific gap for the “eyes” and using just the right amount of dough tension makes all the difference. Too tight and the dough tears. Too loose and your mummy looks like it’s wearing a bathrobe instead of bandages. This version hits that sweet spot every time.
And here’s the thing — this recipe isn’t just good. It’s the kind of snack that makes you close your eyes after the first bite. It’s Halloween fun without the Halloween stress. Perfect for impressing your kid’s classmates or just treating yourself while watching a scary movie.
What Ingredients You Will Need
This recipe uses the simplest ingredients you probably already have in your kitchen. No fancy grocery trips, no hunting down obscure items at three different stores. Just three basic things that come together to make something genuinely adorable and delicious.
- Hot dogs (1 package, standard size) — I prefer beef hot dogs for their richer flavor, but any brand works. I’ve used turkey dogs and even plant-based options with great results. Just make sure they’re the standard size, not the jumbo ones, unless you want giant mummies. For best results, I recommend Hebrew National or Oscar Mayer — they hold up well during baking and don’t get that weird shriveled texture.
- Crescent roll dough (2 cans, 8 oz each) — This is the backbone of your mummies. I’ve tried several brands, and Pillsbury is my go-to. The dough is flaky, buttery, and easy to work with. If you’re feeling ambitious, you can make your own dough from scratch, but honestly, the canned stuff works perfectly here. Just make sure it’s cold when you start working with it — warm dough gets sticky and hard to cut into strips.
- Yellow mustard (for the eyes) — This is non-negotiable for the mummy look. The bright yellow color pops against the golden dough and creates that classic “bandaged monster” effect. You can use spicy brown mustard or even sriracha if you want a kick, but the color won’t be as vibrant. I’ve also used French’s for years — it’s reliable and has that perfect tangy flavor that cuts through the richness of the dough and hot dog.
Optional but recommended:
- Everything bagel seasoning — A light sprinkle before baking adds texture and a subtle savory flavor. It’s not traditional, but it’s delicious.
- Ketchup or ranch dressing — For dipping. Some people are ketchup people, some are ranch people. I’m not here to judge.
- Sesame seeds — Adds a nice visual touch if you want your mummies to look a little more “finished.”
That’s genuinely it. Three ingredients (plus optional extras) that transform into something that looks like you spent hours on it. The magic is all in the wrapping.
Equipment Needed
You don’t need a lot of fancy equipment for this recipe. That’s part of the beauty of it. But having the right tools makes the process smoother and less frustrating.
- Baking sheet (standard half-sheet size) — Line it with parchment paper or a silicone baking mat for easy cleanup. I’ve made the mistake of skipping the parchment, and let me tell you, scraping burnt cheese off a baking sheet is not how I want to spend my evening.
- Sharp knife or pizza cutter — You’ll be cutting the crescent roll dough into thin strips, and a dull knife will just squish and tear the dough. A pizza cutter works like a dream here — one smooth motion and you’re done.
- Small bowl of water — For sealing the dough ends. Just a little dip of your finger in water helps the dough stick to itself without falling apart during baking.
- Pastry brush (optional) — If you want to brush the dough with an egg wash or melted butter for extra golden color. Not necessary, but it makes them look bakery-level.
- Toothpicks — If your dough strips are being stubborn and refusing to stay in place, a toothpick can help hold everything together until the dough sets in the oven.
I’ve made these in a pinch with just a butter knife and a baking sheet, and they still turned out great. The pizza cutter is a game-changer, though. It makes the whole process feel less fiddly and more fun.
Preparation Method
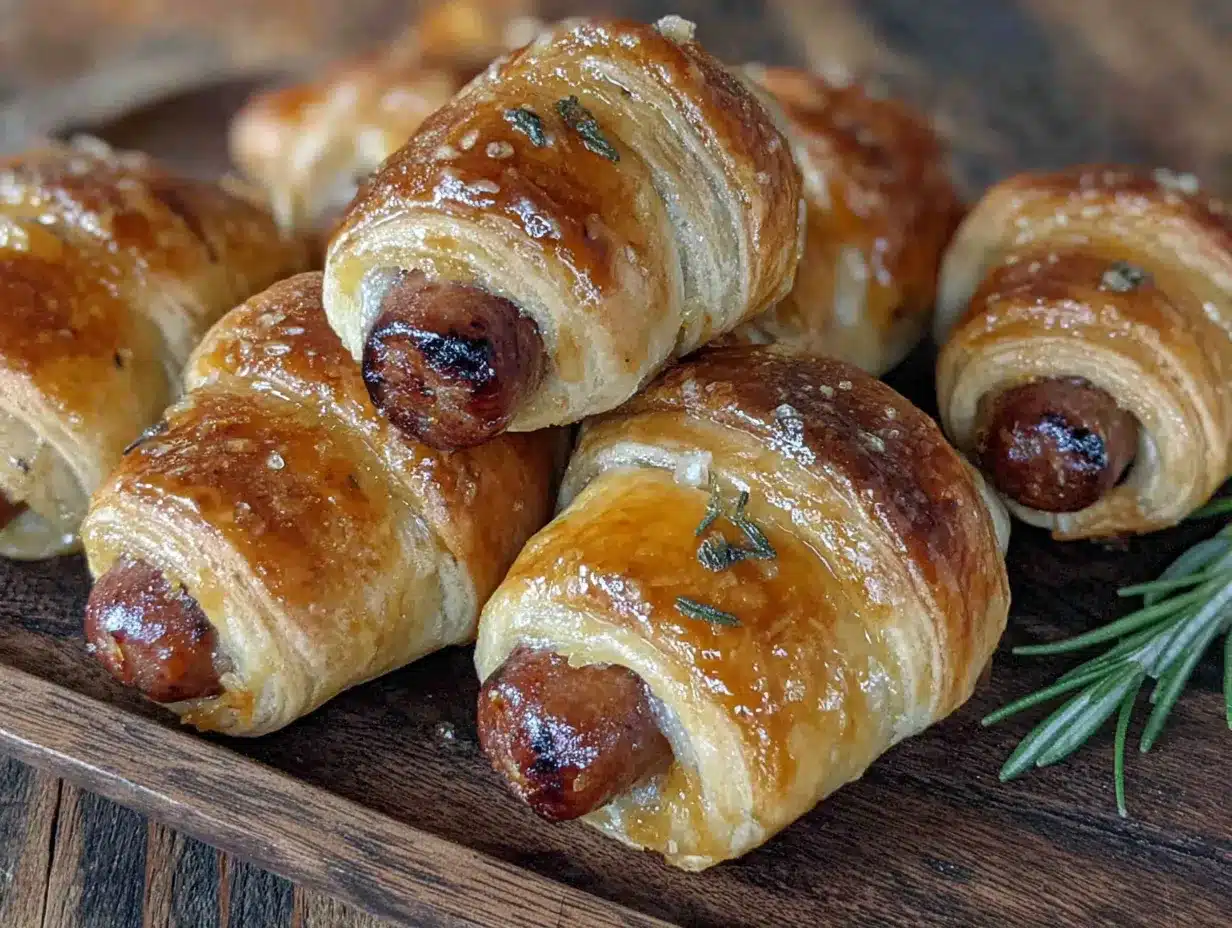
Alright, let’s get to the good part. Here’s how to make these little guys step by step. I’ve included all the little details I wish someone had told me the first time I tried this.
- Preheat your oven to 375°F (190°C). Line a baking sheet with parchment paper or a silicone mat. This is one of those steps that seems optional until you have to scrub baked-on dough off your pan. Trust me on this one.
- Unroll your crescent roll dough and separate it along the perforated lines. You should have 8 triangles per can. Press the seams together gently to create a solid sheet of dough. Don’t overwork it — you just want to close the gaps, not make it perfectly smooth.
- Cut the dough into thin strips. Using a sharp knife or pizza cutter, slice each triangle into 4-5 long strips, about 1/2 inch wide. The strips don’t have to be perfectly uniform — in fact, uneven strips give your mummies a more authentic “wrapped in bandages” look. I’ve had strips that were way too thin and tore when I tried to wrap them, and strips that were too thick that made the mummies look chunky. Aim for that sweet spot of about 1/2 inch.
- Cut the hot dogs in half if you want smaller, bite-sized mummies. For standard-sized mummies, leave them whole. I usually make a mix of both — whole ones for the adults and half-sized ones for the kids. It’s also a good way to stretch the recipe if you’re feeding a crowd.
- Wrap the dough strips around the hot dogs. Start at one end and wrap the strip around the hot dog at a slight angle, overlapping slightly as you go. Leave a small gap near the top of the hot dog for the “eyes.” Don’t wrap too tightly — the dough will expand as it bakes, and if it’s too tight, it will tear. You want it snug but not strangling the hot dog. Leave the ends of the dough strip hanging loose — they’ll look like unraveling bandages, which adds to the mummy effect.
- Place the wrapped mummies on the prepared baking sheet. Leave about an inch of space between each one. They won’t spread much, but they need a little breathing room for even browning.
- Bake for 12-15 minutes, or until the dough is golden brown and the hot dogs are heated through. The exact time depends on your oven and how thick your dough strips are. Start checking at 12 minutes. You’re looking for that beautiful golden color on the dough — not pale, not burnt, just that perfect toastiness.
- Remove from the oven and let cool for 2-3 minutes. This is important — the dough is piping hot straight out of the oven, and the mustard eyes will just slide off if you try to add them too soon. Let them cool just enough so you can handle them.
- Add the mustard eyes. Using a toothpick or the tip of a knife, dab two small dots of yellow mustard in the gap you left near the top of the hot dog. Don’t go overboard — tiny dots look cuter and more mummy-like. If you accidentally make them too big, just wipe it off and try again. I’ve definitely had my fair share of mummies that looked like they were crying mustard tears.
And that’s it. You’ve got a tray full of adorable, delicious mummy pigs in a blanket ready to disappear at your Halloween party.
Cooking Tips & Techniques
After making these more times than I can count, I’ve picked up a few tricks that make the process smoother and the results better. Here’s what I’ve learned the hard way so you don’t have to.
Keep the dough cold. Crescent roll dough gets sticky and hard to work with when it’s warm. If your kitchen is warm or you’re taking too long, pop the dough in the fridge for 5-10 minutes to firm up. Cold dough cuts cleaner and wraps more easily without tearing.
Don’t overthink the wrapping. I used to stress about making every strip perfectly even and every wrap perfectly spaced. But honestly, the slightly messy, uneven wraps look more like actual mummy bandages. Embrace the imperfection. Your mummies will look more authentic for it.
Use a light touch with the mustard. I’ve made the mistake of squeezing too much mustard onto the plate and then trying to dab it onto the hot dog. It always ends up in a big blob. Instead, squeeze a tiny dot of mustard onto a plate or paper towel, then use a toothpick to transfer a small amount to the hot dog. You have more control this way.
Watch the baking time. Every oven runs a little differently. I’ve had batches that were perfectly golden at 12 minutes and others that needed the full 15. Start checking early and trust your eyes more than the timer. You want the dough to be a deep golden brown — pale dough means underbaked, and dark brown means you’ve gone too far.
Make ahead tip. You can assemble these up to 24 hours in advance. Just wrap the mummies, place them on the baking sheet, cover with plastic wrap, and refrigerate. When you’re ready to bake, add a couple of minutes to the baking time since they’re starting from cold. This is a lifesaver for party prep.
My biggest failure? I once tried to make these with puff pastry instead of crescent roll dough. In theory, it should work. In practice, the puff pastry didn’t hold its shape, the layers separated, and I ended up with a tray of what looked like hot dogs wearing shredded paper. Stick with the crescent roll dough. It’s specifically designed for this kind of thing.
Variations & Adaptations
One of the best things about this recipe is how easy it is to customize. Here are some variations I’ve tried and loved.
Spicy Mummies — Swap the regular hot dogs for spicy jalapeño or cheddar-jalapeño sausages. The heat pairs beautifully with the buttery dough and tangy mustard. I made these for a Halloween party last year, and they were the first ones to disappear.
Cheesy Mummies — Before wrapping the dough around the hot dog, place a thin strip of cheddar or mozzarella cheese along the hot dog. The cheese melts and oozes out slightly during baking, creating a deliciously gooey center. Just be careful not to add too much cheese or it will leak out completely and make a mess on your baking sheet.
Veggie Mummies — Use plant-based hot dogs or sausages for a vegetarian version. I’ve tried several brands, and Beyond Meat and Field Roast both work well. The texture is slightly different, but the overall effect is just as cute and tasty.
Breakfast Mummies — Swap the hot dogs for breakfast sausages or even bacon-wrapped sausage links. Serve them with a side of maple syrup for dipping. Sweet and savory in the best possible way.
Gluten-Free Option — Use gluten-free crescent roll dough. Pillsbury makes a gluten-free version that works surprisingly well. The dough is a bit more delicate, so handle it gently and don’t overwork it.
Mini Mummies — Cut the hot dogs into thirds instead of halves for even smaller, bite-sized mummies. These are perfect for little hands or for serving as appetizers at a party. Adjust the baking time down by a couple of minutes since they’re smaller.
I’ve personally tried the spicy and cheesy variations, and they’re both fantastic. The spicy version has become my go-to for adult parties, while the classic version is still the favorite for kids’ events.
Serving & Storage Suggestions
These mummy pigs in a blanket are best served warm, straight from the oven. The dough is at its flakiest and most buttery when it’s fresh, and the hot dog is perfectly juicy. But they’re also surprisingly good at room temperature, which makes them perfect for parties where food sits out for a while.
Serving temperature: Warm or room temperature. If you’re serving them at a party, you can keep them warm in a low oven (200°F) for up to 30 minutes. Just place them on a baking sheet and tent loosely with foil to prevent the dough from drying out.
Presentation ideas: Arrange them on a platter with a small bowl of mustard or ketchup for dipping. For a Halloween-themed presentation, serve them on a black platter or a tray lined with orange and black napkins. You can even arrange them in a circle to look like a wreath of mummies — creepy and cute at the same time.
Complementary dishes: These pair beautifully with other Halloween snacks like pumpkin-shaped cheese crackers, spiderweb dip, or a bowl of candy corn. For a full meal, serve them alongside a simple salad or a bowl of tomato soup.
Storage instructions: Leftover mummies can be stored in an airtight container in the refrigerator for up to 3 days. The dough will soften slightly, but they’re still delicious. To reheat, place them on a baking sheet in a 350°F oven for 5-7 minutes, or until warmed through. The microwave works in a pinch, but the dough will be soft rather than crispy.
Freezer instructions: You can freeze the assembled, unbaked mummies. Place them on a baking sheet and freeze until solid, then transfer to a freezer bag. They’ll keep for up to 3 months. When you’re ready to bake, add 5-7 minutes to the baking time. No need to thaw first.
One thing I’ve noticed — the flavors actually develop a bit overnight. The mustard soaks into the dough slightly, creating this subtle tangy flavor throughout. I actually prefer them the next day, cold from the fridge, as a quick snack. Don’t judge me until you’ve tried it.
Nutritional Information & Benefits
Let’s be real — these are not health food. They’re a fun, indulgent Halloween treat. But that doesn’t mean they can’t fit into a balanced diet. Here’s a rough estimate of what you’re looking at per serving (one mummy):
- Calories: Approximately 180-200 calories
- Protein: 6-7 grams
- Carbohydrates: 14-16 grams
- Fat: 10-12 grams
- Sodium: 450-500 mg
These numbers will vary depending on the specific brands you use and whether you add any extras like cheese or seasoning.
Health benefits: Hot dogs are a decent source of protein, and the crescent roll dough provides carbohydrates for energy. The mustard contains turmeric, which has anti-inflammatory properties. I mean, I’m stretching here, but every little bit counts, right?
Dietary considerations: This recipe is not gluten-free unless you use gluten-free dough. It’s also not dairy-free unless you check your specific dough brand (some contain dairy). For a lower-sodium option, look for reduced-sodium hot dogs. For a lower-fat option, use turkey or chicken hot dogs.
Potential allergens: Wheat (in the dough), dairy (in some dough brands), and soy (in some hot dogs). Always check labels if you’re serving someone with allergies.
My personal take: I don’t make these every day. But for a Halloween party or a fun weekend snack, they’re totally worth it. Life’s too short to only eat kale. Sometimes you need a little bit of silly, indulgent fun, and these deliver exactly that.
Conclusion
Look, I’m not going to tell you these mummy pigs in a blanket are going to change your life. But they might change your Halloween. They’re that perfect combination of ridiculously cute and genuinely delicious that makes everyone at the party smile. And honestly, isn’t that the whole point?
This recipe is for those of us who want to participate in the Halloween fun without spending hours in the kitchen. It’s for the parents who want to bring something special to the classroom party but don’t have time for elaborate baking projects. It’s for anyone who’s ever looked at a complicated recipe and thought, “Yeah, that’s not happening.”
I love this recipe because it’s proof that you don’t need fancy skills or expensive ingredients to make something memorable. You just need a little creativity, a little patience, and maybe a toothpick for those mustard eyes. The rest takes care of itself.
So go ahead — give these a try. Make a batch for your Halloween party, or just make a batch for yourself while watching Hocus Pocus for the hundredth time. And when you do, come back and tell me how they turned out. I’d love to hear about your mummy-making adventures, your mustard mishaps, and your favorite variations. Drop a comment below or tag me in your photos. Happy Halloween, friends!
Frequently Asked Questions
Can I make these ahead of time for a party?
Absolutely! You can assemble the mummies up to 24 hours in advance and keep them covered in the refrigerator. When you’re ready to serve, just bake them as directed, adding a couple of extra minutes since they’re starting from cold. You can also freeze the unbaked mummies for up to 3 months.
What can I use instead of crescent roll dough?
Puff pastry is the most common substitute, but I’ve found it doesn’t hold its shape as well. Pizza dough or homemade bread dough can work, but they’re denser and won’t be as flaky. For the best results, stick with crescent roll dough. It’s specifically designed for this kind of wrapping.
Can I use something other than yellow mustard for the eyes?
Yes! You can use spicy brown mustard, Dijon mustard, or even sriracha for a spicy kick. Just keep in mind that the color won’t be as bright yellow. For a non-mustard option, try ketchup dots or even small pieces of black olive for a different look.
How do I prevent the dough from tearing when I wrap it?
Keep the dough cold, use a sharp knife or pizza cutter for clean cuts, and don’t wrap too tightly. If a strip does tear, just press it back together — the dough will fuse as it bakes. You can also use a tiny bit of water to help the dough stick to itself.
Can I use cocktail sausages instead of hot dogs?
Definitely! Cocktail sausages or lil’ smokies work great for bite-sized mummies. Just cut your dough strips a little shorter to match the smaller size, and reduce the baking time by 2-3 minutes. They’re perfect for appetizer platters or kids’ parties.
Pin This Recipe!
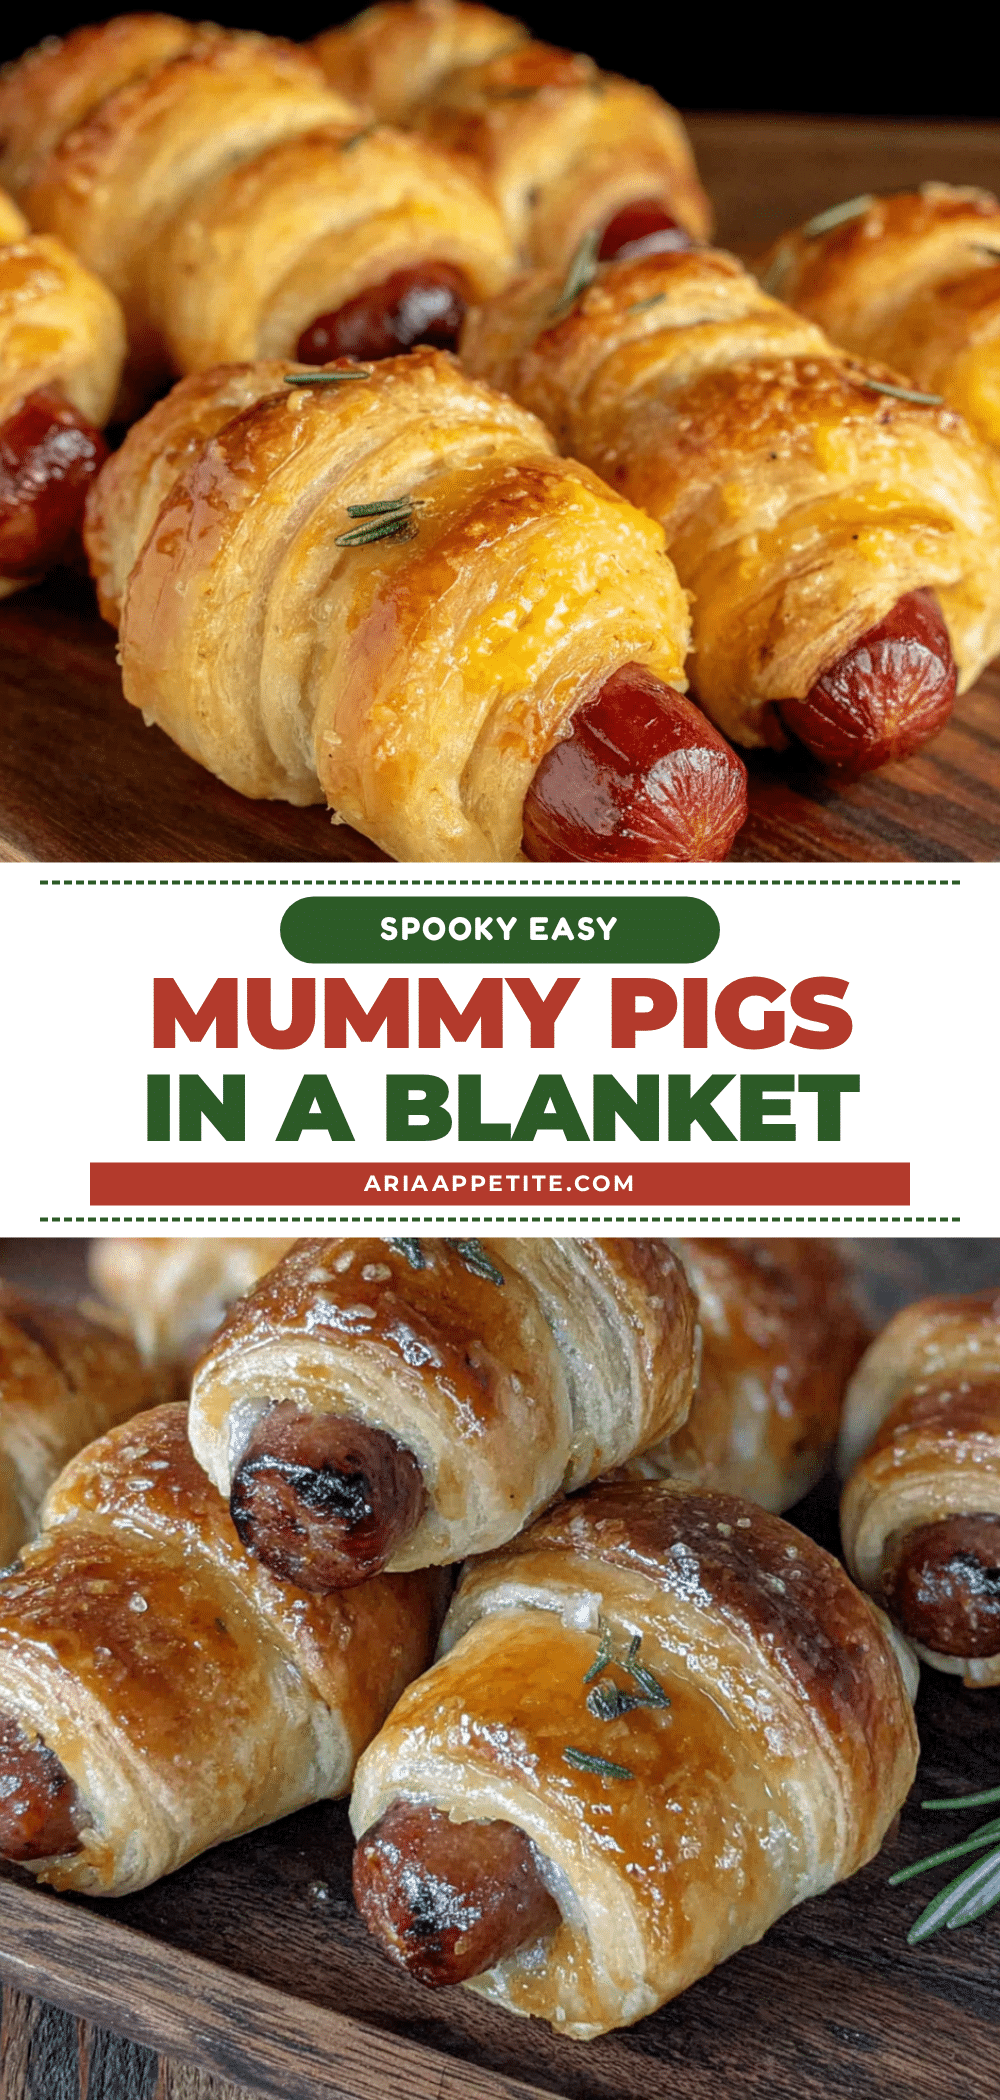
Easy Mummy Pigs in a Blanket Recipe for Halloween

These adorable mummy hot dogs are wrapped in crescent roll dough and baked until golden, with tiny mustard eyes for a spooky yet cute Halloween treat. Quick, easy, and perfect for parties.
- Prep Time: 10 minutes
- Cook Time: 15 minutes
- Total Time: 25 minutes
- Yield: 16 servings 1x
- Category: Appetizer
- Cuisine: American
Ingredients
- 1 package hot dogs (standard size)
- 2 cans crescent roll dough (8 oz each)
- Yellow mustard (for the eyes)
- Everything bagel seasoning (optional)
- Ketchup or ranch dressing (for dipping, optional)
- Sesame seeds (optional)
Instructions
- Preheat your oven to 375°F (190°C). Line a baking sheet with parchment paper or a silicone mat.
- Unroll your crescent roll dough and separate it along the perforated lines. Press the seams together gently to create a solid sheet of dough.
- Cut the dough into thin strips. Using a sharp knife or pizza cutter, slice each triangle into 4-5 long strips, about 1/2 inch wide.
- Cut the hot dogs in half if you want smaller, bite-sized mummies. For standard-sized mummies, leave them whole.
- Wrap the dough strips around the hot dogs. Start at one end and wrap the strip around the hot dog at a slight angle, overlapping slightly as you go. Leave a small gap near the top of the hot dog for the ‘eyes.’ Don’t wrap too tightly.
- Place the wrapped mummies on the prepared baking sheet. Leave about an inch of space between each one.
- Bake for 12-15 minutes, or until the dough is golden brown and the hot dogs are heated through.
- Remove from the oven and let cool for 2-3 minutes.
- Add the mustard eyes. Using a toothpick or the tip of a knife, dab two small dots of yellow mustard in the gap you left near the top of the hot dog.
Notes
Keep the dough cold for easier handling. Don’t overthink the wrapping—imperfect wraps look more like mummy bandages. Use a light touch with the mustard. Watch the baking time; start checking at 12 minutes. You can assemble up to 24 hours in advance and refrigerate. Freeze unbaked mummies for up to 3 months.
Nutrition
- Serving Size: 1 mummy
- Calories: 190
- Sugar: 3
- Sodium: 475
- Fat: 11
- Saturated Fat: 3.5
- Carbohydrates: 15
- Protein: 6
Keywords: Halloween, mummy, pigs in a blanket, hot dogs, crescent roll, appetizer, party food, easy