Love this? Save it for later!
Share the inspiration with your friends
“I never thought I’d be the person to show up at a campsite with no cooler,” I confessed to my friend Mike last summer. We were gearing up for a weekend hike, and honestly, lugging a cooler through thick woods felt like a nightmare waiting to happen. But there I was, standing in my kitchen, assembling what I now call the Convenient No-Cooler-Needed Ultimate Camping Snack Board. It all started with a last-minute decision on a Friday afternoon when the nearest grocery store was closing soon, and I didn’t want to risk soggy sandwiches or melted cheese after hours in the sun.
The snack board was inspired by a midweek craving and a simple desire: snacks that didn’t need refrigeration but still tasted like a treat. I remember the exact moment I threw together crunchy crackers, spicy nuts, dried fruits, and a few specially chosen spreads on a wooden cutting board. The texture, the colors, the smells—it was like a picnic without the fuss. That weekend, instead of worrying about melting ice packs or soggy foods, we just grabbed the board and paired it with fresh spring water from the stream nearby.
Maybe you’ve been there, too—stuck thinking about what to bring that’s easy, mess-free, and still feels like you put some thought into it. That’s why this Ultimate Camping Snack Board stayed with me. It’s not just a snack; it’s a little celebration of simple, no-cooler-needed convenience that lets you focus on what really matters: the great outdoors, good company, and hunger-free adventures.
Why You’ll Love This Recipe
This Ultimate Camping Snack Board has been tested on multiple trips, from quick afternoon hikes to overnight camping under the stars. It’s honestly a lifesaver if you’re tired of the usual energy bars or trail mix.
- Quick & Easy: Ready to assemble in less than 15 minutes, so you can spend less time prepping and more time outdoors.
- Simple Ingredients: No need for fancy or refrigerated items—most things you probably already have in your pantry or can grab without a special trip.
- Perfect for Outdoor Adventures: Whether it’s a camping trip, a picnic, or even a backyard hangout, this snack board fits right in.
- Crowd-Pleaser: Kids, adults, picky eaters—everyone finds something to nibble on with this variety-packed board.
- Unbelievably Delicious: The combo of salty, sweet, crunchy, and creamy textures keeps your taste buds happy and satisfied.
What sets this snack board apart is the thoughtful selection of ingredients that don’t just survive without refrigeration—they actually taste better as they mix and mingle. The secret? Choosing sturdy crackers, shelf-stable dips, and nuts with bold flavors that don’t get tired after hours in the sun. Honestly, it’s the kind of snack board I rave about when friends ask how to pack smart for camping without the hassle of icy coolers.
What Ingredients You Will Need
This recipe uses simple, wholesome ingredients to deliver bold flavor and satisfying texture without the fuss. Most are pantry staples, and if you’re adventurous, you can swap in seasonal or local goodies.
- Crackers & Crispbreads: Choose sturdy options like multigrain crackers, seeded crispbreads, or rye crisps (I recommend Mary’s Gone Crackers for their crunch and fiber).
- Nuts & Seeds: Roasted almonds, smoked cashews, and spiced pumpkin seeds add a punch of flavor and protein (try Blue Diamond almonds for consistent quality).
- Dried Fruits: Apricots, cherries, and apple rings bring chewy sweetness without moisture concerns.
- Shelf-Stable Spreads: Single-serve hummus cups, almond butter packets, or tapenade jars work perfectly (Sabra’s individual hummus containers are a go-to).
- Hard Cheeses (Optional): Some harder cheeses like aged Parmesan or aged Gouda can last hours without cooling if wrapped well.
- Olives & Pickles: Vacuum-sealed olives or pickled veggies add a briny pop; you can pack small jars or vacuum packs.
- Fresh Veggies (Optional): If you want a touch of freshness, sturdy veggies like baby carrots or sliced bell peppers hold up well for a few hours.
Substitution tips: Use gluten-free crackers if needed, or swap nuts for roasted chickpeas for a vegan boost. For dairy-free options, almond butter or tahini-based dips add creamy richness without refrigeration worries.
Equipment Needed
To put together this snack board, you don’t need much—just a few essentials that you probably already own.
- A sturdy wooden or bamboo cutting board (I prefer the ones with a groove around the edge to catch crumbs).
- Small bowls or ramekins for dips and olives (lightweight silicone bowls are great for camping and easy to pack).
- A sharp knife for slicing any optional fresh veggies or cheese.
- Reusable beeswax wraps or parchment paper to cover leftovers or transport the board.
For budget-friendly options, a simple plastic cutting board and small Tupperware containers work just fine. If you’re using specialty tools like a cheese plane, keep it in your camping kit for an easy slice without crumbling.
Preparation Method
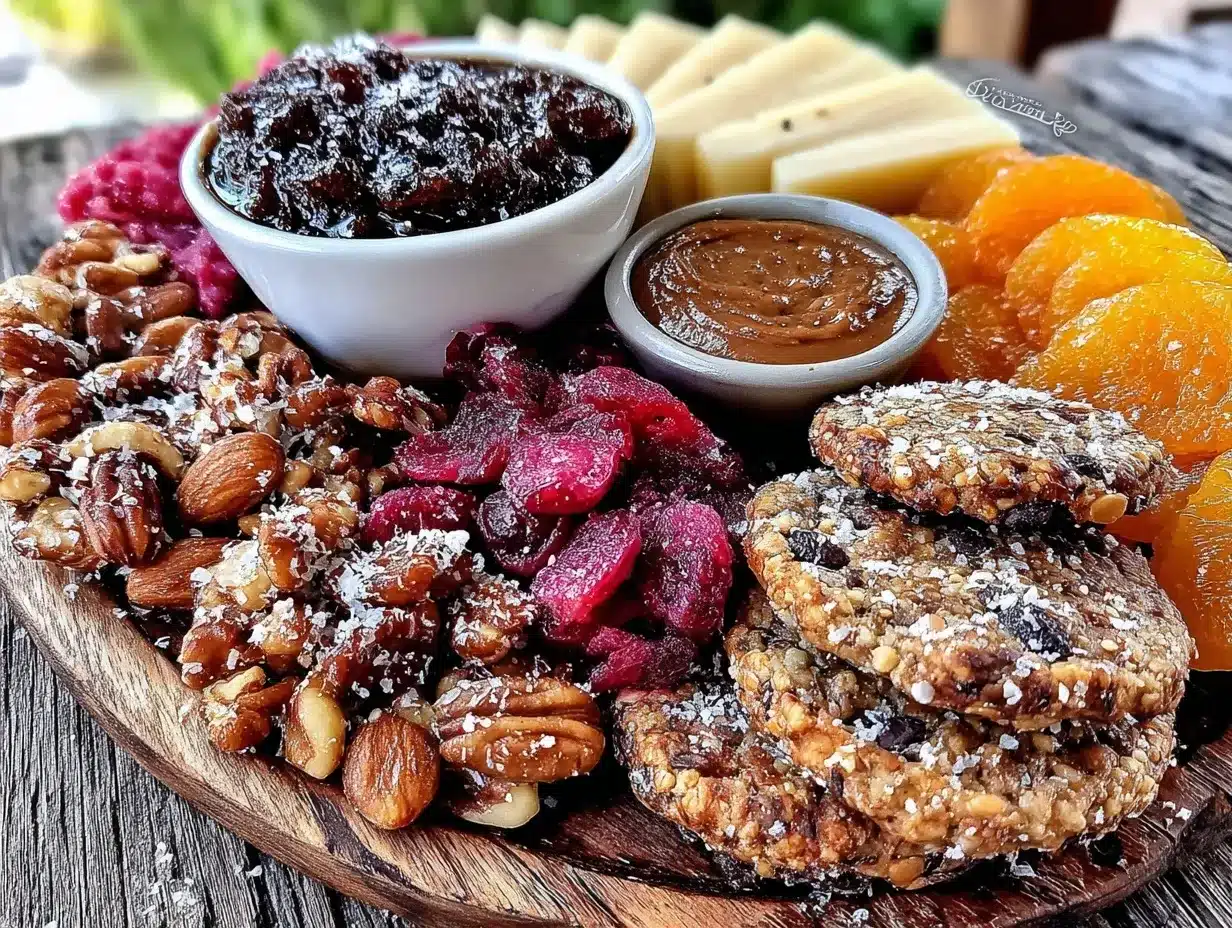
- Gather ingredients: Lay out all your crackers, nuts, dried fruits, and spreads on your kitchen counter. This should take about 5 minutes.
- Prepare fresh items (if using): Wash and slice any vegetables or cheese into bite-sized pieces. Make sure to pat them dry to avoid extra moisture. This step usually takes 5-7 minutes.
- Arrange base layer: Start by placing your crackers and crispbreads evenly across the board, leaving gaps for other items. This helps maintain balance and visual appeal.
- Add nuts and dried fruits: Scatter roasted almonds, spiced pumpkin seeds, and dried apricots in clusters around the board to add pops of color and texture.
- Place bowls for dips and olives: Use small bowls for hummus, tapenade, or other spreads, arranging them in easy-to-reach spots.
- Fill gaps with olives and pickles: Add vacuum-sealed olives or small pickled veggies to round out the flavors.
- Final touches: If you included fresh veggies or cheeses, nestle them gently into open spaces. Make sure nothing feels cramped or crowded.
- Cover and transport: Wrap the board loosely with beeswax wrap or parchment paper and pack it carefully to avoid shifting during travel.
Some tips: If you’re assembling right before leaving, keep dips chilled until the last moment. Avoid overloading the board to prevent crushing crackers. And if you’re like me, double-check you’ve packed the knife—forgot it once, and had to improvise with a rock (not recommended!).
Cooking Tips & Techniques
Since this recipe requires no cooking, the focus is on smart assembly and ingredient choices that withstand outdoor conditions.
- Choose sturdy crackers: Thin or delicate crackers can crumble easily. Look for thick, seeded, or whole-grain varieties that hold up well.
- Go for roasted and flavored nuts: Raw nuts can taste a bit bland outside the fridge; roasted versions bring more character.
- Keep dips in single-serve containers: This helps avoid mess and keeps portions fresh without a cooler.
- Pack fresh veggies last: Add fresh produce right before serving if possible to keep them crisp.
- Use airtight containers for olives: Vacuum-sealed packs prevent spills and maintain flavor.
One lesson I learned the hard way: avoid soft cheeses if you won’t have refrigeration. They get messy and off-putting fast. Also, timing your assembly to the last possible moment means fresher snacks and less risk of sogginess.
Variations & Adaptations
The beauty of this snack board is how easy it is to tweak for different tastes or diets.
- Vegan Variation: Skip the cheese, add extra nuts, roasted chickpeas, and use tahini or guacamole as creamy spreads.
- Seasonal Twist: In autumn, swap dried apricots for dried figs or pears; summer calls for dried mango or cranberries.
- Spicy Kick: Add chili-roasted nuts or a spicy salsa dip to bring some heat to your board.
- Gluten-Free: Use gluten-free crackers and double-check all dips are gluten-free certified.
- Protein Boost: Include shelf-stable jerky or smoked almonds to keep energy levels high.
I once tried a Mediterranean-inspired board with olive tapenade, roasted red peppers, and marinated artichokes—all no-cooler staples—and it was a hit with my hiking crew.
Serving & Storage Suggestions
Serve the snack board at room temperature for the best taste and texture. It’s perfect right out of the pack—no fuss, no heat-up needed.
Pair it with crisp white wine or sparkling water for a relaxing outdoor moment. For a heartier snack, bring along some hearty bread or pita chips to complement the spreads.
Storage-wise, if you have leftovers, wrap them tightly with beeswax wraps or place them in airtight containers. Most components keep well for 1-2 days at room temperature, except fresh veggies and cheese, which are best eaten the same day.
Reheating isn’t necessary—this is a snack board meant to be enjoyed as-is. Over time, flavors meld beautifully, especially with nuts and dried fruits, making it even more satisfying.
Nutritional Information & Benefits
This snack board offers a balanced mix of healthy fats, protein, fiber, and natural sugars. Nuts provide heart-healthy monounsaturated fats, while dried fruits add antioxidants and a natural energy boost.
Most ingredients are gluten-free (check your cracker choices) and dairy-free options are easily swapped in, making this board suitable for many dietary needs.
From a wellness perspective, it’s a mindful way to snack outdoors, avoiding processed bars loaded with additives, and leaning on real, wholesome foods that fuel your adventure.
Conclusion
Honestly, the Convenient No-Cooler-Needed Ultimate Camping Snack Board has changed how I approach outdoor snacking. It’s simple, stress-free, and surprisingly satisfying. You can easily customize it to your taste, dietary needs, or whatever you find at the market last minute.
Give it a try on your next trip—and let me know how you made it your own! I love hearing stories of different spins and favorite combos. So don’t be shy; share your adaptations or ask questions in the comments. Here’s to easy, delicious snacking wherever the trail takes you!
Frequently Asked Questions
Can I prepare the snack board the night before my trip?
Yes, you can assemble most parts the night before, but keep fresh veggies and soft cheeses separate until the day of to maintain freshness.
What are good alternatives if I don’t like nuts?
Try roasted chickpeas, seeds like sunflower or pumpkin, or even crunchy veggie chips for a nut-free crunch.
How do I keep dips fresh without refrigeration?
Single-serve vacuum-packed dips or nut butter packets are best. If you must bring homemade dips, keep them in a cooler or use shelf-stable recipes like olive tapenade.
Is this snack board suitable for kids?
Absolutely! The variety means kids can pick what they like, and the no-mess setup makes it easy to share outdoors.
Can I include fresh fruits on the board?
Yes, but opt for sturdy fruits like apples or grapes that can handle being out for a few hours without refrigeration.
Pin This Recipe!
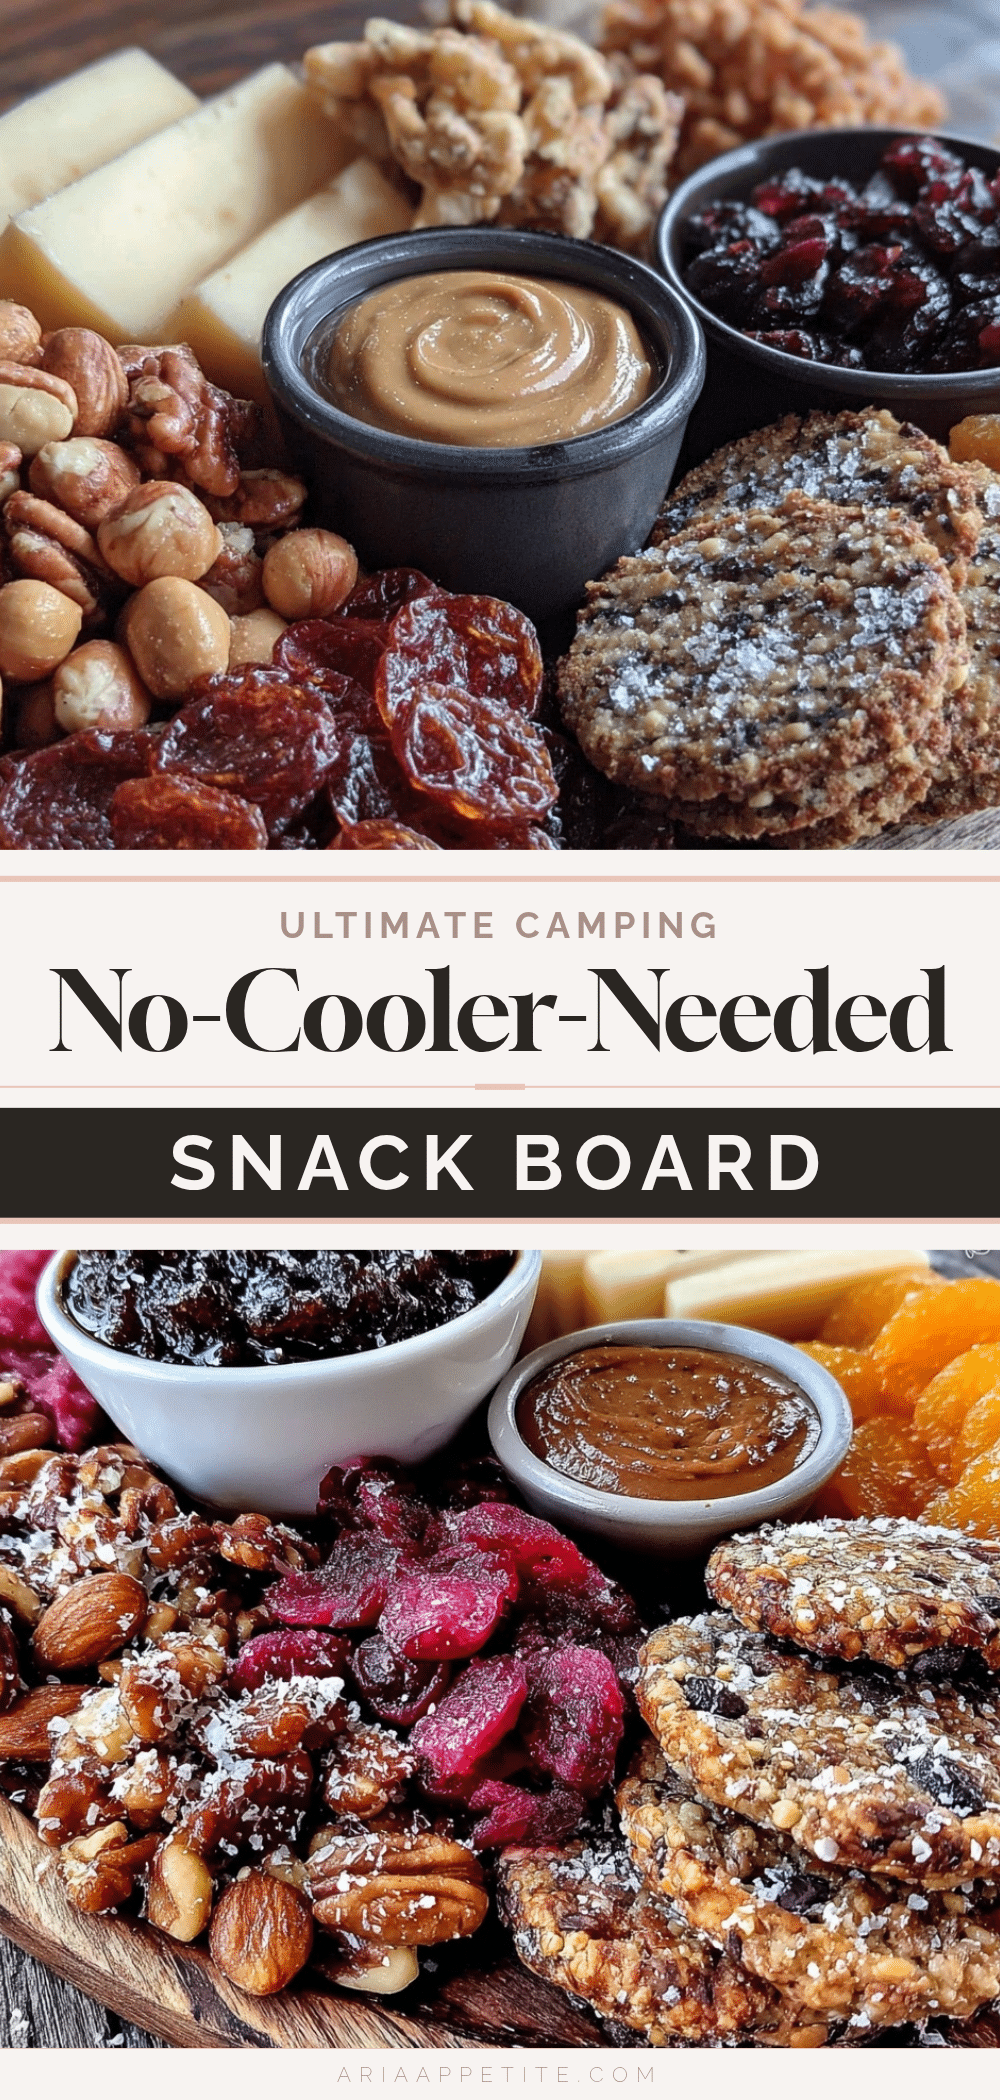
Ultimate Camping Snack Board
A convenient, no-cooler-needed snack board perfect for outdoor adventures, featuring sturdy crackers, nuts, dried fruits, and shelf-stable spreads that are easy to assemble and delicious.
- Prep Time: 15 minutes
- Cook Time: 0 minutes
- Total Time: 15 minutes
- Yield: 4 servings
- Category: Snack
- Cuisine: American
Ingredients
- Sturdy crackers (multigrain, seeded crispbreads, rye crisps)
- Roasted almonds
- Smoked cashews
- Spiced pumpkin seeds
- Dried apricots
- Dried cherries
- Dried apple rings
- Single-serve hummus cups
- Almond butter packets
- Tapenade jars
- Optional hard cheeses (aged Parmesan or aged Gouda)
- Vacuum-sealed olives
- Pickled veggies
- Optional fresh veggies (baby carrots, sliced bell peppers)
Instructions
- Gather ingredients: Lay out all crackers, nuts, dried fruits, and spreads on your kitchen counter (about 5 minutes).
- Prepare fresh items if using: Wash and slice vegetables or cheese into bite-sized pieces, pat dry (5-7 minutes).
- Arrange base layer: Place crackers and crispbreads evenly across the board, leaving gaps for other items.
- Add nuts and dried fruits: Scatter roasted almonds, spiced pumpkin seeds, and dried apricots in clusters around the board.
- Place bowls for dips and olives: Use small bowls for hummus, tapenade, or other spreads, arranging them in easy-to-reach spots.
- Fill gaps with olives and pickles: Add vacuum-sealed olives or small pickled veggies to round out flavors.
- Final touches: Nestle fresh veggies or cheeses gently into open spaces without overcrowding.
- Cover and transport: Wrap the board loosely with beeswax wrap or parchment paper and pack carefully to avoid shifting.
Notes
Keep dips chilled until the last moment if assembling right before leaving. Avoid soft cheeses without refrigeration. Use airtight containers for olives. Pack fresh veggies last to keep crisp. Double-check you have a knife for slicing.
Nutrition
- Serving Size: Approximately 1/4 of
- Calories: 350
- Sugar: 8
- Sodium: 300
- Fat: 22
- Saturated Fat: 3
- Carbohydrates: 28
- Fiber: 6
- Protein: 9
Keywords: camping snack, no cooler snacks, outdoor snacks, snack board, hiking food, easy snacks, no refrigeration, trail snacks


