Love this? Save it for later!
Share the inspiration with your friends
It was 11:47 PM on a rainy Tuesday, and I was hit with the weirdest craving for something chocolatey, creamy, and honestly a little bit silly. I didn’t have the energy for a full baking project, but I had a box of instant chocolate pudding, some crushed Oreos from a forgotten baking attempt, and a bag of gummy worms that had been hiding in the pantry since my niece’s visit three months ago. And then it hit me—why not make those dirt cups everyone loved as a kid, but make them feel like a cozy, grown-up treat?
The idea felt ridiculous at first. I mean, I’m a grown woman in her kitchen at nearly midnight, about to assemble dessert cups with gummy worms poking out of them. But something about the late hour loosened the usual rules. I wasn’t trying to impress anyone. I was just making something that felt good. And honestly? That’s when the best kitchen experiments happen—when you’re tired enough to stop overthinking and start playing.
I grabbed two little glass jars from the back of the cabinet, the ones I usually use for overnight oats, and started layering. The pudding came together in about two minutes flat. The Oreos crushed perfectly inside a zip-top bag with a rolling pin. I even added a little cream cheese to the pudding mixture because I wanted it to feel a bit more decadent—like a grown-up version of the lunchbox classic. The gummy worms went in at the very end, wiggling their way up through the chocolate dirt. I took one bite, standing there in my pajamas, and let me tell you—I felt like a kid again, but in the best possible way.
Maybe you’ve been there too—that moment when you just need something comforting and fun, something that doesn’t take itself too seriously but still delivers on flavor. That’s exactly what these cozy chocolate dirt cups with gummy worms are all about. They’re quick, they’re nostalgic, and they have this way of making any evening feel a little more magical. I’ve made them at least a dozen times since that rainy night, and they never fail to make me smile.
Why You’ll Love This Recipe
Let’s be honest—there are desserts that impress, and then there are desserts that comfort. These cozy chocolate dirt cups with gummy worms fall squarely into the second category, and that’s exactly why I keep coming back to them. They’re not fancy, but they’re unforgettable in their own sweet, silly way.
- Quick & Easy: This comes together in under 10 minutes, I kid you not. The pudding sets in about 5 minutes if you use instant mix, and the rest is just assembly. Perfect for those evenings when a craving hits and you need satisfaction fast.
- Simple Ingredients: You probably have most of this stuff in your kitchen right now. Chocolate pudding mix, milk, Oreos or chocolate cookies, cream cheese (optional but worth it), and gummy worms. No fancy grocery trips required.
- Perfect for Any Occasion: These little cups work for birthday parties, movie nights, after-school treats, or just a cozy Tuesday evening when you need a pick-me-up. They’re also a huge hit at potlucks—everyone gravitates toward the cups with worms poking out.
- Crowd-Pleaser: Kids absolutely lose their minds over these, but adults love them just as much. There’s something universally appealing about chocolate pudding and crushed cookies, and the gummy worms add that playful touch nobody can resist.
- Unbelievably Delicious: The texture combo is next-level—silky smooth pudding, crunchy cookie crumbs, and chewy gummy candies. And when you add that touch of cream cheese to the pudding? It becomes this rich, tangy-sweet situation that tastes way more complicated than it actually is.
What makes this recipe different from all the other dirt cup recipes out there? It’s the little upgrades. The cream cheese in the pudding gives it a cheesecake-like richness that takes it from kid stuff to something truly special. And instead of just dumping the cookie crumbs on top, I layer them between the pudding too, so every bite has that chocolate crunch. It’s not just another version—it’s my best version, perfected over many late-night experiments.
This recipe isn’t just good—it’s the kind that makes you close your eyes after the first bite and remember what it felt like to be eight years old again. It’s comfort food reimagined: faster, easier, but with the same soul-soothing satisfaction. Perfect for impressing kids without stress, or turning a simple evening into something memorable.
What Ingredients You Will Need
This recipe uses simple, everyday ingredients to deliver that nostalgic chocolate pudding experience with a playful twist. Most of these are pantry staples or easy to find at any grocery store, which makes these cozy chocolate dirt cups with gummy worms perfect for spontaneous dessert cravings.
For the Chocolate Pudding Base
- 1 (3.9 oz) box instant chocolate pudding mix – I prefer Jell-O brand for its consistent texture, but any brand works fine. Make sure it’s the instant kind, not cook-and-serve, for that quick 5-minute set time.
- 2 cups cold whole milk – Whole milk gives the richest, creamiest pudding. You can use 2% in a pinch, but avoid skim milk—the pudding won’t set as firmly and will be thinner. For a dairy-free version, use oat milk or full-fat coconut milk.
- 4 oz cream cheese, softened – This is my secret ingredient. It adds a subtle tanginess and makes the pudding extra thick and luxurious. Let it sit at room temperature for about 20 minutes before mixing so it blends smoothly. (Use dairy-free cream cheese if needed.)
- 1 tablespoon powdered sugar – Just a touch to balance the tang of the cream cheese. If you skip the cream cheese, you can skip this too.
For the Dirt Layer
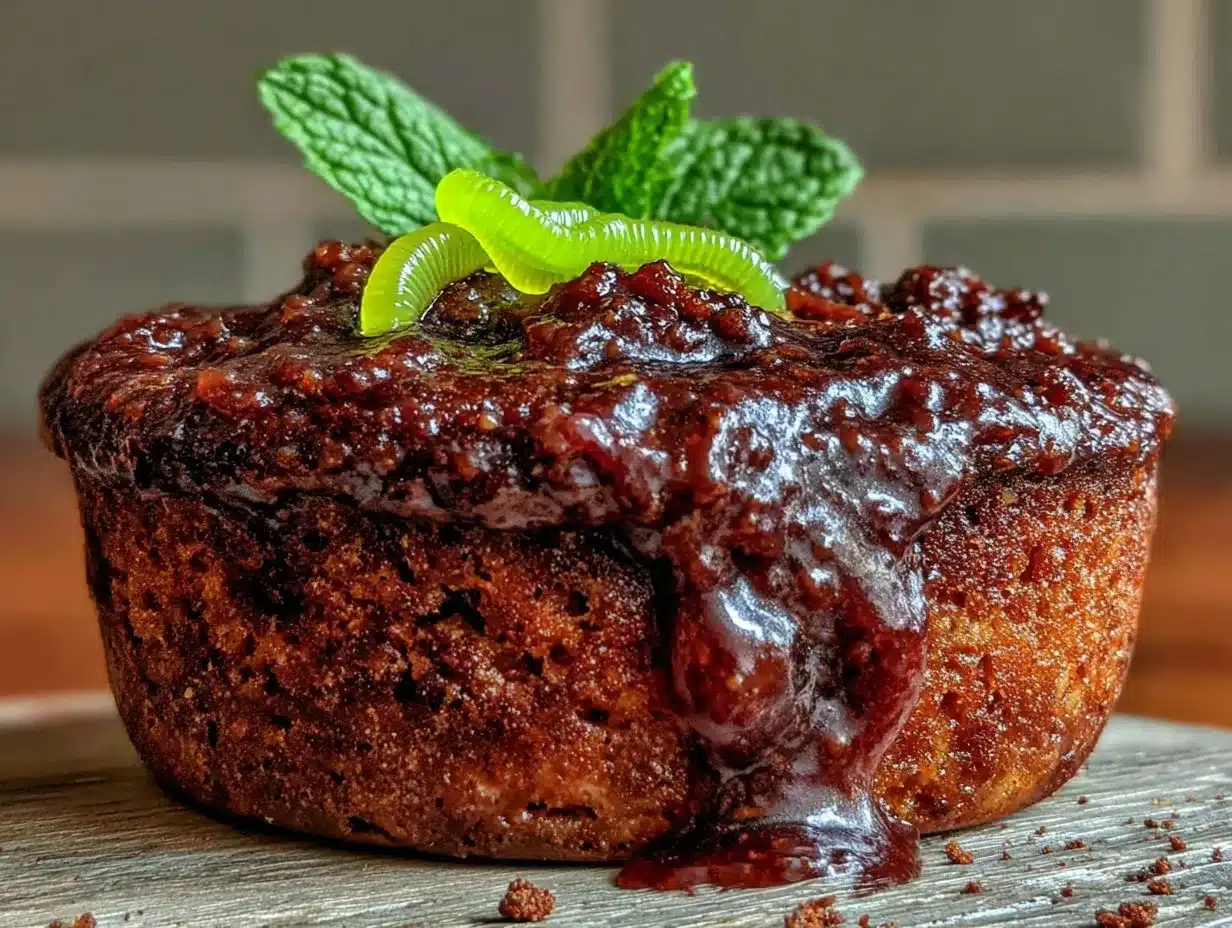
- 20 chocolate sandwich cookies – Oreos are the classic choice, and I recommend the regular ones (not double-stuffed) for the right cookie-to-creme ratio. You can also use gluten-free chocolate sandwich cookies if needed.
- 2 tablespoons unsalted butter, melted – This helps the cookie crumbs clump together slightly, giving them a more “dirt-like” texture. It’s optional but recommended for that authentic look.
For the Fun Topping
- 12-15 gummy worms – The classic sour or regular gummy worms work perfectly. I like the bright green and red ones for maximum visual contrast against the dark chocolate dirt. You can also use gummy bugs or gummy frogs for variety.
- Optional: 2-3 chocolate shavings or chocolate sprinkles – These add a little extra texture on top and make the “dirt” look even more realistic.
Ingredient Tips from My Kitchen
I’ve learned a few things from making these cozy chocolate dirt cups with gummy worms more times than I care to admit. First, the cream cheese really does make a difference—don’t skip it if you can help it. I once used low-fat cream cheese, and the pudding wasn’t nearly as thick or satisfying. Second, crush your cookies in a zip-top bag with a rolling pin for the most consistent texture. A food processor works too, but it can turn them into powder too quickly. You want some small chunks mixed in with the finer crumbs for that realistic dirt look.
For the gummy worms, I’ve found that the sour-coated ones add a nice tangy contrast to the sweet chocolate pudding. But if you’re serving this to kids who prefer sweeter candies, go with the regular ones. And here’s a little trick—stick the gummy worms in the freezer for about 10 minutes before adding them to the cups. They’ll stay firmer and won’t bleed their color into the pudding as quickly.
Equipment Needed
One of the best things about this recipe is that you don’t need any fancy equipment. Here’s what you’ll need to make these cozy chocolate dirt cups with gummy worms:
- 6 small glass jars or clear cups – I use 8-ounce mason jars or small dessert glasses. Clear cups let you see the beautiful layers, which is half the fun. Plastic cups work too for kids’ parties.
- Medium mixing bowl – For whisking the pudding. Any bowl will do.
- Whisk or electric hand mixer – A whisk works fine, but a hand mixer makes the cream cheese blend in more smoothly. I’ve used both, and honestly, the whisk works if you’re patient.
- Zip-top plastic bag – For crushing the cookies. A gallon-size bag works best.
- Rolling pin or heavy-bottomed pan – To crush the cookies inside the bag. A wine bottle works in a pinch too.
- Spatula or spoon – For layering the pudding and crumbs.
- Measuring cups and spoons – For accurate measurements.
If you don’t have clear cups, small bowls or even ramekins work perfectly. I once used a set of vintage teacups I found at a thrift store, and they looked adorable. For a budget-friendly option, dollar store plastic cups are totally fine—just make sure they’re food-safe. And if you don’t have a rolling pin, use the bottom of a heavy skillet or even your hands to crush the cookies. The texture doesn’t need to be perfect.
Preparation Method
Ready to make the most fun dessert of your week? Here’s how to put together these cozy chocolate dirt cups with gummy worms. I’ve broken it down into simple steps with all the little details that make a difference.
Step 1: Prepare the Cream Cheese Mixture (2 minutes)
In your medium mixing bowl, add the softened cream cheese and powdered sugar. Use a hand mixer on low speed or a whisk to beat them together until smooth and fluffy. This should take about 1 minute. Make sure there are no lumps—lumpy cream cheese will leave white streaks in your chocolate pudding, which isn’t the end of the world but doesn’t look as nice. If your cream cheese is still a bit cold, microwave it for 10 seconds to soften it further.
Step 2: Make the Chocolate Pudding (3 minutes)
Pour the cold milk into the bowl with the cream cheese mixture. Add the entire box of instant chocolate pudding mix. Whisk vigorously for about 2 minutes, or use your hand mixer on low speed. The mixture will start to thicken quickly—that’s the instant pudding doing its thing. Scrape down the sides of the bowl with a spatula to make sure everything is well combined. The pudding should be thick but still pourable. If it seems too thin, let it sit for another minute—it will continue to set.
Step 3: Crush the Cookies (2 minutes)
Place the chocolate sandwich cookies in a gallon-size zip-top bag. Squeeze out as much air as possible and seal it shut. Use your rolling pin to gently crush the cookies, starting with light pressure and increasing as you go. You want a mix of fine crumbs and small pea-sized pieces—this gives the “dirt” a more realistic texture. If you crush them too fine, it looks more like cocoa powder than dirt. If you want the buttered version, transfer the crumbs to a small bowl and stir in the melted butter with a fork until evenly moistened.
Step 4: Layer the Cups (5 minutes)
Now comes the fun part. Take your 6 clear cups and start layering. Begin with a generous tablespoon of cookie crumbs at the bottom of each cup—this creates the foundation. Next, spoon or pour about ¼ cup of the chocolate pudding mixture on top of the crumbs. Add another tablespoon of cookie crumbs, then another layer of pudding. You want to end with a final layer of cookie crumbs on top, about 1-2 tablespoons per cup. This top layer should look like a thick blanket of dirt.
Step 5: Add the Gummy Worms (1 minute)
Here’s where the magic happens. Take your gummy worms and gently press them into the top cookie crumb layer, leaving about half of each worm sticking out. Arrange them so it looks like the worms are crawling out of the dirt. I usually put 2-3 worms per cup, positioned at different angles for maximum effect. If you want to get creative, you can also tuck a worm or two into the middle layers so they’re partially visible through the sides of the clear cup.
Step 6: Chill and Set (5-10 minutes)
Place the assembled cups in the refrigerator for at least 5-10 minutes before serving. This allows the pudding to fully set and the flavors to meld together. The texture will be much better after a short chill—the pudding becomes firmer and the cookie crumbs soften slightly, creating that perfect spoonable consistency. If you’re making these ahead of time, they can sit in the fridge for up to 2 hours before serving. Just don’t add the gummy worms until right before serving, or they might start to bleed their color into the pudding.
Pro Tip from My Kitchen
I learned the hard way that adding the gummy worms too early makes them get all soggy and weird. The first time I made these cozy chocolate dirt cups with gummy worms, I added the worms right after layering and then left them in the fridge for an hour. The worms had absorbed moisture from the pudding and turned into these sad, bloated things. Now I always add them right before serving, and the texture is perfect—chewy, bright, and fun.
Cooking Tips & Techniques
After making these cozy chocolate dirt cups with gummy worms more times than I can count, I’ve picked up a few tricks that make the process smoother and the results better. Here are my best tips:
Don’t overmix the pudding. I know it’s tempting to keep whisking until it’s perfectly smooth, but overmixing can actually make the pudding thinner. Stop whisking as soon as it starts to thicken and looks uniform. The pudding will continue to set in the fridge, so trust the process.
Crush cookies in batches. If you’re making a double batch, crush the cookies in two separate bags rather than trying to fit them all in one. Overcrowding the bag leads to uneven crushing, and you’ll end up with big chunks mixed with powder. Two batches means better control and more consistent texture.
Warm your milk slightly if it’s too cold. This sounds counterintuitive, but if your milk is straight from the fridge and ice-cold, the cream cheese might seize up when you mix them together. Let the milk sit at room temperature for 5 minutes before mixing, or microwave it for 10 seconds. Not warm—just less frigid.
Use a piping bag for cleaner layers. If you want those Instagram-worthy perfect layers, transfer the pudding to a piping bag or a zip-top bag with the corner snipped off. This lets you pipe the pudding neatly into the cups without smearing it on the sides. I don’t always bother with this at home, but for parties or photos, it makes a big difference.
Make extra cookie crumbs. I always crush a few extra cookies beyond what the recipe calls for. That way, if I want a thicker dirt layer or need to top off a cup, I have plenty. Extra cookie crumbs also make a great topping for ice cream or yogurt, so nothing goes to waste.
Let the cream cheese really soften. This is the mistake I made the most in the beginning. Cold cream cheese doesn’t blend smoothly into the pudding, and you end up with little white lumps. Let it sit on the counter for at least 20 minutes, or microwave it in 10-second bursts until it’s soft to the touch. Your future self will thank you.
Variations & Adaptations
One of the things I love most about these cozy chocolate dirt cups with gummy worms is how easy they are to customize. Here are some of my favorite variations:
Peanut Butter Chocolate Dirt Cups
Add 2 tablespoons of creamy peanut butter to the pudding mixture along with the cream cheese. The peanut butter adds a rich, nutty flavor that pairs beautifully with the chocolate. Use peanut butter cookies instead of Oreos for the dirt layer, and top with chocolate-covered peanuts instead of gummy worms for a grown-up twist.
Vegan Dirt Cups
Use a vegan instant chocolate pudding mix (many brands are accidentally vegan) and swap the milk for oat milk or full-fat coconut milk. Replace the cream cheese with a vegan cream cheese alternative, and use dairy-free chocolate sandwich cookies. Most gummy worms are actually vegan, but check the label to be sure. This version tastes just as creamy and indulgent as the original.
Gluten-Free Dirt Cups
Use gluten-free chocolate sandwich cookies for the dirt layer. Many brands make gluten-free versions now, and they work perfectly. The pudding mix is naturally gluten-free, and gummy worms are typically gluten-free as well. This version is safe for celiac family members without sacrificing any of the fun.
Mint Chocolate Dirt Cups
Add ½ teaspoon of peppermint extract to the pudding mixture for a refreshing mint-chocolate flavor. Use mint Oreos for the dirt layer, and top with green gummy worms or gummy mint leaves if you can find them. This is a fantastic variation for the holidays or when you want something a little different.
Individual Serving Ideas
For parties, I sometimes make these in small shot glasses or mini cups for bite-sized treats. They’re perfect for kids’ parties because they’re less messy and more manageable. For a brunch spread, I’ve made them in larger mason jars with a layer of vanilla pudding in the middle for a zebra-stripe effect. The possibilities are endless.
Serving & Storage Suggestions
These cozy chocolate dirt cups with gummy worms are best served chilled, straight from the refrigerator. The cold pudding against the crunchy cookie crumbs is a textural experience that just hits differently when it’s properly cold. I recommend serving them in their clear cups so everyone can see the fun layers and the worms poking out.
For presentation, arrange the cups on a tray or platter with a few extra gummy worms scattered around for decoration. If you’re serving these at a party, add little paper flags or labels that say “Dirt Cups” for a playful touch. They’re also great for Halloween parties—just add a plastic spider ring to each cup for extra spooky flair.
Storage Instructions: These cups can be stored in the refrigerator for up to 3 days, but there’s a catch—add the gummy worms only when you’re ready to serve. If you store them with the worms already in place, the worms will absorb moisture from the pudding and become soft and sticky. Instead, prepare the cups with the pudding and cookie layers, cover them with plastic wrap or lids, and refrigerate. When you’re ready to serve, simply press the gummy worms into the top layer.
Reheating Notes: This is a cold dessert, so no reheating needed. But if you’ve stored the cups and the pudding seems too firm, let them sit at room temperature for 5-10 minutes before serving. The texture will soften slightly and become more spoonable.
Flavor Development: Interestingly, these cups actually taste better after a few hours in the fridge. The cookie crumbs soften just enough to meld with the pudding, creating a more cohesive texture. The flavors also have time to marry together. So if you can make them a few hours ahead of time, do it—just remember to hold the gummy worms until serving.
Nutritional Information & Benefits
Let’s be real—these cozy chocolate dirt cups with gummy worms are a treat, not a health food. But here’s the estimated nutritional breakdown per serving (one cup, based on 6 servings):
| Nutrient | Amount Per Serving |
|---|---|
| Calories | 320 |
| Total Fat | 14g |
| Saturated Fat | 7g |
| Cholesterol | 25mg |
| Sodium | 380mg |
| Total Carbohydrates | 46g |
| Dietary Fiber | 2g |
| Sugars | 32g |
| Protein | 6g |
While this isn’t the most nutrient-dense dessert, there are a few silver linings. The milk and cream cheese provide calcium and a small amount of protein. The chocolate pudding contains some iron from the cocoa. And honestly? Sometimes the mental health benefits of a fun, nostalgic treat are just as important as the nutritional ones. I firmly believe that desserts like this have a place in a balanced lifestyle—they bring joy, comfort, and a little bit of playfulness to our lives.
For those with dietary restrictions, this recipe can be adapted as mentioned above. The vegan and gluten-free variations are just as delicious and allow more people to enjoy this fun dessert. As always, check your specific ingredient labels for allergens, especially if serving to children with food sensitivities.
Conclusion
These cozy chocolate dirt cups with gummy worms are more than just a dessert—they’re a little moment of joy in a cup. They remind me that cooking doesn’t always have to be serious or complicated. Sometimes the best recipes come from a late-night craving, a handful of pantry staples, and the willingness to have a little fun with your food.
I love how versatile these cups are. They work for kids’ parties, adult gatherings, or just a quiet evening when you need something sweet and silly. The combination of silky chocolate pudding, crunchy cookie dirt, and chewy gummy worms is pure nostalgia in every spoonful. And the best part? You can make them your own. Swap in different cookies, add your favorite toppings, or experiment with different pudding flavors—the possibilities are endless.
So go ahead—grab your ingredients, put on your favorite playlist, and have some fun in the kitchen. I’d love to hear how your dirt cups turn out. Did you try a fun variation? Did the kids go crazy for them? Drop a comment below and share your creation. And if you’re looking for more easy, fun desserts, check out our other recipes for more inspiration. Happy cooking, and don’t forget to save room for dessert!
Frequently Asked Questions
Can I make these dirt cups ahead of time?
Yes, absolutely! You can prepare the cups with the pudding and cookie layers up to 2 days in advance. Just cover them tightly and store them in the refrigerator. Add the gummy worms right before serving to keep them from getting soggy.
Can I use homemade pudding instead of instant?
You can, but it changes the texture and time commitment. Homemade pudding needs to be cooked and then cooled completely before layering, which takes about 2 hours. Instant pudding is really the way to go for that quick, easy, 5-minute dessert experience.
What if I don’t have clear cups?
No problem at all! You can use any small bowls, ramekins, or even paper cups. The clear cups just make the layers visible, which is part of the fun presentation. But the taste is the same regardless of what you serve them in.
Can I freeze these dirt cups?
I don’t recommend freezing them. The pudding becomes icy and grainy when thawed, and the cookie crumbs get mushy. These are best enjoyed fresh from the refrigerator within 3 days of making them.
Are there any nut-free options for this recipe?
This recipe as written is naturally nut-free, as long as you use standard Oreos and regular gummy worms. Just double-check the labels on your specific brands to ensure they were processed in a nut-free facility if that’s a concern for your household.
Pin This Recipe!
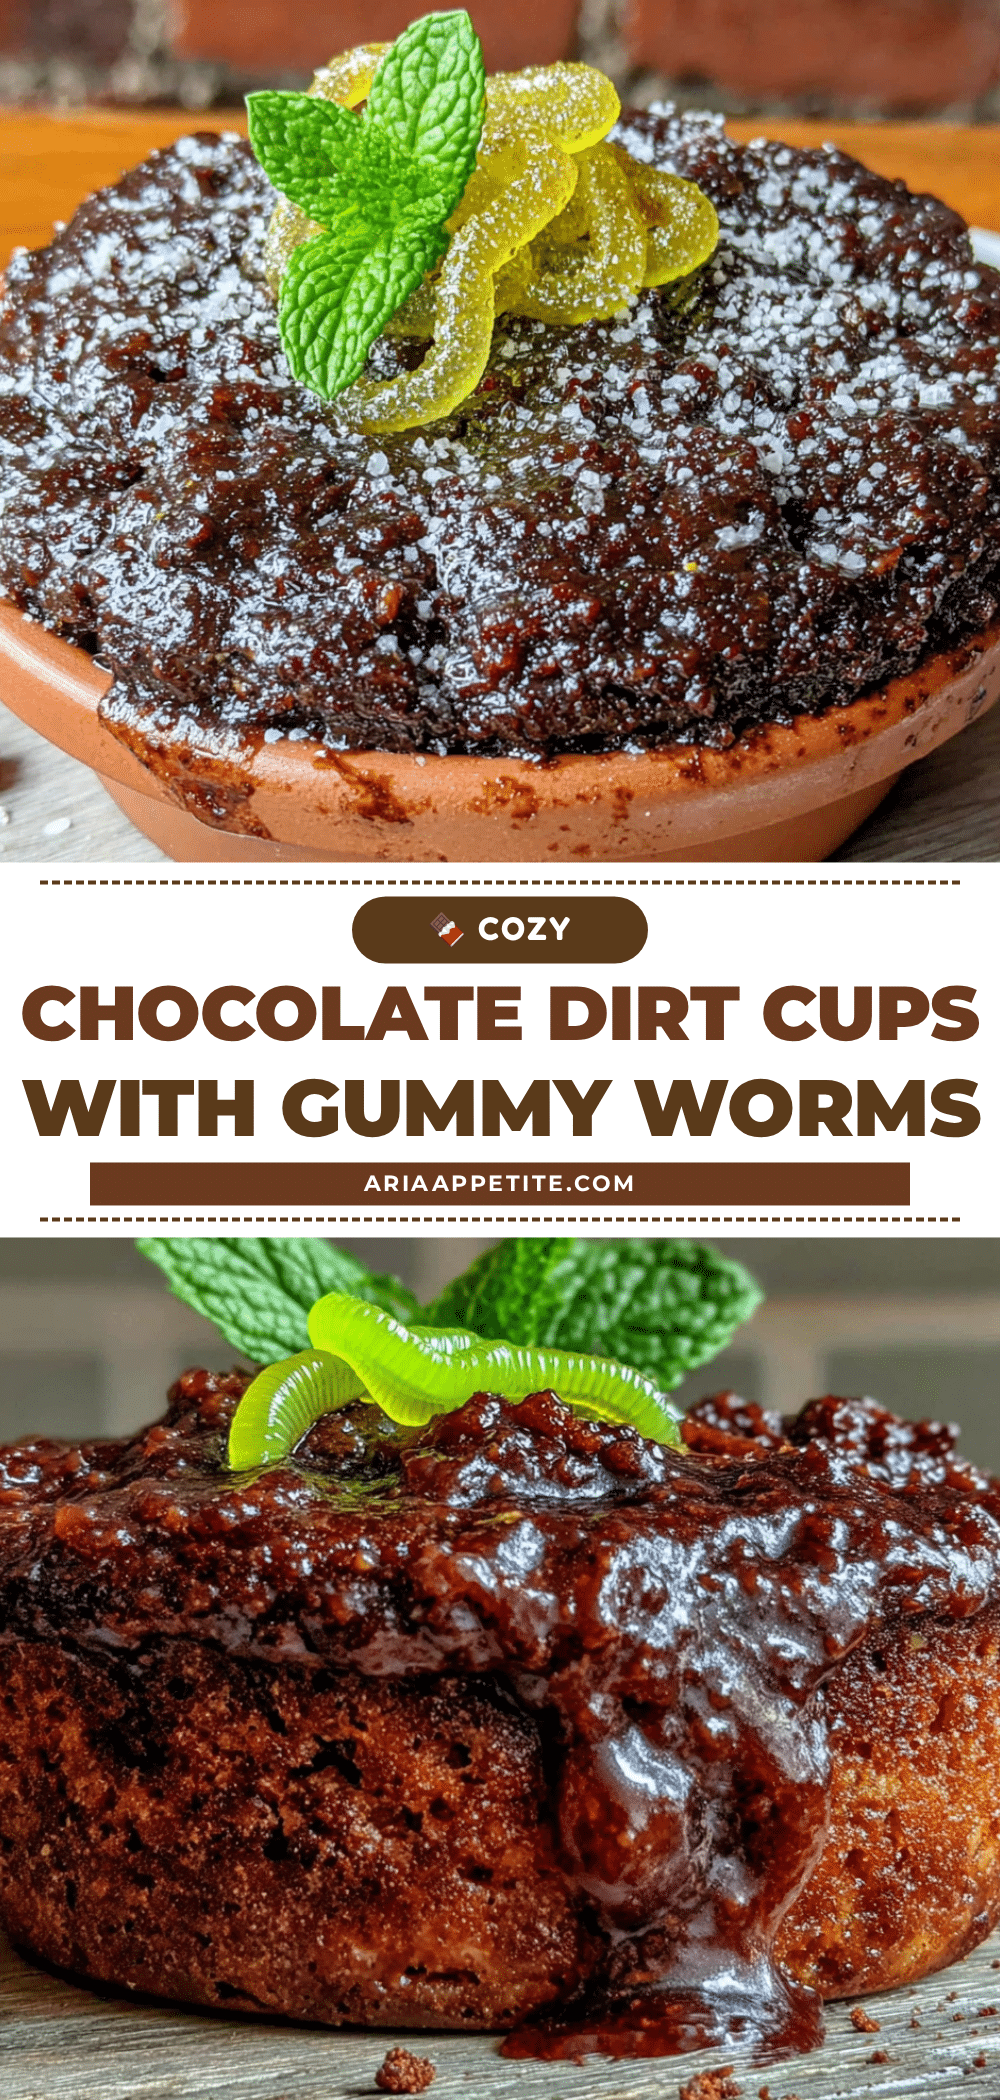
Cozy Chocolate Dirt Cups with Gummy Worms: Easy 5-Minute Dessert
These quick and easy chocolate dirt cups with gummy worms are a nostalgic, fun dessert that comes together in under 10 minutes. Silky chocolate pudding, crunchy cookie ‘dirt,’ and chewy gummy worms create a playful treat perfect for any occasion.
- Prep Time: 10 minutes
- Cook Time: 0 minutes
- Total Time: 10 minutes
- Yield: 6 servings 1x
- Category: Dessert
- Cuisine: American
Ingredients
- 1 (3.9 oz) box instant chocolate pudding mix
- 2 cups cold whole milk
- 4 oz cream cheese, softened
- 1 tablespoon powdered sugar
- 20 chocolate sandwich cookies (e.g., Oreos)
- 2 tablespoons unsalted butter, melted (optional)
- 12–15 gummy worms
- Optional: 2-3 chocolate shavings or chocolate sprinkles
Instructions
- In a medium mixing bowl, beat the softened cream cheese and powdered sugar together until smooth and fluffy, about 1 minute.
- Pour the cold milk into the bowl with the cream cheese mixture. Add the entire box of instant chocolate pudding mix. Whisk vigorously for about 2 minutes, or use a hand mixer on low speed, until the mixture thickens. Scrape down the sides of the bowl.
- Place the chocolate sandwich cookies in a gallon-size zip-top bag. Squeeze out the air and seal. Use a rolling pin to gently crush the cookies into a mix of fine crumbs and small pea-sized pieces. If using melted butter, transfer crumbs to a small bowl and stir in the melted butter with a fork until evenly moistened.
- In 6 small clear cups or jars, layer the ingredients: start with a generous tablespoon of cookie crumbs at the bottom, then add about 1/4 cup of the chocolate pudding mixture. Repeat with another tablespoon of cookie crumbs and another layer of pudding. Finish with a final layer of cookie crumbs (about 1-2 tablespoons) on top.
- Gently press the gummy worms into the top cookie crumb layer, leaving about half of each worm sticking out. Arrange 2-3 worms per cup at different angles.
- Refrigerate the cups for at least 5-10 minutes before serving to allow the pudding to set. For best results, add gummy worms just before serving to prevent them from getting soggy.
Notes
For best results, add gummy worms just before serving to prevent them from absorbing moisture and becoming soggy. The cream cheese adds a rich, cheesecake-like texture; do not skip it if possible. Crush cookies in a zip-top bag with a rolling pin for a realistic ‘dirt’ texture. Let cream cheese soften at room temperature for 20 minutes before mixing.
Nutrition
- Serving Size: 1 cup
- Calories: 320
- Sugar: 32
- Sodium: 380
- Fat: 14
- Saturated Fat: 7
- Carbohydrates: 46
- Fiber: 2
- Protein: 6
Keywords: chocolate dirt cups, gummy worms, easy dessert, no-bake dessert, kid-friendly dessert, chocolate pudding, Oreo dirt cups