Love this? Save it for later!
Share the inspiration with your friends
I’m not supposed to play favorites with recipes, but let’s be honest—some cookies just hit different. I was at the community garden last fall, elbow-deep in a bucket of butternut squash I’d just harvested, when an older woman named Rosa watched me struggle with a particularly stubborn vine. She didn’t say anything at first. Then she handed me a crumpled index card with “Soft Pumpkin Snickerdoodle Cookies” written in faded pencil. “For your kids,” she said, and walked off to water her tomatoes.
That card sat on my counter for three days. I mean, I had about fifteen pounds of squash to deal with, so cookies weren’t exactly top of mind. But my youngest, Leo, kept picking it up and asking, “When are we making these, Mama?” So on a rainy Saturday morning, with pumpkin puree instead of squash (because honestly, who has time to roast squash for cookies?), I finally gave it a shot.
The kitchen smelled like cinnamon and fall and pure happiness. The dough was soft—almost too soft—and I nearly abandoned the whole thing when my mixer splattered butter across the wall. But I pushed through, rolled those little dough balls in cinnamon sugar, and popped them in the oven. When they came out, puffed and golden and impossibly tender, Leo ate three before they even cooled. Maybe you’ve been there—that moment when a recipe just works, and you know it’s going to become a permanent fixture in your kitchen. That’s this cookie.
Why You’ll Love This Recipe
These aren’t your average snickerdoodles. They’re softer, more pillowy, and packed with warm fall flavor that makes your whole kitchen smell like a pumpkin spice dream. I’ve tested this recipe seven times (yes, seven—my family has been very patient) to get the texture just right. Here’s why it’s become our go-to:
- Quick & Easy: From mixing bowl to cooling rack in under 30 minutes. Perfect for after-school baking sessions or when a cookie craving strikes out of nowhere.
- Simple Ingredients: You probably have most of these in your pantry right now. No weird extracts or specialty flours—just real, honest ingredients.
- Perfect for Fall: Great for Halloween parties, Thanksgiving dessert tables, or just a cozy Tuesday afternoon with a cup of hot cider.
- Crowd-Pleaser: My kids devour them. My husband sneaks them. Even my picky neighbor who “doesn’t like pumpkin” asked for the recipe.
- Unbelievably Delicious: The texture is what gets you—soft in the middle with that signature cinnamon-sugar crunch on the outside. It’s comfort food in cookie form.
What makes these different from every other pumpkin cookie out there? It’s the technique. Most pumpkin cookies turn out cakey and dry, but these stay soft for days because of the way we handle the butter and pumpkin. No dry hockey pucks here—just tender, melt-in-your-mouth cookies that taste like autumn.
This is the kind of cookie that makes you close your eyes after the first bite. It’s simple enough for a weeknight but special enough to bring to a gathering. And honestly? It’s the recipe that made my kids actually excited about pumpkin season.
What Ingredients You Will Need
This recipe uses simple, wholesome ingredients to deliver big flavor without the fuss. Most are pantry staples, which means you can whip up a batch whenever the mood strikes—no special trip to the store required.
- All-purpose flour (2 ¼ cups) – The backbone of the cookie. Spoon and level it for accuracy; scooping too hard packs in extra flour and makes the cookies dense.
- Unsalted butter (½ cup, softened) – I use Land O’Lakes for consistent results. Make sure it’s truly soft—not melted—for the best texture.
- Granulated sugar (1 cup) – Adds sweetness and helps create that crackly top. You’ll also need ¼ cup extra for rolling.
- Pumpkin puree (¾ cup) – Not pumpkin pie filling! Pure pumpkin only. Libby’s is my go-to because it’s consistently thick and not watery.
- Large egg (1) – Binds everything together. Room temperature is best for even mixing.
- Vanilla extract (1 teaspoon) – Pure vanilla makes a noticeable difference, but imitation works in a pinch.
- Cream of tartar (1 teaspoon) – The secret to that classic snickerdoodle tang. Don’t skip it! (Baking powder is not a substitute here.)
- Baking soda (½ teaspoon) – Helps the cookies spread just enough.
- Salt (½ teaspoon) – Balances the sweetness and enhances the pumpkin flavor.
- Ground cinnamon (1 teaspoon in dough, plus 2 tablespoons for rolling) – The star of the show. Use fresh cinnamon for the best aroma.
- Pumpkin pie spice (½ teaspoon) – Adds warmth and depth. Make your own with cinnamon, nutmeg, ginger, and cloves if you don’t have it on hand.
- Nutmeg (¼ teaspoon, freshly grated if possible) – Just a hint for that cozy fall vibe.
Substitution Guidance: For a dairy-free version, use plant-based butter (I like Earth Balance). The cookies will be slightly less tender but still delicious. For gluten-free, swap the all-purpose flour with a 1:1 gluten-free baking blend—just note the texture will be a bit more delicate.
Equipment Needed
You don’t need a fancy kitchen to make these cookies. Here’s what I use, plus some budget-friendly alternatives if you’re still building your collection.
- Large mixing bowl – Glass or stainless steel works best. Avoid plastic if you can—it can absorb odors over time.
- Electric hand mixer or stand mixer – I use my KitchenAid for the creaming step, but a hand mixer and some elbow grease work just fine. In a pinch, you can even cream by hand with a wooden spoon—it’s a good arm workout!
- Measuring cups and spoons – Get a set with both dry and liquid measures. Trust me, it matters for accuracy.
- Baking sheet – Heavy-duty aluminum sheets give the most even browning. I’ve used cheap nonstick pans, and they tend to burn the bottoms.
- Parchment paper or silicone baking mat – Silpat mats are worth the investment if you bake often. They last for years and make cleanup a breeze.
- Cookie scoop (1.5-tablespoon size) – This is my secret weapon for evenly sized cookies. A regular spoon works, but the scoop saves time and ensures consistent baking.
- Cooling rack – Lets air circulate so the bottoms don’t get soggy. If you don’t have one, transfer cookies to a clean plate after a few minutes.
- Small bowl – For the cinnamon-sugar coating. Any shallow dish will do.
Budget Tip: If you’re just starting out, skip the stand mixer and use a hand mixer. And parchment paper is cheaper than silicone mats—just buy a roll and tear off sheets as needed.
Preparation Method
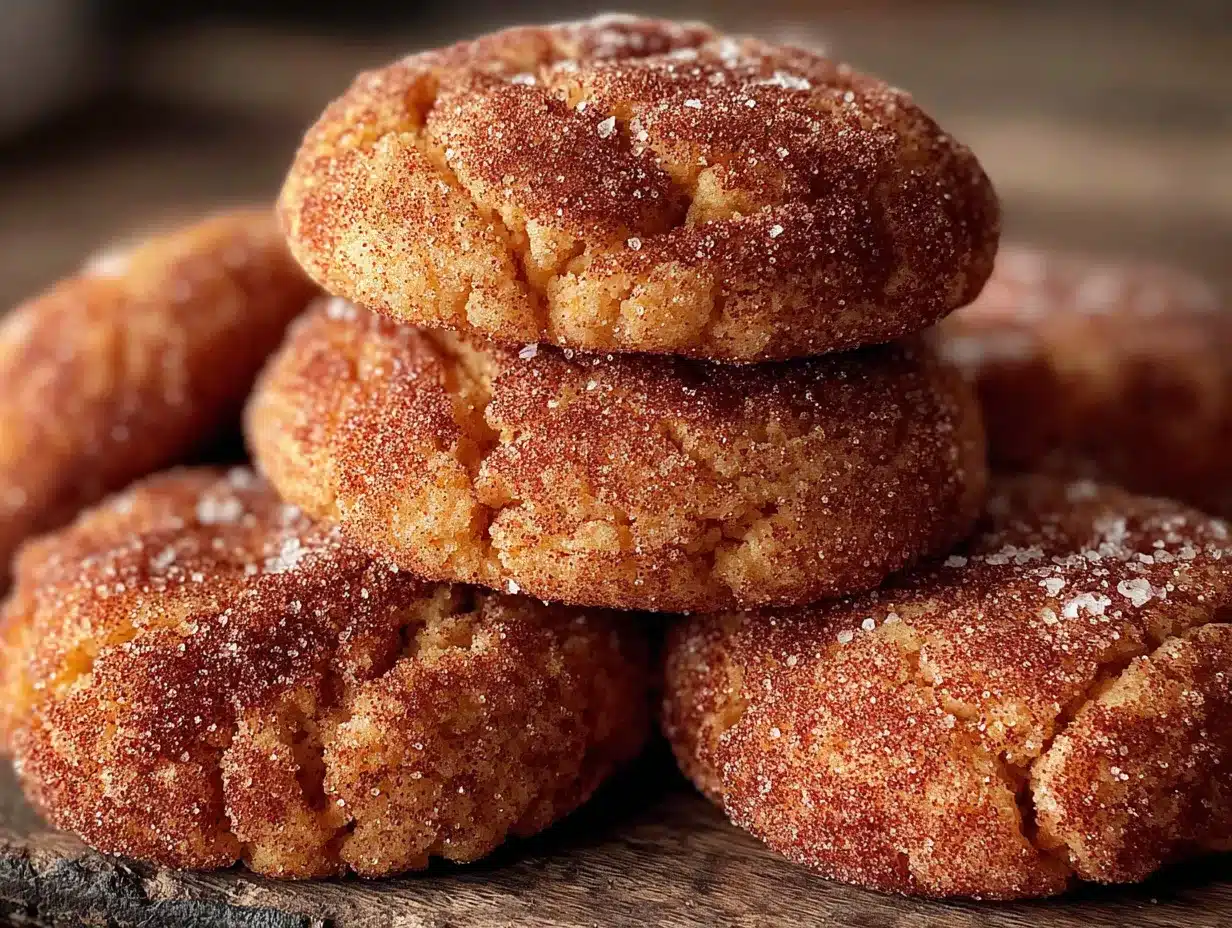
Ready to bake? Let’s get those cookies in the oven. I’ve broken this down step by step with all the little details I wish someone had told me the first time.
- Preheat and prep: Set your oven to 350°F (175°C). Line two baking sheets with parchment paper or silicone mats. This ensures the cookies don’t stick and makes cleanup a snap.
- Cream the butter and sugar: In a large bowl, beat the softened butter and 1 cup of granulated sugar together until light and fluffy—about 2-3 minutes with a hand mixer on medium speed. Scrape down the sides halfway through. The mixture should look pale and almost doubled in volume. Pro tip: If your butter isn’t soft enough, microwave it for 5-second intervals, not 10. You want it soft, not melted.
- Add wet ingredients: Beat in the pumpkin puree, egg, and vanilla extract until well combined. The mixture might look slightly curdled—that’s totally normal. Don’t panic. It will come together once you add the dry ingredients.
- Mix dry ingredients: In a separate bowl, whisk together the flour, cream of tartar, baking soda, salt, 1 teaspoon cinnamon, pumpkin pie spice, and nutmeg. Whisking aerates the flour and ensures the leavening agents are evenly distributed—no bitter baking soda pockets in your cookies.
- Combine wet and dry: Gradually add the dry mixture to the wet mixture, mixing on low speed until just combined. Stop as soon as you don’t see streaks of flour. Overmixing develops gluten and makes the cookies tough. Note: The dough will be very soft—almost like thick cake batter. That’s exactly what you want.
- Chill the dough (optional but recommended): Cover the bowl and refrigerate for 20-30 minutes. This firms up the butter and makes the dough easier to handle. If you’re in a hurry, you can skip this step, but the cookies will spread a bit more.
- Prepare the coating: In a small bowl, mix the remaining ¼ cup sugar with 2 tablespoons cinnamon. Stir until well combined.
- Scoop and roll: Using a 1.5-tablespoon cookie scoop (or a spoon), portion out the dough. Roll each portion into a ball between your palms—the dough will be sticky, so lightly grease your hands with cooking spray if needed. Drop each ball into the cinnamon-sugar mixture and roll to coat. Sensory cue: The dough should feel soft and slightly tacky, not dry.
- Arrange on baking sheets: Place the coated dough balls 2 inches apart on the prepared baking sheets. They will spread, so give them room. I fit about 12 per standard sheet.
- Bake: Bake for 10-12 minutes, or until the edges are set and the tops look slightly cracked. The centers will still look soft and puffy—that’s how you get that tender texture. Time estimate: 10 minutes for softer cookies, 12 for slightly firmer ones.
- Cool: Let the cookies cool on the baking sheet for 5 minutes. They’re very fragile when hot. Then transfer to a wire rack to cool completely. Troubleshooting: If they stick to the parchment, let them cool another minute before moving.
- Repeat: Continue with the remaining dough. If your baking sheets are hot, let them cool completely before adding more dough, or the cookies will spread too fast.
Cooking Tips & Techniques
I’ve made plenty of mistakes in the kitchen, and these cookies taught me a few hard lessons. Here’s what I’ve learned so you don’t have to repeat my failures.
Don’t overmix the dough. This is the number one mistake I see. The first time I made these, I kept mixing until the dough was perfectly smooth. The cookies came out tough and flat. Mix until the flour just disappears—a few lumps are fine. They’ll bake out.
Use room-temperature ingredients. Cold butter doesn’t cream properly, and cold egg can make the batter seize up. Take everything out of the fridge 30 minutes before you start. If you forget (I do, constantly), place the egg in a bowl of warm water for 5 minutes and microwave the butter in 5-second bursts.
Watch the baking time like a hawk. These cookies go from perfectly soft to overbaked in about 60 seconds. Pull them when the edges are set but the centers still look slightly underdone. They’ll continue cooking on the hot baking sheet. I set a timer for 10 minutes and check every 30 seconds after that.
Chill the dough if you have time. I know it’s an extra step, but it makes a huge difference. Chilled dough spreads less and produces thicker, softer cookies. If you’re baking for a crowd, make the dough ahead and refrigerate overnight—the flavor actually gets better.
Rotate your baking sheets halfway through. Most ovens have hot spots. Halfway through baking, swap the top sheet to the bottom rack and vice versa. This ensures even browning. I learned this after my first batch came out with burnt edges and raw centers.
Let them cool properly. I know it’s tempting to grab a hot cookie, but they’re too fragile straight out of the oven. The 5-minute rest on the baking sheet is crucial—it lets the structure set. If you move them too soon, they’ll fall apart.
Variations & Adaptations
One of the best things about this recipe is how flexible it is. Here are some ways I’ve adapted it for different needs and cravings.
Gluten-Free Version: Swap the all-purpose flour with a 1:1 gluten-free baking blend (I like Bob’s Red Mill). Add ¼ teaspoon xanthan gum if your blend doesn’t include it. The cookies will be a bit more delicate, so handle them gently. My gluten-sensitive friend Sarah couldn’t tell the difference—and she’s picky.
Dairy-Free Version: Use plant-based butter (Earth Balance or Miyoko’s work well) and ensure your pumpkin puree doesn’t have added dairy. The texture will be slightly less tender, but still delicious. I’ve made this for a dairy-free playdate and the kids devoured them.
Spiced-Up Version: Add ¼ teaspoon ground ginger and a pinch of cloves to the dough for extra warmth. Or stir in ½ cup white chocolate chips and ¼ cup dried cranberries for a festive twist. My family calls these “Thanksgiving cookies” because they taste like the holiday.
Lower-Sugar Version: Reduce the sugar in the dough to ¾ cup and use a sugar substitute like monk fruit sweetener for the coating. The cookies won’t be as soft, but they’ll still satisfy that pumpkin craving. I made these for a friend watching her sugar intake, and she asked for the recipe.
Pumpkin-Free Version: Swap the pumpkin puree with sweet potato puree or butternut squash puree. The flavor will be milder, but the texture stays the same. I tried this when I ran out of pumpkin mid-batch, and honestly, I couldn’t tell the difference.
Kid-Friendly Customization: Let your kids help roll the dough balls in the cinnamon sugar—it’s a great sensory activity. My daughter loves pressing a few mini chocolate chips on top of each cookie before baking. It makes them feel extra special.
Serving & Storage Suggestions
These cookies are best enjoyed warm, when the centers are still soft and the cinnamon-sugar coating is slightly crunchy. But they’re pretty fantastic at room temperature too.
Serving Temperature: Serve slightly warm or at room temperature. If you’re reheating, pop them in a 300°F oven for 3-4 minutes. Avoid the microwave—it makes them rubbery.
Presentation Ideas: Arrange on a rustic wooden board with a dusting of extra cinnamon. Or stack them on a cake stand for a cozy fall centerpiece. For Halloween, add a few candy corn on the side. For Thanksgiving, serve with a dollop of whipped cream on top.
Complementary Dishes: Pair with a glass of cold milk (obviously), hot apple cider, or a pumpkin spice latte. For a dessert spread, serve alongside apple crisp or pumpkin bread. They also make a great addition to a cookie platter with classic chocolate chip cookies.
Storage Instructions: Store in an airtight container at room temperature for up to 5 days. Place a slice of bread in the container—it absorbs excess moisture and keeps the cookies soft. Change the bread every other day.
Freezer Instructions: Freeze baked cookies in a single layer on a baking sheet, then transfer to a freezer bag for up to 3 months. Thaw at room temperature for 15 minutes. You can also freeze the unbaked dough balls—just roll them in cinnamon sugar before freezing, then bake straight from frozen, adding 2-3 minutes to the baking time.
Flavor Development: These cookies actually improve after a day. The pumpkin flavor deepens and the spices meld together. My family fights over day-old cookies more than fresh ones.
Nutritional Information & Benefits
Let’s be real—these are cookies, not health food. But they do have some redeeming qualities. Here’s the breakdown per cookie (based on 24 cookies):
| Nutrient | Amount |
|---|---|
| Calories | 145 |
| Total Fat | 6g |
| Saturated Fat | 3.5g |
| Carbohydrates | 22g |
| Sugar | 13g |
| Protein | 2g |
| Fiber | 1g |
| Vitamin A | 35% DV |
| Iron | 4% DV |
Health Benefits: Pumpkin is packed with vitamin A (great for eye health and immunity) and fiber (helps with digestion). The cinnamon may help regulate blood sugar levels. So while these aren’t a health food, they’re a treat you can feel slightly better about.
Dietary Considerations: These cookies are vegetarian. For vegan, use a flax egg (1 tablespoon flaxseed meal + 3 tablespoons water) and plant-based butter. They’re not gluten-free or dairy-free in their standard form, but see the variations section for adaptations.
Potential Allergens: Contains wheat, dairy, and eggs. If you’re baking for someone with allergies, the gluten-free and dairy-free variations work well, but always check your ingredients for cross-contamination.
Personal Wellness Perspective: I believe in balance—these cookies are part of a happy life, not something to feel guilty about. They’re made with real ingredients and shared with people you love. That’s the kind of wellness I can get behind.
Conclusion
These Soft Pumpkin Snickerdoodle Cookies are more than just a recipe—they’re a little piece of autumn you can hold in your hand. They’re the cookie that makes your kids’ eyes light up when they walk through the door. The one that disappears from the cookie jar before you’ve even had a chance to sneak one for yourself. The one that makes you feel like a kitchen rockstar even on a busy Tuesday.
I love this recipe because it’s forgiving. It doesn’t demand perfection. You can forget to chill the dough, overmix it slightly, or bake it a minute too long, and it still turns out delicious. That’s the kind of recipe I want in my life—and yours.
So go ahead, preheat that oven, and get your hands a little messy. Roll those dough balls in cinnamon sugar. Fill your kitchen with that warm, spicy smell. And when you take that first bite, let me know how it goes. Drop a comment below, share a photo, or tell me how your kids reacted. I genuinely want to know.
Happy baking, friend. Here’s to soft, pumpkin-y, cinnamon-sugar happiness.
Frequently Asked Questions
Can I use pumpkin pie filling instead of pumpkin puree?
No, don’t do it! Pumpkin pie filling has added sugar and spices, which will throw off the texture and sweetness of the cookies. Stick with 100% pure pumpkin puree. If you accidentally buy pie filling, save it for a pie and grab a can of puree.
Why are my cookies flat and spread out?
This usually happens for one of three reasons: the butter was too soft or melted, the dough wasn’t chilled, or the baking sheets were too hot. Make sure your butter is softened but not melted, chill the dough for at least 20 minutes, and let your baking sheets cool between batches. Also, check that your baking soda isn’t expired—old leavening agents lose their power.
Can I make the dough ahead of time?
Absolutely! The dough keeps in the refrigerator for up to 3 days. Just wrap it tightly in plastic wrap or store it in an airtight container. When you’re ready to bake, let it sit at room temperature for 10-15 minutes to soften slightly, then scoop and roll as usual. The flavor actually gets better after a day in the fridge.
How do I get that perfect crackly top?
The crackly top comes from the cinnamon-sugar coating and the right baking temperature. Make sure you roll the dough balls generously in the cinnamon sugar—every surface should be covered. Also, don’t overbake. Pull the cookies when the edges are set but the centers still look soft. The cracking happens as they cool on the baking sheet.
Can I freeze these cookies?
Yes, and I highly recommend it! You have two options: freeze the baked cookies for up to 3 months, or freeze the unbaked dough balls. For unbaked dough, roll them in cinnamon sugar first, then freeze on a baking sheet. Once frozen, transfer to a freezer bag. Bake straight from frozen, adding 2-3 minutes to the baking time. Perfect for impromptu cookie cravings.
Pin This Recipe!
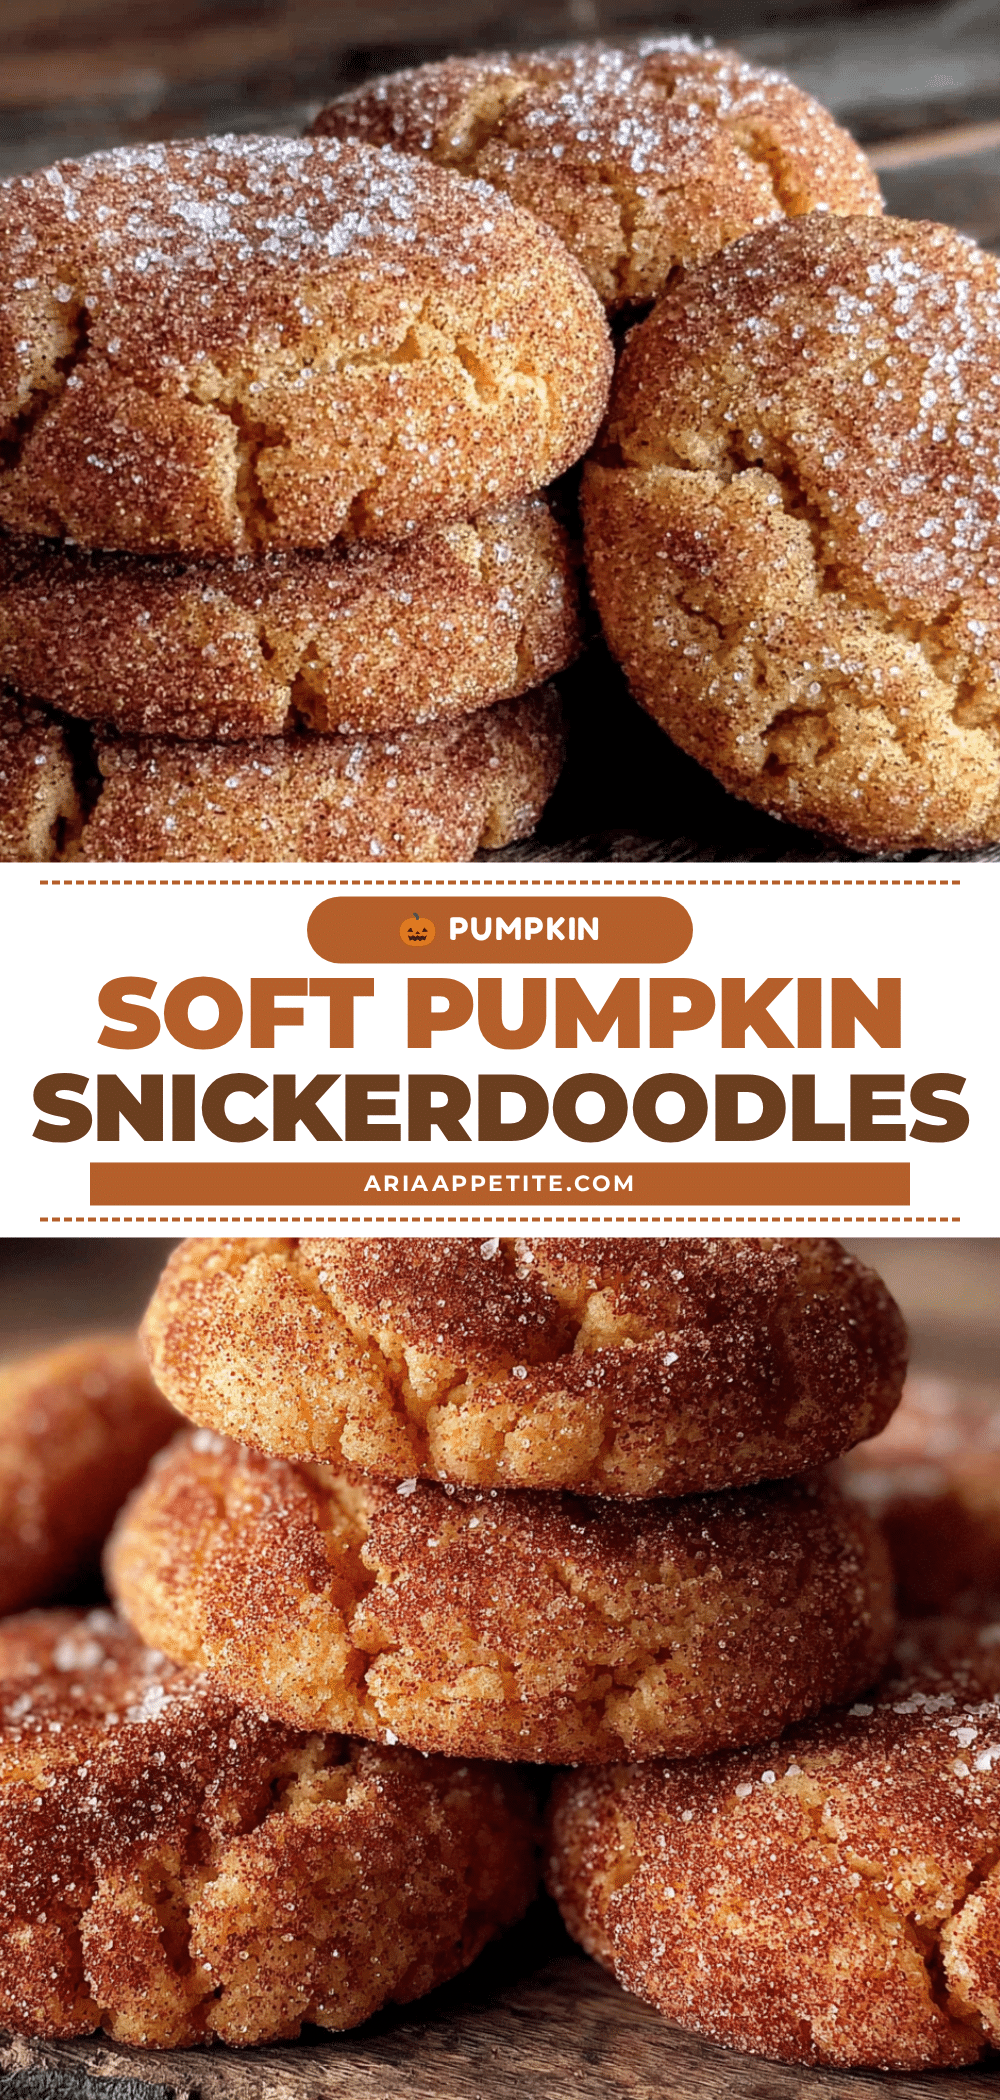
Kid-Approved Soft Pumpkin Snickerdoodle Cookies Easy Recipe
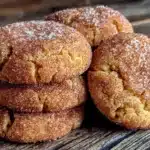
These soft, pillowy pumpkin snickerdoodle cookies are packed with warm fall flavor and have a tender texture that stays soft for days. Perfect for after-school baking or holiday gatherings, they’re a crowd-pleaser that will make your kitchen smell like autumn.
- Prep Time: 15 minutes
- Cook Time: 12 minutes
- Total Time: 27 minutes
- Yield: 24 servings 1x
- Category: Dessert
- Cuisine: American
Ingredients
- 2 ¼ cups all-purpose flour
- ½ cup unsalted butter, softened
- 1 cup granulated sugar (plus ¼ cup for rolling)
- ¾ cup pumpkin puree (not pumpkin pie filling)
- 1 large egg, room temperature
- 1 teaspoon vanilla extract
- 1 teaspoon cream of tartar
- ½ teaspoon baking soda
- ½ teaspoon salt
- 1 teaspoon ground cinnamon (plus 2 tablespoons for rolling)
- ½ teaspoon pumpkin pie spice
- ¼ teaspoon nutmeg, freshly grated if possible
Instructions
- Preheat oven to 350°F (175°C). Line two baking sheets with parchment paper or silicone mats.
- In a large bowl, beat softened butter and 1 cup granulated sugar together until light and fluffy, about 2-3 minutes with a hand mixer on medium speed. Scrape down sides halfway through.
- Beat in pumpkin puree, egg, and vanilla extract until well combined. The mixture may look slightly curdled; this is normal.
- In a separate bowl, whisk together flour, cream of tartar, baking soda, salt, 1 teaspoon cinnamon, pumpkin pie spice, and nutmeg.
- Gradually add dry mixture to wet mixture, mixing on low speed until just combined. Do not overmix. Dough will be very soft.
- Cover bowl and refrigerate for 20-30 minutes (optional but recommended for easier handling).
- In a small bowl, mix remaining ¼ cup sugar with 2 tablespoons cinnamon for coating.
- Using a 1.5-tablespoon cookie scoop, portion dough and roll into balls. Roll each ball in cinnamon-sugar mixture to coat.
- Place coated dough balls 2 inches apart on prepared baking sheets.
- Bake for 10-12 minutes, until edges are set and tops look slightly cracked. Centers should still look soft.
- Let cookies cool on baking sheet for 5 minutes, then transfer to a wire rack to cool completely.
- Repeat with remaining dough, allowing baking sheets to cool between batches.
Notes
For best results, use room-temperature ingredients. Chill dough for thicker, softer cookies. Do not overmix. Pull cookies when edges are set but centers still look underdone. Store in an airtight container with a slice of bread to keep soft. Freeze baked cookies or unbaked dough balls for up to 3 months.
Nutrition
- Serving Size: 1 cookie
- Calories: 145
- Sugar: 13
- Sodium: 105
- Fat: 6
- Saturated Fat: 3.5
- Carbohydrates: 22
- Fiber: 1
- Protein: 2
Keywords: pumpkin snickerdoodle, soft pumpkin cookies, fall cookies, easy pumpkin recipe, kid-friendly cookies