Love this? Save it for later!
Share the inspiration with your friends
The summer I turned thirty, I found myself at a rather unexpected place for dessert inspiration—a quiet, corner booth at a local mechanic’s shop. I was there waiting for my car to get its oil changed when Joe, the gruff yet strangely charming mechanic, started chatting about his wife’s secret weapon for holiday parties: a red white and blue layered trifle. Now, I wasn’t expecting dessert talk from someone covered in grease, but honestly, Joe’s description was so vivid that I almost forgot about my car. He described the layers with such pride—the ruby red strawberries, the airy clouds of whipped cream, and the deep blue blueberries—that I had to try it myself. I made a mess the first time (forgot to chill the cream properly), but the flavors were so spot-on that this trifle quickly became my go-to for every celebration since. Maybe you’ve been there, where a recipe comes from the last place you’d expect, but sticks with you because it really works. That’s exactly why this Perfect Red White and Blue Layered Trifle for Celebrations remains a standout in my dessert repertoire.
Why You’ll Love This Recipe
After testing this red white and blue layered trifle recipe numerous times, it’s clear why it’s a crowd favorite. It’s not just about the stunning patriotic colors; the balance of flavors and textures truly makes it a winner. Here’s why you’ll want to make this dessert your own:
- Quick & Easy: Comes together in under 30 minutes, perfect for busy summer gatherings or last-minute dessert needs.
- Simple Ingredients: No need for fancy or hard-to-find items—most are pantry staples or fresh seasonal fruits.
- Perfect for Celebrations: Ideal for Independence Day, Memorial Day, or any festive event where you want to impress without stress.
- Crowd-Pleaser: Kids and adults alike rave about this dessert, especially the creamy layers and fresh fruit.
- Unbelievably Delicious: The combination of fluffy whipped cream, sweet cake, and juicy berries hits all the right notes for comfort food with a fresh twist.
This isn’t just any layered trifle—the secret is in how the cake soaks up a splash of berry syrup, keeping each bite moist and flavorful without becoming soggy. Plus, the whipped cream is whipped to just the right consistency, light enough to feel like a cloud but stable enough to hold those beautiful layers. Honestly, it’s the kind of dessert that makes you pause mid-bite to savor the moment. If you want a festive dish that’s both stunning and reliably tasty, this trifle fits the bill perfectly.
What Ingredients You Will Need
This recipe uses simple, wholesome ingredients to deliver bold flavor and satisfying texture without the fuss. Most of these are pantry basics or fresh produce you can find at any grocery store during berry season.
- For the Cake Layer:
- 1 store-bought or homemade pound cake (about 8 ounces / 225 grams), cut into 1-inch cubes (I prefer Sara Lee pound cake for best texture)
- For the Berry Syrup:
- 1 cup (150 grams) fresh strawberries, hulled and sliced
- 1/4 cup (50 grams) granulated sugar
- 1/4 cup (60 ml) water
- For the Whipped Cream Layer:
- 2 cups (480 ml) heavy whipping cream, chilled
- 1/4 cup (30 grams) powdered sugar
- 1 teaspoon pure vanilla extract
- For the Fruit Layers:
- 1 cup (150 grams) fresh blueberries
- 1 cup (150 grams) fresh strawberries, sliced
If you want to swap out the pound cake, a sturdy angel food cake or sponge cake works beautifully too. For a dairy-free version, coconut whipped cream is a fantastic substitute. When picking berries, aim for firm, ripe fruit—they’ll hold their shape better and make your trifle look extra fresh.
Equipment Needed
- A large trifle bowl or a clear glass bowl (about 2-quart / 2-liter capacity) to show off the beautiful layers
- Mixing bowl for whipping cream
- Electric mixer or whisk (an electric hand mixer makes the cream whipping much easier)
- Saucepan for making the berry syrup
- Measuring cups and spoons
- Spatula for folding and layering
If you don’t have a trifle bowl, a large glass parfait or even a clear baking dish can work in a pinch. I remember once making this trifle in a big mason jar—fun for single servings! Just be sure your equipment is clean and dry, especially the bowl for whipping cream, as any grease can prevent it from whipping properly.
Preparation Method
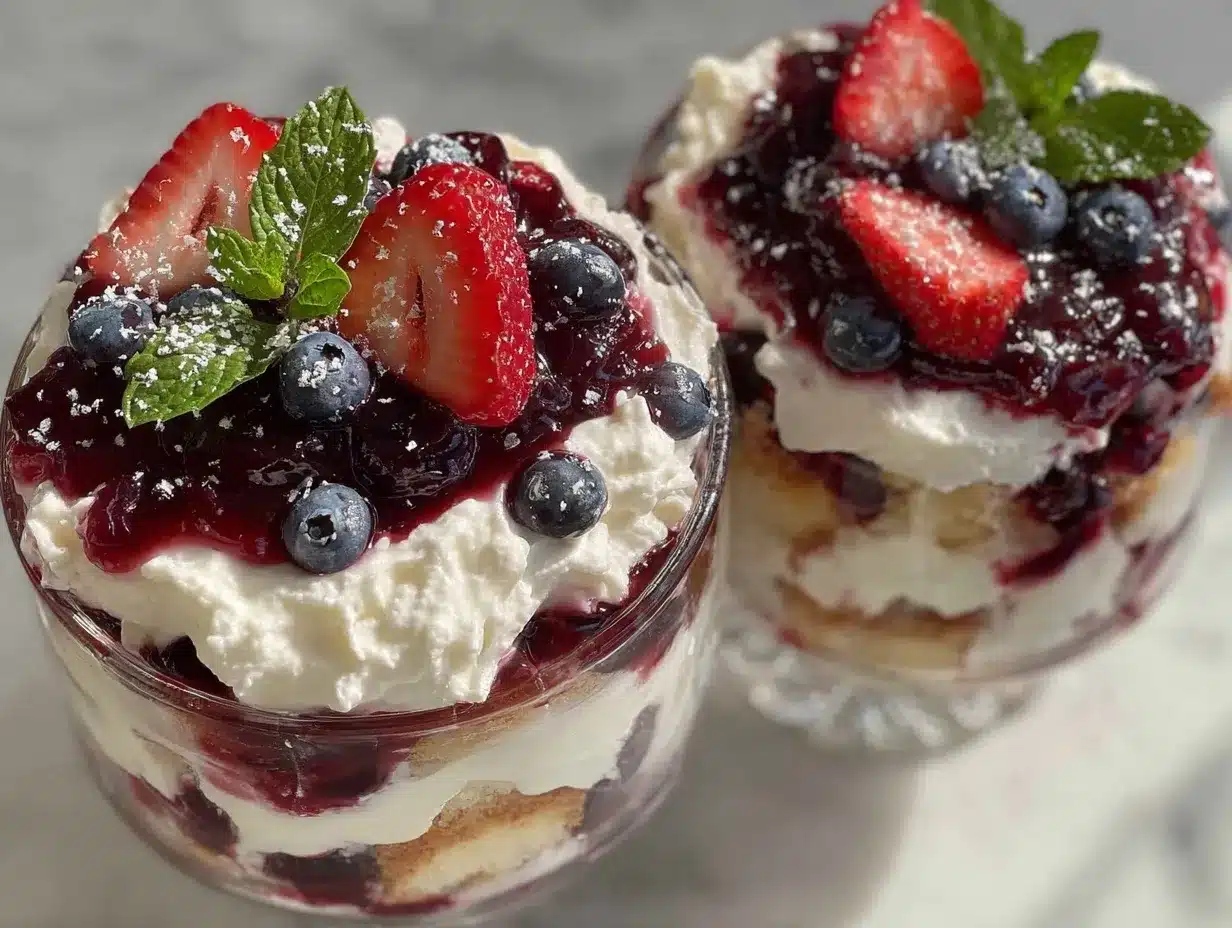
- Make the Berry Syrup: Combine sliced strawberries, sugar, and water in a small saucepan. Bring to a simmer over medium heat, stirring occasionally. Let it cook gently for about 5 minutes until the strawberries soften and release their juices. Remove from heat and let cool completely. This syrup will soak into the cake, adding moisture and a burst of berry flavor.
- Prepare the Whipped Cream: Using a chilled bowl and beaters, whip the heavy cream on medium-high speed until soft peaks form. Add powdered sugar and vanilla extract, then continue whipping until stiff peaks hold. Be careful not to overbeat, or it will turn grainy. Set aside in the fridge to keep cool.
- Cut the Cake: Slice the pound cake into roughly 1-inch (2.5 cm) cubes. You want pieces big enough to hold their shape but small enough to layer easily.
- Assemble the Trifle: Start with a layer of cake cubes at the bottom of your trifle bowl. Spoon a generous amount of the cooled berry syrup over the cake to moisten it. Next, add a layer of whipped cream, spreading it evenly. Follow with a layer of fresh blueberries, then another cake layer soaked with syrup. Add a layer of sliced strawberries, then more whipped cream. Repeat the layering process until you fill the bowl, ending with a whipped cream layer topped with a few berries for garnish.
- Chill: Cover the trifle with plastic wrap and refrigerate for at least 2 hours before serving. This allows the flavors to meld and the syrup to soak into the cake perfectly.
Pro tip: When spooning the whipped cream, use a gentle hand to keep the layers distinct and pretty. If your whipped cream softens while layering, pop it back into the fridge for a few minutes to firm up. Trust me, the visual payoff is worth the extra care.
Cooking Tips & Techniques
Whipping cream can be a bit tricky if you haven’t done it often. Always start with cold cream and a chilled bowl—this really helps it whip faster and hold its shape. If your cream turns grainy or butter-like, that means you’ve overwhipped. Quick fix? Stir it gently to smooth it out, or start fresh if it’s too far gone.
When making the berry syrup, don’t rush the simmering process. Letting the strawberries break down slowly intensifies the flavor and creates a nice, natural sweetness. If your berries aren’t super sweet, a pinch more sugar can balance things out.
Layering is both an art and a science. Use a clear bowl so you can see how the colors stack up. Layering in an even order helps the trifle stay stable and look appealing. I learned the hard way that skipping the syrup step makes the cake dry and less flavorful, so don’t skip it!
Multi-tasking tip: While the syrup cools, whip the cream and cut the cake. This keeps your assembly efficient and prevents the cream from melting while you work.
Variations & Adaptations
- Dietary Adaptation: For a gluten-free option, swap the pound cake for a gluten-free sponge cake or use gluten-free ladyfingers.
- Seasonal Swap: In autumn or winter, replace the strawberries and blueberries with pomegranate seeds and sliced pears for a festive twist.
- Flavor Twist: Add a splash of lemon zest to the whipped cream or a teaspoon of almond extract to the berry syrup for an extra flavor layer.
- Cooking Method: For a no-sugar added version, use fresh fruit only and substitute the syrup with a drizzle of honey or maple syrup.
- Personal Variation: One summer, I tried layering in chopped toasted pecans for crunch—unexpected but delicious!
Serving & Storage Suggestions
This red white and blue layered trifle is best served chilled, straight from the refrigerator. It looks fantastic when presented in a clear bowl so your guests can admire the patriotic layers before digging in.
Pair it with a light, bubbly drink like sparkling lemonade or a crisp white wine to complement the creamy sweetness. For a summer BBQ, it also balances nicely with smoky grilled meats or fresh salads.
Store leftovers covered tightly in the fridge for up to 2 days. The trifle tends to get softer as it sits, so if you want to keep the layers distinct, serve it within the first day. Reheat is not recommended, but if you want to prep in advance, assemble everything except the whipped cream, then add it just before serving.
Flavors deepen and meld after refrigeration—honestly, sometimes it tastes even better the next day, if you can wait that long!
Nutritional Information & Benefits
This dessert provides a satisfying balance of carbs from the cake and natural sugars from fresh fruit, while whipped cream adds a creamy richness. The berries offer antioxidants, vitamins C and K, and fiber, making this treat a bit more than just indulgence.
Per serving (approximate): 320 calories, 14g fat, 40g carbs, 3g protein.
If you’re watching carbs or dairy, swapping heavy cream for coconut cream and using a sugar-free cake base can tailor this recipe to your needs. Just keep in mind, the fresh berries are a great way to add natural sweetness and nutrients without going overboard.
Conclusion
This Perfect Red White and Blue Layered Trifle for Celebrations is one of those recipes that feels festive but never complicated. It’s a dish that brings people together—whether you’re gathered for a summer picnic or a cozy indoor party. I love how it’s customizable, forgiving, and reliably delicious. The layers of color, texture, and flavor make every bite feel like a celebration in itself.
Give it a try, tweak it to your taste, and watch as it becomes a beloved part of your holiday traditions. I’d love to hear how you make it your own—so please share your thoughts and any fun variations you discover. Here’s to good food, good company, and sweet memories!
FAQs
- Can I make this trifle ahead of time? Yes! Assemble it up to a day in advance and keep it refrigerated. Add fresh whipped cream just before serving for the best texture.
- What can I use instead of pound cake? Angel food cake, sponge cake, or ladyfingers all work well depending on your preference and dietary needs.
- How do I prevent the whipped cream from deflating? Use cold cream and bowl, whip to stiff peaks, and keep it chilled until serving. Adding a small amount of gelatin can help stabilize it too.
- Can I use frozen berries? You can, but thaw and drain them well to avoid excess liquid making the trifle soggy.
- Is there a dairy-free version of this trifle? Absolutely! Use coconut whipped cream and a dairy-free cake or ladyfingers to keep it delicious and dairy-free.
Pin This Recipe!
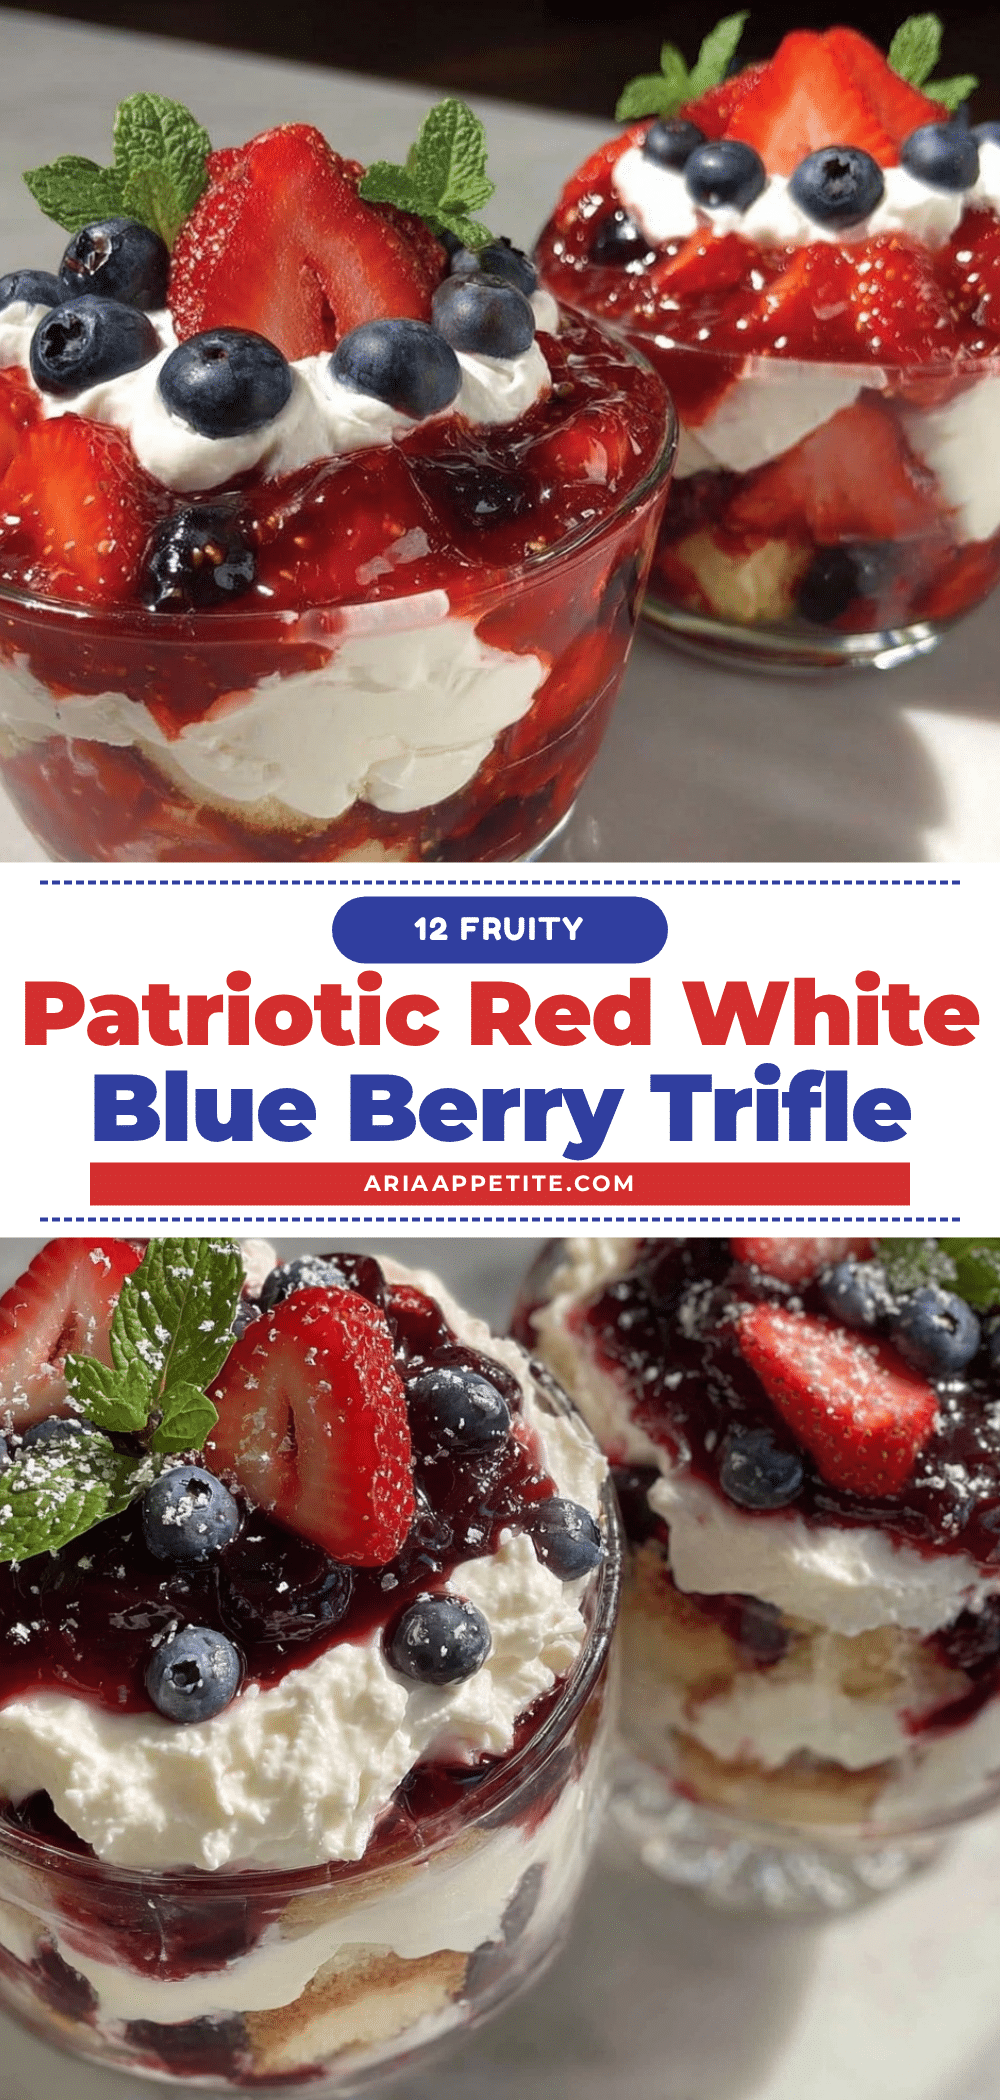
Perfect Red White and Blue Layered Trifle Easy Patriotic Dessert Recipe for Celebrations

A quick and easy patriotic layered trifle featuring pound cake soaked in berry syrup, whipped cream, and fresh strawberries and blueberries. Perfect for summer celebrations and festive occasions.
- Prep Time: 15 minutes
- Cook Time: 10 minutes
- Total Time: 2 hours 25 minutes
- Yield: 8 servings 1x
- Category: Dessert
- Cuisine: American
Ingredients
- 1 store-bought or homemade pound cake (about 8 ounces / 225 grams), cut into 1-inch cubes
- 1 cup (150 grams) fresh strawberries, hulled and sliced
- 1/4 cup (50 grams) granulated sugar
- 1/4 cup (60 ml) water
- 2 cups (480 ml) heavy whipping cream, chilled
- 1/4 cup (30 grams) powdered sugar
- 1 teaspoon pure vanilla extract
- 1 cup (150 grams) fresh blueberries
- 1 cup (150 grams) fresh strawberries, sliced
Instructions
- Make the Berry Syrup: Combine sliced strawberries, sugar, and water in a small saucepan. Bring to a simmer over medium heat, stirring occasionally. Let it cook gently for about 5 minutes until the strawberries soften and release their juices. Remove from heat and let cool completely.
- Prepare the Whipped Cream: Using a chilled bowl and beaters, whip the heavy cream on medium-high speed until soft peaks form. Add powdered sugar and vanilla extract, then continue whipping until stiff peaks hold. Set aside in the fridge to keep cool.
- Cut the Cake: Slice the pound cake into roughly 1-inch (2.5 cm) cubes.
- Assemble the Trifle: Start with a layer of cake cubes at the bottom of your trifle bowl. Spoon a generous amount of the cooled berry syrup over the cake to moisten it. Add a layer of whipped cream, spreading it evenly. Follow with a layer of fresh blueberries, then another cake layer soaked with syrup. Add a layer of sliced strawberries, then more whipped cream. Repeat the layering process until you fill the bowl, ending with a whipped cream layer topped with a few berries for garnish.
- Chill: Cover the trifle with plastic wrap and refrigerate for at least 2 hours before serving.
Notes
Use cold cream and a chilled bowl to whip cream faster and hold shape. Avoid overwhipping cream to prevent graininess. Let berry syrup cool completely before soaking cake. Use a clear bowl to showcase layers. For dairy-free, substitute coconut whipped cream and dairy-free cake. For gluten-free, use gluten-free sponge cake or ladyfingers. Assemble up to a day ahead and add fresh whipped cream before serving for best texture.
Nutrition
- Serving Size: 1 cup serving
- Calories: 320
- Sugar: 25
- Sodium: 150
- Fat: 14
- Saturated Fat: 9
- Carbohydrates: 40
- Fiber: 3
- Protein: 3
Keywords: red white and blue trifle, patriotic dessert, layered trifle, summer dessert, berry trifle, easy trifle recipe, Independence Day dessert