Love this? Save it for later!
Share the inspiration with your friends
“I wasn’t planning on making dessert that night,” I admit. It was a Wednesday, the kind where I barely had time to finish dinner, let alone indulge in anything fancy. But there I was, rummaging through my freezer when I stumbled on a tray of frozen chocolate lava cakes I’d whipped up weeks earlier. Honestly, I’d completely forgotten about them until that moment. The sizzle from the oven, the intoxicating aroma of melting chocolate filling the kitchen—it was like a tiny celebration in my otherwise chaotic evening.
What makes these perfect make-ahead chocolate lava cakes so special is that they feel like a treat you only get at a fancy restaurant, but without the fuss or last-minute stress. I remember the first time I tried to make lava cakes, it was a disaster—too gooey, too dry, or just plain uneven. But after a few “happy accidents” and a bit of stubbornness, I finally nailed a recipe that you can prepare in advance, freeze, and pop into the oven exactly when you want that warm, molten surprise.
Maybe you’ve been there, craving something rich and chocolatey after a long day but feeling too tired to start from scratch. These cakes are the answer. The beauty is in how you can prep them ahead of time and then, when the craving hits, bake them fresh—giving you that ooey-gooey lava center without the stress. It’s like having your cake and eating it too, literally. This recipe has stuck with me because it’s simple, reliable, and downright indulgent. Plus, it’s kind of fun to watch that molten chocolate flow out as you cut into it, don’t you think?
Why You’ll Love This Recipe
After testing countless versions of chocolate lava cakes, this perfect make-ahead chocolate lava cakes recipe has become my go-to for any occasion that calls for a little indulgence without the hassle. Here’s why you’ll want to give it a try:
- Quick & Easy: You can prep these in about 20 minutes, freeze, and bake fresh anytime—ideal for last-minute cravings or unexpected guests.
- Simple Ingredients: No need for fancy or hard-to-find items; everything comes from your pantry or fridge.
- Perfect for Any Occasion: Whether it’s a cozy weeknight or a celebratory dinner, these cakes fit right in.
- Crowd-Pleaser: I’ve served these at casual get-togethers and formal dinners alike, and they always disappear fast.
- Unbelievably Delicious: The contrast between the tender cake and molten center is pure magic.
What sets this recipe apart is the technique of freezing the unbaked cakes, which means you’re not stuck waiting for a last-minute dessert to bake. Plus, the batter’s balanced just right—not too sweet, with deep chocolate flavor and a silky lava core. I also blend in high-quality cocoa powder and recommend using Valrhona or Ghirardelli for that extra oomph. Honestly, it’s dessert that makes you close your eyes after the first bite and smile.
What Ingredients You Will Need
This recipe calls for straightforward, wholesome ingredients that come together to make those luscious molten centers and tender cake exteriors. Most are pantry staples, so you probably have them on hand:
- Bittersweet chocolate (6 ounces / 170 grams) – I prefer Ghirardelli for its rich flavor and smooth melt.
- Unsalted butter (1/2 cup / 115 grams), softened – adds richness and moisture.
- Granulated sugar (3/4 cup / 150 grams) – balances the bitterness of the chocolate.
- Large eggs (3), room temperature – provides structure and richness.
- Egg yolks (2), room temperature – for extra silkiness.
- All-purpose flour (1/4 cup / 30 grams) – just enough for structure without heaviness.
- Pure vanilla extract (1 teaspoon) – enhances the chocolate flavor.
- Salt (a pinch) – sharpens the overall taste.
Optional ingredients you might want to try for a twist:
- Espresso powder (1/2 teaspoon) – intensifies the chocolate flavor.
- Powdered sugar (for dusting) – adds a touch of elegance when serving.
For substitutions, you can swap all-purpose flour with gluten-free flour blend for a gluten-free version, or use dairy-free butter if needed. Just keep in mind that these changes might slightly alter texture but won’t compromise the indulgence.
Equipment Needed
- Ramekins or muffin tins: I use 6-ounce ramekins for perfectly sized cakes. If you don’t have ramekins, a standard muffin tin lined with foil cups works well.
- Mixing bowls: One medium and one large for melting chocolate and mixing batter.
- Double boiler or microwave-safe bowl: For gently melting the chocolate and butter.
- Whisk or electric mixer: Helps to blend the eggs and sugar until fluffy.
- Spatula: For folding in flour and scraping batter cleanly.
- Freezer-safe container or tray: To freeze the unbaked cakes before baking.
If you don’t have a double boiler, no worries—microwaving the chocolate and butter in short bursts works perfectly. For ramekin care, rinse them with hot water before filling to help the cakes release easily after baking. I learned this trick the hard way after scraping a few stuck cakes!
Preparation Method
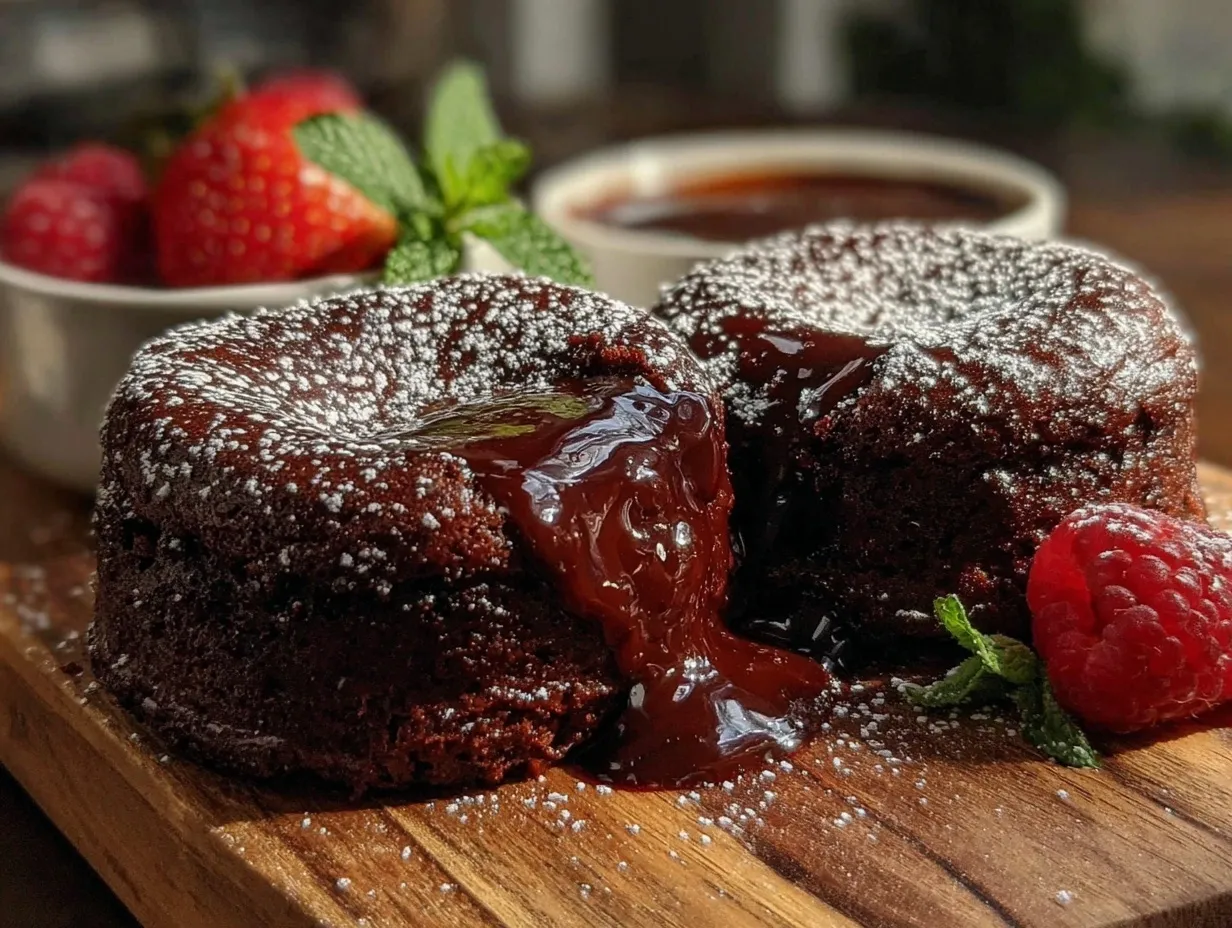
- Prep your ramekins: Lightly butter six 6-ounce ramekins and dust with cocoa powder, tapping out the excess. This helps your cakes release smoothly after baking. (10 minutes)
- Melt the chocolate and butter: In a double boiler or microwave-safe bowl, gently melt 6 ounces (170 grams) of bittersweet chocolate with 1/2 cup (115 grams) softened unsalted butter. Stir every 20 seconds if microwaving to avoid burning. Once smooth, set aside to cool slightly. (5 minutes)
- Whisk eggs and sugar: In a large bowl, beat 3 large eggs, 2 egg yolks, and 3/4 cup (150 grams) granulated sugar with a whisk or electric mixer for about 3-4 minutes until thick and pale. This aerates the batter for a tender crumb. (4 minutes)
- Combine chocolate mixture: Slowly pour the melted chocolate and butter mixture into the eggs and sugar while whisking continuously to avoid cooking the eggs. Add 1 teaspoon vanilla extract and a pinch of salt. (2 minutes)
- Fold in flour: Sift 1/4 cup (30 grams) all-purpose flour over the batter and gently fold it in with a spatula. Don’t overmix; a few streaks of flour are okay. This keeps the cakes tender. (2 minutes)
- Fill ramekins: Divide the batter evenly among the prepared ramekins, filling each about 3/4 full. (5 minutes)
- Freeze the cakes: Place the ramekins on a baking sheet and freeze uncovered for at least 2 hours or until solid. Once frozen, wrap each ramekin tightly with plastic wrap and foil for storage. (2 hours minimum)
- Bake when ready: To bake, preheat oven to 425°F (220°C). Remove wraps and place the frozen cakes on a baking sheet. Bake for 12-14 minutes until the edges are set but the center jiggles slightly. (12-14 minutes)
- Serve immediately: Let cool for 1 minute, then run a knife around the edges and invert onto plates. Dust with powdered sugar if desired and serve with vanilla ice cream or fresh berries.
Tip: Baking times can vary slightly depending on your oven and ramekin size, so keep an eye from the 11-minute mark onward. The jiggle test is your best friend here—too firm means overbaked, too wobbly means underdone.
Cooking Tips & Techniques
Getting the perfect molten center can be tricky, but here are some lessons I’ve learned over the years:
- Don’t overbake: The lava is all about timing. If you leave the cakes too long, they turn into dense chocolate muffins. I usually set a timer and check early.
- Freeze before baking: This is a game-changer. It allows you to prep ahead and bake fresh, plus it helps the cakes keep their shape and texture.
- Use room temperature eggs: They blend better and help create a smooth, airy batter.
- Butter and cocoa dusting: Butter plus cocoa powder in ramekins prevents sticking way better than flour.
- Microwave melting: If you melt chocolate too hot, it seizes or burns. Heat in short bursts, stirring in between.
- Multitasking tip: While the cakes bake, you can quickly whip up a simple sauce or fresh berries to serve alongside.
- Consistency check: The batter should be smooth and glossy—if it looks grainy, you may have overmixed or overheated the chocolate.
Variations & Adaptations
Feel like mixing things up? These make-ahead chocolate lava cakes are pretty versatile:
- Salted caramel lava cakes: Add a small spoonful of thick caramel in the center of the batter before baking for a gooey caramel surprise.
- Raspberry twist: Place a few fresh or frozen raspberries in the middle for a fruity burst that cuts through the richness.
- Vegan version: Use dairy-free butter and substitute eggs with flax eggs (1 tablespoon ground flaxseed + 3 tablespoons water per egg). Melt vegan chocolate bars accordingly.
- Different chocolates: Swap bittersweet for milk or dark chocolate based on your preference. Just adjust sugar slightly for sweeter chocolates.
- Spicy kick: Add a pinch of cayenne or chili powder to the batter for a subtle heat that complements the chocolate.
Personally, I once tried adding a teaspoon of instant espresso powder, and it made the chocolate flavor so much deeper. It’s a neat trick if you love coffee and chocolate together!
Serving & Storage Suggestions
Serve these cakes warm straight from the oven for that molten center magic. They’re fantastic with a scoop of vanilla ice cream, a dollop of whipped cream, or fresh berries to balance the richness.
If you have leftovers (though rare!), store the baked cakes in an airtight container in the refrigerator for up to 2 days. Reheat gently in the microwave for about 20 seconds but be careful not to overheat, or the lava center will firm up too much.
The frozen unbaked cakes can stay in the freezer for up to 2 months. Just bake straight from frozen—no thawing needed. Flavors actually develop nicely over time in the freezer, so it’s perfect for planning ahead.
Nutritional Information & Benefits
Each cake roughly contains:
| Nutrient | Amount per serving |
|---|---|
| Calories | 350-400 kcal |
| Fat | 25g (mostly from butter and chocolate) |
| Carbohydrates | 35g |
| Protein | 6g |
| Sugar | 25g |
The bittersweet chocolate offers antioxidants, while the eggs provide protein and essential nutrients. Of course, this dessert is a treat, so enjoy it mindfully. Thankfully, prepping ahead means you can control portion sizes and indulge without overdoing it.
Conclusion
If you’ve ever wanted a dessert that feels fancy but fits into a busy lifestyle, these perfect make-ahead chocolate lava cakes are your answer. They bring together the joy of molten chocolate with the convenience of prepping ahead. I love how they make me feel like I’m treating myself, even on the busiest nights.
Don’t hesitate to customize the recipe to suit your tastes—adding fruit, spice, or even going dairy-free. And please, let me know how your lava cakes turn out or if you’ve tried a fun variation. Sharing kitchen wins and flops is part of the joy, right?
Happy baking and warm indulgence!
FAQs
Can I use chocolate chips instead of a chocolate bar?
Yes, but choose high-quality chips that melt smoothly. Chips formulated for baking work best.
How long can I store the frozen unbaked cakes?
Up to 2 months in a tightly wrapped container or foil to prevent freezer burn.
Can I make these lava cakes without eggs?
Yes, using flax eggs or commercial egg replacers works, but the texture may be slightly different.
What if my lava cake doesn’t have a molten center?
It’s usually overbaked. Try reducing baking time by a minute or two and watch the jiggle test closely.
Can I prepare these cakes in advance and bake them the next day without freezing?
It’s best to freeze them for structure, but you can refrigerate overnight and bake, adjusting baking time to a few minutes less.
By the way, if you enjoy chocolate desserts, you might appreciate the rich textures in my classic chocolate fudge cake or the ease of quick chocolate mug cake for solo treats.
Pin This Recipe!
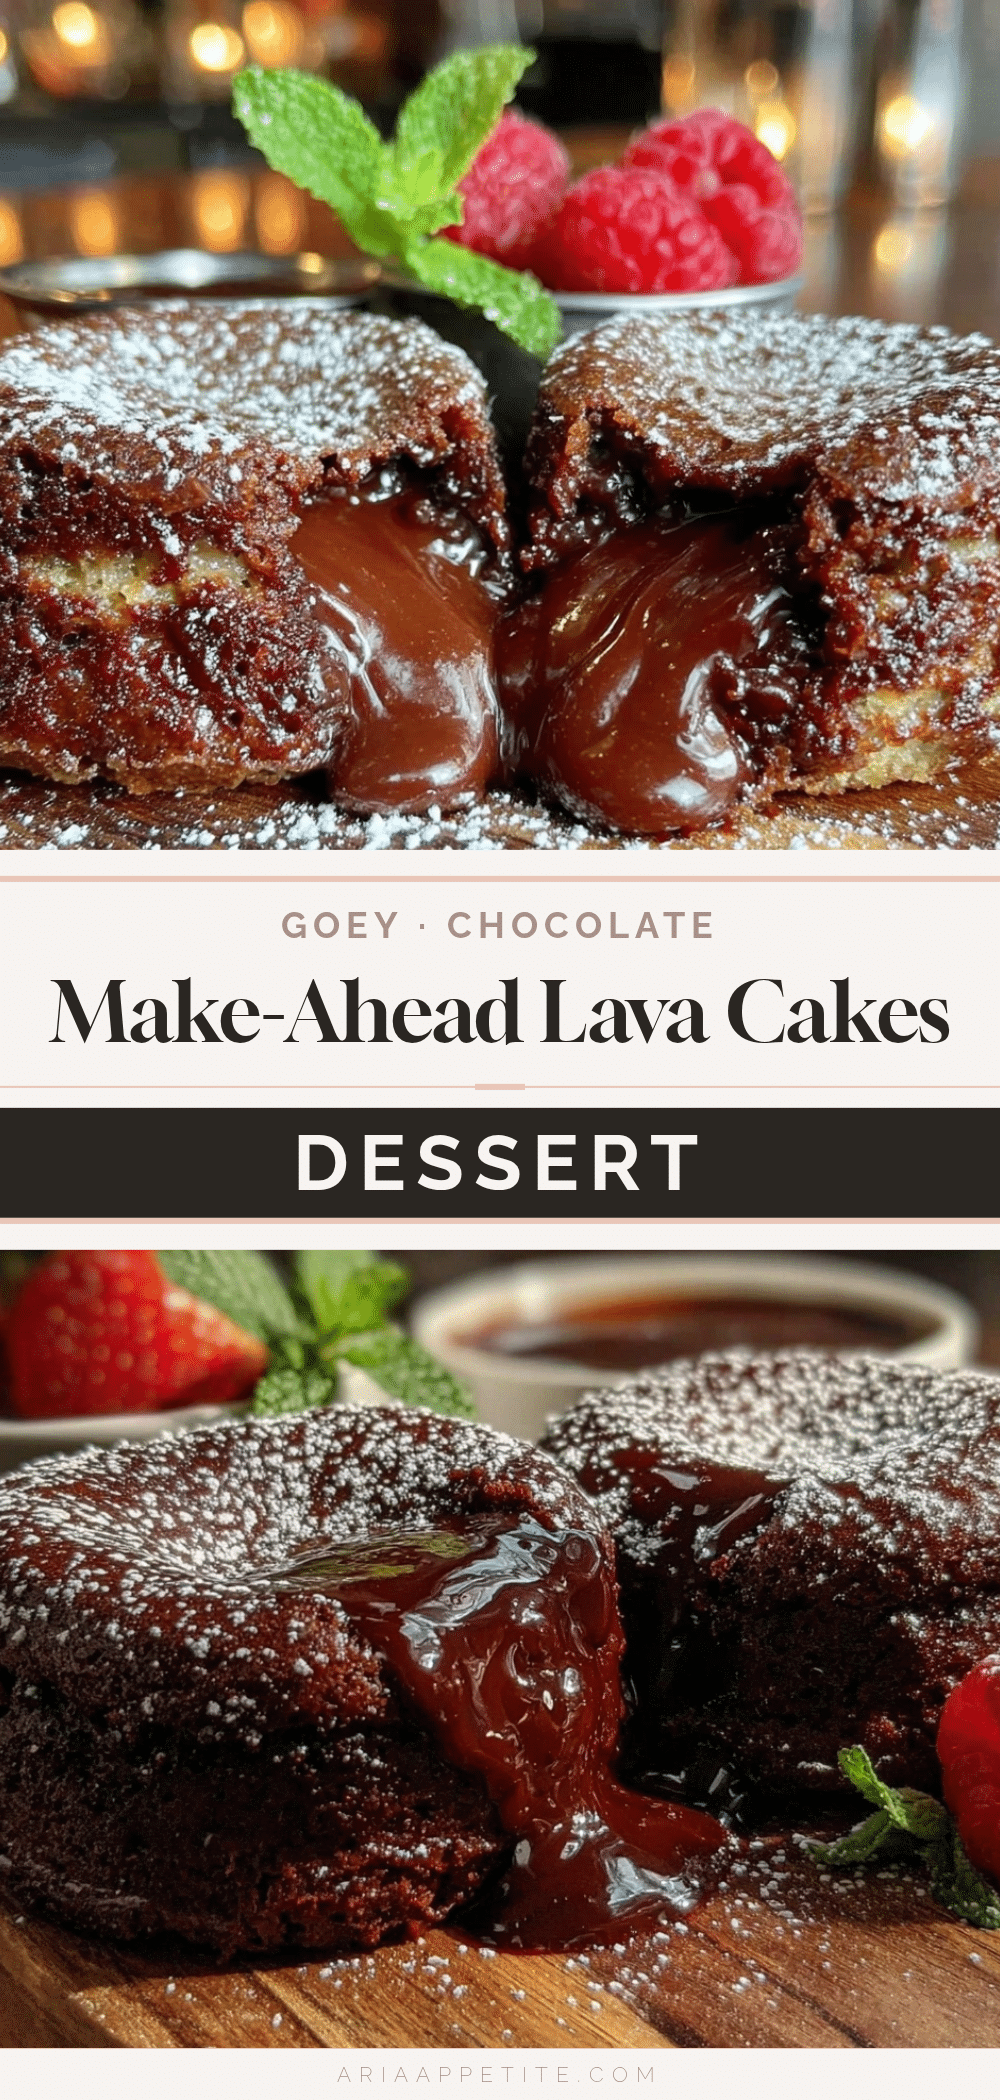
Perfect Make-Ahead Chocolate Lava Cakes
These make-ahead chocolate lava cakes offer a rich, molten chocolate center with a tender cake exterior. Prep in advance, freeze, and bake fresh for an easy, indulgent dessert.
- Prep Time: 20 minutes
- Cook Time: 14 minutes
- Total Time: 2 hours 34 minutes
- Yield: 6 servings 1x
- Category: Dessert
- Cuisine: American
Ingredients
- 6 ounces bittersweet chocolate (preferably Ghirardelli)
- 1/2 cup unsalted butter (115 grams), softened
- 3/4 cup granulated sugar (150 grams)
- 3 large eggs, room temperature
- 2 egg yolks, room temperature
- 1/4 cup all-purpose flour (30 grams)
- 1 teaspoon pure vanilla extract
- Pinch of salt
- Optional: 1/2 teaspoon espresso powder
- Optional: powdered sugar for dusting
Instructions
- Lightly butter six 6-ounce ramekins and dust with cocoa powder, tapping out the excess. (10 minutes)
- Gently melt bittersweet chocolate and softened unsalted butter in a double boiler or microwave-safe bowl, stirring every 20 seconds if microwaving. Set aside to cool slightly. (5 minutes)
- Beat eggs, egg yolks, and granulated sugar with a whisk or electric mixer for 3-4 minutes until thick and pale. (4 minutes)
- Slowly pour the melted chocolate and butter mixture into the eggs and sugar while whisking continuously. Add vanilla extract and a pinch of salt. (2 minutes)
- Sift all-purpose flour over the batter and gently fold in with a spatula without overmixing. (2 minutes)
- Divide batter evenly among prepared ramekins, filling each about 3/4 full. (5 minutes)
- Place ramekins on a baking sheet and freeze uncovered for at least 2 hours or until solid. Wrap each ramekin tightly with plastic wrap and foil for storage. (2 hours minimum)
- When ready to bake, preheat oven to 425°F (220°C). Remove wraps and place frozen cakes on a baking sheet. Bake for 12-14 minutes until edges are set but center jiggles slightly. (12-14 minutes)
- Let cool for 1 minute, run a knife around edges, invert onto plates, dust with powdered sugar if desired, and serve immediately with vanilla ice cream or fresh berries.
Notes
Do not overbake to maintain the molten center; use room temperature eggs for better batter texture; butter and cocoa powder dusting prevents sticking; microwave chocolate in short bursts to avoid burning; frozen unbaked cakes can be stored up to 2 months; baking times may vary slightly depending on oven and ramekin size.
Nutrition
- Serving Size: 1 cake (6-ounce rame
- Calories: 375
- Sugar: 25
- Sodium: 50
- Fat: 25
- Saturated Fat: 15
- Carbohydrates: 35
- Fiber: 3
- Protein: 6
Keywords: chocolate lava cake, make-ahead dessert, molten chocolate cake, easy chocolate dessert, freezer-friendly dessert


