Love this? Save it for later!
Share the inspiration with your friends
The woman at the farmers’ market stand watched me staring at the mountain of Roma tomatoes on her table. I had been trying to figure out how many I would need for a batch of sauce. She didn’t say anything at first, just reached under her table and pulled out a worn paper bag, the kind with the handles that tear if you look at them wrong. Then she started filling it, not with the prettiest ones on top, but with the ones hiding underneath, the ones with tiny cracks or funny shapes. “These are the ones you want,” she said, not looking up. “They’re sweeter. The ugly ones always are.”
I wasn’t planning on canning that day, honestly. I had just stopped for some salad tomatoes and maybe a few peaches. But there I was, walking back to my car with a bag so heavy I had to carry it with both arms, thinking, well, I guess I’m making homemade canned tomato sauce now. The whole thing felt a little ridiculous. I had never canned anything in my life. My kitchen was small, my pots were average, and I definitely didn’t own a water bath canner. But that bag of tomatoes sat on my counter for two days, staring at me every time I walked past. They started to soften, and I knew I had to do something.
So I called my aunt, who cans everything from pickles to jam, and she talked me through it while I made a mess of my stovetop. The first batch was, let me tell you, not pretty. I burned the bottom, forgot to add salt, and nearly dropped a jar on my foot. But the second batch? That one worked. And the third was even better. This homemade canned tomato sauce recipe is the result of those early disasters and a whole lot of practice since then. It’s small-batch on purpose, because not everyone needs thirty quarts of sauce, and sometimes you just want to put up a few jars of summer without it taking over your entire weekend.
Maybe you’ve been there, staring at a pile of tomatoes and wondering if you have what it takes to actually preserve them. You do. And this recipe is the one that will make you believe it.
Why You’ll Love This Recipe
This homemade canned tomato sauce is not just another recipe you’ll bookmark and forget. It’s the one you’ll actually make, year after year, because it works every single time. Here is why this small-batch method stands out from the crowd of canning recipes out there.
- Small-Batch and Manageable : This recipe uses about five pounds of tomatoes, which is perfect for a Saturday afternoon project. You don’t need to dedicate three days to processing bushels of produce. It fits into a normal weekend without making you hate your kitchen by Sunday night.
- Simple Ingredients, Pure Flavor : There is nothing complicated here. Fresh tomatoes, onions, garlic, olive oil, salt, and a few herbs. No sugar, no citric acid unless you want it, no weird additives. The flavor comes from the tomatoes themselves, which is exactly how it should be.
- Perfect for Gifts and Pantry Stocking : A jar of homemade canned tomato sauce makes the best gift, honestly. People lose their minds over it. It is also fantastic to have on your own shelf for quick pasta nights, pizza bases, or soup starters when winter hits and tomatoes taste like cardboard.
- Crowd-Pleaser Across the Board : Kids love it because it is smooth and not too acidic. Adults love it because it tastes like real food. Even picky eaters who claim they hate tomatoes will eat this sauce without complaint.
- Unbelievably Satisfying to Make : There is something about seeing those jars lined up on your counter, all sealed and shiny, that makes you feel like you actually accomplished something real. It is deeply satisfying in a way that scrolling through social media just isn’t.
What makes this recipe different from other canned tomato sauces is the technique. Most recipes tell you to boil the sauce down for hours until it thickens, which can make it taste cooked to death. I use a method where you roast half the tomatoes first, which concentrates their sweetness without losing that fresh tomato brightness. It is a small tweak, but it makes the sauce taste like you spent way more time on it than you actually did.
This is the kind of recipe that makes you close your eyes after the first taste. It is summer in a jar, pure and simple. You will be proud to serve it, proud to give it away, and honestly a little smug every time you open a jar in February.
What Ingredients You Will Need
This recipe uses simple, wholesome ingredients that work together to create a sauce that is both rich and bright. Most of these are pantry staples or easy to find at any grocery store or farmers’ market during tomato season.
- Roma Tomatoes (5 pounds, about 15-20 medium tomatoes) : Roma tomatoes are ideal for sauce because they have fewer seeds and less water content than other varieties. They also have a meaty texture that breaks down beautifully. If you cannot find Romas, San Marzano tomatoes are a great substitute. Look for tomatoes that are fully ripe but still firm, with no soft spots. (Avoid beefsteak tomatoes for canning, they are too watery and will take forever to cook down.)
- Yellow Onion (1 large, about 8 ounces, roughly chopped) : Onion adds a savory backbone to the sauce without being overpowering. I prefer yellow onions for their balanced flavor, but sweet onions like Vidalia work well too. (If you are sensitive to onion texture, grate the onion instead of chopping it, it will melt into the sauce completely.)
- Garlic Cloves (4 to 6 cloves, smashed) : Garlic is non-negotiable in tomato sauce, in my opinion. Smashing the cloves rather than mincing them gives you a gentler garlic flavor that infuses the sauce without becoming harsh. (If you love garlic, go ahead and use 8 cloves. I have done it, and it was fantastic.)
- Extra-Virgin Olive Oil (3 tablespoons) : Use a good quality olive oil here because it is a primary flavor component. I recommend California Olive Ranch for a reliable everyday option. (Do not use light or extra-light olive oil, they lack the flavor needed for this sauce.)
- Kosher Salt (2 teaspoons, plus more to taste) : Salt is crucial for bringing out the sweetness of the tomatoes. I use Diamond Crystal kosher salt, which is less salty by volume than Morton’s. If you are using table salt, reduce the amount to 1 ½ teaspoons. (Season the sauce in layers, not all at once, for the best flavor development.)
- Dried Oregano (1 teaspoon) : Oregano adds that classic Italian-American flavor that makes tomato sauce taste like it has been simmering all day. (You can use fresh oregano if you have it, just double the amount and add it in the last 10 minutes of cooking.)
- Fresh Basil Leaves (6 to 8 leaves, torn) : Fresh basil added at the end of cooking gives the sauce a bright, aromatic finish that dried basil just cannot replicate. (If basil is out of season, stir in a teaspoon of dried basil along with the oregano.)
- Bay Leaf (1 large or 2 small) : Bay leaf adds a subtle depth that you will not notice on its own but will definitely miss if you leave it out. (Remember to remove the bay leaf before blending or canning the sauce.)
- Bottled Lemon Juice (2 tablespoons, for canning safety) : This is essential for safe water bath canning. Bottled lemon juice has a consistent acidity level, unlike fresh lemons, which can vary. (Do not skip this if you plan to can the sauce. If you are freezing the sauce instead, you can omit it.)
Equipment Needed
You do not need a fancy kitchen to make this homemade canned tomato sauce. Here is what you will need, along with some alternatives if you are working with limited tools.
- Large Heavy-Bottomed Pot or Dutch Oven (6 to 8 quarts) : This is where you will cook down the sauce. A heavy bottom prevents burning, which I learned the hard way after ruining my first batch. Le Creuset is lovely, but a Lodge enameled Dutch oven works just as well for a fraction of the price.
- Water Bath Canner or Large Stockpot : You need a pot deep enough to cover your jars with at least 1 inch of water. A dedicated water bath canner with a rack is ideal, but a large stockpot with a folded kitchen towel on the bottom works in a pinch. (I used a spaghetti pot for years before I bought a real canner.)
- Canning Jars (4 to 5 pint-sized jars or 8 to 10 half-pint jars) : Use standard Mason jars with new lids and clean bands. Do not reuse pasta sauce jars, they are not designed to withstand the pressure of canning. Ball and Kerr are the most reliable brands.
- Immersion Blender or Regular Blender : An immersion blender is easier because you can blend the sauce right in the pot. If you are using a regular blender, blend in small batches and leave the lid slightly ajar to let steam escape. (I have a KitchenAid immersion blender that has lasted me seven years, totally worth the investment.)
- Canning Tools Kit (jar lifter, funnel, magnetic lid lifter) : These make the process so much safer and easier. A jar lifter is non-negotiable, trust me on this. Trying to grab hot jars with tongs is a disaster waiting to happen.
- Kitchen Scale (optional but helpful) : Weighing your tomatoes is more accurate than counting them. I use a simple Escali scale that cost me twenty bucks.
Preparation Method
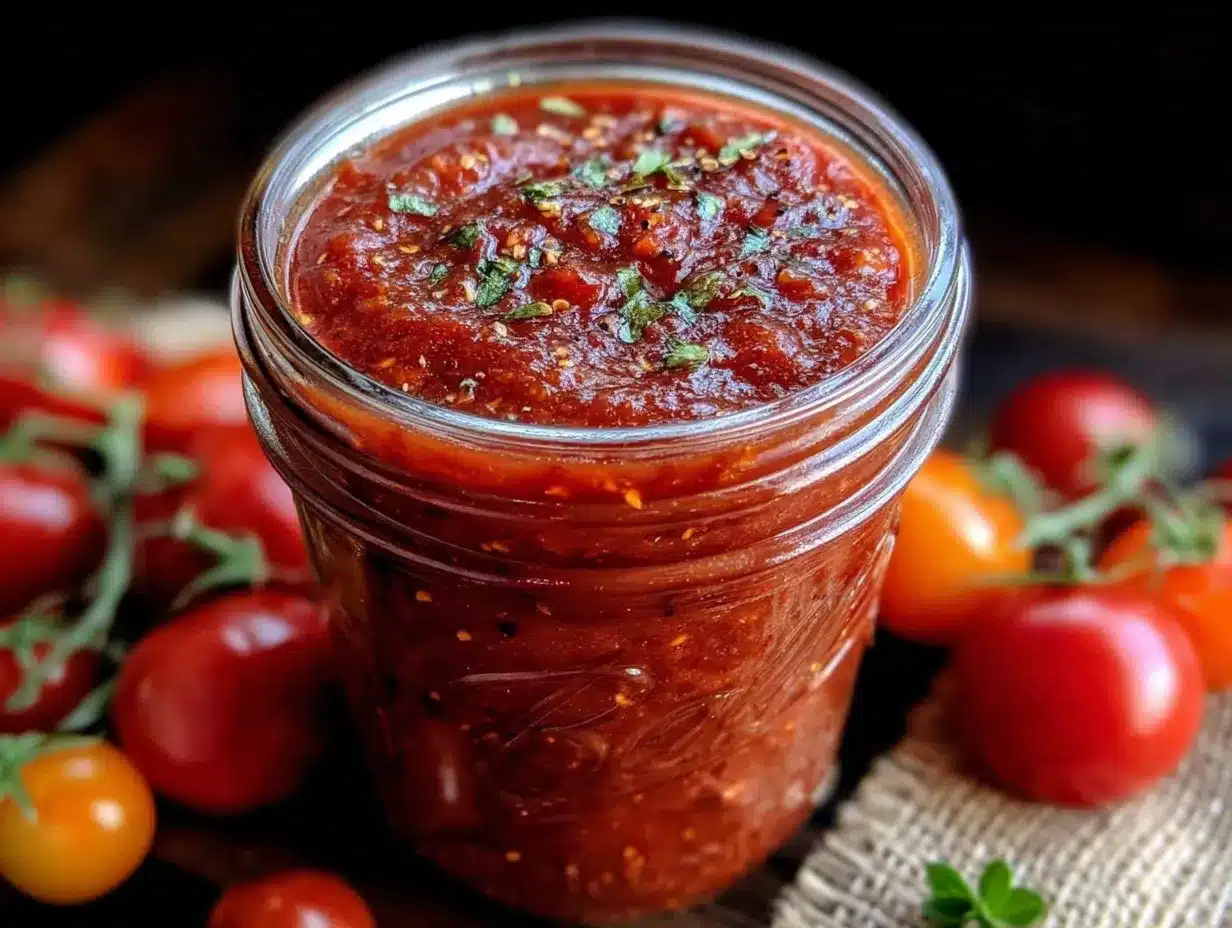
This method breaks down into clear steps that will take you from fresh tomatoes to sealed jars in about three hours. Take your time, read through everything first, and do not rush the process.
- Prepare Your Tomatoes (20 minutes) : Bring a large pot of water to a boil. While it heats, wash your tomatoes and cut a small X on the bottom of each one with a paring knife. Prepare a large bowl of ice water. Working in batches, drop the tomatoes into the boiling water for 30 to 45 seconds, until the skins start to peel back at the X. Transfer them immediately to the ice water. Once they are cool enough to handle, slip the skins off with your fingers. The skins should come off easily, if they do not, the tomatoes need another 10 seconds in the boiling water. (Do not skip this step, tomato skins become tough and papery in canned sauce.)
- Roast Half the Tomatoes (30 minutes) : Preheat your oven to 400°F. Cut about half of the peeled tomatoes in half lengthwise and arrange them cut-side up on a baking sheet. Drizzle with 1 tablespoon of olive oil and sprinkle with a pinch of salt. Roast for 25 to 30 minutes, until the tomatoes are softened and starting to brown at the edges. This step concentrates their sweetness and adds a subtle roasted flavor that makes the sauce taste more complex. (While the tomatoes roast, you can start step 3 with the remaining tomatoes.)
- Sauté the Aromatics (10 minutes) : In your large pot, heat the remaining 2 tablespoons of olive oil over medium heat. Add the chopped onion and cook, stirring occasionally, for 5 to 6 minutes until the onion is translucent and starting to turn golden at the edges. Add the smashed garlic cloves and cook for 1 more minute, until fragrant. Do not let the garlic brown, it will become bitter. (If you forget and the garlic gets too dark, just remove it and start over with fresh garlic. Burnt garlic will ruin the whole sauce.)
- Combine and Simmer (45 to 60 minutes) : Add the remaining raw peeled tomatoes to the pot with the onions and garlic, crushing them with your hands as you add them. Then add the roasted tomatoes, dried oregano, bay leaf, and 1 teaspoon of salt. Stir everything together and bring the sauce to a gentle simmer. Reduce the heat to low and let it cook, stirring occasionally, for 45 to 60 minutes. The sauce should be bubbling gently, not boiling hard. You will know it is ready when it has reduced by about a third and thickened to a consistency that coats the back of a spoon. (If the sauce looks too watery after 45 minutes, let it simmer for another 15 minutes. If it looks too thick, stir in a splash of water.)
- Blend the Sauce (5 minutes) : Remove the bay leaf and discard it. Use your immersion blender to blend the sauce until it is smooth. If you prefer a chunky sauce, only blend half of it. Taste the sauce and adjust the salt. Add the torn basil leaves and stir them in. Let the sauce sit for 5 minutes so the basil flavor infuses. (If you are using a regular blender, work in batches and fill the blender no more than halfway. Hold the lid down with a folded towel to keep it from popping off.)
- Prepare Your Canning Equipment (15 minutes, done while sauce simmers) : Wash your jars, lids, and bands in hot soapy water and rinse well. Place the jars in your water bath canner or stockpot, cover them with water, and bring to a simmer. Keep the jars hot until you are ready to fill them. Place the lids in a small saucepan and cover them with water. Bring them to a gentle simmer, do not boil. (Hot jars prevent the sauce from cooling too quickly when you fill them, which can cause the jars to break.)
- Fill and Process the Jars (30 minutes) : Remove the hot jars from the canner using your jar lifter and place them on a clean kitchen towel. Place the canning funnel in a jar and ladle the hot sauce into the jar, leaving ½ inch of headspace at the top. Add ½ tablespoon of bottled lemon juice to each pint jar (or 1 teaspoon per half-pint jar). Run a non-metallic spatula or chopstick around the inside of the jar to release any air bubbles. Wipe the rim of the jar with a clean, damp paper towel. Center a lid on the jar and screw on the band until it is fingertip-tight. Repeat with the remaining jars. Place the filled jars back into the canner, making sure they are covered by at least 1 inch of water. Bring the water to a full rolling boil and process pint jars for 35 minutes, half-pint jars for 25 minutes. (Adjust processing time if you are at high altitude. Add 5 minutes for every 1,000 feet above sea level.)
- Cool and Test the Seals (12 to 24 hours) : Turn off the heat and let the jars sit in the water for 5 minutes. Remove them with your jar lifter and place them on a clean kitchen towel, leaving at least 1 inch of space between them. Do not tighten the bands or touch the lids. Let the jars cool completely, undisturbed, for 12 to 24 hours. After cooling, press the center of each lid. If it does not flex up and down, the jar is sealed. Remove the bands and try to lift the jar by the lid edge. If the lid holds, the seal is secure. (Store any unsealed jars in the refrigerator and use within 2 weeks.)
Cooking Tips & Techniques
I have made this homemade canned tomato sauce more times than I can count, and I have made just about every mistake possible along the way. Here are the tips that saved my sanity and my sauce.
Do not skip the roasting step. I know it adds an extra pan to wash, but roasting half the tomatoes transforms the sauce from good to incredible. The caramelization adds a depth of flavor that you simply cannot achieve by simmering alone. I tried skipping it once when I was in a hurry, and the sauce was flat and one-dimensional. Never again.
Watch your heat during the simmer. Tomato sauce has a nasty habit of scorching on the bottom if you walk away from it. Keep the heat on low and stir every 10 minutes or so. If you notice the sauce starting to stick, immediately lower the heat and stir in a splash of water. I burned a batch so badly once that I had to throw out the pot, and the smell lingered for days.
Season in layers, not all at once. Add salt at the beginning, then taste and adjust at the end. Tomatoes vary wildly in sweetness and acidity, so your salt needs will change from batch to batch. The same goes for the herbs. Start with the recommended amounts and build from there.
Use a timer for the water bath. It is easy to lose track of time when you are cleaning up the kitchen. Set a timer for the full processing time and do not start it until the water is at a full rolling boil. Under-processing is a food safety risk, so be precise.
Label your jars. I know you think you will remember what year you made the sauce, but you will not. Trust me. I have a jar of mystery sauce from 2019 that I am too scared to open. Write the date and the contents on the lid with a permanent marker.
Variations & Adaptations
This recipe is a starting point, not a rigid set of rules. Here are some ways to make it your own.
- Spicy Arrabbiata Style : Add ½ teaspoon of red pepper flakes along with the oregano. For extra heat, include one dried chili pepper, seeds removed, during the simmer. Remove the chili before blending. This version is fantastic on pasta with a sprinkle of pecorino cheese.
- Herb-Infused Version : Add a sprig of fresh rosemary and a few sprigs of fresh thyme along with the bay leaf. Remove them before blending. This makes a more aromatic sauce that pairs beautifully with roasted vegetables or grilled chicken.
- Roasted Garlic Variation : Instead of sautéing the garlic, roast a whole head of garlic in the oven while the tomatoes roast. Squeeze the softened cloves into the sauce before blending. This gives you a mellow, sweet garlic flavor that is completely different from the pungent kick of fresh garlic.
- No-Sugar-Added Option : This recipe already has no added sugar, but if your tomatoes are particularly acidic, do not be tempted to add sugar. Instead, roast all of the tomatoes instead of just half. The extra roasting time brings out natural sweetness that balances the acidity perfectly.
- Freezer-Friendly Adaptation : If you do not want to can the sauce, simply let it cool completely after blending and transfer it to freezer-safe containers or zip-top bags. Leave 1 inch of headspace for expansion. The sauce will keep in the freezer for up to 6 months. Thaw it in the refrigerator overnight before using.
Serving & Storage Suggestions
This homemade canned tomato sauce is incredibly versatile, and how you serve it can change the whole feel of a meal.
Serving Temperature and Presentation : Serve the sauce hot, straight from the jar after reheating. It is gorgeous over al dente spaghetti with a sprinkle of fresh basil and a grating of Parmesan cheese. For a more rustic presentation, spoon it over thick slices of crusty bread that have been toasted and rubbed with garlic. The sauce also makes an incredible base for shakshuka, just warm it in a skillet, crack a few eggs into it, and bake until the eggs are set.
Complementary Dishes : This sauce pairs beautifully with a simple green salad dressed with lemon and olive oil. A side of roasted broccoli or sautéed spinach rounds out the meal. For a full Italian-inspired dinner, serve it alongside homemade meatballs or Italian sausage that has been browned and simmered in the sauce itself.
Storage Instructions : Properly sealed jars of this sauce will keep in a cool, dark pantry for up to 18 months. Once opened, store the jar in the refrigerator and use it within 5 to 7 days. If you notice any mold, off smells, or bulging lids, discard the sauce immediately. Do not taste it to check, just throw it away.
Reheating Methods : The best way to reheat this sauce is in a saucepan over medium-low heat, stirring occasionally, until it is bubbling gently. You can also microwave it in a glass bowl, covered, for 2 to 3 minutes, stirring halfway through. If the sauce thickens too much during storage, stir in a splash of pasta water or chicken broth to loosen it up.
How Flavors Develop Over Time : This sauce actually gets better after a few weeks in the jar. The flavors meld and mellow, and the acidity smooths out. I always try to save at least one jar for at least a month before opening it. The difference is subtle but real, like the sauce has had time to settle into itself.
Nutritional Information & Benefits
This homemade canned tomato sauce is not only delicious but also packed with nutritional benefits that make it a smart addition to your meal rotation.
- Estimated Nutritional Values (per ½ cup serving) : Calories: 65 | Fat: 3.5g | Carbohydrates: 8g | Fiber: 2g | Sugar: 5g | Protein: 1.5g | Sodium: 290mg | Vitamin C: 15% of Daily Value | Vitamin A: 10% of Daily Value
- Health Benefits of Key Ingredients : Tomatoes are rich in lycopene, a powerful antioxidant that has been linked to heart health and reduced inflammation. Cooking tomatoes actually increases the bioavailability of lycopene, so canned sauce is even more beneficial than raw tomatoes. Olive oil provides healthy monounsaturated fats, and garlic has natural antibacterial properties.
- Dietary Considerations : This recipe is naturally gluten-free, dairy-free, vegan, and paleo-friendly. It contains no added sugar and no artificial ingredients. If you are watching your sodium intake, you can reduce the salt to 1 teaspoon, though the sauce will be less flavorful.
- Potential Allergens : This recipe does not contain any of the top eight allergens, but if you have specific concerns, always check your ingredient labels. Some brands of bottled lemon juice may contain sulfites as preservatives.
- Personal Wellness Perspective : I love that this sauce lets me control exactly what goes into my food. No hidden sugars, no preservatives, no artificial flavors. It is real food that I can feel good about feeding my family, and the process of making it is genuinely meditative. There is something grounding about spending an afternoon transforming simple ingredients into something that will nourish you all year long.
Conclusion
This homemade canned tomato sauce is worth every minute you put into it. It captures the essence of summer tomatoes in a way that no store-bought sauce ever could, and it gives you the satisfaction of knowing exactly what is in every jar. Whether you are a first-time canner or a seasoned preserver, this small-batch recipe is designed to fit into your life without taking it over.
I encourage you to make this recipe your own. Adjust the herbs to match your taste, experiment with different tomato varieties, and do not be afraid to double the batch once you get comfortable with the process. The first time you open a jar in the middle of winter and taste that bright, tomatoey flavor, you will understand why people have been doing this for generations.
I love this recipe because it reminds me of that woman at the farmers’ market who handed me a bag of ugly tomatoes and changed the way I think about preserving food. It is a recipe built on generosity, patience, and the simple joy of making something good with your own hands. I hope you love it as much as I do.
Have you tried this recipe? I would love to hear how it turned out for you. Leave a comment below with your variations, your successes, and even your disasters. We all learn together in the kitchen, and your experience might be exactly what someone else needs to hear. Share this post with a friend who has been thinking about trying canning, and let us keep this beautiful tradition alive.
Frequently Asked Questions
Can I use other types of tomatoes for this recipe?
Yes, you can use any paste-type tomato like San Marzano or Amish Paste. Avoid beefsteak or slicing tomatoes as they contain too much water and will require much longer cooking time to achieve the right consistency.
Do I have to use bottled lemon juice for canning?
Yes, bottled lemon juice is recommended for canning because it has a consistent acidity level. Fresh lemon juice can vary in acidity, which may affect the safety of your canned sauce. If you are freezing the sauce instead of canning it, fresh lemon juice is fine.
How long will this canned tomato sauce last?
Properly sealed jars stored in a cool, dark pantry will last for 12 to 18 months. Always check the seals before storing and inspect jars for any signs of spoilage before using.
Can I add meat or vegetables to this sauce before canning?
It is not recommended to add meat, fresh vegetables, or dairy to the sauce before canning as they can affect the acidity and safety of the final product. Add these ingredients when you open the jar and reheat the sauce for serving.
Why did my jars not seal properly?
Unsealed jars are usually caused by a few common issues: the jar rim was not wiped clean before adding the lid, the lid was not tightened enough, or the jars were not fully submerged during processing. Store unsealed jars in the refrigerator and use them within two weeks.
Pin This Recipe!
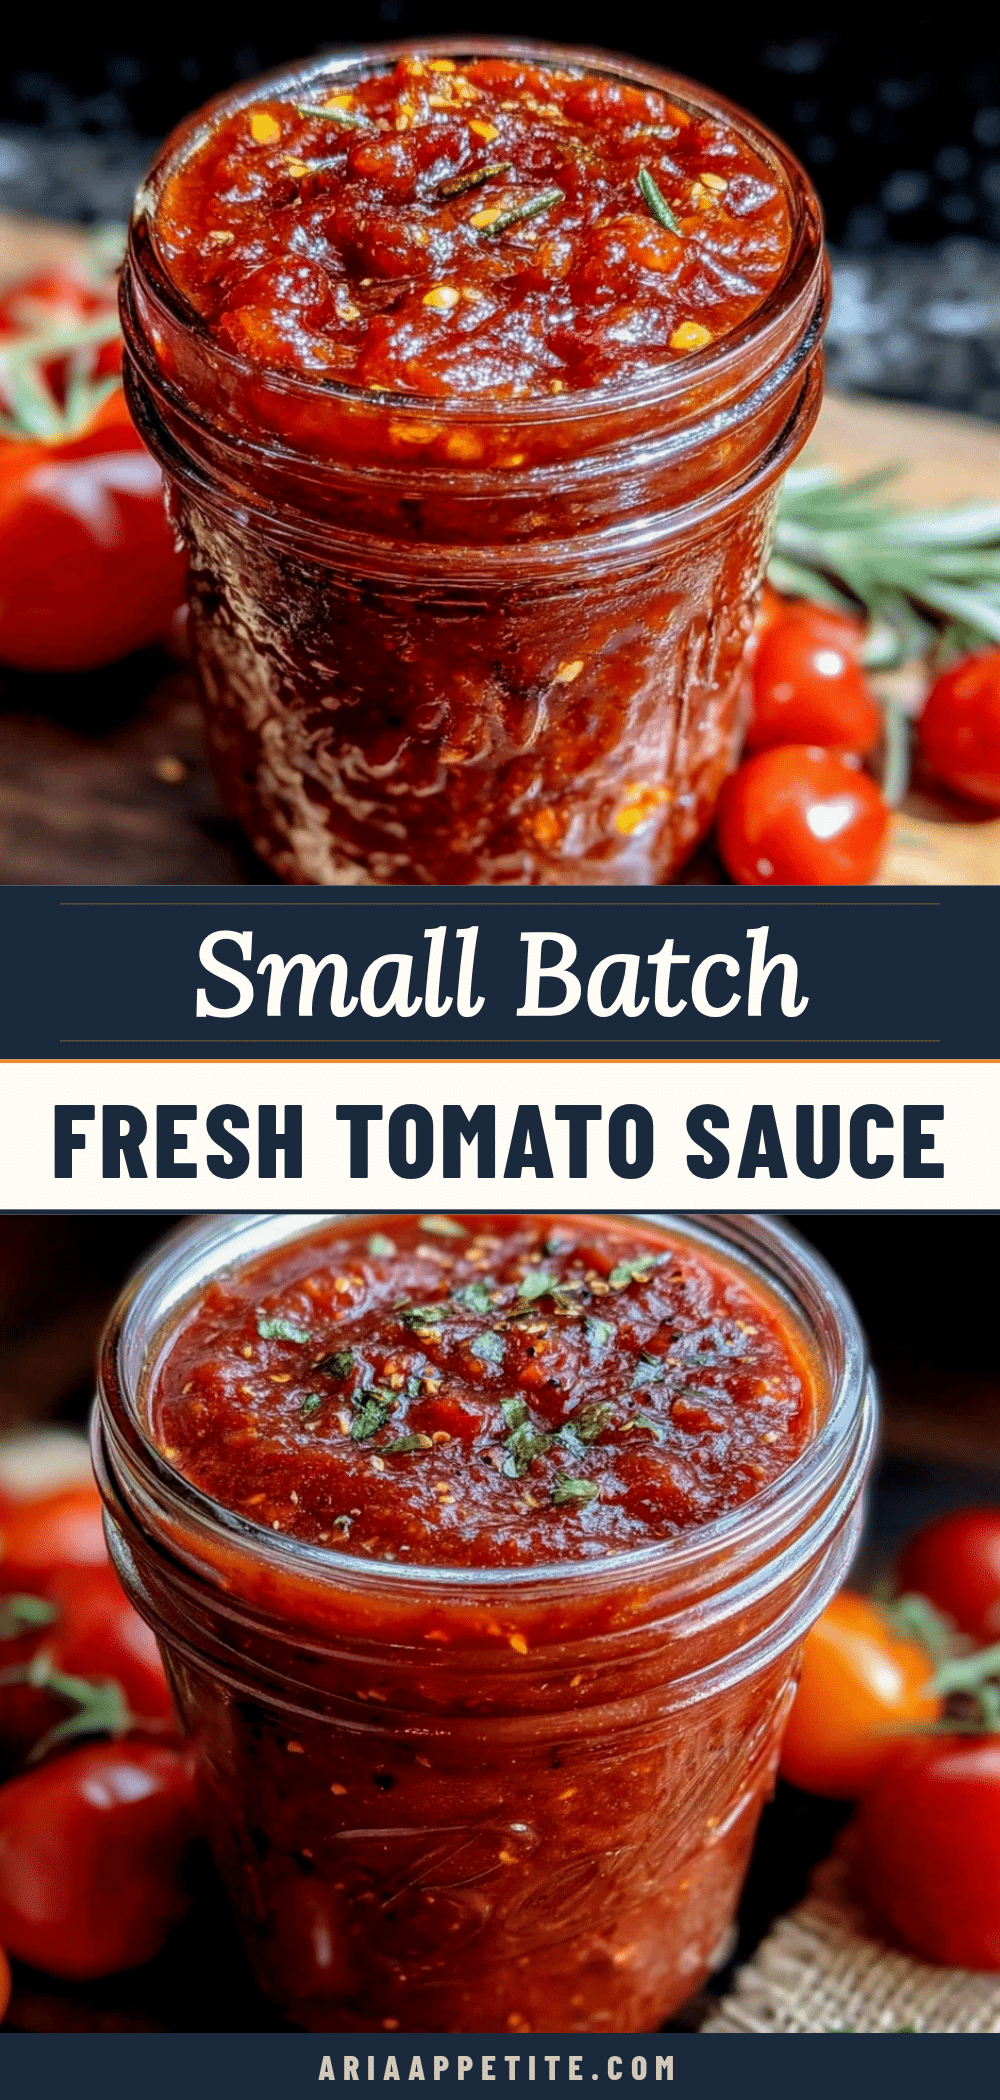
Homemade Canned Tomato Sauce Best Small-Batch Recipe
This small-batch homemade canned tomato sauce recipe uses roasted tomatoes for concentrated sweetness and bright flavor. Perfect for beginners, it yields about 4-5 pints of shelf-stable sauce that tastes like summer in a jar.
- Prep Time: 20 minutes
- Cook Time: 1 hour 30 minutes
- Total Time: 3 hours
- Yield: 4-5 pint jars (8-10 half-pint jars) 1x
- Category: Preserves
- Cuisine: Italian-American
Ingredients
- 5 pounds Roma tomatoes (about 15–20 medium tomatoes)
- 1 large yellow onion (about 8 ounces), roughly chopped
- 4 to 6 garlic cloves, smashed
- 3 tablespoons extra-virgin olive oil
- 2 teaspoons kosher salt (plus more to taste)
- 1 teaspoon dried oregano
- 6 to 8 fresh basil leaves, torn
- 1 large or 2 small bay leaves
- 2 tablespoons bottled lemon juice (for canning safety)
Instructions
- Prepare Your Tomatoes (20 minutes): Bring a large pot of water to a boil. Wash tomatoes and cut a small X on the bottom of each. Prepare a large bowl of ice water. Working in batches, drop tomatoes into boiling water for 30-45 seconds until skins start to peel. Transfer to ice water. Once cool, slip off skins with fingers.
- Roast Half the Tomatoes (30 minutes): Preheat oven to 400°F. Cut about half of the peeled tomatoes in half lengthwise and arrange cut-side up on a baking sheet. Drizzle with 1 tablespoon olive oil and sprinkle with a pinch of salt. Roast for 25-30 minutes until softened and starting to brown at edges.
- Sauté the Aromatics (10 minutes): In a large pot, heat remaining 2 tablespoons olive oil over medium heat. Add chopped onion and cook 5-6 minutes until translucent and golden at edges. Add smashed garlic and cook 1 minute until fragrant. Do not let garlic brown.
- Combine and Simmer (45-60 minutes): Add remaining raw peeled tomatoes to pot, crushing with hands as you add. Add roasted tomatoes, dried oregano, bay leaf, and 1 teaspoon salt. Bring to a gentle simmer, reduce heat to low, and cook 45-60 minutes, stirring occasionally, until reduced by about a third and thickened.
- Blend the Sauce (5 minutes): Remove bay leaf and discard. Use immersion blender to blend until smooth. Taste and adjust salt. Stir in torn basil leaves. Let sit 5 minutes for flavor to infuse.
- Prepare Canning Equipment (15 minutes, done while sauce simmers): Wash jars, lids, and bands in hot soapy water. Place jars in water bath canner, cover with water, and bring to a simmer. Keep jars hot. Place lids in small saucepan with water and bring to a gentle simmer (do not boil).
- Fill and Process the Jars (30 minutes): Remove hot jars from canner using jar lifter. Place funnel in jar and ladle hot sauce into jar, leaving ½ inch headspace. Add ½ tablespoon bottled lemon juice per pint jar (1 teaspoon per half-pint). Run non-metallic spatula around inside to release air bubbles. Wipe rim with damp paper towel. Center lid and screw on band until fingertip-tight. Place jars back in canner, cover with at least 1 inch water. Bring to full rolling boil. Process pint jars for 35…
- Cool and Test the Seals (12-24 hours): Turn off heat and let jars sit in water 5 minutes. Remove with jar lifter and place on clean kitchen towel, leaving 1 inch space between jars. Do not tighten bands or touch lids. Let cool completely, undisturbed, for 12-24 hours. Press center of each lid; if it doesn’t flex, jar is sealed. Remove bands and try to lift jar by lid edge. If lid holds, seal is secure. Store unsealed jars in refrigerator and use within 2 weeks.
Notes
Do not skip the roasting step—it adds depth of flavor. Watch heat during simmer to prevent scorching. Season in layers, not all at once. Use a timer for the water bath. Label jars with date and contents. Bottled lemon juice is essential for safe canning; do not substitute fresh lemon juice. For high altitude, add 5 minutes processing time per 1,000 feet above sea level.
Nutrition
- Serving Size: ½ cup
- Calories: 65
- Sugar: 5
- Sodium: 290
- Fat: 3.5
- Saturated Fat: 0.5
- Carbohydrates: 8
- Fiber: 2
- Protein: 1.5
Keywords: homemade canned tomato sauce, small batch canning, tomato sauce recipe, canning tomatoes, homemade sauce, pantry staple, gift idea