Love this? Save it for later!
Share the inspiration with your friends
It was 10:47 PM on a rainy Tuesday in late October, and I was staring into my refrigerator with the kind of desperate hope that only a baker with a sourdough starter can understand. My starter was hungry, I had a jar of pumpkin puree staring back at me from the back of the shelf, and honestly, I was too tired to think about kneading or folding or any of the usual bread-making drama. I didn’t have the energy for a complicated sourdough loaf that would take all night, but I had this idea that maybe—just maybe—I could throw everything into one bowl and see what happened. The pumpkin was practically begging to be used, and my discard jar was getting dangerously full. I grabbed a wooden spoon, took a deep breath, and decided to break all the rules.
Let me tell you, that night changed everything. The batter came together in about five minutes—no stand mixer, no proofing baskets, no stress. I poured it into a loaf pan, slid it into the oven, and prayed to the baking gods. When the timer went off, the kitchen smelled like fall had exploded inside it. The bread came out golden, tender, and just sweet enough to make you forget it counts as breakfast. I stood there in my pajamas, eating a slice straight from the pan, and I knew I had stumbled onto something special.
This easy pumpkin sourdough discard bread is the kind of recipe that makes you wonder why you ever bothered with complicated bread recipes. It’s forgiving, it’s fast, and it uses up that sourdough discard you’ve been feeling guilty about. Maybe you’ve been there—staring at your starter, wondering what to do with all that extra. Well, this is your answer. It’s become my go-to fall recipe, the one I make when I want the satisfaction of homemade bread without the fuss. Trust me, you’re going to want this in your rotation.
Why You’ll Love This Recipe
I’ve tested this recipe more times than I care to admit, tweaking the ratios and playing with the baking times until it was absolutely perfect. And let me tell you, this version is the one. It’s not just another pumpkin bread recipe—it’s the one that works every single time, even when you’re half-asleep and measuring ingredients by the glow of the oven light.
- Quick & Easy: From bowl to oven in under 10 minutes. No kneading, no rising time, no complicated techniques. This is the recipe you make when you want fresh bread without the wait.
- Simple Ingredients: You probably already have everything you need. Pumpkin puree, sourdough discard, flour, sugar, eggs, oil, and spices. That’s it. No weird specialty items.
- Perfect for Fall Mornings: This bread was made for cozy October breakfasts with a hot cup of coffee. It’s also incredible for Thanksgiving brunch or any autumn gathering.
- Crowd-Pleaser: I’ve brought this to potlucks and book club meetings, and it disappears every single time. Even people who say they don’t like pumpkin go back for seconds.
- Unbelievably Delicious: The texture is what gets me every time—moist, tender, with a slight tang from the sourdough that balances the sweetness perfectly. It’s comfort food at its finest.
What makes this recipe different from all the others? It’s the sourdough discard. That little bit of fermented flour adds a depth of flavor that regular pumpkin bread just can’t match. It’s subtle—not overwhelmingly sour—but it makes everything taste more complex and satisfying. Plus, this recipe uses a whole cup of discard, so you can finally clean out that jar in your fridge. It’s a win-win, honestly.
What Ingredients You Will Need
This recipe uses simple, wholesome ingredients to deliver bold fall flavor and that perfect tender crumb without any fuss. Most of these are pantry staples, so you can probably make this bread right now without a trip to the store.
- Pumpkin puree (1 cup, 240g) – Make sure you’re using pure pumpkin puree, not pumpkin pie filling. I prefer Libby’s for consistent results, but any brand works. The pumpkin adds moisture, natural sweetness, and that beautiful orange color.
- Sourdough discard (1 cup, 240g) – This is the star of the show. Use unfed discard straight from the fridge. It doesn’t need to be active or bubbly—that’s the beauty of discard recipes. If your discard has been sitting for a while and smells extra tangy, even better.
- All-purpose flour (1 ½ cups, 190g) – Regular all-purpose flour works perfectly here. Spoon and level your flour for the best results—don’t scoop directly from the bag or you’ll end up with dry bread.
- Granulated sugar (¾ cup, 150g) – Just enough sweetness to complement the pumpkin without overpowering it. You can reduce this to ½ cup if you prefer a less sweet bread.
- Brown sugar (¼ cup, 50g, packed) – This adds moisture and a hint of molasses flavor that pairs beautifully with the pumpkin and spices. Light or dark brown sugar both work.
- Vegetable oil (⅓ cup, 80ml) – Oil keeps this bread incredibly moist. You can substitute melted coconut oil or melted butter if you prefer, but oil gives the best texture.
- Large eggs (2, room temperature) – Eggs provide structure and help the bread rise. Room temperature eggs incorporate more easily into the batter.
- Vanilla extract (1 teaspoon) – A little vanilla rounds out the flavors and makes everything taste warmer and more inviting.
- Pumpkin pie spice (2 teaspoons) – You can use store-bought or make your own with cinnamon, nutmeg, ginger, and cloves. I actually prefer making my own blend—more on that below.
- Cinnamon (1 teaspoon) – Extra cinnamon because you can never have too much. It’s pumpkin bread’s best friend.
- Baking soda (1 teaspoon) – This is our leavening agent. Make sure it’s fresh—old baking soda won’t give you the rise you need.
- Salt (½ teaspoon) – Salt enhances all the other flavors and balances the sweetness. Don’t skip it.
For the optional topping:
- Pepitas (¼ cup, raw pumpkin seeds) – Sprinkle these on top before baking for a beautiful presentation and a little crunch. They toast up perfectly in the oven.
- Turbinado sugar (1 tablespoon) – A sprinkle of coarse sugar on top gives the bread a lovely sparkly crust. Regular sugar works too, but turbinado is prettier.
Equipment Needed
One of the best things about this recipe is how little equipment it requires. You don’t need a stand mixer or any fancy gadgets—just the basics that you probably already have in your kitchen.
- Large mixing bowl (at least 4-cup capacity) – Any big bowl works. I use a ceramic one that my grandmother gave me, but glass or stainless steel are fine too.
- Wooden spoon or rubber spatula – For mixing the batter. A whisk works too, but a spoon is easier for scraping the sides.
- 9×5-inch loaf pan – This is the standard size for this recipe. If you use an 8×4-inch pan, you’ll need to increase the baking time by 5-10 minutes.
- Parchment paper – Lining your pan makes cleanup a breeze and ensures the bread comes out perfectly. You can grease the pan instead, but parchment is easier.
- Measuring cups and spoons – For accurate measurements. I recommend using a kitchen scale for the flour and pumpkin for the most consistent results.
- Cooling rack – Essential for cooling the bread properly so it doesn’t get soggy on the bottom.
If you don’t have a loaf pan, you can bake this in an 8×8-inch square pan and reduce the baking time to 30-35 minutes. I’ve done this when my loaf pan was in the dishwasher, and it worked great—just cut it into squares instead of slices.
Preparation Method
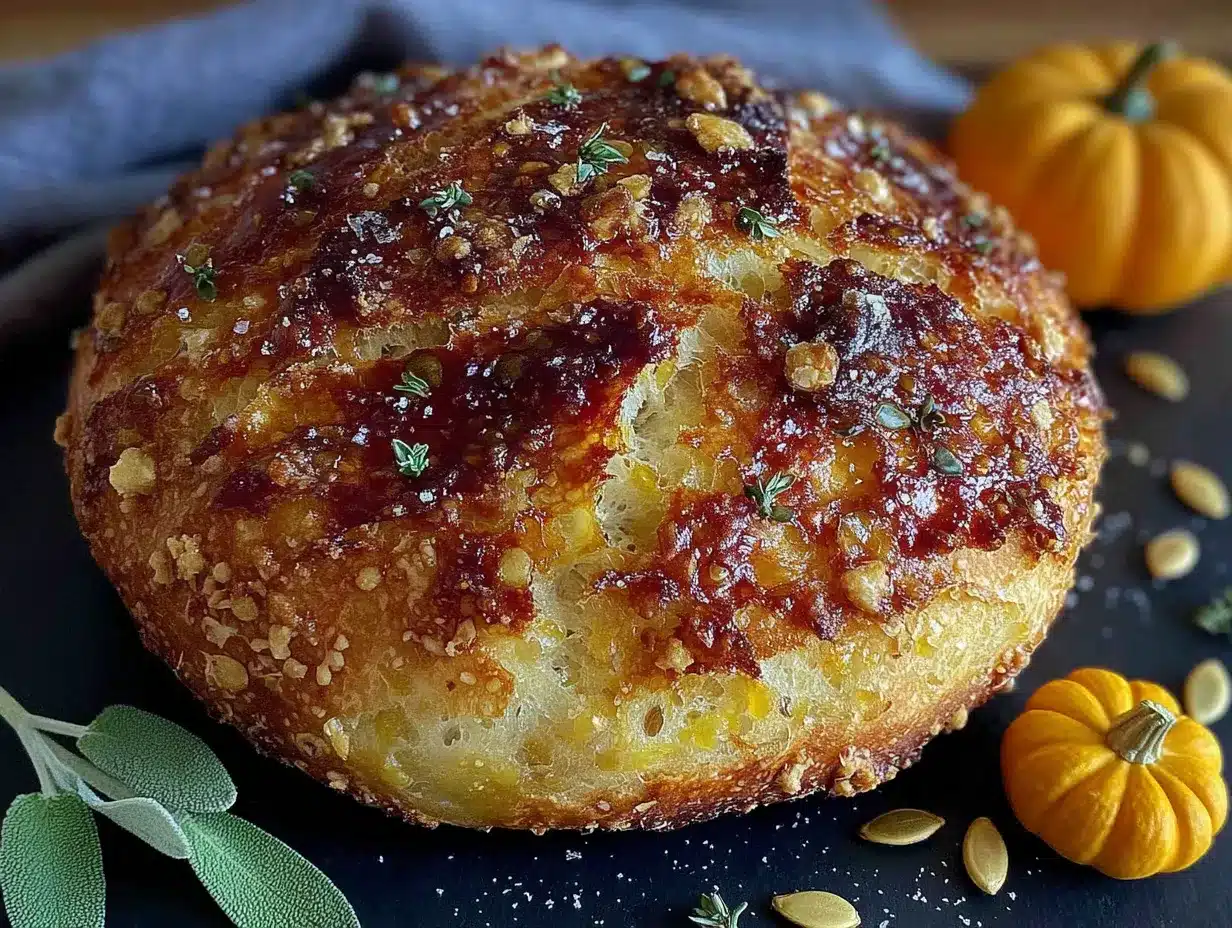
- Preheat your oven to 350°F (175°C) and position the rack in the middle. Line your 9×5-inch loaf pan with parchment paper, leaving some overhang on the long sides so you can lift the bread out easily. If you don’t have parchment, grease the pan thoroughly with butter or cooking spray.
- In your large mixing bowl, combine the wet ingredients. Add 1 cup of pumpkin puree, 1 cup of sourdough discard, ⅓ cup of vegetable oil, 2 large eggs, and 1 teaspoon of vanilla extract. Whisk or stir until everything is smooth and well combined. The mixture should be a beautiful orange color—take a moment to appreciate it because that’s the color of fall right there.
- Add the sugars and spices. Pour in ¾ cup of granulated sugar, ¼ cup of packed brown sugar, 2 teaspoons of pumpkin pie spice, 1 teaspoon of cinnamon, and ½ teaspoon of salt. Stir until the sugars are mostly dissolved and the spices are evenly distributed. The batter will look thin at this point—don’t worry, that’s normal.
- Sprinkle the baking soda over the mixture. This is important—don’t just dump it in one spot. Sprinkle 1 teaspoon of baking soda evenly over the surface of the batter, then stir it in quickly. You’ll see some bubbles form immediately as the baking soda reacts with the acidic sourdough discard. That’s exactly what you want to see.
- Add the flour. Pour 1 ½ cups of all-purpose flour into the bowl. Fold it in gently with your spatula or wooden spoon until just combined. Be careful not to overmix—stop as soon as you can’t see any more white streaks of flour. Overmixing will make the bread tough, and nobody wants tough pumpkin bread.
- Scrape down the sides and bottom of the bowl. Use your spatula to make sure everything is incorporated. The batter should be thick but scoopable, like a very thick muffin batter. If it looks too thick, that’s okay—the pumpkin will keep it moist.
- Pour the batter into your prepared loaf pan. Use your spatula to spread it evenly into the corners. Give the pan a gentle tap on the counter to release any air bubbles. If you’re using the optional toppings, sprinkle the pepitas and turbinado sugar evenly over the top now.
- Bake for 50-60 minutes. Place the pan in the preheated oven and bake until a toothpick inserted into the center comes out clean or with just a few moist crumbs. The top should be golden brown and spring back when you gently press it. Start checking at 50 minutes—ovens vary, and you don’t want to overbake it.
- Cool in the pan for 10 minutes. This is important—if you try to remove the bread too soon, it might fall apart. Let it rest in the pan on a cooling rack for exactly 10 minutes. Use the parchment overhang to lift the bread out of the pan.
- Transfer to a cooling rack and cool completely. Place the bread directly on the rack and let it cool for at least 1 hour before slicing. I know it’s tempting to cut into it while it’s warm, but the texture will be much better if you wait. The bread continues to set as it cools.
Cooking Tips & Techniques
After making this bread more times than I can count, I’ve learned a few tricks that make a real difference. Let me share them so you don’t have to learn the hard way like I did.
Don’t overmix the batter. This is the number one mistake people make with quick breads. Mix until the flour just disappears, then stop. Overmixing develops the gluten too much and gives you a tough, dense loaf instead of a tender, fluffy one. I learned this the hard way when I made a brick of pumpkin bread for a brunch party. It was… not my finest moment.
Use room temperature ingredients. Cold eggs and cold discard can make the batter seize up and create an uneven texture. Take your eggs and discard out of the fridge about 30 minutes before you start baking. If you forget (which I do constantly), place the eggs in a bowl of warm water for 5 minutes, and let the discard sit on the counter while you gather your other ingredients.
Check for doneness properly. A toothpick test is reliable, but make sure you’re inserting it into the center of the bread, not near the edges. The center is the last part to cook through. If the toothpick comes out with wet batter, give it another 5 minutes and check again. If it comes out with a few moist crumbs, it’s perfect.
Let it cool completely. I cannot stress this enough. If you slice into warm pumpkin bread, it will crumble and fall apart. The texture firms up as it cools, and the flavors continue to develop. I once served warm pumpkin bread to my book club, and it was a sad, crumbly mess. Now I have the patience to wait, and the results are so much better.
Toast leftover slices. If you have any leftovers (which is rare in my house), toast them lightly in a toaster or under the broiler. The outside gets slightly crispy while the inside stays soft and tender. Add a pat of butter and you have the perfect breakfast or afternoon snack.
Variations & Adaptations
One of the things I love about this recipe is how versatile it is. You can change it up based on what you have in your pantry or what you’re in the mood for. Here are some of my favorite variations.
Gluten-Free Version: Substitute the all-purpose flour with a 1:1 gluten-free baking flour blend. I’ve had great results with King Arthur’s Measure for Measure flour. The texture will be slightly different—a bit more delicate—but it’s still delicious. Make sure your gluten-free blend contains xanthan gum for structure.
Vegan Adaptation: Replace the eggs with two flax eggs (2 tablespoons ground flaxseed mixed with 6 tablespoons water, let sit for 5 minutes). Use a plant-based oil (coconut or avocado work well) and make sure your sugar is vegan-friendly. The bread will be a bit denser but still incredibly moist and flavorful.
Chocolate Chip Pumpkin Bread: Fold in ¾ cup of semi-sweet chocolate chips after you add the flour. The combination of pumpkin and chocolate is absolutely divine. I made this version for a Halloween party, and it was gone in 20 minutes.
Maple Glaze: Whisk together 1 cup of powdered sugar, 2 tablespoons of maple syrup, and 1-2 tablespoons of milk until smooth. Drizzle over the cooled bread for an extra special treat. This turns it from a simple breakfast bread into a dessert-worthy showstopper.
Spice It Up: If you want more warmth, add ¼ teaspoon of ground ginger and ⅛ teaspoon of ground cloves along with the other spices. This gives the bread a more complex, chai-like flavor profile that’s perfect for cold winter mornings.
Serving & Storage Suggestions
This bread is incredibly versatile when it comes to serving. Here’s how I like to enjoy it, plus the best ways to store it so it stays fresh.
Serving Suggestions: Serve this bread slightly warm or at room temperature. A slice with a pat of salted butter is pure heaven. For a more indulgent treat, spread it with cream cheese frosting or a dollop of Greek yogurt and a drizzle of honey. It’s also amazing alongside a hot cup of chai latte or pumpkin spice coffee.
Storage: Wrap the cooled bread tightly in plastic wrap or aluminum foil and store at room temperature for up to 4 days. The moisture from the pumpkin actually helps it stay soft longer than regular quick breads. I’ve had slices still taste fresh on day 4, which is pretty impressive.
Freezing: This bread freezes beautifully. Wrap it tightly in plastic wrap, then in a layer of aluminum foil, and freeze for up to 3 months. To thaw, leave it on the counter for a few hours or overnight in the refrigerator. You can also freeze individual slices for quick breakfasts—just grab one, toast it, and go.
Reheating: For that fresh-from-the-oven taste, warm slices in the microwave for 15-20 seconds or in a 300°F oven for 5-10 minutes. Toasting is my preferred method—it gives the outside a nice crunch while keeping the inside soft.
Flavor Development: Here’s a little secret—this bread actually tastes better on day two. The flavors have time to meld and deepen, and the texture becomes even more moist. So if you can resist eating it all on day one, you’re in for a real treat on day two.
Nutritional Information & Benefits
While I wouldn’t call this a health food, it does have some redeeming qualities. Pumpkin is packed with vitamin A, fiber, and antioxidants, and the sourdough fermentation process makes some nutrients more bioavailable. Here’s what you can expect per slice (based on 10 slices):
| Nutrient | Amount per Slice |
|---|---|
| Calories | 245 |
| Total Fat | 9g |
| Saturated Fat | 1.5g |
| Carbohydrates | 38g |
| Fiber | 2g |
| Sugar | 18g |
| Protein | 5g |
| Vitamin A | 80% DV |
Dietary Considerations: This recipe is vegetarian and can be made vegan and gluten-free with the substitutions mentioned above. It contains dairy (if using butter for serving) and gluten (unless using GF flour). The sourdough discard may contain trace amounts of gluten even with GF flour if it was made with wheat flour.
Health Benefits: Pumpkin is rich in beta-carotene, which supports eye health and immune function. The sourdough fermentation process can make the bread easier to digest for some people compared to traditional yeast breads. Plus, using sourdough discard means you’re reducing food waste, which is always a win in my book.
Conclusion
This easy pumpkin sourdough discard bread has become a staple in my kitchen, and I have a feeling it’s going to become one in yours too. It’s the kind of recipe that solves multiple problems at once—what to do with sourdough discard, how to use up leftover pumpkin puree, and how to get fresh bread on the table without spending hours in the kitchen. Honestly, it feels like cheating, but in the best possible way.
I love that this recipe is forgiving enough for beginners but satisfying enough for experienced bakers. You can keep it simple or dress it up with toppings and glazes. You can make it for a holiday brunch or a random Tuesday when you just need something cozy. That’s the beauty of a good recipe—it fits into your life however you need it to.
Now I want to hear from you! Have you tried making pumpkin sourdough discard bread before? What variations did you try? Drop a comment below and let me know how yours turned out. And if you loved this recipe, share it with a friend who’s also trying to use up their sourdough discard. Happy baking, friends!
Frequently Asked Questions
Can I use active sourdough starter instead of discard?
Yes, you can use active sourdough starter in place of discard. The bread will turn out slightly lighter and fluffier because of the extra bubbles in the active starter. Just keep in mind that you might need to reduce the baking soda slightly since active starter is less acidic than discard. Start with ¾ teaspoon of baking soda instead of 1 teaspoon.
Why is my pumpkin bread dense and heavy?
There are a few common reasons for dense pumpkin bread. Overmixing the batter is the most frequent culprit—it develops too much gluten and makes the bread tough. Another possibility is that your baking soda is old and not providing enough lift. Finally, make sure you’re measuring your flour correctly. Spoon it into your measuring cup and level it off, rather than scooping directly from the bag.
Can I add nuts or dried fruit to this recipe?
Absolutely! Fold in ½ cup of chopped walnuts, pecans, or dried cranberries after you add the flour. I love adding toasted pecans for extra crunch and a buttery flavor that pairs beautifully with the pumpkin. If using dried fruit, toss it in a tablespoon of flour first to prevent it from sinking to the bottom of the loaf.
How do I know when the bread is done baking?
The most reliable test is the toothpick test. Insert a wooden toothpick or skewer into the center of the bread. If it comes out clean or with just a few moist crumbs, it’s done. If it comes out with wet batter, give it another 5 minutes and check again. The top should also be golden brown and spring back when gently pressed.
Can I make this into muffins instead of a loaf?
Yes, this batter works beautifully for muffins! Divide the batter evenly among a greased or lined 12-cup muffin tin, filling each cup about ¾ full. Bake at 350°F for 18-22 minutes, or until a toothpick inserted into the center of a muffin comes out clean. The baking time is much shorter, so keep an eye on them starting at 18 minutes.
Pin This Recipe!
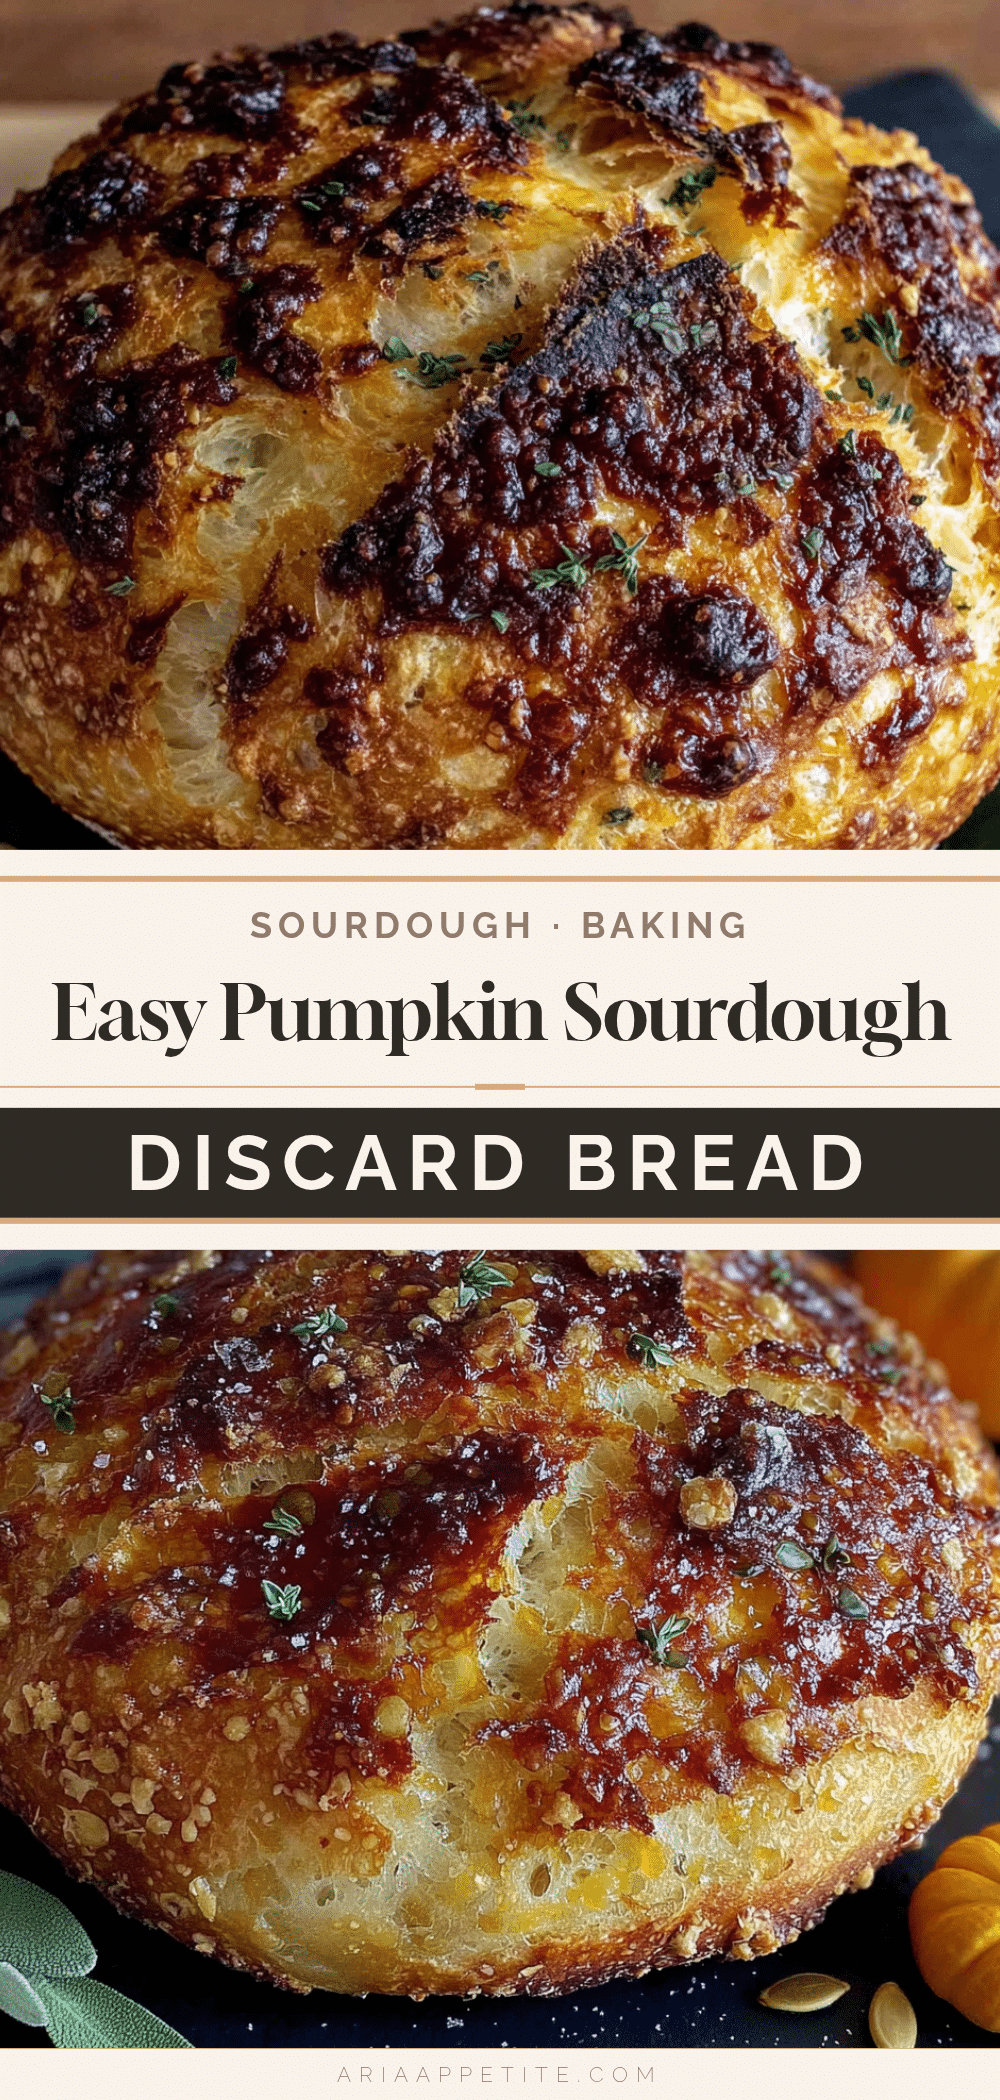
Easy Pumpkin Sourdough Discard Bread (Best 1-Bowl Recipe)

This easy pumpkin sourdough discard bread is a quick, forgiving, and delicious way to use up sourdough discard and pumpkin puree. It comes together in one bowl with no kneading or rising time, resulting in a moist, tender loaf with a subtle tang that’s perfect for fall mornings.
- Prep Time: 10 minutes
- Cook Time: 55 minutes
- Total Time: 1 hour 5 minutes
- Yield: 10 servings 1x
- Category: Bread
- Cuisine: American
Ingredients
- 1 cup (240g) pumpkin puree
- 1 cup (240g) sourdough discard
- 1 ½ cups (190g) all-purpose flour
- ¾ cup (150g) granulated sugar
- ¼ cup (50g) packed brown sugar
- ⅓ cup (80ml) vegetable oil
- 2 large eggs, room temperature
- 1 teaspoon vanilla extract
- 2 teaspoons pumpkin pie spice
- 1 teaspoon cinnamon
- 1 teaspoon baking soda
- ½ teaspoon salt
- ¼ cup raw pumpkin seeds (pepitas) for topping (optional)
- 1 tablespoon turbinado sugar for topping (optional)
Instructions
- Preheat your oven to 350°F (175°C) and position the rack in the middle. Line a 9×5-inch loaf pan with parchment paper, leaving some overhang on the long sides. If you don’t have parchment, grease the pan thoroughly with butter or cooking spray.
- In a large mixing bowl, combine 1 cup pumpkin puree, 1 cup sourdough discard, ⅓ cup vegetable oil, 2 large eggs, and 1 teaspoon vanilla extract. Whisk or stir until smooth and well combined.
- Add ¾ cup granulated sugar, ¼ cup packed brown sugar, 2 teaspoons pumpkin pie spice, 1 teaspoon cinnamon, and ½ teaspoon salt. Stir until the sugars are mostly dissolved and the spices are evenly distributed.
- Sprinkle 1 teaspoon baking soda evenly over the mixture and stir it in quickly. You’ll see bubbles form as the baking soda reacts with the acidic sourdough discard.
- Add 1 ½ cups all-purpose flour. Fold it in gently with a spatula or wooden spoon until just combined. Be careful not to overmix—stop as soon as no white streaks of flour remain.
- Scrape down the sides and bottom of the bowl to ensure everything is incorporated. The batter should be thick but scoopable.
- Pour the batter into the prepared loaf pan and spread it evenly. Tap the pan gently on the counter to release air bubbles. If using, sprinkle pepitas and turbinado sugar evenly over the top.
- Bake for 50-60 minutes, until a toothpick inserted into the center comes out clean or with just a few moist crumbs. The top should be golden brown and spring back when gently pressed.
- Cool in the pan for 10 minutes on a cooling rack. Use the parchment overhang to lift the bread out of the pan.
- Transfer to a cooling rack and cool completely for at least 1 hour before slicing.
Notes
Don’t overmix the batter to avoid a tough loaf. Use room temperature ingredients for best results. The bread tastes even better on day two as flavors meld. Toast leftover slices for a crispy exterior. For a gluten-free version, use a 1:1 gluten-free baking flour blend. For a vegan adaptation, replace eggs with flax eggs.
Nutrition
- Serving Size: 1 slice
- Calories: 245
- Sugar: 18
- Sodium: 280
- Fat: 9
- Saturated Fat: 1.5
- Carbohydrates: 38
- Fiber: 2
- Protein: 5
Keywords: pumpkin bread, sourdough discard, pumpkin sourdough bread, easy pumpkin bread, fall bread, one bowl bread