Love this? Save it for later!
Share the inspiration with your friends
Last Thursday, I stopped by my neighbor’s house to borrow a cup of brown sugar. I wasn’t expecting anything more than a quick handoff at the door. But before she even opened it all the way, this incredible smell hit me. It was warm, nutty, and sweet, but not like cookies baking. It smelled like comfort, honestly, like something you’d want to eat in your pajamas on a rainy afternoon. I stood there for a second, probably looking a little silly, just breathing it in. She laughed and pulled me inside, saying she was just making a quick lunch for her kid who was home sick. The kid was sitting at the kitchen table, looking perfectly content, munching on what looked like the most perfect peanut butter banana sandwich I had ever seen. The bread was perfectly golden, the bananas were nestled in there like they belonged, and there wasn’t a single sad, soggy spot in sight. I asked her what her secret was, and she just shrugged and said, “Oh, it’s nothing. I just don’t like wet bread.” That casual attitude about something so genius was exactly what I needed. I mean, haven’t we all been there? You make a peanut butter banana sandwich, take one bite, and the bread is already starting to fall apart. It’s a tragedy. But this easy no-soggy-bread peanut butter banana sandwich changed everything for me. I’ve been making it ever since, and I honestly can’t go back to the old way. It’s just too good to ruin with soggy bread.
Why You’ll Love This Recipe
Let’s be real for a second. A peanut butter banana sandwich is a classic, but it has one major flaw. That flaw is the dreaded soggy bread. It happens because bananas release moisture, and that moisture soaks right into the toast, turning it into a sad, limp mess. This recipe fixes that problem once and for all. It’s a simple trick that changes everything, and you’re going to wonder why you didn’t think of it sooner.
- Quick & Easy: This sandwich comes together in under 10 minutes. It’s perfect for a busy morning, a lazy weekend lunch, or a quick snack that actually feels satisfying.
- Simple Ingredients: You likely already have everything you need in your pantry. No fancy grocery trips are required for this one.
- Perfect for Any Occasion: It’s great for a kid’s lunchbox, a post-workout refuel, or a comforting meal when you just don’t feel like cooking.
- Crowd-Pleaser: Honestly, I’ve never met anyone who didn’t love this sandwich. Kids and adults both go crazy for it.
- Unbelievably Delicious: The texture is where this sandwich really shines. You get a crispy, buttery exterior with a warm, creamy, and slightly gooey center. It’s next-level comfort food.
The secret? It’s all about creating a barrier. By toasting the bread and using a thin layer of peanut butter on both slices, you seal the bread from the banana’s moisture. It’s a tiny technique with a huge payoff. This isn’t just another version of a peanut butter banana sandwich. It’s the best version. It’s the one that makes you close your eyes after the first bite, because it’s just that good.
What Ingredients You Will Need
This recipe uses simple, wholesome ingredients to deliver bold flavor and satisfying texture without the fuss. Most of these are pantry staples, so you can whip this up anytime the craving hits. Here is everything you will need to make the perfect no-soggy-bread peanut butter banana sandwich.
- 2 slices of bread: I recommend using a sturdy bread like sourdough, whole wheat, or a hearty white bread. Avoid super soft, airy bread as it can still get a little sad. (A thicker slice works best for holding up to the filling.)
- 2 tablespoons of creamy peanut butter: You can use crunchy if you prefer a little texture. I personally love using a natural peanut butter like Justin’s or Smucker’s Natural for a cleaner taste. Make sure it’s well-stirred so it spreads easily.
- 1 medium ripe banana: Look for a banana that is ripe but still firm. You want it to have some sweetness, but not be mushy or overripe. A banana with a few brown spots is perfect.
- 1 tablespoon of unsalted butter, softened: This is for toasting the outside of the sandwich. It gives you that gorgeous golden-brown crust. You can also use salted butter, just skip any extra salt. For a dairy-free option, use a plant-based butter or a little coconut oil.
- Pinch of salt (optional): A tiny sprinkle of flaky sea salt on the peanut butter before adding the banana really makes the flavors pop. It’s a small step that makes a big difference.
- Optional add-ins:
- Honey or maple syrup: For a drizzle of extra sweetness.
- Cinnamon: A light dusting on the banana adds warmth.
- Dark chocolate chips: Because everything is better with chocolate.
That’s it. Five simple ingredients (or six if you count the salt) are all you need to create a sandwich that is infinitely better than the sum of its parts.
Equipment Needed
You don’t need any fancy gadgets for this recipe. It’s all about simple tools that you probably already have in your kitchen. Here is what you will need to get the job done.
- Non-stick skillet or griddle: A 10-inch skillet works perfectly. A cast-iron skillet also gives a beautiful, even toast. If you don’t have a non-stick pan, just make sure to use enough butter so the bread doesn’t stick.
- Spatula: A thin, flexible spatula is best for flipping the sandwich without breaking it apart. I’ve learned this the hard way after losing a few sandwiches to a clumsy flip.
- Butter knife: For spreading the peanut butter and the softened butter on the bread. A regular dinner knife works fine too.
- Cutting board and a sharp knife: For slicing the banana. A serrated knife works really well for this, but any sharp knife will do.
If you want to make this even easier, you can use a panini press or a sandwich maker. Just follow the same steps for assembling the sandwich, and press it until the bread is golden and the peanut butter is warm. It’s a great hands-off method.
Preparation Method
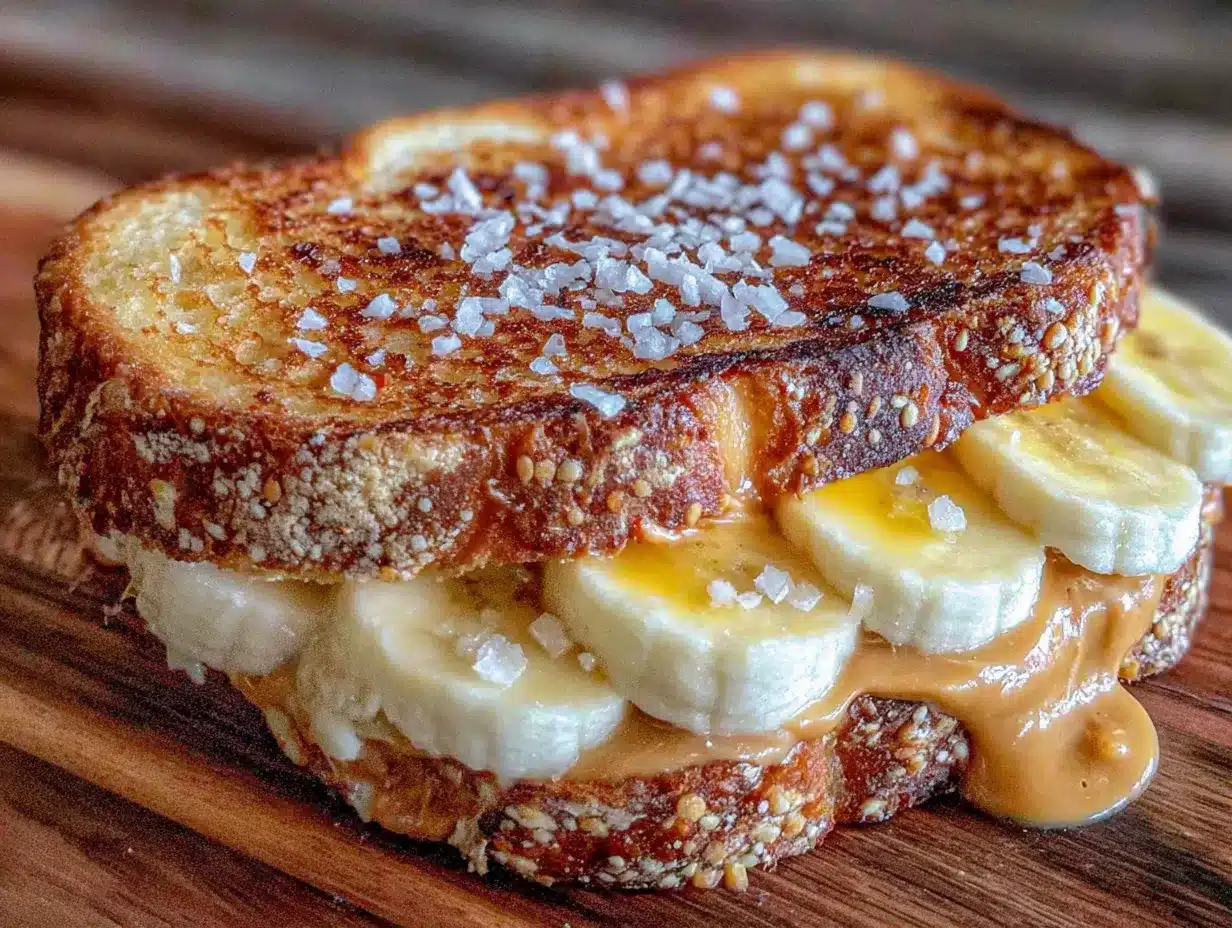
This is where the magic happens. Follow these steps carefully, and you will be rewarded with a perfect, no-soggy-bread peanut butter banana sandwich every single time. Trust me on this.
- Prep your bread. Take your two slices of bread and lay them flat on your cutting board. Using a butter knife, spread about half a tablespoon of the softened butter on one side of each slice of bread. This will be the outside of your sandwich, so make sure it’s an even, thin layer right to the edges. Don’t skip this step—it’s what gives you that amazing golden crust.
- Spread the peanut butter. Flip one slice of bread over so the unbuttered side is facing up. Spread 1 tablespoon of your peanut butter over the entire surface, right to the edges. This creates the moisture barrier. Do the same with the other slice of bread on the unbuttered side. This is the key step. By coating both slices with peanut butter, you are sealing the bread completely. The banana will never touch the bare bread, so it can’t make it soggy.
- Add the banana. Slice your banana into even rounds, about ¼-inch thick. Arrange the banana slices in a single layer on top of the peanut butter on one slice of bread. Don’t pile them too high, or the sandwich will be hard to flip. If you are using the optional salt or cinnamon, sprinkle it over the banana now.
- Close the sandwich. Gently place the other slice of bread on top, peanut butter side down, to close the sandwich. Press down very lightly just to help everything stick together.
- Preheat your skillet. Place your non-stick skillet or griddle over medium-low heat. Let it warm up for about a minute. You want it hot, but not screaming hot, or the butter will burn before the bread gets golden. (I once set my kitchen smoke alarm off by getting impatient with the heat. Learn from my mistakes!)
- Toast the first side. Carefully place the sandwich in the preheated skillet. Let it cook for 3-4 minutes, or until the bottom is a deep golden brown. You can lift a corner with your spatula to check. You should hear a gentle sizzle.
- Flip and toast the other side. Using your spatula, carefully flip the sandwich over. Cook for another 3-4 minutes, until the second side is also golden brown and the peanut butter inside is starting to get warm and a little gooey. The sandwich should feel firm and hold its shape when you press on it.
- Rest before slicing. Remove the sandwich from the skillet and place it on a cutting board. Let it rest for just 1 minute. This allows the warm peanut butter to set up slightly, which prevents it from oozing out everywhere when you cut it. I know it’s hard to wait, but this step is important.
- Slice and serve. Using a sharp knife, slice the sandwich diagonally or straight down the middle. Serve immediately while it’s warm and the inside is perfectly soft and the outside is perfectly crisp.
Cooking Tips & Techniques
Over the years, I’ve made a lot of these sandwiches, and I’ve learned a few things the hard way. Here are my best tips to make sure your easy no-soggy-bread peanut butter banana sandwich turns out perfect every time.
- Don’t skip the butter on the outside. I know some people try to use cooking spray or just toast the bread dry. Don’t do it. The butter is what gives you that incredible, crispy, golden crust that makes this sandwich feel special. It also helps the bread cook evenly.
- Low and slow is the way to go. Medium-low heat is your friend here. If you crank the heat up to high, the butter will burn before the inside gets warm. You want the peanut butter to get all warm and gooey, and that takes a few minutes of gentle heat. Be patient.
- Use a ripe but firm banana. An overripe, mushy banana will release too much liquid, and it will make the inside of your sandwich a little messy. A perfectly ripe banana has the best sweetness and texture for this.
- Spread the peanut butter to the very edge. This is the most important tip for the no-soggy-bread promise. If you leave a bare border of bread, that border will absorb moisture from the banana and become sad. Seal the whole thing.
- Let it rest. I cannot stress this enough. Letting the sandwich rest for a minute after cooking allows the warm peanut butter to thicken slightly. This means less mess when you bite into it, and a better overall texture.
Variations & Adaptations
This recipe is a fantastic base for experimentation. Once you master the basic technique, you can change it up to suit your mood or what you have on hand. Here are a few of my favorite variations.
- Sweet and Salty Crunch: After spreading the peanut butter, sprinkle a handful of crushed pretzels or salted peanuts over the banana. The salty crunch against the sweet, creamy banana is absolutely addictive.
- Chocolate Lover’s Dream: Spread a thin layer of Nutella or your favorite chocolate-hazelnut spread on one slice of bread before adding the peanut butter. Or, just sprinkle a tablespoon of mini dark chocolate chips over the banana before closing the sandwich. The chocolate gets all melty and amazing.
- Berry Bliss: Add a handful of fresh raspberries or sliced strawberries along with the banana. The tartness of the berries cuts through the richness of the peanut butter beautifully.
- Honey Cinnamon Swirl: Drizzle a teaspoon of honey over the banana slices and sprinkle with a pinch of cinnamon. It tastes like a fancy bakery treat but takes zero extra effort.
- Vegan Option: Use a plant-based butter (like Miyoko’s) for the outside and your favorite creamy peanut butter. Everything else is already vegan! It works perfectly.
My personal favorite variation is the “Elvis.” I add crispy bacon and a drizzle of honey. It sounds weird, but the salty, smoky bacon with the sweet banana and warm peanut butter is a combination that will change your life. Try it once, and you’ll get it.
Serving & Storage Suggestions
This sandwich is best enjoyed fresh, right off the skillet, when the outside is perfectly crisp and the inside is warm and gooey. That’s when it’s at its peak. But I understand that life gets busy, and sometimes you need to prep ahead.
How to Serve: Serve the sandwich warm, sliced in half. It’s perfect on its own, but you can pair it with a side of fresh fruit, a handful of baby carrots, or a small cup of tomato soup for a more complete meal. For breakfast, a glass of cold milk or a hot cup of coffee is the perfect companion.
How to Store: If you have leftovers (which is rare in my house), let the sandwich cool completely to room temperature. Wrap it tightly in plastic wrap or aluminum foil. You can store it in the refrigerator for up to 1 day. Please note that the bread will lose its crispness over time, but it will still taste good.
How to Reheat: To bring back some of the crispness, reheat the sandwich in a dry skillet over medium-low heat for 2-3 minutes per side. You can also use a toaster oven or an air fryer at 350°F (175°C) for about 5 minutes. Avoid using the microwave, as it will make the bread soft and chewy.
Nutritional Information & Benefits
This easy no-soggy-bread peanut butter banana sandwich is not just delicious—it also packs a surprising nutritional punch. It’s a balanced mini-meal that gives you energy and keeps you full.
Estimated Nutritional Values (per sandwich):
| Nutrient | Amount |
|---|---|
| Calories | ~450-500 kcal |
| Protein | ~15 g |
| Carbohydrates | ~55 g |
| Fat | ~22 g |
| Fiber | ~7 g |
| Sugar | ~20 g (mostly natural from banana) |
Health Benefits: The peanut butter provides healthy fats and protein, which help keep you satisfied and provide long-lasting energy. Bananas are an excellent source of potassium, which is great for muscle function and heart health. They also contain vitamin B6 and vitamin C. Using whole wheat bread adds fiber, which is great for digestion.
Dietary Considerations: This recipe can easily be made vegan and dairy-free. It is naturally nutty and sweet without any added refined sugar (if you skip the honey). It is not gluten-free unless you use gluten-free bread.
Frequently Asked Questions
Can I use a different type of nut butter?
Absolutely! Almond butter, cashew butter, or sunflower seed butter all work wonderfully in this recipe. Just make sure to spread it to the edges to create that moisture barrier.
My bread always burns before the inside gets warm. What am I doing wrong?
Your heat is too high. This is the most common mistake. Keep the heat on medium-low. It takes a little longer, but it ensures the peanut butter gets warm and gooey without burning the bread.
Can I make this in a toaster oven or air fryer?
Yes, you can! Assemble the sandwich as directed. Place it in a toaster oven or air fryer preheated to 375°F (190°C). Cook for 5-7 minutes, flipping halfway through, until the bread is golden and the inside is warm.
How do I keep the banana from sliding out when I eat it?
This is a common issue. The key is to slice the banana into even, thin rounds and arrange them in a single, even layer. Pressing down gently on the sandwich before cooking also helps it all stick together.
Can I add other fruits to this sandwich?
Definitely! Sliced strawberries, raspberries, or even thinly sliced apples are fantastic additions. Just be mindful of how much moisture they add. Berries are generally fine, but very juicy fruits like peaches might need a little extra care.
Conclusion
This easy no-soggy-bread peanut butter banana sandwich is more than just a recipe. It’s a solution to a very real problem that has plagued sandwich lovers for generations. It’s simple, it’s fast, and it uses ingredients you already have. The technique of sealing the bread with peanut butter is a game-changer, and once you try it, you’ll never go back to the soggy way. I encourage you to make this your own. Add your favorite toppings, experiment with different breads, and find the combination that makes you happiest. This is comfort food at its finest, and it deserves a spot in your regular rotation. I absolutely love this sandwich because it feels like a warm hug on a plate. It’s nostalgic, satisfying, and just plain good. I would love to hear how yours turns out! Leave a comment below and let me know what variations you tried. Did you go the sweet route or the savory route? Share this recipe with a friend who needs to know the secret to the perfect peanut butter banana sandwich. Happy cooking!
Pin This Recipe!
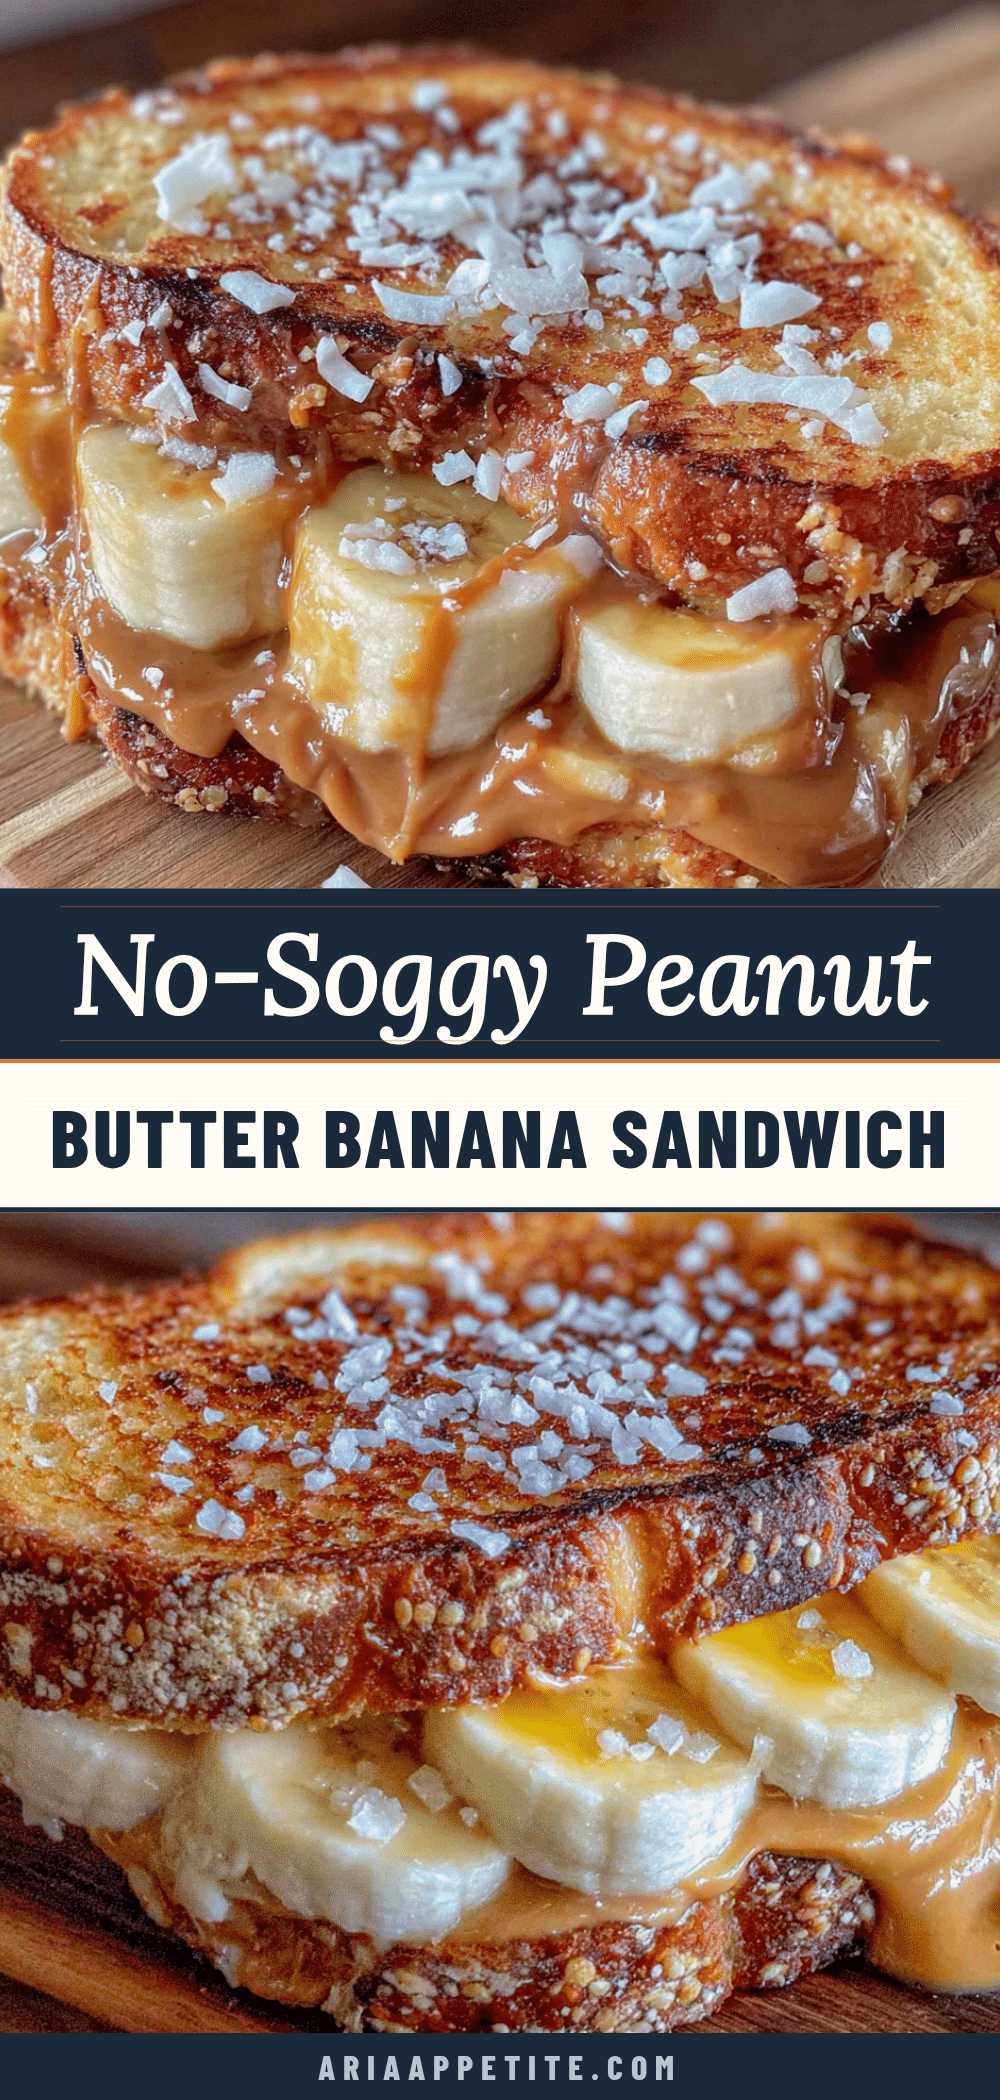
Easy Peanut Butter Banana Sandwich (No Soggy Bread!)

This easy no-soggy-bread peanut butter banana sandwich uses a simple technique to seal the bread, ensuring a perfectly crispy exterior and warm, gooey center every time. It’s a quick, satisfying meal or snack that solves the classic soggy bread problem.
- Prep Time: 5 minutes
- Cook Time: 8 minutes
- Total Time: 13 minutes
- Yield: 1 sandwich 1x
- Category: Lunch
- Cuisine: American
Ingredients
- 2 slices of bread (sourdough, whole wheat, or hearty white)
- 2 tablespoons creamy peanut butter
- 1 medium ripe banana (firm, with a few brown spots)
- 1 tablespoon unsalted butter, softened
- Pinch of salt (optional)
- Optional add-ins: honey or maple syrup, cinnamon, dark chocolate chips
Instructions
- Prep your bread. Lay the two slices of bread flat on a cutting board. Spread about half a tablespoon of softened butter on one side of each slice (this will be the outside of the sandwich).
- Spread the peanut butter. Flip one slice over so the unbuttered side is up. Spread 1 tablespoon of peanut butter over the entire surface, right to the edges. Repeat with the other slice. This creates a moisture barrier.
- Add the banana. Slice the banana into even rounds, about ¼-inch thick. Arrange the slices in a single layer on top of the peanut butter on one slice of bread. Sprinkle with optional salt or cinnamon if desired.
- Close the sandwich. Gently place the other slice of bread on top, peanut butter side down. Press down lightly.
- Preheat your skillet. Place a non-stick skillet or griddle over medium-low heat and let it warm up for about a minute.
- Toast the first side. Carefully place the sandwich in the skillet. Cook for 3-4 minutes, until the bottom is deep golden brown.
- Flip and toast the other side. Flip the sandwich and cook for another 3-4 minutes, until the second side is golden brown and the peanut butter inside is warm and gooey.
- Rest before slicing. Remove the sandwich from the skillet and let it rest on a cutting board for 1 minute.
- Slice and serve. Slice the sandwich diagonally or straight down the middle. Serve immediately while warm.
Notes
The key to no soggy bread is spreading peanut butter to the very edges of both slices to seal the bread from banana moisture. Use medium-low heat to avoid burning the butter before the inside warms. Let the sandwich rest for 1 minute after cooking to allow the peanut butter to set slightly, preventing oozing.
Nutrition
- Serving Size: 1 sandwich
- Calories: 475
- Sugar: 20
- Sodium: 350
- Fat: 22
- Saturated Fat: 8
- Carbohydrates: 55
- Fiber: 7
- Protein: 15
Keywords: peanut butter banana sandwich, no soggy bread, easy lunch, quick snack, kid-friendly, comfort food


