Love this? Save it for later!
Share the inspiration with your friends
The office potluck was in six hours and I’d completely forgotten. Everyone else would be bringing their signature dishes—Debbie’s famous lasagna that took two days to assemble, Mark’s slow-cooked brisket that he always talked about, and Sarah’s artisanal bread that she’d probably made sourdough starter for weeks in advance. I had a pack of chicken thighs, some sad-looking garlic cloves, and half a box of rice in my pantry. Let me tell you, panic doesn’t even begin to cover it.
I mean, I’m not a bad cook, but I’m also not the person who plans meals days in advance. Honestly, I’m the kind of person who decides what’s for dinner based on what hasn’t expired yet. So when I realized I had to bring something that could feed ten people and actually taste good, I almost just stopped for a rotisserie chicken on the way. But then I remembered this one-pan garlic butter chicken and rice thing I’d thrown together on a Tuesday night when the kids were cranky and I had zero energy left.
Here’s the thing—I didn’t think it would be a hit. I thought people would politely take a spoonful and move on to Debbie’s lasagna. But by the end of the night, my pan was scraped clean, and three people asked for the recipe. One guy even said it was the best thing at the potluck, which I think was a bit much, but I wasn’t going to argue. The whole thing took me about 40 minutes from start to finish, including the time I spent digging through my spice cabinet for paprika. Maybe you’ve been there—that moment when you need something fast, but you also need it to be good enough that people don’t realize how little effort you put in. This is that recipe.
Why You’ll Love This Recipe
This quick one-pan garlic butter chicken and rice has become my secret weapon for busy weeknights, and honestly, I think it’ll become yours too. Let me break down why this recipe works so well.
- Quick & Easy: From start to finish, this dish comes together in about 40 minutes. That’s faster than ordering takeout in some neighborhoods. The whole thing happens in one pan, which means less cleanup and more time for you to actually sit down and eat.
- Simple Ingredients: You probably already have most of these in your kitchen. Chicken, rice, garlic, butter, chicken broth—these are pantry staples. No fancy trips to specialty stores required.
- Perfect for Weeknights: This is the definition of a weeknight dinner. It’s filling, it’s comforting, and it doesn’t require you to babysit the stove. You can throw it together while helping with homework or unloading the dishwasher.
- Crowd-Pleaser: I’ve made this for my picky kids, for dinner guests, and for that potluck I mentioned. Every single time, people go back for seconds. The garlic butter flavor is just universally loved.
- Unbelievably Delicious: Here’s the thing about this recipe—the rice absorbs all that garlic butter and chicken flavor as it cooks. Every bite is packed with savory goodness. It’s the kind of meal that makes you close your eyes after the first forkful.
What makes this different from other chicken and rice recipes? It’s the technique. Instead of cooking the chicken separately and then mixing it with rice, everything cooks together in one pan. The rice absorbs the chicken juices and the garlic butter, creating this incredible depth of flavor that you just can’t get from separate cooking methods. Plus, the chicken gets a nice golden sear before the rice goes in, which adds that extra layer of richness.
This recipe isn’t just good—it’s the kind of meal that makes you feel like you’ve got your life together even when you’re running on fumes. It’s comfort food that doesn’t require a lot of effort, and honestly, that’s exactly what we all need on a busy Tuesday night.
What Ingredients You Will Need
This recipe uses simple, wholesome ingredients to deliver bold flavor and satisfying texture without the fuss. Most of these are pantry staples, so you can probably make this right now without a grocery run.
For the Chicken:
- 4 boneless, skinless chicken thighs (about 1.5 pounds) – I prefer thighs for this recipe because they stay juicy and tender. You can use chicken breasts if you prefer, but reduce the cooking time slightly to avoid drying them out.
- 1 teaspoon salt – I use fine sea salt for even seasoning.
- ½ teaspoon black pepper – Freshly ground is best, but pre-ground works fine.
- ½ teaspoon paprika – This adds a subtle warmth and beautiful color to the chicken. Smoked paprika works great too.
- ½ teaspoon garlic powder – Adds extra garlic flavor beyond the fresh cloves.
- 2 tablespoons olive oil – For searing the chicken. Avocado oil works too.
For the Rice and Sauce:
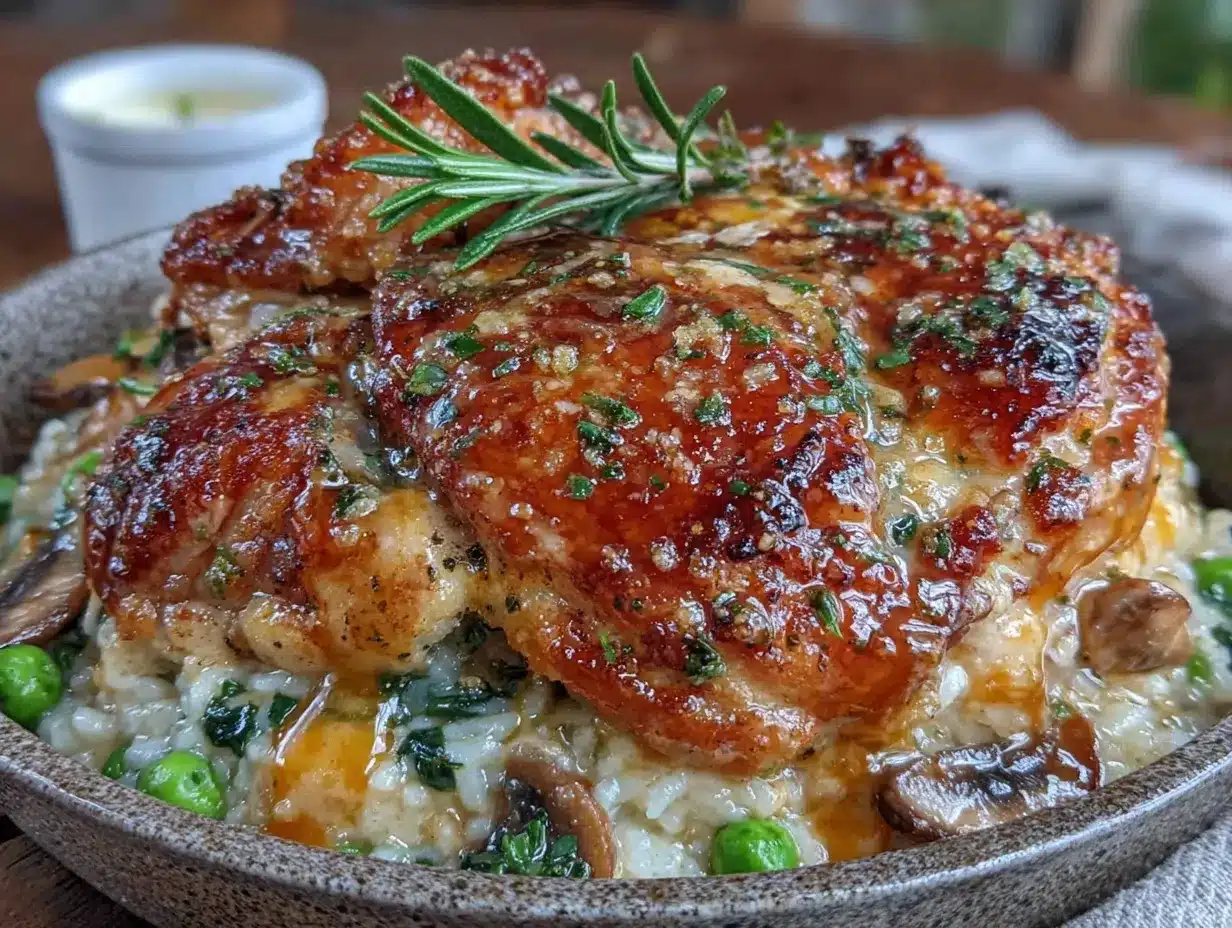
- 4 tablespoons unsalted butter – This is the star of the show. Use good quality butter for the best flavor.
- 6 cloves garlic, minced – Fresh garlic is non-negotiable here. Don’t use the jarred stuff—it won’t give you the same punch of flavor.
- 1 cup long-grain white rice – Basmati or jasmine rice work beautifully. Avoid short-grain rice as it can get too sticky.
- 2 cups chicken broth – Low-sodium is best so you can control the salt level. I recommend using a good quality broth like Swanson or Kitchen Basics.
- ½ cup water – Helps the rice cook evenly without getting too salty.
- 1 tablespoon fresh parsley, chopped – For garnish. Optional but highly recommended for a pop of color.
- ¼ cup grated Parmesan cheese – Optional, but adds a lovely nutty flavor if you have it on hand.
Ingredient Tips:
For the best texture, look for chicken thighs that are similar in size so they cook evenly. If your thighs are on the larger side, you might need to add an extra minute or two to the searing time. For the rice, rinsing it before cooking removes excess starch and prevents it from getting gummy. I just put it in a fine-mesh strainer and run cold water over it for about 30 seconds.
If you’re out of chicken broth, you can use water with a bouillon cube dissolved in it. Just watch the salt level because bouillon can be quite salty. And if you don’t have fresh parsley, dried parsley works in a pinch—just use about a teaspoon.
Equipment Needed
The beauty of this recipe is that you really don’t need much. Here’s what you’ll need:
- A large skillet or sauté pan with a lid – This is the most important piece. You need a pan that’s at least 12 inches wide with high sides to hold all the rice and liquid. A Dutch oven works great too. I use my trusty cast iron skillet for this, but any heavy-bottomed pan will do.
- A sharp knife – For mincing the garlic and chopping the parsley. A dull knife makes mincing garlic a frustrating experience.
- Cutting board – Any cutting board will work. I prefer a wooden one for garlic because it doesn’t get scratched up as much.
- Measuring cups and spoons – For accurate measurements. Rice is one of those things where eyeballing it can go wrong.
- A wooden spoon or spatula – For stirring the rice and flipping the chicken. Silicone works too, but wooden spoons are my favorite for scraping up the browned bits from the bottom of the pan.
- Fine-mesh strainer – For rinsing the rice. If you don’t have one, you can rinse the rice in a bowl and drain it carefully.
If you don’t have a lid that fits your pan, you can use a piece of aluminum foil tightly secured around the edges. It’s not perfect, but it works in a pinch. I’ve done this more times than I’d like to admit.
Preparation Method
Let me walk you through this step by step. Trust me, it’s easier than it sounds.
- Prep the chicken: Start by patting your chicken thighs dry with paper towels. This is important—wet chicken won’t sear properly. Season both sides with salt, pepper, paprika, and garlic powder. Let them sit while you prep the other ingredients. This gives the seasoning time to stick.
- Rinse the rice: Put your rice in a fine-mesh strainer and rinse it under cold running water for about 30 seconds. You’ll see the water run cloudy at first, then clear. This removes excess starch and keeps your rice from turning into a gluey mess. Shake off the excess water and set it aside.
- Sear the chicken: Heat your large skillet over medium-high heat and add the olive oil. Once the oil is shimmering (about 2 minutes), carefully place the chicken thighs in the pan. Don’t crowd them—if your pan is too small, do this in two batches. Let them cook without moving for 5-6 minutes until the bottom is golden brown and releases easily from the pan. Flip and cook for another 4-5 minutes. The chicken should be cooked through but not overdone. Transfer the chicken to a plate and set it aside.
- Start the garlic butter: Reduce the heat to medium. Add the butter to the same pan—don’t wipe it out! Those browned bits on the bottom are pure flavor. Once the butter is melted, add the minced garlic. Stir constantly for about 30-45 seconds until it’s fragrant. Be careful not to burn the garlic—it turns bitter very quickly. If it starts to brown too fast, take the pan off the heat for a few seconds.
- Toast the rice: Add the rinsed rice to the pan and stir it around in the garlic butter for about 1-2 minutes. You want each grain to be coated and slightly translucent at the edges. This toasting step adds a nutty flavor that makes a huge difference.
- Add the liquid: Pour in the chicken broth and water. Stir everything together and scrape up any browned bits from the bottom of the pan. Bring the liquid to a gentle boil—you should see small bubbles across the surface, not a rolling boil.
- Return the chicken: Nestle the seared chicken thighs back into the rice. They should be partially submerged in the liquid. Bring the heat down to low, cover the pan with a tight-fitting lid, and let it simmer for 18-20 minutes. Don’t lift the lid during this time—you’ll let the steam escape and mess up the cooking process.
- Rest and fluff: After 18-20 minutes, turn off the heat but keep the lid on. Let it rest for 5 minutes. This allows the rice to absorb any remaining liquid and finish cooking. After 5 minutes, remove the lid and fluff the rice gently with a fork. Check the chicken—it should be tender and juicy.
- Garnish and serve: Sprinkle the chopped parsley over the top. If you’re using Parmesan cheese, sprinkle that on too. Serve immediately while it’s hot.
A few things to watch for: If the rice looks done but there’s still liquid in the pan, remove the lid and let it cook uncovered for 2-3 more minutes. If the rice is still firm and the liquid is gone, add a splash of water or broth and cook covered for another 3-4 minutes. Every stove and pan is a little different, so trust your eyes more than the timer.
Cooking Tips & Techniques
I’ve made this recipe at least twenty times, and I’ve learned a few things the hard way. Let me save you some trouble.
Don’t skip the searing step. I know it’s tempting to just throw everything in the pan and call it a day, but that golden-brown crust on the chicken is where the flavor lives. Plus, those browned bits on the bottom of the pan—called fond—add so much depth to the rice. I once skipped the searing because I was in a hurry, and the whole dish just tasted flat. Never again.
Watch your heat levels. This is probably the most common mistake I see. If your heat is too high, the garlic will burn before the rice is done. If it’s too low, the rice will turn mushy. Medium-low is your sweet spot once the liquid is added. I keep my burner at about a 3 out of 10 for the simmering part.
Use room temperature chicken. If your chicken is straight from the fridge, it’ll take longer to cook through and might end up dry on the outside and raw in the middle. Take it out of the fridge about 15-20 minutes before you start cooking. I usually do this while I’m prepping the other ingredients.
Resist the urge to peek. I know it’s hard. You want to check if the rice is done, if the chicken is cooking properly, if the liquid is evaporating. But every time you lift that lid, you let out steam and heat, and that messes with the cooking time. Trust the process. Set a timer and walk away.
Let it rest. That 5-minute rest at the end isn’t optional. It’s when the rice finishes absorbing the liquid and the chicken relaxes. If you dig in right away, the rice will be wet and the chicken will release its juices when you cut into it. Patience pays off here.
Variations & Adaptations
This recipe is incredibly forgiving, and I’ve tried a bunch of different versions. Here are some of my favorites.
Spicy Cajun Version: Add 1 teaspoon of Cajun seasoning to the chicken along with the paprika. Throw in some sliced andouille sausage with the garlic for extra heat and flavor. My husband loves this version and requests it at least once a month.
Creamy Mushroom Version: Add 8 ounces of sliced mushrooms to the pan after you remove the chicken. Cook them in the butter for about 5 minutes before adding the garlic. Then stir in ¼ cup of heavy cream along with the broth. This makes the rice extra rich and decadent.
Vegetable-Packed Version: Add 1 cup of frozen peas and carrots to the pan during the last 5 minutes of cooking. You can also throw in some chopped spinach right before serving. This is my go-to when I want to pretend I’m eating a balanced meal.
Lemon Herb Version: Add the zest of one lemon and 1 tablespoon of fresh thyme leaves along with the garlic. Squeeze half a lemon over the finished dish before serving. The brightness cuts through the richness beautifully.
Gluten-Free Version: This recipe is naturally gluten-free as long as you use gluten-free chicken broth. Double-check your broth label—some brands add wheat-based ingredients. Also make sure your paprika and garlic powder are certified gluten-free if you’re sensitive.
Dairy-Free Version: Substitute the butter with a high-quality dairy-free butter alternative or use olive oil. The flavor will be slightly different, but it still works great. I’ve used Miyoko’s vegan butter with good results.
Serving & Storage Suggestions
This dish is best served hot, straight from the pan. The rice is at its fluffiest and the chicken is most tender when it’s fresh. I like to serve it with a simple green salad dressed with lemon vinaigrette to balance out the richness. Steamed green beans or roasted asparagus also work beautifully on the side.
If you’re serving a crowd, this recipe doubles easily. Just use a larger pan or split it between two pans. The cooking time stays about the same, though you might need an extra minute or two for the rice to absorb all the liquid.
Storing Leftovers: Let the dish cool completely, then transfer it to an airtight container. It will keep in the refrigerator for up to 4 days. The rice will absorb more liquid as it sits, so don’t be surprised if it’s a bit denser the next day.
Freezing: This freezes surprisingly well. Portion it into freezer-safe containers and freeze for up to 3 months. Thaw overnight in the refrigerator before reheating.
Reheating: The best way to reheat this is in a skillet over medium-low heat with a splash of water or broth. Cover the pan and let it steam for about 5-7 minutes, stirring occasionally. You can also microwave it in 30-second bursts, stirring between each, but the texture won’t be quite as good. I’ve found that adding a little extra butter when reheating helps bring back some of the original richness.
One thing I’ve noticed—the flavors actually deepen overnight. The garlic mellows out and the chicken becomes even more tender. So if you’re meal prepping, this is a great option. Just know that the rice won’t be quite as fluffy on day two, but it’ll still taste amazing.
Nutritional Information & Benefits
Here’s the approximate nutritional breakdown for one serving (based on 4 servings):
- Calories: 520
- Protein: 35g
- Fat: 22g
- Carbohydrates: 42g
- Fiber: 1g
- Sugar: 1g
- Sodium: 780mg
This dish is a good source of protein from the chicken, which helps keep you full and satisfied. The garlic in this recipe isn’t just for flavor—it contains compounds that may support immune health and reduce inflammation. Rice provides easily digestible carbohydrates for energy, making this a great meal before or after a workout.
If you’re watching your sodium, use low-sodium broth and go easy on the added salt. You can also swap the butter for olive oil to reduce saturated fat. For a lower-carb option, you can substitute cauliflower rice, though you’ll need to reduce the cooking time significantly—about 10-12 minutes instead of 20.
This meal is naturally gluten-free and nut-free, but it does contain dairy from the butter. If you’re lactose intolerant, the dairy-free version works well. Always check your ingredient labels if you have specific allergies.
Conclusion
Look, I’m not going to tell you this is the fanciest meal you’ll ever make. It’s not going to win any awards for presentation or complexity. But you know what it will do? It’ll get dinner on the table in under an hour with minimal cleanup, and everyone at your table will actually enjoy it. That’s a win in my book.
This quick one-pan garlic butter chicken and rice has saved me more times than I can count. It’s the recipe I turn to when I’m tired, when I’m stressed, when I’ve got nothing left in the tank but still need to feed my family something real. It’s comfort food without the fuss, and honestly, that’s exactly what weeknight cooking should be.
I’d love to hear how it turns out for you. Did you add your own twist? Did your kids go back for seconds? Did it save you on a busy night like it’s saved me? Drop a comment below and let me know. And if you’re looking for another quick weeknight dinner, you might also enjoy this creamy one pot chicken and rice recipe I shared last month—it’s another lifesaver on busy nights.
Happy cooking, friends. You’ve got this.
Frequently Asked Questions
Can I use chicken breasts instead of thighs?
Absolutely. Chicken breasts work fine, but they cook faster and can dry out more easily. Reduce the searing time to about 4 minutes per side, and check the internal temperature after the rice is done. You’re looking for 165°F. If the breasts are thick, you might need to slice them in half horizontally so they cook evenly.
Why is my rice still crunchy after 20 minutes?
This usually happens for one of three reasons: your heat was too low, you lifted the lid too often, or your rice is old. Old rice takes longer to cook because it’s lost moisture. Next time, try increasing the heat slightly or adding an extra ¼ cup of liquid. You can also let it cook for an additional 5 minutes with the lid on.
Can I make this in a slow cooker or Instant Pot?
Yes, but the method changes. For an Instant Pot, use the sauté function to sear the chicken, then add the butter and garlic. Add the rice and broth, then pressure cook on high for 5 minutes with a natural release. For a slow cooker, sear the chicken first, then add everything to the slow cooker and cook on low for 4-5 hours. The rice will be softer and more porridge-like in texture.
How do I prevent the rice from burning on the bottom?
This usually happens when the heat is too high or the pan is too thin. Use a heavy-bottomed pan and keep the heat on low once you add the liquid. If you’re worried about burning, you can also add an extra ¼ cup of liquid to give the rice more to absorb. A little bit of browning on the bottom is actually delicious—it’s like the crispy rice at the bottom of a paella.
Can I add vegetables to this dish?
Definitely. Frozen peas and carrots work great—add them during the last 5 minutes of cooking. You can also add chopped bell peppers, zucchini, or mushrooms. Just sauté them with the garlic before adding the rice. Leafy greens like spinach or kale should be stirred in right at the end, just until they wilt.
Pin This Recipe!
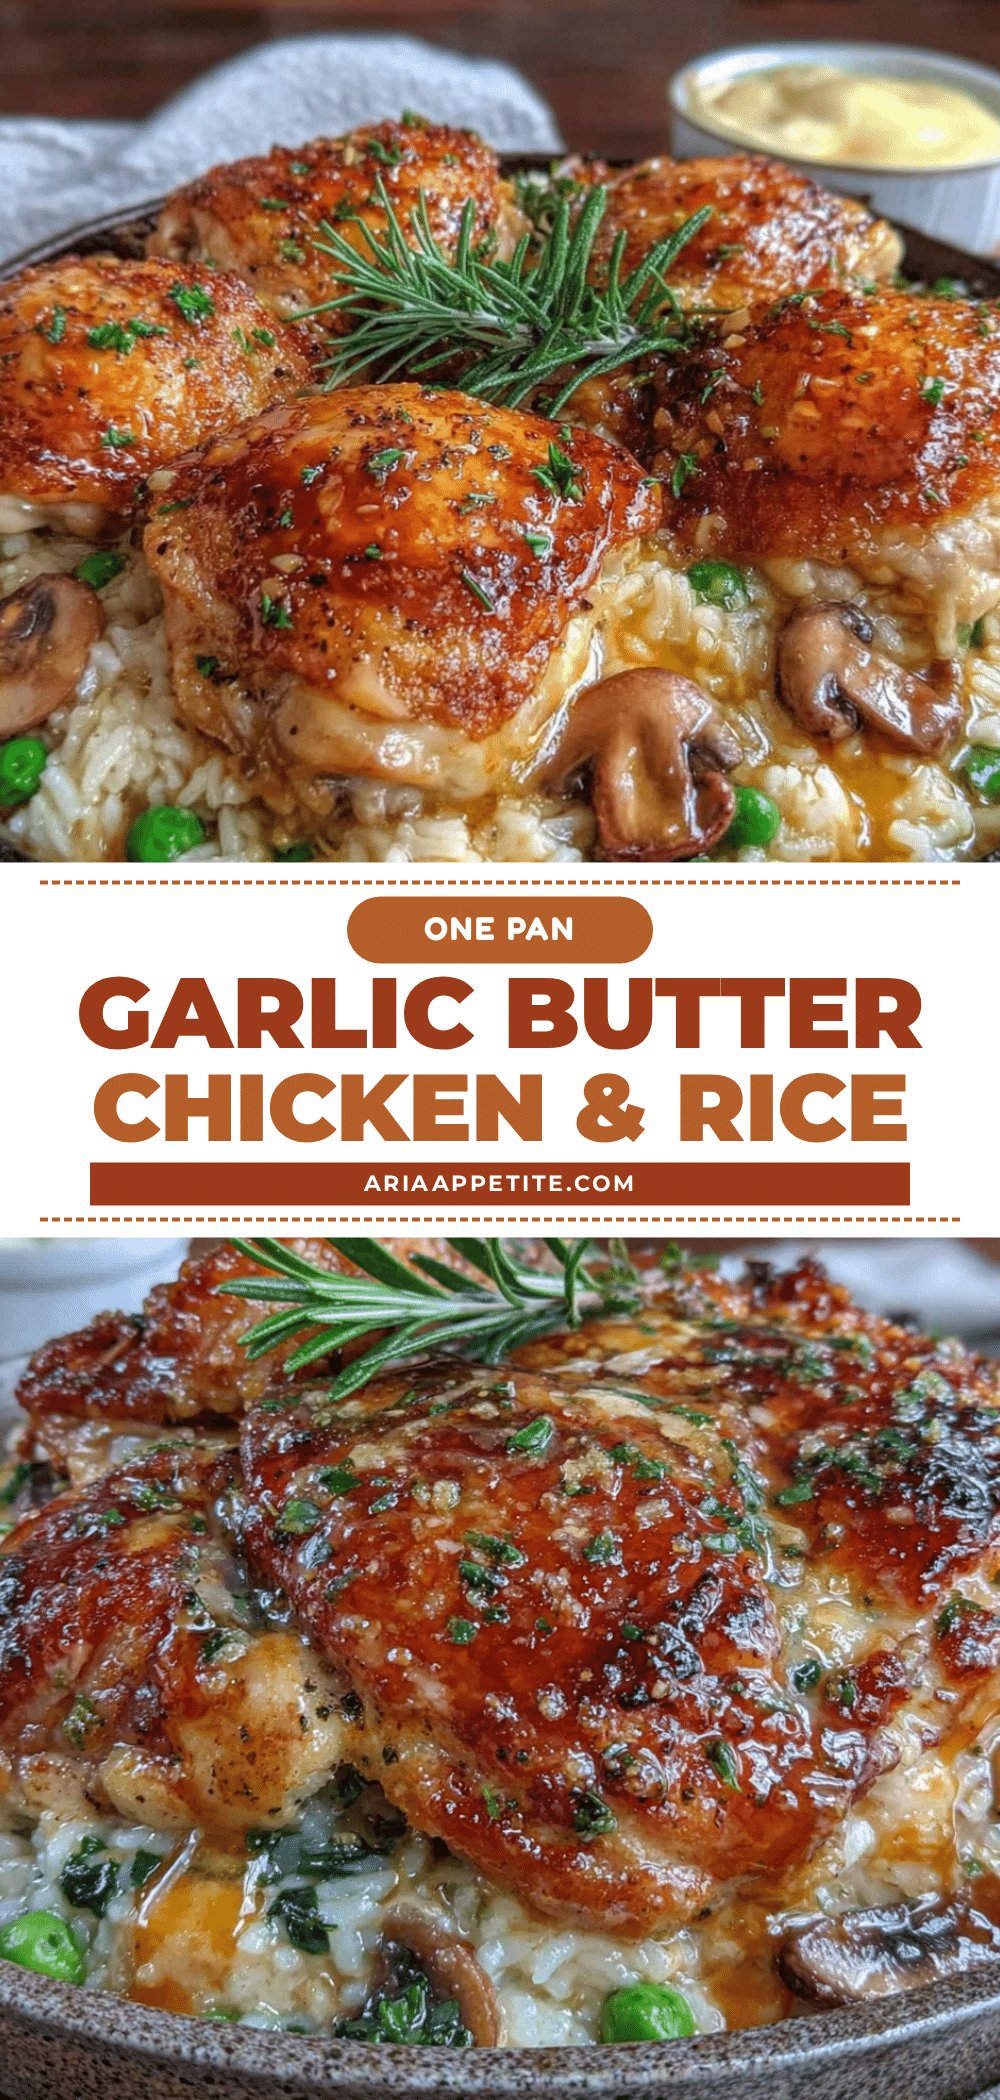
Easy One-Pan Garlic Butter Chicken and Rice Recipe

A quick and delicious one-pan meal featuring juicy chicken thighs and flavorful rice cooked in garlic butter. Perfect for busy weeknights, this recipe comes together in about 40 minutes with minimal cleanup.
- Prep Time: 10 minutes
- Cook Time: 30 minutes
- Total Time: 40 minutes
- Yield: 4 servings 1x
- Category: Main Course
- Cuisine: American
Ingredients
- 4 boneless, skinless chicken thighs (about 1.5 pounds)
- 1 teaspoon salt
- ½ teaspoon black pepper
- ½ teaspoon paprika
- ½ teaspoon garlic powder
- 2 tablespoons olive oil
- 4 tablespoons unsalted butter
- 6 cloves garlic, minced
- 1 cup long-grain white rice (basmati or jasmine)
- 2 cups low-sodium chicken broth
- ½ cup water
- 1 tablespoon fresh parsley, chopped (optional)
- ¼ cup grated Parmesan cheese (optional)
Instructions
- Pat chicken thighs dry with paper towels. Season both sides with salt, pepper, paprika, and garlic powder. Let sit while prepping other ingredients.
- Rinse rice in a fine-mesh strainer under cold water for about 30 seconds until water runs clear. Shake off excess water and set aside.
- Heat a large skillet over medium-high heat and add olive oil. Once shimmering, place chicken thighs in the pan. Cook without moving for 5-6 minutes until golden brown, then flip and cook for another 4-5 minutes until cooked through. Transfer chicken to a plate and set aside.
- Reduce heat to medium. Add butter to the same pan. Once melted, add minced garlic and stir constantly for 30-45 seconds until fragrant.
- Add rinsed rice to the pan and stir for 1-2 minutes until each grain is coated and slightly translucent.
- Pour in chicken broth and water. Stir, scraping up browned bits from the bottom. Bring to a gentle boil.
- Nestle seared chicken thighs back into the rice. Reduce heat to low, cover with a tight-fitting lid, and simmer for 18-20 minutes. Do not lift the lid.
- Turn off heat and let rest covered for 5 minutes. Remove lid and fluff rice gently with a fork.
- Sprinkle with chopped parsley and Parmesan cheese if using. Serve immediately.
Notes
For best results, use room temperature chicken. Don’t skip the searing step—it adds flavor. Keep heat at medium-low once liquid is added. Resist lifting the lid during simmering. Let the dish rest for 5 minutes after cooking. If rice is still firm and liquid is gone, add a splash of water and cook covered for 3-4 more minutes.
Nutrition
- Serving Size: 1 serving (about 1/4
- Calories: 520
- Sugar: 1
- Sodium: 780
- Fat: 22
- Saturated Fat: 10
- Carbohydrates: 42
- Fiber: 1
- Protein: 35
Keywords: one-pan chicken and rice, garlic butter chicken, easy weeknight dinner, quick chicken recipe, one pot meal