Love this? Save it for later!
Share the inspiration with your friends
Introduction
“I wasn’t exactly planning to bake bread that Saturday afternoon,” I admit. I had just moved into my tiny apartment, boxes half unpacked, and honestly, the idea of kneading dough felt like an Olympic event I wasn’t ready to sign up for. But then, I stumbled upon this no-knead Dutch oven bread recipe scribbled in the margin of an old cookbook I found tucked behind a stack of dusty novels at a local thrift shop. It was like a secret note left just for me.
That afternoon, with flour dusting the counters and a slightly cracked ceramic bowl (which I forgot to wash from breakfast), I gave it a shot. No fancy mixers, no complicated moves—just a simple mix, a long wait, and the magic of a Dutch oven. The smell of that crusty, golden loaf filling my tiny kitchen was unforgettable. I mean, who knew bread could be so effortless yet so rewarding?
Maybe you’ve been there: craving fresh bread but feeling intimidated by the whole process. This recipe stuck with me because it felt like a gentle welcome into the world of baking. It’s the kind of bread that makes your kitchen feel alive, without the fuss or mess. And honestly, it’s why I find myself making it again and again, even after I got my hands on more complicated recipes. Let me tell you, once you try this Easy No-Knead Dutch Oven Bread, you’ll understand why it’s perfect for beginners and anyone craving homemade bread without the hassle.
Why You’ll Love This Recipe
After countless bread-baking attempts, this Easy No-Knead Dutch Oven Bread stands out for a bunch of reasons. I’ve tested this one over and over, tweaking the timing and flour types to make sure it works for all skill levels (and kitchen setups!). Here’s why it’s become a staple in my recipe box:
- Quick & Easy: This bread comes together with just a few minutes of active prep—the rest is hands-off. Perfect for busy weeknights or when you want fresh bread but no stress.
- Simple Ingredients: Flour, water, salt, and yeast—that’s it. No need for fancy additives or special flours, so you can whip it up with pantry staples.
- Great for Beginners: Since there’s no kneading involved, it’s ideal if you’re new to bread baking or just short on time.
- Perfect Crust and Crumb: Thanks to the Dutch oven, the bread develops a crackly crust with a soft, airy inside that makes every bite satisfying.
- Crowd-Pleaser: Friends and family always ask for this loaf at gatherings. It’s perfect served warm with butter or alongside soups and stews.
What makes this recipe different? Well, the slow rise and the magic of the Dutch oven create a texture and flavor that feel like you spent hours working on it, though the prep is honestly minimal. Plus, it’s super forgiving. I remember the first time I left it in the fridge overnight by accident—no harm done, and it actually tasted better the next day! This recipe isn’t just good; it’s a gentle introduction to baking that turns you into a bread lover without the overwhelm.
What Ingredients You Will Need
This recipe uses simple, wholesome ingredients that come together effortlessly to create a loaf with amazing flavor and texture. Most of these are pantry staples, making it easy to bake anytime without running to the store.
- All-purpose flour – 3 cups (360 g). I prefer brands like King Arthur for consistent results, but any good quality flour works.
- Instant yeast – 1/4 teaspoon. Using instant yeast means no need to activate it first, saving time.
- Salt – 1 1/4 teaspoons. Essential for flavor and to help control yeast activity.
- Lukewarm water – 1 1/2 cups (360 ml). The temperature is key here; too hot and it kills the yeast, too cold and it slows fermentation.
Optional additions or substitutions:
- Whole wheat flour – Swap up to 1 cup for a nuttier flavor and heartier texture.
- Gluten-free flour blend – For gluten-sensitive diets, try a 1:1 gluten-free baking blend, though the texture will differ.
- Olive oil – A tablespoon added to the dough can give a richer crumb (optional).
Most of the time, I keep it super simple, but feel free to experiment. If you want to make this bread dairy-free or vegan, it already fits the bill since it doesn’t use milk or eggs. Just be sure to check your yeast brand if you’re strict!
Equipment Needed
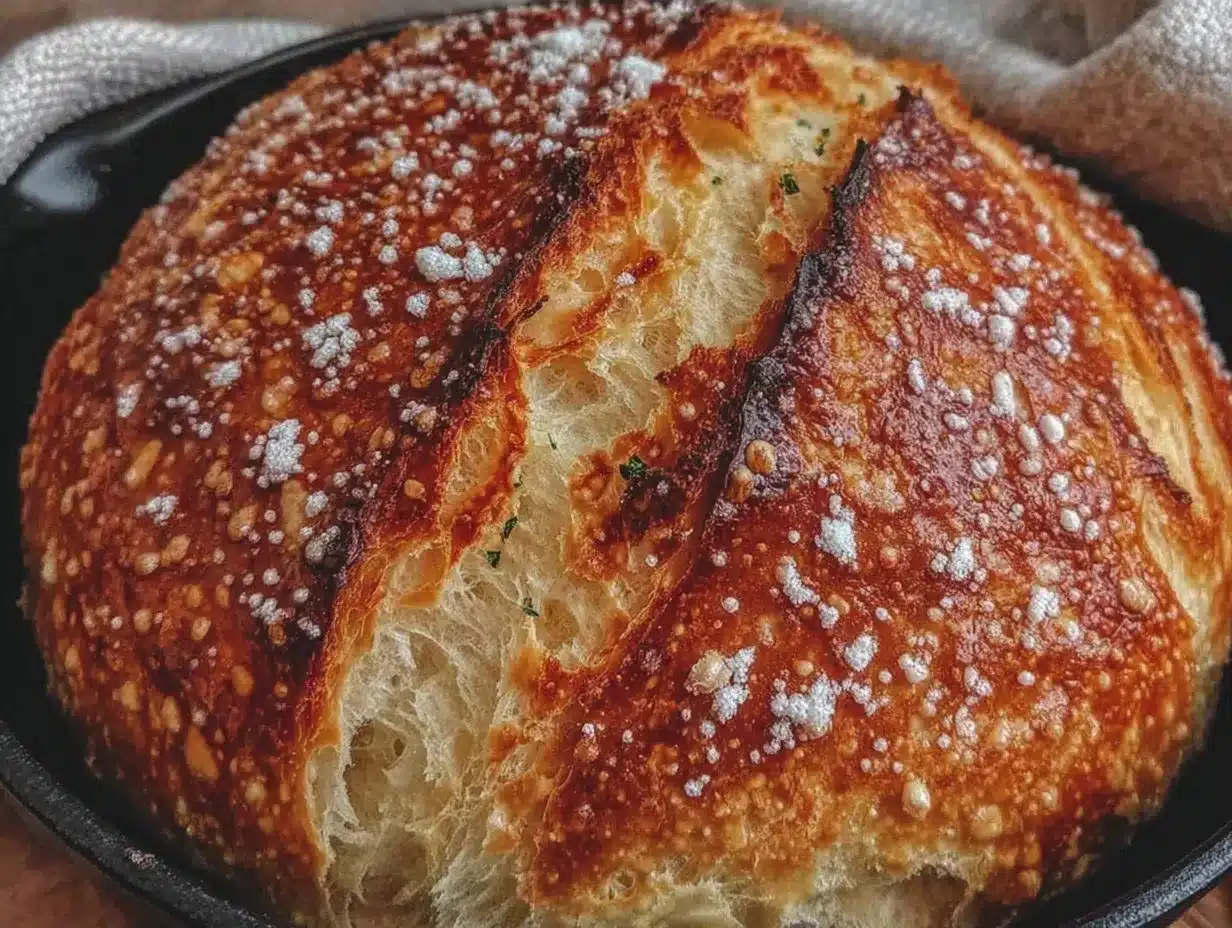
- Dutch oven (5 to 6-quart size recommended) – This is the heart of the recipe. The heavy lid traps steam, creating that perfect crust. If you don’t have one, a heavy oven-safe pot with a lid works too.
- Mixing bowl – For combining your dough ingredients. A large glass or ceramic bowl is ideal.
- Wooden spoon or spatula – For stirring the sticky dough.
- Kitchen towel or plastic wrap – To cover the dough while it rises.
- Bench scraper or spatula – Helpful for handling sticky dough but not absolutely necessary.
- Oven mitts – The Dutch oven gets HOT, so sturdy mitts are a must for safety.
If you’re on a budget and don’t want to buy a Dutch oven right away, some cast iron skillets with tight-fitting lids or even ceramic casserole dishes can do the trick. Just preheat them well to mimic the effect. I’ve also found that a well-seasoned, heavy pot gives better results than thinner cookware, which can cause uneven baking or burning.
Preparation Method
- Mix the dry ingredients: In a large bowl, combine 3 cups (360 g) of all-purpose flour, 1/4 teaspoon of instant yeast, and 1 1/4 teaspoons of salt. Use a spoon to mix them evenly. This helps distribute the yeast and salt so your bread rises consistently. (Prep time: 5 minutes)
- Add water and stir: Pour in 1 1/2 cups (360 ml) of lukewarm water. Stir with a wooden spoon until the dough comes together into a sticky, shaggy mass. Don’t worry if it looks loose or sticky—that’s exactly how it should be. Resist the urge to add more flour!
- Cover and let rise: Cover the bowl tightly with plastic wrap or a damp kitchen towel. Let it rest at room temperature for 12 to 18 hours. The long, slow rise is what develops the flavor and texture. You’ll know it’s ready when the surface is bubbly and has doubled in size. (Pro tip: If your kitchen is cold, an 18-hour rise works better.)
- Preheat the oven and Dutch oven: About 30 minutes before baking, place your empty Dutch oven with its lid in the oven and preheat to 450°F (230°C). This step is crucial for that crispy crust.
- Shape the dough: Once risen, lightly flour a clean surface and turn out the dough using a spatula or your hands (it will be sticky, so flour helps). Gently fold it over onto itself a couple of times to shape a rough ball. Avoid kneading here; just be gentle. Let it rest for 30 minutes covered with a towel.
- Bake: Carefully remove the hot Dutch oven from the oven. Place the dough ball inside (you can use parchment paper to prevent sticking). Cover with the lid and bake for 30 minutes.
- Finish baking: Remove the lid and bake for another 15 to 20 minutes until the crust is deep golden brown and crisp. The bread should sound hollow when tapped on the bottom.
- Cool: Transfer the bread to a wire rack and let it cool for at least an hour before slicing. I know, it’s tempting to eat it right away, but cooling helps set the crumb.
Quick tip: Sometimes the dough can feel wetter or drier depending on your flour and humidity. Don’t stress—this recipe is forgiving. If it’s too sticky to handle, sprinkle a little flour on your hands, but keep it minimal.
Cooking Tips & Techniques
Here’s what I’ve learned from baking this no-knead bread over and over:
- Patience is key: The long fermentation is what gives this bread its flavor and airy texture. Don’t rush it—if your schedule demands it, you can refrigerate the dough overnight for a slower rise that improves taste.
- Flour your hands, not the dough: Sticky dough can be frustrating. I’ve found that dusting your hands and the work surface lightly keeps the dough from sticking without drying it out.
- Preheat that Dutch oven: This step is non-negotiable. The hot pot traps steam, which makes the crust crispy and crusty. Skipping this means a softer, less impressive crust.
- Be careful handling hot cookware: Your Dutch oven will be blazing hot—use thick oven mitts and be cautious when placing the dough inside or removing the bread.
- Don’t skip the cooling step: The bread continues to cook internally as it cools, and slicing too early can make it gummy inside.
- Experiment with flour blends: Adding a little whole wheat or rye flour can add complexity. I like to start with 1 cup whole wheat mixed with 2 cups all-purpose.
One time, I got distracted by a phone call right before shaping and completely forgot about the dough for an hour extra. It ended up with a slightly tangier flavor that was surprisingly delicious—so sometimes, happy accidents happen!
Variations & Adaptations
This recipe is a great canvas to make your own. Here are some ways to switch it up:
- Herb & Garlic Bread: Mix in 1-2 teaspoons of dried herbs (rosemary, thyme) and a minced garlic clove during the initial mixing for an aromatic twist.
- Whole Grain Version: Substitute up to 1 1/2 cups of flour with whole wheat or spelt flour. You might need to add a splash more water as whole grains absorb more liquid.
- Gluten-Free Adaptation: Use a gluten-free flour blend designed for bread baking. Note that texture will be different, and rising times may vary.
- Seeded Crunch: Fold in sunflower seeds, flaxseeds, or pumpkin seeds at shaping for added crunch and nutrition.
Personally, I once tried adding a handful of grated cheddar and chives into the dough. It was a game changer for weekend brunch, pairing wonderfully with eggs and tomato jam.
Serving & Storage Suggestions
This bread is best enjoyed warm, fresh from the oven, with a smear of butter or your favorite spread. It pairs beautifully with soups, stews, or even just a bowl of olive oil and balsamic vinegar for dipping.
If you have leftovers (which might be surprising because this bread disappears fast!), store them in a paper bag or bread box at room temperature for up to 2 days. Avoid plastic bags, which make the crust soggy.
For longer storage, slice and freeze the bread in an airtight bag. Toast the frozen slices directly for a quick treat that tastes almost fresh.
Reheating a whole loaf is easy: wrap it in foil and warm it in a 350°F (175°C) oven for 10-15 minutes to refresh the crust and crumb.
Keep in mind, the flavors actually deepen after a day, so sometimes waiting a bit before eating is worth it!
Nutritional Information & Benefits
This bread is a simple combination of flour, water, yeast, and salt—no added sugars or fats—making it a wholesome choice. A typical serving (about 1/12 of the loaf) contains roughly 150-180 calories, mostly from carbohydrates, with a modest amount of protein and fiber depending on your flour choice.
Using whole wheat flour increases fiber content, helping with digestion and sustained energy. Plus, homemade bread lets you control ingredients, avoiding preservatives and additives found in many store-bought loaves.
For those watching gluten intake, this is not gluten-free unless you use a dedicated gluten-free flour blend. The recipe is vegan and dairy-free by default, fitting many dietary needs.
Conclusion
Honestly, this Easy No-Knead Dutch Oven Bread recipe has become my go-to whenever I want a homemade loaf without the stress. It’s simple, forgiving, and rewarding in a way that few beginner recipes are. Plus, it gives you real bread with a crust you can’t resist and a soft, chewy inside.
Feel free to tweak it—add herbs, swap flours, or try it plain. The best part is, it welcomes your own style and kitchen quirks. I hope you find as much joy in baking this bread as I do, and I’d love to hear how it turns out for you. Drop a comment below sharing your twists or questions!
Now, roll up your sleeves (or don’t) and get ready to impress yourself with fresh, homemade bread that feels like a hug in every bite.
FAQs
- Can I use active dry yeast instead of instant yeast?
Yes! Just dissolve active dry yeast in warm water first and let it sit for 5-10 minutes before mixing with flour. - What if my dough is too sticky to handle?
Lightly flour your hands and work surface. The dough should be sticky but manageable—try not to add too much flour. - How long can I store the bread?
Store at room temperature in a paper bag for up to 2 days, or slice and freeze for up to 3 months. - Can I bake this bread without a Dutch oven?
Yes, use a heavy oven-safe pot with a lid or a covered roasting pan. Preheat it well for best results. - Why is the crust not crispy?
Make sure to preheat the Dutch oven properly and bake with the lid on for the first 30 minutes to trap steam, which crisps the crust.
Pin This Recipe!
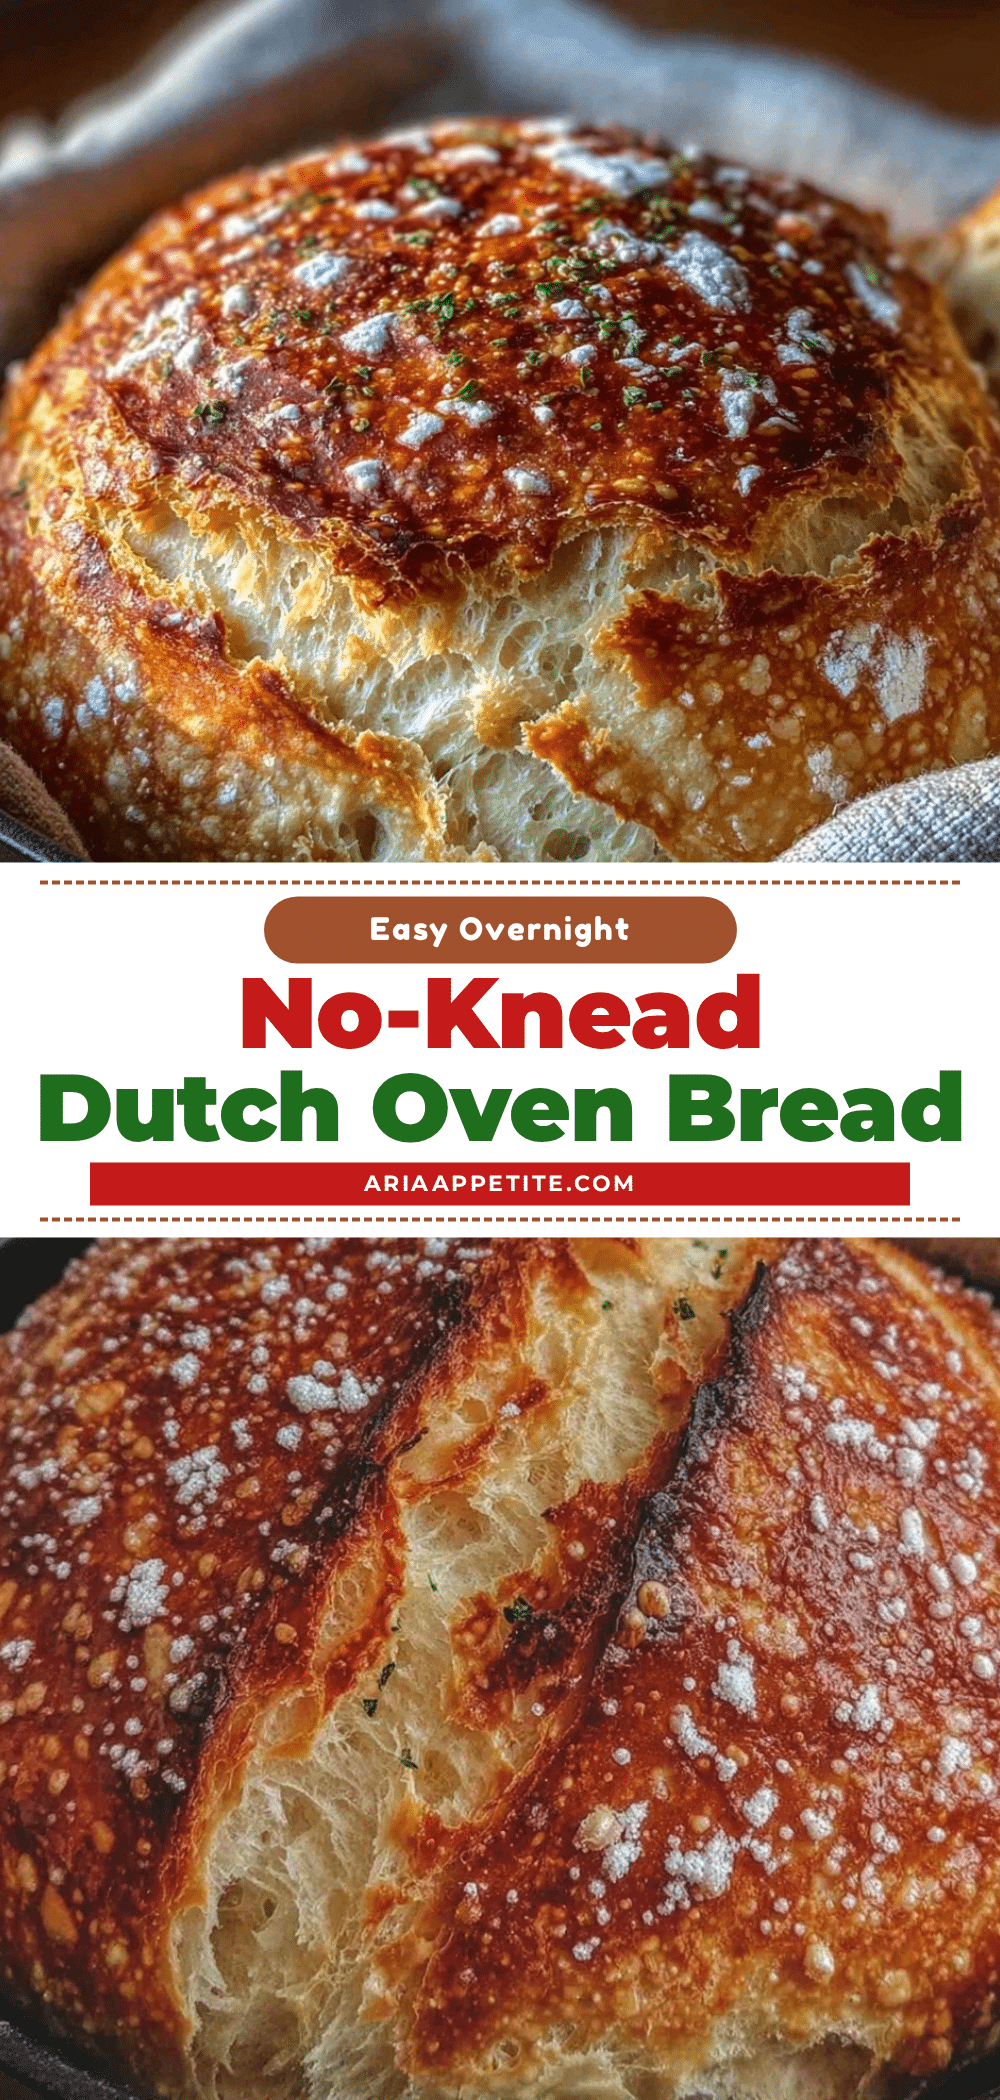
Easy No-Knead Dutch Oven Bread Recipe Perfect for Beginners
A simple, no-knead bread recipe using a Dutch oven that yields a crusty, golden loaf with minimal prep and hands-off rising time. Perfect for beginners and anyone craving homemade bread without the hassle.
- Prep Time: 5 minutes
- Cook Time: 45 minutes
- Total Time: 13 hours 50 minutes to 19 hours 50 minutes
- Yield: 1 loaf (about 12 servings) 1x
- Category: Bread, Baking
- Cuisine: American
Ingredients
- 3 cups (360 g) all-purpose flour
- 1/4 teaspoon instant yeast
- 1 1/4 teaspoons salt
- 1 1/2 cups (360 ml) lukewarm water
- Optional: up to 1 cup whole wheat flour (substitute for all-purpose flour)
- Optional: gluten-free flour blend (1:1 substitution for all-purpose flour)
- Optional: 1 tablespoon olive oil
Instructions
- In a large bowl, combine 3 cups (360 g) all-purpose flour, 1/4 teaspoon instant yeast, and 1 1/4 teaspoons salt. Mix evenly with a spoon. (Prep time: 5 minutes)
- Pour in 1 1/2 cups (360 ml) lukewarm water and stir with a wooden spoon until the dough forms a sticky, shaggy mass. Do not add more flour.
- Cover the bowl tightly with plastic wrap or a damp kitchen towel. Let the dough rest at room temperature for 12 to 18 hours until bubbly and doubled in size.
- About 30 minutes before baking, preheat the oven to 450°F (230°C) with the Dutch oven and lid inside.
- Lightly flour a clean surface and turn the dough out using a spatula or hands. Gently fold it over onto itself a couple of times to form a rough ball. Cover with a towel and let rest for 30 minutes.
- Carefully remove the hot Dutch oven from the oven. Place the dough ball inside (use parchment paper if desired). Cover with the lid and bake for 30 minutes.
- Remove the lid and bake for an additional 15 to 20 minutes until the crust is deep golden brown and crisp. The bread should sound hollow when tapped on the bottom.
- Transfer the bread to a wire rack and cool for at least 1 hour before slicing.
Notes
Preheat the Dutch oven to ensure a crispy crust. The dough is sticky by design; flour your hands lightly if needed. The long fermentation time develops flavor and texture. Cooling the bread before slicing prevents a gummy crumb. You can refrigerate the dough overnight for a slower rise and better flavor. Use parchment paper to prevent sticking when placing dough in the Dutch oven. Variations include adding herbs, garlic, seeds, or substituting whole wheat or gluten-free flours.
Nutrition
- Serving Size: 1 slice (1/12 of loa
- Calories: 165
- Sodium: 290
- Fat: 0.5
- Carbohydrates: 34
- Fiber: 1
- Protein: 5
Keywords: no-knead bread, Dutch oven bread, easy bread recipe, beginner bread, homemade bread, crusty bread, simple bread recipe


