Love this? Save it for later!
Share the inspiration with your friends
It was 10:47 PM on a random Wednesday, and I was starving in that specific way that only happens when you’ve forgotten to eat dinner because you got sucked into a recipe testing black hole. I didn’t have the energy for a full production, but I had a jar of peanut butter that was almost empty and a bag of oats that was staring at me from the pantry. The idea that arrived was simple—what if I just… mixed stuff together and rolled it into balls? No oven, no mixer, no patience required. Honestly, I was half-convinced it would be a disaster that I’d end up eating straight from the bowl with a spoon anyway.
But then I took a bite. And I mean, I actually stopped what I was doing and just stood there in my kitchen, chewing, thinking, “Wait, this is actually good?” The peanut butter was doing all the heavy lifting, the oats gave it that chewy texture I didn’t know I needed, and the little bit of honey I threw in tied everything together like it was meant to be. I didn’t have any chocolate chips that night, but I did have some shredded coconut I’d bought on a whim. I tossed that in too, and honestly, that random addition ended up being the thing that made me keep making this recipe over and over again. Maybe you’ve been there—standing in your kitchen late at night, too tired to cook but too hungry to sleep, wondering if there’s a shortcut that doesn’t taste like a shortcut.
This recipe stayed with me because it’s the kind of thing you make when you have zero energy but need real food. It’s not fancy, it’s not complicated, and it definitely doesn’t care about presentation. But it works. It works so well that I’ve made it for road trips, for post-workout snacks, for after-school chaos, and for those afternoons when I just need something sweet that won’t make me regret my life choices. These easy no-bake peanut butter protein balls are my little secret weapon, and I’m pretty sure they’re about to become yours too.
Why You’ll Love This Recipe
Let me tell you, I’ve tested a lot of snack recipes in my time. Some turned out great, and some ended up in the trash with me muttering about wasted ingredients. But these easy no-bake peanut butter protein balls? They’re the ones I keep coming back to, and here’s why they’re different from the rest.
- Quick & Easy: We’re talking five minutes, maybe seven if you’re moving slow. No oven, no stove, no fancy equipment. Just a bowl, a spoon, and your hands. Perfect for those days when you need food now and can’t wait for anything.
- Simple Ingredients: You probably have most of this stuff in your kitchen right now. Peanut butter, oats, honey, maybe some protein powder if you’re that person. No weird specialty items that require a trip to three different stores.
- Perfect for Meal Prep: Make a batch on Sunday, and you’ve got snacks for the whole week. They keep beautifully in the fridge, and they’re portable enough to throw in a bag on your way out the door.
- Crowd-Pleaser: I’ve brought these to gatherings, and people always ask for the recipe. Kids love them, adults love them, even my picky-eating friend who “doesn’t do healthy snacks” asked for seconds.
- Unbelievably Delicious: The texture is this perfect combo of chewy and slightly firm, with that rich peanut butter flavor that just hits different when it’s rolled into a ball. It’s comfort food that actually has some protein in it.
What makes this version stand out from the thousands of other energy ball recipes out there? It’s the ratio. I spent way too many batches tweaking the peanut butter to oat ratio until I got it just right—not too dry, not too sticky, not falling apart in your hand. Plus, I use a little trick with honey that gives it just enough sweetness without making it cloying. This isn’t just another recipe; it’s the one I actually make for myself, not just for the blog.
These easy no-bake peanut butter protein balls are the kind of snack that makes you feel like you’ve got your life together, even when you definitely don’t. They’re satisfying, they’re forgiving, and they’re exactly what you need when you want something good without any fuss.
What Ingredients You Will Need
This recipe uses simple, wholesome ingredients to deliver bold flavor and satisfying texture without the fuss. Most of these are pantry staples, and if you’re missing something, I’ve got you covered with substitutions.
- Peanut Butter (1 cup, creamy or chunky) – This is the star of the show. I prefer using natural peanut butter with no added sugar or oil, but any kind works. If you use the kind that separates, just stir it well first. I personally like Smucker’s Natural for its smooth texture and clean taste.
- Rolled Oats (1 ½ cups) – Old-fashioned rolled oats give the best texture. Quick oats work in a pinch, but they make the balls a bit softer. Steel-cut oats are too hard and won’t hold together well.
- Honey (⅓ cup) – This adds sweetness and helps bind everything together. Maple syrup or agave nectar work as substitutes if you’re out of honey.
- Protein Powder (¼ cup, optional) – I use vanilla or unflavored whey protein for an extra boost. Optimum Nutrition Gold Standard is my go-to because it mixes well without clumping. If you skip this, add an extra ¼ cup of oats.
- Chocolate Chips (¼ cup) – Mini chocolate chips distribute better, but regular ones work too. Dark chocolate chips add a nice contrast to the sweet peanut butter.
- Flaxseed Meal (2 tablespoons) – This adds fiber and omega-3s, plus it helps with binding. You can skip it or use chia seeds instead.
- Vanilla Extract (1 teaspoon) – Just a little to round out the flavors. Don’t skip it—it makes a difference.
- Salt (¼ teaspoon) – Only if your peanut butter is unsalted. Salt brings out the sweetness and balances everything.
Ingredient Selection Tips: For the best texture, look for peanut butter that’s smooth and not too oily. If your peanut butter is very runny, you might need to add a few extra tablespoons of oats to firm things up. For a gluten-free version, make sure your oats are certified gluten-free—regular oats can sometimes be contaminated during processing.
Substitution Guidance: Nut allergies? Use sunflower seed butter or tahini instead of peanut butter. Need it vegan? Swap honey for maple syrup or brown rice syrup. Want less sugar? Use unsweetened peanut butter and reduce the honey to 2 tablespoons, adding a splash of milk if the mixture seems too dry.
Equipment Needed
One of the best things about this recipe is that you don’t need much. Here’s what you’ll need:
- Large Mixing Bowl – Any bowl works, but a wider bowl makes mixing easier.
- Measuring Cups and Spoons – For accuracy, but honestly, I’ve eyeballed this many times and it still turned out fine.
- Rubber Spatula or Wooden Spoon – For mixing everything together. A spatula is better for scraping the sides.
- Baking Sheet or Large Plate – To hold the balls while they chill. Line it with parchment paper if you want easy cleanup.
- Parchment Paper (optional) – Not necessary, but it makes handling the balls less sticky.
- Small Cookie Scoop (optional) – I use a 1-tablespoon scoop for uniform balls, but your hands work just fine.
I’ve made these in a tiny apartment kitchen with nothing but a bowl and a spoon, so don’t worry if you don’t have fancy equipment. The only thing I’d recommend splurging on is a good mixing bowl that doesn’t slide around. My Pyrex glass bowls have lasted me years and are worth every penny.
Preparation Method
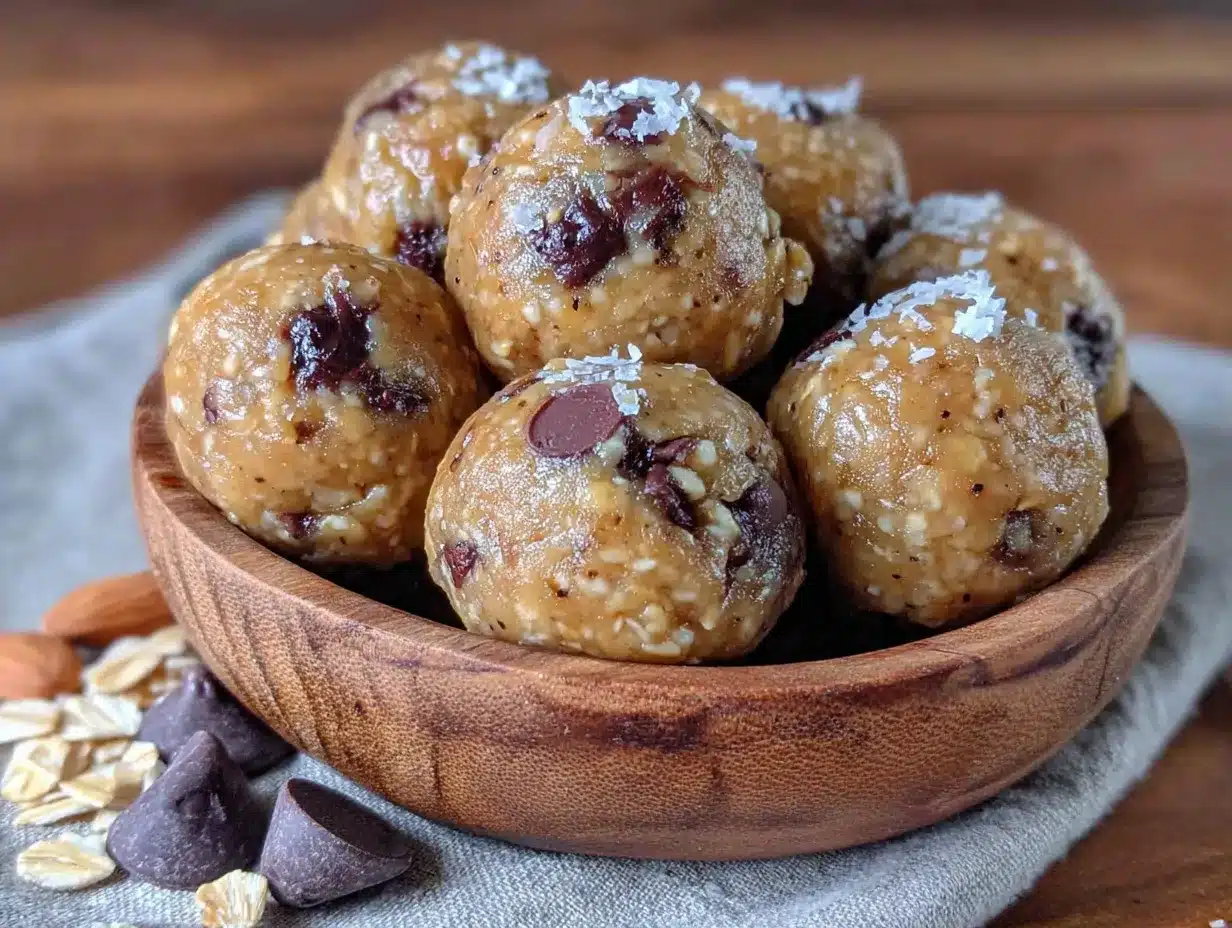
Okay, let’s get rolling—literally. This is the easiest recipe you’ll make all week, and I’m going to walk you through every step so you don’t end up with a sticky mess.
- Combine the wet ingredients. In your large mixing bowl, add 1 cup of peanut butter and ⅓ cup of honey. If you’re using vanilla extract and salt, add those too. Stir everything together until it’s smooth and well combined. It should look glossy and smell amazing. (If your peanut butter was refrigerated, let it sit out for 10 minutes first—it’s much easier to mix when it’s room temperature.)
- Add the dry ingredients. Pour in 1 ½ cups of rolled oats, ¼ cup of protein powder (if using), and 2 tablespoons of flaxseed meal. Stir everything together with your spatula or spoon. At first, it might look like it’s never going to come together, but keep mixing. The oats will start absorbing the moisture, and the mixture will thicken up. This usually takes about a minute of vigorous stirring.
- Fold in the chocolate chips. Add ¼ cup of chocolate chips and fold them in gently. You want them distributed evenly, not crushed into oblivion. If the mixture feels too dry at this point, add a teaspoon of honey or a splash of milk. If it feels too sticky, add a tablespoon of oats. The texture should be similar to cookie dough—firm enough to hold its shape but not crumbly.
- Chill the mixture (optional but helpful). Pop the bowl in the fridge for 15-20 minutes. This isn’t strictly necessary, but it makes the rolling step way less sticky. If you’re impatient like me, you can skip this step—just expect slightly messier hands.
- Roll into balls. Scoop out about 1 tablespoon of the mixture and roll it between your palms to form a ball. Place it on your baking sheet or plate. Repeat until all the mixture is used. You should get about 18-20 balls, depending on how big you make them. If your hands get too sticky, lightly wet them with water or rub a tiny bit of oil on your palms.
- Chill to set. Place the tray of balls in the refrigerator for at least 30 minutes. This helps them firm up and hold their shape. If you can wait an hour, even better. They’ll be perfectly firm and chewy.
- Enjoy. Grab one (or three) and enjoy immediately. Store the rest in an airtight container in the fridge.
Sensory Cue: When you’re mixing, the dough should feel like slightly sticky cookie dough. If it’s so sticky that it won’t come off your fingers, add more oats. If it’s so dry that it crumbles apart, add more honey or peanut butter. Trust your hands—they know what they’re doing.
Personal Tip: I always make a double batch because these disappear fast. Also, don’t overmix once you add the chocolate chips, or they’ll melt and turn everything brown. Not the end of the world, but not as pretty.
Cooking Tips & Techniques
I’ve made these easy no-bake peanut butter protein balls more times than I can count, and I’ve learned a few things along the way. Here’s what I wish someone had told me from the start.
Don’t overdo the honey. I know it’s tempting to add extra sweetness, but too much honey makes the balls sticky and soft. They won’t hold their shape, and they’ll be a mess to roll. Stick to the measurements, and if you want more sweetness, add a few extra chocolate chips instead.
Temperature matters. If your kitchen is hot and humid, the peanut butter will be softer, and the mixture will be stickier. In that case, definitely chill the mixture before rolling. On a cool day, you can skip the chilling step entirely. I learned this the hard way during a summer heatwave when my balls turned into puddles.
Use a cookie scoop for uniformity. This isn’t just about looks—uniform balls chill at the same rate, so they’ll all have the same texture. I use a 1-tablespoon scoop, and it makes the process so much faster. Plus, your hands stay cleaner.
Don’t skip the salt. If your peanut butter is unsalted, that ¼ teaspoon of salt is non-negotiable. It balances the sweetness and makes the peanut butter flavor pop. I once forgot the salt, and the balls tasted flat and boring. Never again.
Let them rest overnight. If you can wait, these balls actually taste better the next day. The flavors meld together, and the texture becomes perfectly chewy. I make mine at night and let them chill overnight in the fridge. They’re always better on day two.
Common mistake: Trying to roll the balls when the mixture is too warm. Trust me, I’ve been there. The mixture sticks to everything, and you end up with less dough on your hands than in the balls. Just chill it for 15 minutes. It’s worth the wait.
Variations & Adaptations
One of the best things about this recipe is how flexible it is. Here are some variations I’ve tried and loved.
Chocolate Peanut Butter: Swap 2 tablespoons of oats for 2 tablespoons of unsweetened cocoa powder. You get a chocolatey version that tastes like a healthier Reese’s cup. I made this for a friend who’s obsessed with chocolate, and she asked for the recipe before she even finished her first ball.
Vegan Version: Use maple syrup instead of honey, and make sure your chocolate chips are dairy-free. Everything else is already plant-based. The maple syrup gives it a slightly different flavor—more caramel-like—but it’s still delicious.
Nut-Free Version: Substitute the peanut butter with sunflower seed butter or tahini. Sunflower seed butter works best because it has a similar texture. Just note that it might turn slightly green when mixed with the oats (that’s a natural reaction, nothing to worry about).
Low-Carb Version: Replace the oats with unsweetened shredded coconut and almond flour. Use a sugar-free sweetener like erythritol instead of honey. The texture will be different—more crumbly—but it still satisfies that snack craving.
Seasonal Twist: In the fall, I add a teaspoon of pumpkin pie spice and swap the chocolate chips for dried cranberries. In the summer, I use white chocolate chips and add a tablespoon of freeze-dried strawberries. It’s fun to play around with flavors.
Personal Variation: My favorite version is what I call the “Breakfast Ball.” I add 2 tablespoons of chia seeds and 1 tablespoon of hemp hearts, and I use maple syrup instead of honey. I eat one with my morning coffee, and it keeps me full until lunch. It’s my little secret weapon for busy mornings.
Serving & Storage Suggestions
These easy no-bake peanut butter protein balls are best served cold, straight from the fridge. The texture is firmer and more satisfying that way. If you let them sit at room temperature for too long, they get soft and lose their shape.
Serving Ideas: I love having a couple of these with my afternoon coffee for a quick energy boost. They’re also great for lunchboxes, road trips, or post-workout snacks. If you’re serving them at a party, arrange them on a platter with some fresh fruit—they look pretty and disappear fast.
Complementary Pairings: These balls go well with a glass of cold milk, a cup of hot tea, or a smoothie. For a more filling snack, have two balls with an apple or a banana. The combination of protein and carbs is perfect for sustained energy.
Storage Instructions: Store the balls in an airtight container in the refrigerator for up to 2 weeks. Yes, two weeks—if they last that long. I’ve never had a batch last more than 5 days in my house. You can also freeze them for up to 3 months. Just place them in a single layer on a baking sheet, freeze for an hour, then transfer to a freezer bag. They thaw in about 10 minutes at room temperature.
Reheating: You don’t need to reheat these, but if you want a softer texture, let them sit at room temperature for 5-10 minutes. Don’t microwave them—they’ll get too soft and lose their shape.
Flavor Development: These balls actually taste better after a day or two in the fridge. The flavors meld together, and the texture becomes more uniform. So if you can resist eating them all on day one, you’re in for a treat on day two.
Nutritional Information & Benefits
Per ball (based on 20 balls using the standard recipe):
- Calories: 145
- Protein: 6g
- Carbohydrates: 16g
- Fiber: 3g
- Sugar: 8g
- Fat: 8g
- Saturated Fat: 2g
These numbers are estimates and will vary based on your specific ingredients. If you use a different peanut butter or add extra chocolate chips, the values will change.
Health Benefits: Peanut butter is packed with healthy fats and protein, which keep you full and satisfied. Oats provide complex carbohydrates for steady energy, plus fiber for digestive health. Flaxseed meal adds omega-3 fatty acids and extra fiber. These balls are a great source of sustained energy without the crash you get from processed snacks.
Dietary Considerations: This recipe is naturally gluten-free if you use certified gluten-free oats. It’s also vegetarian and can easily be made vegan or nut-free with substitutions. The protein content makes it suitable for post-workout recovery, and the fiber content helps with blood sugar management.
Allergen Note: This recipe contains peanuts and may contain gluten (depending on oats). If you have allergies, please check all ingredient labels carefully.
FAQs
Can I use crunchy peanut butter instead of creamy?
Absolutely. Crunchy peanut butter adds a nice texture with little bits of peanuts throughout. Just keep in mind that the balls might be slightly less cohesive since the peanut pieces create small gaps in the mixture.
My mixture is too dry and won’t stick together. What did I do wrong?
This usually happens if your peanut butter is too thick or if you added too many oats. Try adding a tablespoon of honey or a splash of milk (dairy or non-dairy) and mixing again. If that doesn’t work, add a tablespoon of melted coconut oil or extra peanut butter.
Can I make these without protein powder?
Yes, definitely. Just replace the ¼ cup of protein powder with an extra ¼ cup of rolled oats. The balls will have slightly less protein, but they’ll still taste great and hold together well.
How long do these last at room temperature?
They’re best stored in the fridge, but they can sit at room temperature for a few hours without issues. If you’re taking them on a road trip or packing them in a lunchbox, they’ll be fine for the day. Just don’t leave them out overnight or in a hot car.
Can I double this recipe?
Absolutely. I double it all the time. Just make sure you have a large enough bowl to mix everything. The recipe scales perfectly, and you’ll have snacks for weeks (or days, depending on your willpower).
Conclusion
These easy no-bake peanut butter protein balls are proof that you don’t need a lot of time, effort, or fancy ingredients to make something genuinely delicious. They’re the kind of recipe that saves you on those days when you need a snack but don’t have the energy to cook. They’re forgiving, customizable, and honestly, they just make life a little bit easier.
I hope you give them a try and make them your own. Add your favorite mix-ins, adjust the sweetness to your liking, and don’t be afraid to experiment. That’s the beauty of a recipe like this—it’s a starting point, not a rulebook. And if you come up with a variation that blows your mind, I want to hear about it. Drop a comment below and tell me what you tried. Or better yet, tag me in your photos so I can see your creations. Happy snacking, friend!
Pin This Recipe!
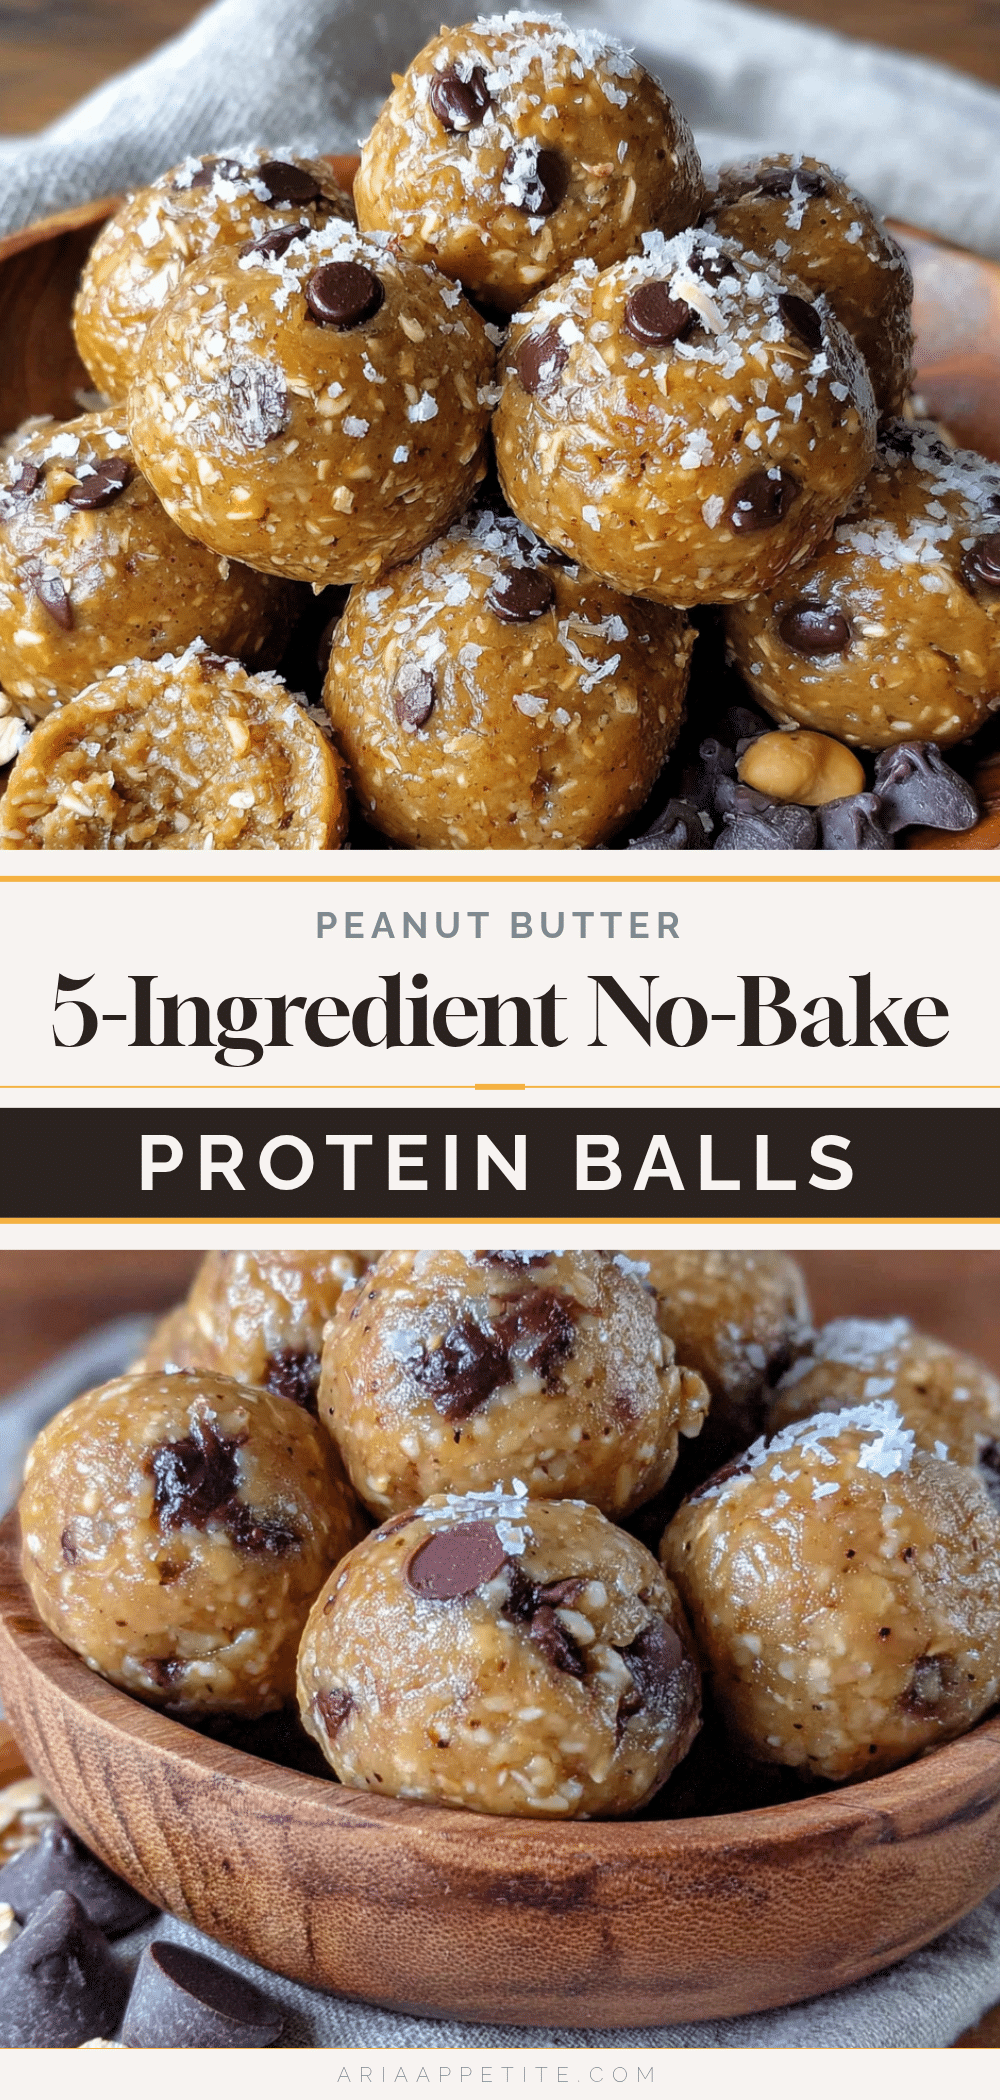
Easy No-Bake Peanut Butter Protein Balls: Best 5-Minute Snack
These easy no-bake peanut butter protein balls are the perfect 5-minute snack made with simple pantry ingredients. No oven, no mixer, and no patience required—just mix, roll, and enjoy a deliciously chewy, protein-packed treat that’s great for meal prep, post-workout snacks, or late-night cravings.
- Prep Time: 5 minutes
- Cook Time: 0 minutes
- Total Time: 5 minutes (plus 30 minutes chilling time)
- Yield: 18-20 balls 1x
- Category: Snack
- Cuisine: American
Ingredients
- 1 cup peanut butter (creamy or chunky)
- 1 ½ cups rolled oats
- ⅓ cup honey
- ¼ cup protein powder (optional, vanilla or unflavored)
- ¼ cup chocolate chips (mini preferred)
- 2 tablespoons flaxseed meal
- 1 teaspoon vanilla extract
- ¼ teaspoon salt (if peanut butter is unsalted)
Instructions
- Combine the wet ingredients: In a large mixing bowl, add 1 cup of peanut butter and ⅓ cup of honey. If using vanilla extract and salt, add those too. Stir until smooth and well combined.
- Add the dry ingredients: Pour in 1 ½ cups of rolled oats, ¼ cup of protein powder (if using), and 2 tablespoons of flaxseed meal. Stir vigorously for about a minute until the mixture thickens and comes together.
- Fold in the chocolate chips: Add ¼ cup of chocolate chips and fold gently until evenly distributed. If the mixture is too dry, add a teaspoon of honey or a splash of milk. If too sticky, add a tablespoon of oats.
- Chill the mixture (optional but helpful): Refrigerate the bowl for 15-20 minutes to make rolling less sticky.
- Roll into balls: Scoop about 1 tablespoon of the mixture and roll between your palms to form a ball. Place on a baking sheet or plate. Repeat until all mixture is used (about 18-20 balls).
- Chill to set: Refrigerate the tray for at least 30 minutes (or up to 1 hour) to firm up.
- Enjoy: Serve cold. Store leftovers in an airtight container in the refrigerator.
Notes
For best texture, use natural peanut butter (stir well if separated). If your kitchen is warm, chill the mixture before rolling. These balls taste even better the next day after flavors meld. For vegan version, substitute honey with maple syrup. For nut-free, use sunflower seed butter. Store in fridge for up to 2 weeks or freeze for up to 3 months.
Nutrition
- Serving Size: 1 ball
- Calories: 145
- Sugar: 8
- Fat: 8
- Saturated Fat: 2
- Carbohydrates: 16
- Fiber: 3
- Protein: 6
Keywords: no-bake peanut butter protein balls, easy protein balls, 5-minute snack, healthy snack, meal prep snack, no-bake energy balls, peanut butter oats balls


