Love this? Save it for later!
Share the inspiration with your friends
It was 11:47 PM on a random Thursday, and I was staring into the freezer like it held the answers to all of life’s problems. The craving hit me out of nowhere—that specific, slightly embarrassing desire for a peanut butter and jelly sandwich, but not just any PB&J. I wanted one of those sealed, crustless, slightly squished frozen ones. The kind you buy in a box at the grocery store. The only problem? I didn’t have a box, and I definitely wasn’t driving to the store at midnight in my pajamas.
I had bread, peanut butter, and a jar of strawberry jam that was getting low. I also had a glass cup and a fork. Honestly, that’s all it took. I made a sandwich, pressed the cup down to cut out a circle, and sealed the edges with the tines of a fork. It was ugly. It was lopsided. One side had way more jelly than the other. But I threw it in the freezer anyway, and the next morning, I pulled out my sad little creation and took a bite. You know that feeling when you accidentally make something better than the original? That was it.
I’ve been tweaking the process ever since. I’ve tested different breads, different jams, different sealing methods. I’ve made batches of twenty at a time, wrapped them up, and stashed them in the freezer for those mornings when you need breakfast to happen in under thirty seconds. This homemade uncrustables recipe isn’t just a copycat—it’s better. You get to control the ingredients, the fillings, and the size. Plus, it costs a fraction of the store-bought version. Let me tell you, once you start making your own, you will never go back to the box.
Why You’ll Love This Recipe
I’ve made hundreds of these little sandwiches over the past year. I’ve burned through jars of peanut butter, tested six different brands of jelly, and ruined a few loaves of bread trying to get the seal just right. So trust me when I say this version is the one. It’s tested, tweaked, and totally worth your time.
- Quick & Easy: Each sandwich takes about two minutes to assemble. A batch of ten takes maybe fifteen minutes total. That’s faster than a trip to the store.
- Simple Ingredients: You need bread, peanut butter, and jelly. That’s it. No weird preservatives, no high fructose corn syrup, no ingredients you can’t pronounce.
- Perfect for Busy Mornings: Grab one from the freezer, throw it in a lunchbox, or let it thaw for ten minutes. Breakfast, snack, or lunch—sorted.
- Crowd-Pleaser: Kids love them. Adults secretly love them. I’ve brought batches to picnics and watched them disappear before the chips.
- Unbelievably Delicious: The texture is what gets me. The bread stays soft, the peanut butter stays creamy, and the jelly stays fruity. It’s comfort food in its purest form.
What makes this recipe different from the rest? It’s the method. I figured out that sealing the edges with a fork isn’t just about keeping the filling inside—it creates a little pocket that holds everything together perfectly. Plus, freezing them individually on a tray before bagging them means they never stick together. It’s a small step, but it makes a huge difference.
Honestly, this recipe is the kind that makes you close your eyes after the first bite. It’s nostalgic without being childish. It’s simple without being boring. And it’s perfect for those days when you need a little comfort without any effort.
What Ingredients You Will Need
This recipe uses the most basic ingredients you probably already have in your kitchen. The magic isn’t in fancy items—it’s in how you put them together. Here’s what you need:
- Bread: 1 loaf of soft white bread or whole wheat bread. I prefer a standard sandwich bread with a soft crumb. Avoid artisan breads with thick crusts—they don’t seal well. (Use gluten-free bread if needed.)
- Creamy Peanut Butter: 1 cup (240g). I recommend Skippy or Jif for the classic texture. Natural peanut butter works too, but make sure it’s well-stirred and not too oily. (Use almond butter or sunflower seed butter for a nut-free option.)
- Strawberry Jam or Jelly: 1/2 cup (160g). Any flavor works—grape, raspberry, or even apricot. I like Smucker’s strawberry jam for the perfect sweetness. (Use low-sugar jam if you prefer.)
- Optional: Honey: 2 tablespoons (30ml). A drizzle inside the sandwich adds a touch of sweetness. (Omit or use maple syrup.)
- Optional: Butter: 2 tablespoons (28g), softened. Spreading a thin layer on the outside before freezing gives the bread a golden, slightly toasty flavor when thawed. (Use vegan butter.)
That’s it. Six ingredients, but you only need three for the basic version. The optional ones are just for extra flair. I always add a tiny drizzle of honey to mine—it reminds me of the sandwiches my aunt used to make for road trips.
When choosing your bread, look for slices that are evenly shaped and not too thin. Thicker slices hold up better to the filling and the freezing process. If your bread is too thin, the sandwich might tear when you seal it. Trust me, I learned that the hard way.
Equipment Needed
You don’t need a fancy sandwich sealer or a special gadget for this recipe. I’ve made these with nothing but kitchen basics, and they turned out perfect. Here’s what you’ll need:
- Cutting Board: Any flat surface works. I use a wooden one because it doesn’t slide around.
- Butter Knife: For spreading the peanut butter and jelly. A small offset spatula works even better.
- Round Cookie Cutter or Glass: A 3-inch (7.5 cm) round cutter is ideal. If you don’t have one, a drinking glass with a thin rim works perfectly. (I’ve used a mason jar lid in a pinch.)
- Fork: For sealing the edges. A standard dinner fork is fine. I prefer one with slightly pointed tines for a cleaner crimp.
- Baking Sheet: To freeze the sandwiches individually before bagging. Line it with parchment paper for easy removal.
- Parchment Paper or Wax Paper: To separate the sandwiches and prevent sticking.
- Freezer-Safe Bags or Container: For storage. I use gallon-sized zip-top bags. They’re reusable and stackable.
If you’re feeling fancy, you can buy an actual Uncrustables sealer online. I got one as a gift, and honestly? It’s fun for about five minutes. The fork method works just as well and takes up less drawer space. Save your money for extra peanut butter.
Preparation Method
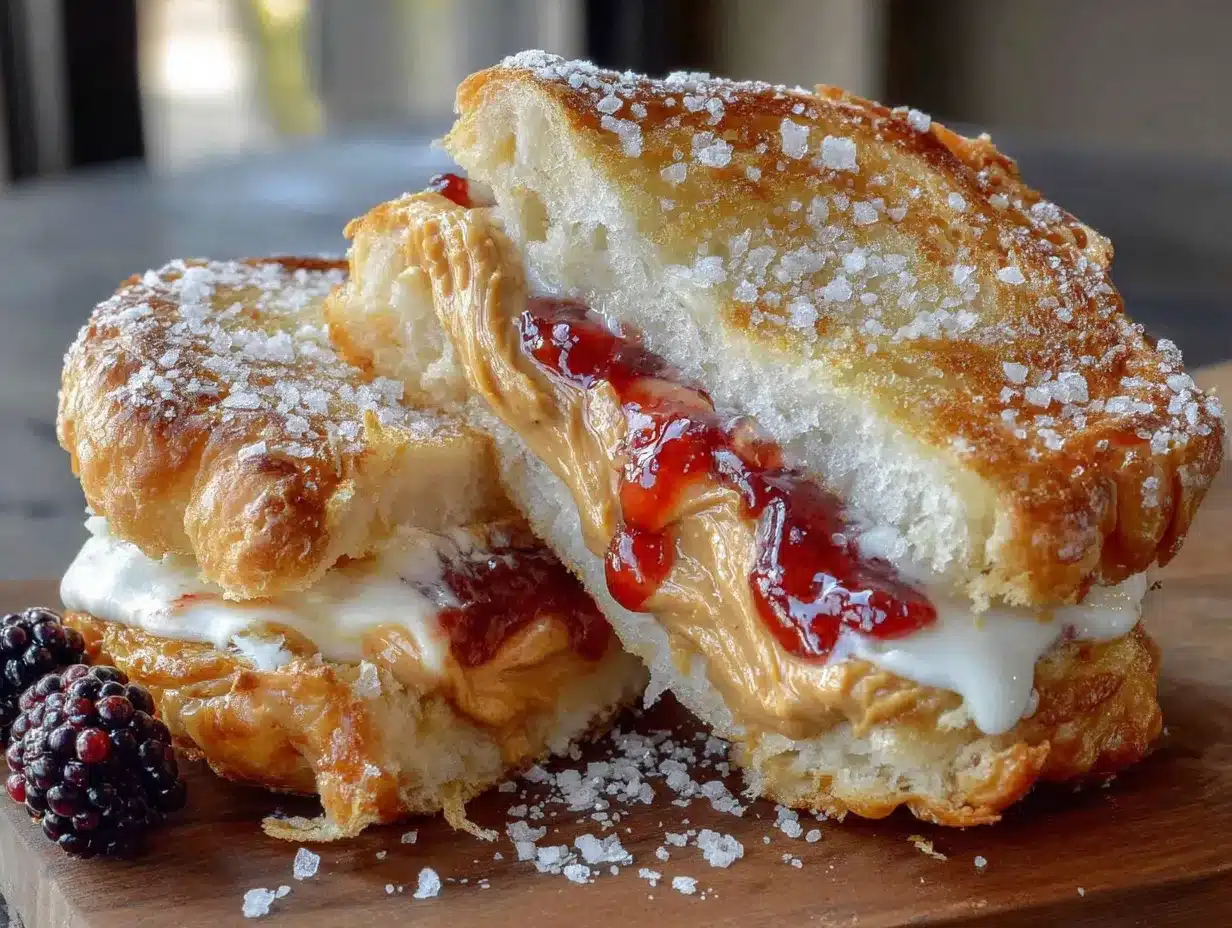
Making these is almost too easy. The hardest part is waiting for them to freeze. Here’s how to do it right:
- Lay out your bread slices. Take 10 slices of bread and place them on a clean cutting board. (For 5 sandwiches, you’ll need 10 slices.) If the bread is fresh, let it sit out for 5 minutes so it’s slightly stale—it seals better.
- Spread the peanut butter. Using a butter knife, spread about 2 tablespoons (30g) of peanut butter onto 5 of the bread slices. Go all the way to the edges. This creates a barrier that prevents the jelly from making the bread soggy. (Pro tip: If you’re using natural peanut butter, give it a good stir first.)
- Add the jelly. Spread about 1 tablespoon (20g) of jam or jelly on top of the peanut butter. Don’t overdo it—too much jelly and it will leak out when you seal the sandwich. (I learned this the messy way.)
- Top with the remaining bread. Place the other 5 bread slices on top, peanut butter side down. Press down gently to help everything stick together.
- Cut out the circles. Press your round cookie cutter or glass firmly into the center of each sandwich. Twist slightly to cut through all layers. Remove the crust scraps. (Save them for breadcrumbs or toast—don’t waste them!)
- Seal the edges. Place the round sandwich on a flat surface. Press the tines of a fork all around the edge, about 1/4 inch (0.5 cm) from the edge. This crimps the bread together and locks in the filling. Flip the sandwich and repeat on the other side for a double seal.
- Flash freeze. Place the sealed sandwiches on a parchment-lined baking sheet in a single layer. Make sure they aren’t touching. Freeze for 1-2 hours, or until solid. (This step prevents them from sticking together in the bag.)
- Bag and store. Once frozen, transfer the sandwiches to a freezer-safe bag or container. Squeeze out as much air as possible before sealing. Label with the date. (They’ll keep for up to 3 months, but honestly, they never last that long in my house.)
When you’re ready to eat one, just pull it out of the freezer. Let it thaw at room temperature for about 10-15 minutes for a soft, ready-to-eat sandwich. Or pop it straight into a lunchbox—it will thaw by lunchtime. For a warm version, microwave it for 10-15 seconds. The bread gets slightly soft, and the peanut butter gets a little melty. It’s dangerous.
Cooking Tips & Techniques
I’ve made every mistake you can imagine with these sandwiches. I’ve used bread that was too fresh and watched it tear. I’ve overfilled them and ended up with jelly leaking everywhere. I’ve frozen them without flash-freezing first and ended up with a giant block of stuck-together sandwiches. Here’s what I learned:
- Use day-old bread. Fresh bread is too soft and tears easily when you press the fork into it. Let the bread sit out overnight, or toast it very lightly before assembling. (I once used bread straight from the bakery and regretted it immediately.)
- Don’t skimp on the peanut butter. The peanut butter acts as a sealant. If you spread it too thin, the jelly will soak into the bread and make it soggy. A generous layer is your friend.
- Freeze them flat. If your sandwiches are slightly puffy, press them down gently before freezing. A flat sandwich stacks better and thaws more evenly. (I stack a second baking sheet on top with a few cans for weight.)
- Double seal for extra security. After crimping once, flip the sandwich and crimp again. This creates a stronger seal and prevents any filling from leaking during thawing.
- Label your bags. I know it sounds silly, but frozen sandwiches all look the same. Write the date and the filling on the bag. (I once grabbed a grape jelly sandwich thinking it was strawberry. It was not the same.)
One more thing: if you’re making a big batch, work in assembly line style. Spread peanut butter on all the slices first, then add jelly, then top and cut. It’s much faster than doing them one at a time. I can make 20 sandwiches in about 20 minutes now. It’s almost meditative.
Variations & Adaptations
Once you master the basic version, the possibilities are endless. Here are some of my favorite variations:
- Nut-Free Version: Swap peanut butter for sunflower seed butter or WowButter. Both freeze well and taste great with strawberry jam. (Just be aware that sunflower seed butter can turn green when baked, but since we’re freezing, it stays normal.)
- Fluffy Marshmallow Version: Add 1 tablespoon of marshmallow fluff on top of the peanut butter before adding the jelly. It creates a gooey, s’mores-like center that’s incredible. (My kids beg for this version.)
- Honey Almond Version: Use almond butter instead of peanut butter, and drizzle 1 teaspoon of honey over the almond butter. Add a sprinkle of cinnamon for extra warmth. (This one feels fancy, but it’s just as easy.)
- Chocolate Hazelnut Version: Swap the peanut butter for Nutella. Use raspberry jam for a chocolate-raspberry combo that tastes like a fancy dessert. (I may or may not have eaten three of these in one afternoon.)
- Savory Version: For a lunch option, use cream cheese and cucumber slices. Seal and freeze the same way. It sounds weird, but it’s actually delicious on a hot day.
I’ve also tried different breads. Whole wheat works well, but it has a denser texture. Brioche makes them feel indulgent. Sourdough is too tangy for my taste, but if you like it, go for it. The key is to use bread that’s soft enough to seal but sturdy enough to hold up to freezing.
Serving & Storage Suggestions
These sandwiches are designed for convenience, but a little presentation never hurts. Here’s how to serve and store them like a pro:
- Serving Temperature: Thawed at room temperature is the classic way. For a warm version, microwave for 10-15 seconds. For a crisp version, toast the thawed sandwich in a skillet for 30 seconds per side. (The outside gets golden and the inside stays soft.)
- Presentation: Serve on a small plate with a handful of berries or apple slices. For kids, cut the sandwich in half (even though it’s already crustless) and arrange it like a smile. (It’s the little things.)
- Complementary Dishes: Pair with a glass of cold milk, a smoothie, or a cup of tea. For a fuller meal, add a side of yogurt or a hard-boiled egg.
- Storage: Keep in a freezer-safe bag or container for up to 3 months. Squeeze out all the air to prevent freezer burn. (I use a straw to suck out the excess air—it works surprisingly well.)
- Thawing: For lunchboxes, pull one from the freezer in the morning and it will be thawed by noon. For a quick snack, let it sit at room temperature for 10-15 minutes. For emergencies, eat it frozen—it’s like a PB&J popsicle.
The flavors actually develop a bit over time. After a week in the freezer, the peanut butter and jelly meld together in a way that’s even better than fresh. It’s like they get to know each other. I always make a batch and forget about one for a month on purpose.
Nutritional Information & Benefits
These homemade uncrustables are surprisingly balanced for a grab-and-go snack. Here’s the estimated nutrition for one sandwich (using white bread, creamy peanut butter, and strawberry jam):
| Nutrient | Amount per Sandwich |
|---|---|
| Calories | 280-320 |
| Protein | 9-11g |
| Carbohydrates | 35-40g |
| Fiber | 2-3g |
| Fat | 12-15g |
| Sugar | 12-16g |
The peanut butter provides healthy fats and protein, which help keep you full. The bread offers carbohydrates for quick energy. The jelly adds a little sweetness, but you can control the amount. Compared to store-bought versions, these have less sugar and no preservatives. (I checked the box once. It’s wild what they put in there.)
For a lower-carb option, use low-carb bread and sugar-free jam. For extra protein, add a scoop of collagen powder to the peanut butter before spreading. For a fiber boost, use whole wheat bread and add ground flaxseed to the peanut butter. (I’ve tried all of these, and they work great.)
If you have nut allergies, use sunflower seed butter. If you have gluten sensitivity, use gluten-free bread. If you’re watching your sugar intake, use a no-sugar-added jam. This recipe is endlessly adaptable to your dietary needs.
Conclusion
This homemade uncrustables recipe is proof that you don’t need fancy ingredients or expensive gadgets to make something truly satisfying. It’s simple, it’s quick, and it’s freezer-friendly. Whether you’re packing lunches for the week, looking for a last-minute snack, or just craving a little nostalgia, these sandwiches deliver every single time.
I love this recipe because it’s forgiving. You can mess up the seal, use too much jelly, or forget to flash-freeze them, and they’ll still taste amazing. It’s the kind of recipe that builds confidence in the kitchen. Plus, it saves money. A batch of 10 costs about $4 to make. The store-bought version costs triple that. You do the math.
So go ahead—grab your bread, your peanut butter, and your jelly. Make a mess. Eat one fresh. Freeze the rest. And when you pull one out on a busy morning and take that first bite, remember that you made it yourself. That’s a pretty good feeling.
I’d love to hear how yours turn out! Leave a comment below and let me know what fillings you tried. Did you go classic strawberry? Did you try the Nutella version? Did you eat three in one sitting? (No judgment here.) Share your creations and tag me—I can’t wait to see what you come up with!
Frequently Asked Questions
Can I use natural peanut butter for this recipe?
Yes, but make sure it’s well-stirred and not too oily. Natural peanut butter can separate during freezing, which might make the bread a little greasy. If you have time, stir in a teaspoon of coconut oil to stabilize it. (I’ve used it straight and it works fine, but the texture is slightly different.)
How long do homemade uncrustables last in the freezer?
They stay fresh for up to 3 months if stored properly in an airtight bag. After that, the bread might start to dry out or develop freezer burn. I usually make a batch and use them within a month. (They never last longer than that in my house anyway.)
Can I make these with other fillings besides peanut butter and jelly?
Absolutely! Try Nutella and banana slices, cream cheese and strawberry jam, or almond butter and honey. Just make sure the filling isn’t too wet, or it might make the bread soggy. (I once tried Nutella and fresh strawberries. The strawberries released too much water. Stick with jam.)
Do I have to use a round cutter? Can I use other shapes?
You can use any shape you like! Star-shaped cutters, heart-shaped cutters, or even a square cookie cutter all work. Just make sure the shape is large enough to hold the filling. (I made heart-shaped ones for Valentine’s Day. They were a hit.)
Can I toast the bread before making the sandwich?
You can, but it changes the texture. Toasted bread doesn’t seal as well because it’s drier and more brittle. If you want a toasted version, make the sandwich with untoasted bread, freeze it, and then toast the thawed sandwich in a toaster oven. (It’s not the same as fresh toast, but it’s close.)
Pin This Recipe!
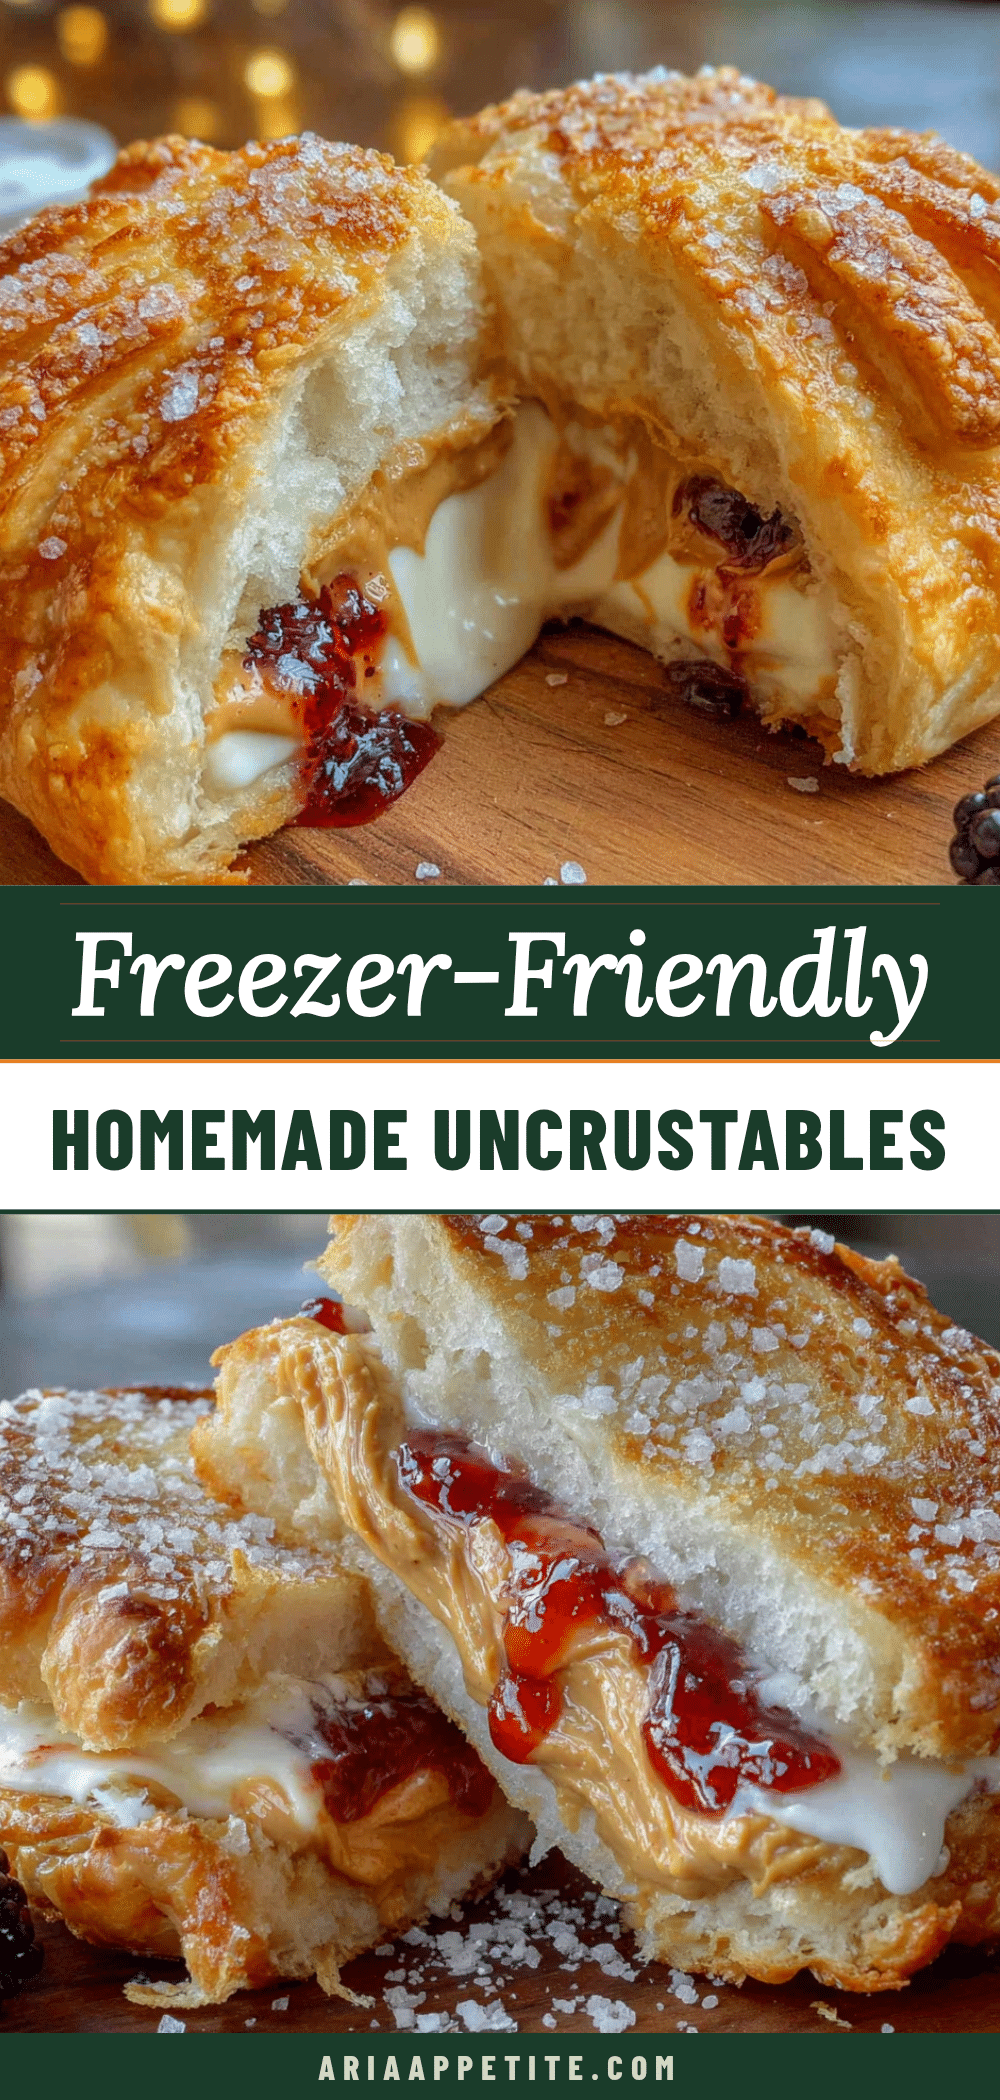
Easy Homemade Uncrustables: Freezer-Friendly PB&J Recipe

Make your own freezer-friendly peanut butter and jelly sandwiches at home with this simple recipe. Better than store-bought, customizable, and perfect for busy mornings or lunchboxes.
- Prep Time: 15 minutes
- Cook Time: 0 minutes
- Total Time: 1 hour 15 minutes (including freezing time)
- Yield: 5 sandwiches 1x
- Category: Snack
- Cuisine: American
Ingredients
- 1 loaf soft white bread or whole wheat bread (about 10 slices for 5 sandwiches)
- 1 cup (240g) creamy peanut butter (Skippy or Jif recommended)
- 1/2 cup (160g) strawberry jam or jelly (any flavor works)
- 2 tablespoons (30ml) honey (optional)
- 2 tablespoons (28g) butter, softened (optional)
Instructions
- Lay out 10 slices of bread on a clean cutting board. If bread is fresh, let it sit out for 5 minutes to slightly stale for better sealing.
- Spread about 2 tablespoons (30g) of peanut butter onto 5 of the bread slices, going all the way to the edges to create a barrier.
- Spread about 1 tablespoon (20g) of jam or jelly on top of the peanut butter.
- Place the remaining 5 bread slices on top, peanut butter side down. Press down gently.
- Press a 3-inch (7.5 cm) round cookie cutter or glass firmly into the center of each sandwich. Twist slightly to cut through all layers. Remove crust scraps.
- Place each round sandwich on a flat surface. Press the tines of a fork all around the edge, about 1/4 inch (0.5 cm) from the edge, to crimp and seal. Flip and repeat on the other side for a double seal.
- Place sealed sandwiches on a parchment-lined baking sheet in a single layer, not touching. Freeze for 1-2 hours until solid.
- Transfer frozen sandwiches to a freezer-safe bag or container. Squeeze out excess air, seal, and label with the date. Store for up to 3 months.
Notes
Use day-old bread for best sealing. Don’t overfill with jelly to prevent leaking. Flash freeze individually before bagging to prevent sticking. For warm version, microwave thawed sandwich for 10-15 seconds. For crisp version, toast in a skillet for 30 seconds per side.
Nutrition
- Serving Size: 1 sandwich
- Calories: 300
- Sugar: 14
- Sodium: 250
- Fat: 13.5
- Saturated Fat: 2.5
- Carbohydrates: 37.5
- Fiber: 2.5
- Protein: 10
Keywords: uncrustables, homemade uncrustables, freezer-friendly, PB&J, peanut butter and jelly, lunchbox, freezer meal, copycat recipe


