Love this? Save it for later!
Share the inspiration with your friends
Introduction
“I wasn’t even planning to make jam that day,” I admit. It was a sunny Wednesday afternoon, and I’d just picked up a basket of fresh cherries from the local farmer’s market—a spontaneous treat, really. The plan was simply to enjoy them as a snack. But then, as I rinsed those ruby-red gems in the kitchen sink, I noticed the clock ticking away. I had more cherries than I could eat before they’d spoil, and honestly, the idea of tossing half of them felt wrong.
So I thought, “Why not try making cherry jam without pectin?” It sounded a bit risky—I mean, we all know pectin helps jam set, right? But I didn’t have any on hand, and the store was a good twenty minutes away. So there I was, improvising in my slightly cluttered kitchen, with a cracked ceramic bowl I bought at a thrift shop and a half-full jar of sugar. The whole thing got a little messy when I forgot to stir regularly, and the cherries bubbled up and nearly spilled over. Classic kitchen chaos!
That first batch turned out surprisingly amazing—thick, sweet, with a natural cherry tang that tasted just like summer. It’s been my go-to ever since, especially when I want to whip up something quick that feels like homemade goodness without fussing over special ingredients. Maybe you’ve been there too—wondering if you can make jam without all the usual stuff. Well, this recipe’s for you. Let me tell you, it’s simple, forgiving, and honestly, kind of magical how those cherries transform.
Why You’ll Love This Recipe
After testing this Easy Homemade Fresh Cherry Jam Without Pectin a dozen times (yes, I’m a bit of a perfectionist), I can confidently say it’s a keeper for your kitchen repertoire. Here’s why it stands out:
- Quick & Easy: Takes about 45 minutes from start to finish—perfect for a spontaneous cherry feast or last-minute gift jars.
- Simple Ingredients: Uses just fresh cherries, sugar, lemon juice, and a little water—no pectin, no preservatives, no weird additives.
- Perfect for Breakfast & Beyond: Slather it on toast, swirl it into yogurt, or even spoon it over ice cream for a touch of natural sweetness.
- Crowd-Pleaser: Family and friends always ask for seconds, and the vibrant color makes it a showstopper at brunches or potlucks.
- Unbelievably Delicious: The natural pectin in cherries, combined with a slow simmer, creates a luscious texture that’s just right—not too runny, not too stiff.
What makes this recipe different? The magic lies in patience and timing. Instead of relying on store-bought pectin, the natural fruit sugars and acids get coaxed out through a gentle simmer. Plus, a splash of fresh lemon juice helps the jam thicken and balances the sweetness beautifully. It’s comfort food without the complicated steps—just honest, fresh cherry flavor that makes you close your eyes after the first bite.
What Ingredients You Will Need
This recipe calls for straightforward, pantry-friendly ingredients that come together to deliver a jam that tastes like summer in a jar. The cherries do the heavy lifting, bringing natural sweetness and pectin, while the sugar and lemon juice help with preservation and texture.
- Fresh Cherries (about 4 cups/600g, pitted): I prefer Bing or Rainier cherries for their balance of sweetness and tartness. Make sure they’re ripe but firm.
- Granulated Sugar (1 to 1¼ cups/200-250g): Adjust based on your sweetness preference. I usually start with less and add more if needed.
- Fresh Lemon Juice (2 tablespoons/30ml): This boosts natural pectin levels and keeps the color bright. Use fresh-squeezed for best results.
- Water (¼ cup/60ml): Just a little to help start the simmering process and prevent burning.
Optional:
- Vanilla Extract (1 teaspoon): Adds depth to the flavor if you like a hint of warmth.
- Cinnamon Stick (1): For a subtle spice note, remove before jarring.
If you want to experiment, you can swap sugar for honey or maple syrup, but keep in mind it may affect the setting time and flavor slightly. Also, in summer, fresh cherries are best, but frozen cherries can work in a pinch if thawed and drained well.
Equipment Needed
- Large Heavy-Bottomed Saucepan or Pot: A good, sturdy pan helps avoid hot spots and burning. I use a 4-quart stainless steel pot that’s seen me through many batches.
- Wooden Spoon or Heat-Resistant Silicone Spatula: For stirring without scratching your pan.
- Knife and Cutting Board: To pit and halve cherries efficiently.
- Measuring Cups and Spoons: Precision helps with balance, especially for lemon juice and sugar.
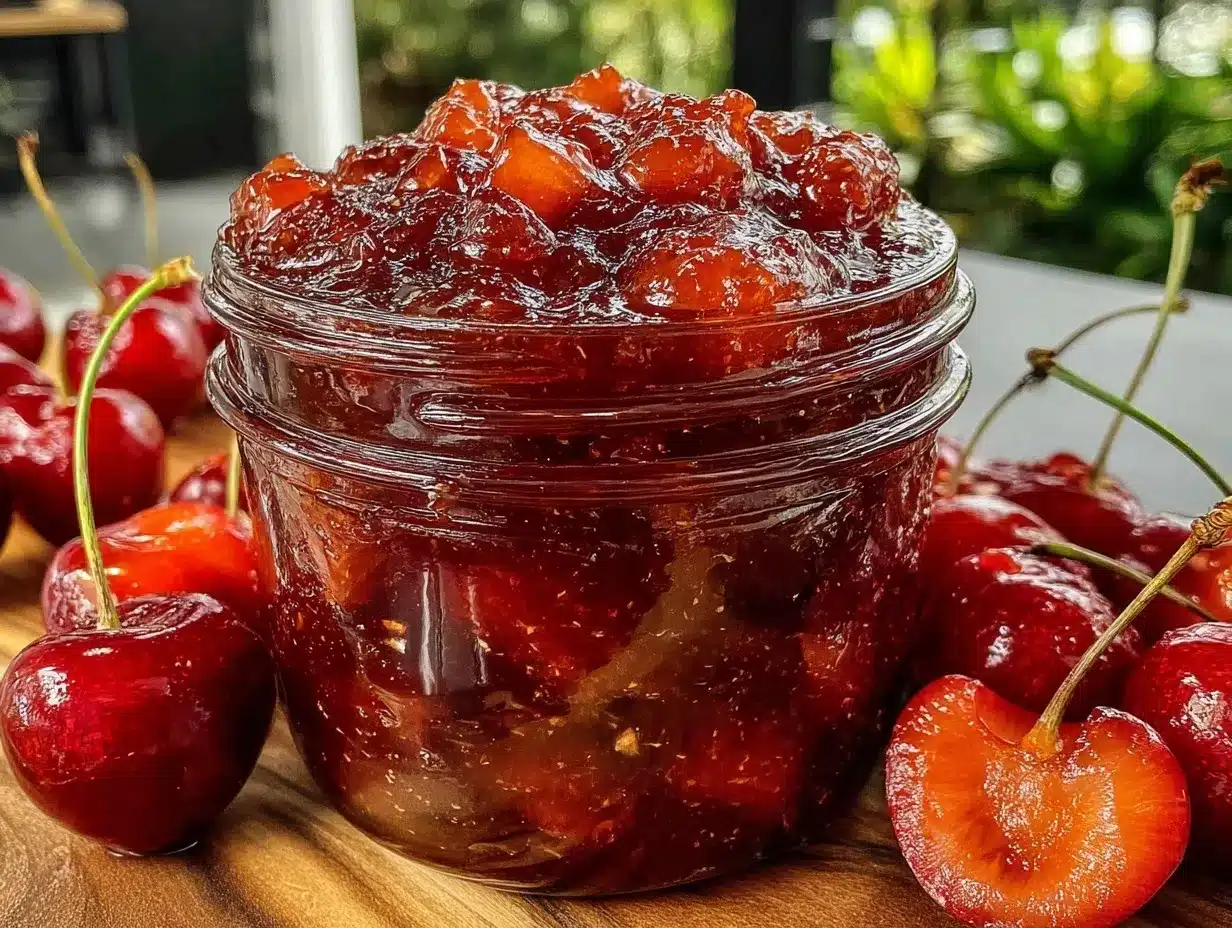
- Clean Glass Jars with Lids: For storing your jam. Mason jars work beautifully, and I always sterilize them in boiling water before use.
If you don’t have a cherry pitter, a small spoon or even a bent paperclip can help remove pits one by one. No fancy tools required!
Preparation Method
- Prepare the Cherries: Start by washing your cherries thoroughly. Pit and halve them, removing any stems or bruised spots. This should take about 10 minutes.
- Combine Ingredients: In your large saucepan, add the cherries, sugar, lemon juice, and water. Give everything a gentle stir to mix. Let it sit for about 10 minutes so the sugar begins to draw out the juice from the cherries.
- Simmer the Jam: Place the saucepan over medium heat and bring the mixture to a gentle boil. Reduce the heat to low-medium and let it simmer, stirring often to prevent sticking. This simmering phase usually lasts 30-40 minutes. You want the fruit to break down, and the mixture to thicken slowly.
- Check the Consistency: To test if the jam is ready, place a small spoonful on a chilled plate and tilt it. If it wrinkles and doesn’t run too quickly, it’s done. If it’s still liquidy, keep simmering and testing every 5 minutes.
- Optional Flavor Boost: If you like, add vanilla extract or a cinnamon stick about 10 minutes before finishing, stirring well. Remove the cinnamon stick before jarring.
- Jar the Jam: Carefully ladle the hot jam into sterilized jars, leaving about ¼ inch (0.5 cm) of headspace. Wipe the rims clean, seal with the lids, and let cool to room temperature before refrigerating.
Pro tip: If your jam looks too runny after cooling, don’t stress. It thickens further in the fridge. Also, stirring every few minutes during simmering helps avoid burning and gives you that rich, even texture.
Cooking Tips & Techniques
Making jam without pectin can feel intimidating at first, but a few tricks make it easier:
- Patience is Key: Rushing the simmer can lead to runny jam. Low and slow gives the cherries time to release natural pectin and thicken the mixture.
- Use Fresh, Ripe Cherries: The natural pectin content varies by type and ripeness. Firmer, slightly underripe cherries tend to yield better set jams.
- Keep Stirring: Especially towards the end, regular stirring prevents scorching and helps you judge thickness.
- Test the Set Early: Start testing around 25 minutes into simmering to avoid overcooking and bitterness.
- Acidity Helps: Lemon juice not only brightens flavor but also boosts the natural gel-forming process. Don’t skip it.
- Don’t Worry About Foam: Sometimes foam forms on top; skim it off with a spoon to keep your jam clear.
I once forgot to stir for a few minutes and ended up with a scorched patch at the bottom. Lesson learned: multi-tasking while watching the stove is a no-go!
Variations & Adaptations
This fresh cherry jam without pectin is a great base for all kinds of twists:
- Dietary Adjustments: For a lower-sugar version, try reducing sugar by 25% and adding a splash of apple cider vinegar to help with setting.
- Seasonal Flavors: Stir in fresh herbs like basil or mint near the end of cooking for a bright note, or add fresh ginger for a spicy kick.
- Cooking Methods: If you’re short on time, you can use a slow cooker to simmer the jam over several hours on low, stirring occasionally.
- Allergen Substitutions: This recipe is naturally gluten-free and vegan, but if you want to experiment with sweeteners, maple syrup or coconut sugar work well.
- Personal Variation: One time, I added a handful of crushed raspberries at the last 10 minutes, creating a lovely mixed-berry jam that’s both tart and sweet.
Serving & Storage Suggestions
Serve your fresh cherry jam slightly chilled or at room temperature. It’s spectacular on toasted sourdough bread, swirled into oatmeal, or paired with soft cheeses like ricotta or mascarpone. For a cozy twist, try it spooned over warm pancakes or waffles.
Store the jam in the fridge for up to 3 weeks. It also freezes beautifully—just transfer to freezer-safe containers, leaving some headspace as it expands. When reheating, warm gently in a saucepan to preserve the fresh cherry flavor and texture.
Fun fact: The flavors deepen and mellow if you let the jam sit for a day or two, so if you can wait, that’s even better!
Nutritional Information & Benefits
This homemade cherry jam is a treat that’s not just tasty but offers some nutritional perks. Cherries are packed with antioxidants, vitamins C and A, and natural fiber, which help support digestion and reduce inflammation. Because this recipe skips commercial pectin and artificial preservatives, you’re getting a cleaner, more wholesome spread.
Each tablespoon (about 20g) contains roughly 50 calories, mostly from natural sugars, making it a reasonable indulgence. Plus, it’s gluten-free and vegan, fitting nicely into many dietary preferences. I appreciate how this jam feels like a little spoonful of summer sunshine with a side of wellness.
Conclusion
This Easy Homemade Fresh Cherry Jam Without Pectin recipe is proof that sometimes, simple is best. It’s approachable for beginners, flexible enough for experimenting, and delivers that sweet-tart cherry flavor we all crave. I keep coming back to it because it reminds me of sunny days, hurried kitchen moments, and the joy of sharing homemade goodness.
Give it a try, tweak it to your taste, and don’t stress the small stuff—the charm is in the imperfections. I’d love to hear how your jam turns out or what fun variations you come up with, so drop a comment below and let’s chat!
Happy jamming, friends!
FAQs
Can I use frozen cherries to make this jam?
Yes, you can! Just thaw and drain them well to avoid excess water, which can make the jam too runny. You might also need a slightly longer simmer to reach the right thickness.
Why does jam need pectin, and how does this recipe work without it?
Pectin is a natural thickener found in many fruits. This recipe relies on the natural pectin in cherries and the acidity from lemon juice, combined with slow simmering, to achieve a good set without added pectin.
How long does homemade cherry jam last in the fridge?
Stored in sterilized jars and refrigerated, it should keep well for up to three weeks. Always use clean utensils to avoid contamination.
Can I make this jam with less sugar?
Yes, but sugar helps with preservation and texture. Reducing it too much might result in a runnier jam and shorter shelf life. Adding a bit of lemon juice or apple cider vinegar can help with setting in low-sugar versions.
Do I need to sterilize jars before storing the jam?
It’s best practice to sterilize jars by boiling them or running them through a hot dishwasher cycle. This helps prevent mold and extends shelf life.
For those interested in classic spreads, my homemade strawberry jam is a great follow-up, and if you want to try savory pairings, my crispy garlic chicken recipe pairs wonderfully with a dollop of fruit preserves for a sweet-savory combo.
Pin This Recipe!
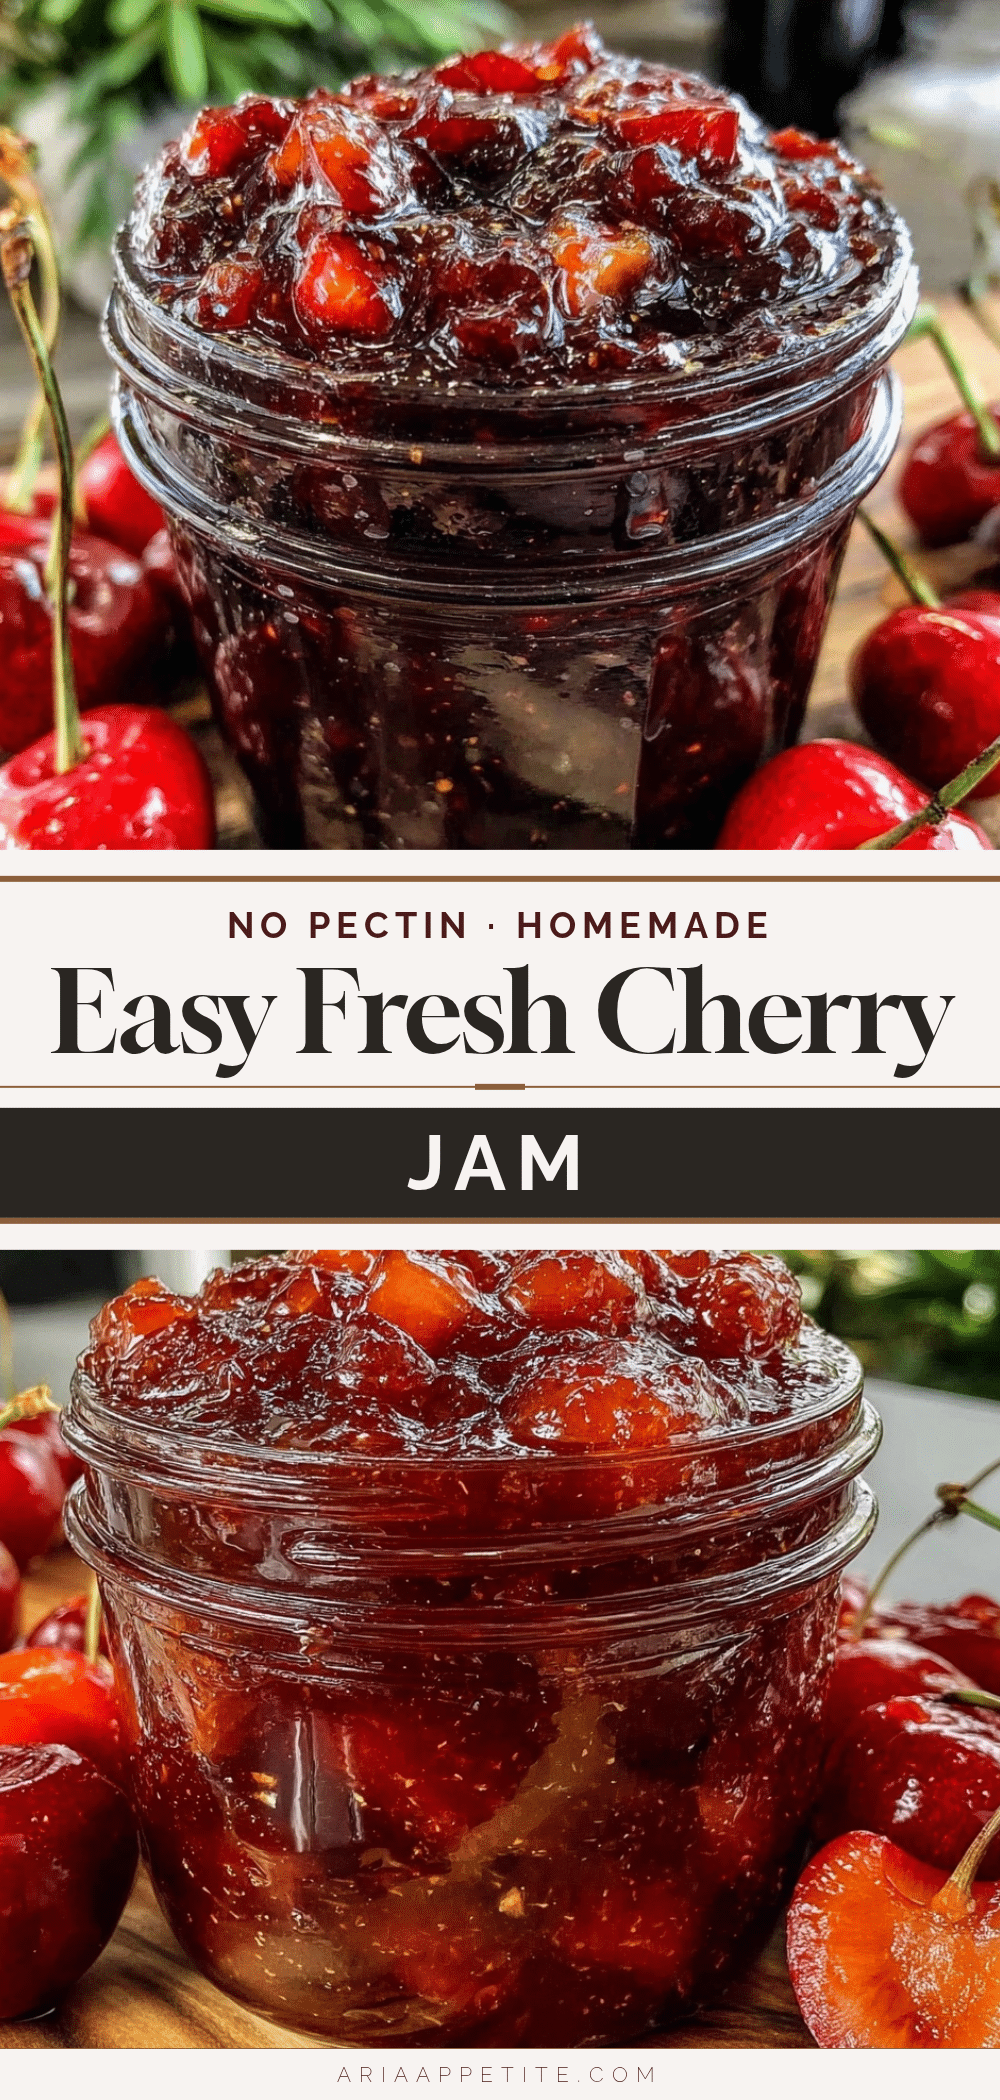
Easy Homemade Fresh Cherry Jam Without Pectin
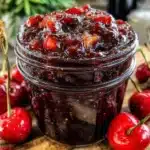
A simple and quick recipe for fresh cherry jam made without pectin, using natural fruit sugars and lemon juice to achieve a perfect set and vibrant flavor.
- Prep Time: 10 minutes
- Cook Time: 35 minutes
- Total Time: 45 minutes
- Yield: About 3 half-pint jars (approximately 6 servings) 1x
- Category: Preserves
- Cuisine: American
Ingredients
- 4 cups (600g) fresh cherries, pitted
- 1 to 1¼ cups (200-250g) granulated sugar
- 2 tablespoons (30ml) fresh lemon juice
- ¼ cup (60ml) water
- Optional: 1 teaspoon vanilla extract
- Optional: 1 cinnamon stick
Instructions
- Wash cherries thoroughly. Pit and halve them, removing any stems or bruised spots (about 10 minutes).
- In a large saucepan, combine cherries, sugar, lemon juice, and water. Stir gently and let sit for 10 minutes to draw out juice.
- Place saucepan over medium heat and bring to a gentle boil. Reduce heat to low-medium and simmer, stirring often, for 30-40 minutes until fruit breaks down and mixture thickens.
- Test jam consistency by placing a spoonful on a chilled plate; if it wrinkles and doesn’t run quickly, it’s ready. If still liquidy, continue simmering and test every 5 minutes.
- Optional: Add vanilla extract or cinnamon stick 10 minutes before finishing. Remove cinnamon stick before jarring.
- Ladle hot jam into sterilized jars, leaving ¼ inch (0.5 cm) headspace. Wipe rims clean, seal with lids, and cool to room temperature before refrigerating.
Notes
Stir frequently during simmering to prevent burning. Test jam set early around 25 minutes to avoid overcooking. Foam may form on top; skim off for clearer jam. Jam thickens further after cooling and refrigeration. Use fresh, ripe but firm cherries for best results. Frozen cherries can be used if thawed and drained well. Sterilize jars before use to extend shelf life.
Nutrition
- Serving Size: 1 tablespoon (about
- Calories: 50
- Sugar: 12
- Carbohydrates: 13
- Fiber: 0.5
Keywords: cherry jam, homemade jam, jam without pectin, fresh cherry jam, easy jam recipe, fruit preserves, no pectin jam