Love this? Save it for later!
Share the inspiration with your friends
“You won’t believe the crunch on this,” my friend Jake said, handing me a sandwich wrapped in brown paper at the local park last summer. We were halfway through a lazy Saturday afternoon, and honestly, I wasn’t expecting much. But one bite into that crispy ultimate homemade fried chicken sandwich, and I was hooked. The way the golden, crackling crust shattered under my teeth, revealing juicy, tender chicken inside — it was a game changer. I remember the sun warming my face and the faint scent of fresh-cut grass mixed with the unmistakable aroma of fried chicken. It was the kind of sandwich that made the whole day feel a little brighter.
That day, Jake shared how he’d perfected his fried chicken sandwich recipe after countless attempts in his cramped kitchen, battling soggy breading and bland seasoning. He confessed that his secret wasn’t just the spices, but the double-dip technique and resting time that made the crust unbeatable. I scribbled notes on a crumpled napkin while trying not to dribble sauce everywhere — classic me, right?
Since then, I’ve made this recipe more times than I can count. Maybe you’ve been there, craving that perfect sandwich with the right combo of crunch and flavor, only to be let down by dry chicken or limp buns. This recipe stays with me because it’s both straightforward and ridiculously satisfying. Whether you’re feeding a crowd or just treating yourself on a hectic weekday, the crispy ultimate homemade fried chicken sandwich is one of those dishes that feels like a small celebration every time.
Why You’ll Love This Recipe
Honestly, after testing a dozen fried chicken sandwiches, this one stands out for all the right reasons. It’s not just a quick fix — it’s a full-on flavor experience that’s surprisingly easy to pull off at home.
- Quick & Easy: Ready in about 30 minutes, perfect for lunch or a last-minute dinner treat.
- Simple Ingredients: No exotic spices or hard-to-find items — just pantry staples and fresh chicken.
- Perfect for Any Occasion: Whether it’s a casual lunch, weekend cookout, or a sandwich to impress guests, it fits right in.
- Crowd-Pleaser: Kids and adults alike go wild for the crispy crust combined with juicy chicken.
- Unbelievably Delicious: The secret double-dip batter and resting time create a crunch that’s next-level.
What sets this recipe apart? The magic lies in the double-dip process — dipping the chicken first in seasoned buttermilk, then flour, back in the buttermilk, and again in the flour. This creates a crust that’s extra thick and crispy without being heavy. Plus, letting the breaded chicken rest before frying helps everything stick together better.
It’s comfort food reimagined: crisp, juicy, and full of flavor without the fuss. This sandwich has become my go-to for impressing friends when I want something homemade but not complicated. Trust me, once you try it, you’ll keep coming back for that perfect crunch and tender bite.
What Ingredients You Will Need
This recipe uses simple, wholesome ingredients to deliver bold flavor and that perfect crispy texture without any fuss. Most are pantry staples, so you probably already have them on hand.
- For the Chicken:
- 4 boneless, skinless chicken thighs (about 6-8 ounces / 170-225g each) – thighs stay juicy and tender
- 1 cup buttermilk (240ml) – adds tang and tenderizes
- 2 teaspoons hot sauce (optional) – adds a subtle kick
- For the Breading:
- 1 ½ cups all-purpose flour (190g) – for that classic crunch
- 1 teaspoon smoked paprika – smoky depth
- 1 teaspoon garlic powder – savory punch
- 1 teaspoon onion powder
- 1 teaspoon salt
- ½ teaspoon black pepper
- ½ teaspoon cayenne pepper (adjust to taste) – optional for heat
- For Frying:
- Vegetable oil or peanut oil – enough for deep frying (about 4 cups / 1 liter)
- For the Sandwich:
- 4 sturdy sandwich buns (brioche recommended for sweetness and structure)
- Mayonnaise or spicy aioli
- Pickles (dill or bread-and-butter)
- Leafy lettuce or shredded cabbage (adds crunch and freshness)
For best results, I recommend using King Arthur flour for a consistent texture and Hidden Valley buttermilk if you can find it. If you’re short on buttermilk, mix 1 cup milk with 1 tablespoon lemon juice or vinegar and let it sit for 5 minutes. For a gluten-free twist, swap the flour with a blend like Bob’s Red Mill Gluten-Free Flour.
Equipment Needed
- Heavy-bottomed deep skillet or Dutch oven for frying – holds heat well and helps maintain oil temperature.
- Cooking thermometer – essential for monitoring oil temperature (aim for 350°F / 175°C).
- Wire rack and baking sheet – for draining excess oil and keeping the crust crisp.
- Large mixing bowls – for marinating and breading.
- Tongs or slotted spoon – for safe handling of hot chicken.
- Kitchen paper towels – to blot excess oil after frying.
If you don’t have a deep-fry thermometer, no worries — you can test oil readiness by dropping a pinch of flour; it should sizzle immediately but not burn. For budget-friendly options, any sturdy skillet will work, though a heavy pan helps keep oil temperature steady. After frying, I always clean my thermometer gently with a damp cloth to keep it accurate and ready for next time.
Preparation Method
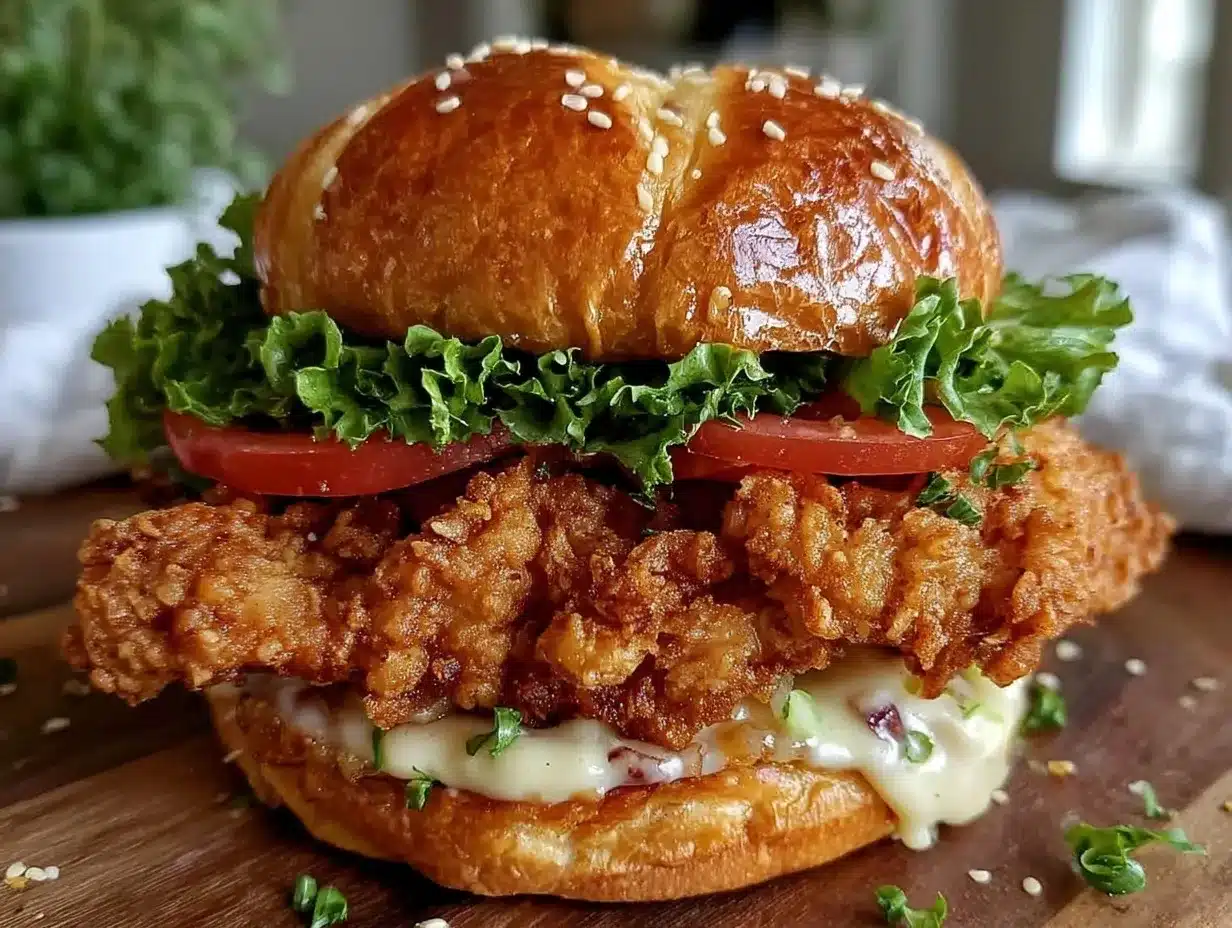
- Marinate the Chicken (10 minutes active, up to 4 hours): In a large bowl, whisk together buttermilk and hot sauce. Add chicken thighs, ensuring they’re fully submerged. Cover and refrigerate for at least 30 minutes, ideally up to 4 hours. This step tenderizes the meat and infuses flavor.
- Prepare the Breading (5 minutes): In another bowl, combine flour, smoked paprika, garlic powder, onion powder, salt, black pepper, and cayenne. Mix well to distribute spices evenly.
- Double-Dip the Chicken (15 minutes): Remove chicken from buttermilk, letting excess drip off. Dredge each piece in the flour mixture, pressing lightly to adhere. Dip back into the buttermilk, then again into the flour mixture. Place coated pieces on a wire rack. Let them rest for 10-15 minutes — this helps the crust stick better and avoids falling off during frying.
- Heat the Oil (5 minutes): Pour oil into your skillet or Dutch oven to a depth of about 2 inches (5 cm). Heat over medium heat until it reaches 350°F (175°C). Use a thermometer for accuracy.
- Fry the Chicken (10-12 minutes): Carefully lower chicken pieces into hot oil, frying in batches to avoid crowding. Fry until golden brown and cooked through (internal temperature 165°F / 74°C), about 5-6 minutes per side. Adjust heat as needed to maintain temperature.
- Drain and Rest (5 minutes): Remove chicken with tongs, draining on a wire rack over a baking sheet lined with paper towels. Let rest briefly to keep crust crisp and juices locked.
- Assemble the Sandwich (5 minutes): Toast buns lightly, spread with mayonnaise or spicy aioli, layer with lettuce, pickles, and top with fried chicken. Cap with the bun top and serve immediately.
Quick tip: If the crust starts to brown too fast, lower the heat slightly. Also, don’t overcrowd the pan; it drops oil temperature, which can lead to greasy, soggy chicken. The resting step after breading is a game changer — I learned this the hard way after my first batch flaked apart mid-fry!
Cooking Tips & Techniques
Honestly, frying chicken at home can feel intimidating, but these tips make it foolproof.
- Maintain Oil Temperature: Keeping around 350°F (175°C) ensures the chicken cooks evenly and the crust crisps up without burning. Too hot and the crust burns before the inside cooks; too cool and the chicken absorbs oil, becoming greasy.
- Double-Dipping is Key: This locks in moisture while building a thick, crunchy coating. I once skipped the second dip and learned the crust was thin and flaked off easily — lesson learned!
- Rest Battered Chicken Before Frying: Let the coated pieces sit on a rack for 10-15 minutes. This helps the crust adhere and stay intact during frying.
- Use Thighs Instead of Breasts: Thighs stay juicier and more forgiving if slightly overcooked. Breasts can dry out fast.
- Toast Your Buns: A quick toast prevents sogginess and adds a nice texture contrast to the crispy chicken.
- Multitasking: While the chicken marinates, prep your breading and sandwich fixings. This keeps everything moving smoothly without last-minute rushes.
Variations & Adaptations
Feel free to switch things up depending on your mood or dietary needs.
- Spicy Version: Add extra cayenne or hot sauce to the buttermilk marinade for a fiery kick. You can also mix sriracha into your mayo spread.
- Gluten-Free: Swap all-purpose flour with a gluten-free blend or crushed rice cereal for crunch. Just make sure your buns are gluten-free too.
- Healthier Option: Try oven-baking the breaded chicken on a wire rack at 425°F (220°C) for 25-30 minutes, flipping halfway. It won’t have quite the same crunch but is lower in oil.
- Seasonal Toppings: In summer, add fresh tomato slices and basil leaves. In fall, try a tangy slaw with apple and cabbage for extra texture.
- My Go-To Variation: I once added a touch of honey to the buttermilk marinade for subtle sweetness that balanced the spice beautifully. It quickly became a favorite twist in my kitchen.
Serving & Storage Suggestions
This sandwich is best served hot and fresh for maximum crunch. Toasted buns and crisp pickles complement the juicy fried chicken perfectly.
Pair it with classic sides like crispy fries, coleslaw, or even a light cucumber salad to balance the richness. For drinks, a cold lemonade or iced tea cuts through the savory flavors nicely.
To store leftovers, wrap the chicken tightly in foil or an airtight container and refrigerate for up to 3 days. Reheat in a 375°F (190°C) oven on a wire rack for 10-12 minutes to re-crisp the crust. Avoid microwaving if you want to keep that crunch intact.
Flavors also deepen a bit overnight, so if you’re meal prepping, this sandwich holds up well with a quick reheat.
Nutritional Information & Benefits
Each crispy ultimate homemade fried chicken sandwich contains approximately:
| Calories | 600-700 kcal |
|---|---|
| Protein | 35-40g |
| Fat | 30-35g |
| Carbohydrates | 50-55g |
Using chicken thighs boosts protein and keeps the meat moist. Buttermilk tenderizes while adding calcium and probiotics. The spices add flavor without extra calories. This recipe can be adjusted for gluten-free or lower-carb diets by swapping buns or flour.
From a wellness perspective, homemade means controlling oil quality and seasoning, which is a win over many fast-food options. Plus, you get that homemade satisfaction, which honestly feels good in itself.
Conclusion
The crispy ultimate homemade fried chicken sandwich isn’t just a meal; it’s a little celebration wrapped in a bun. It’s the kind of recipe that’s approachable but delivers that wow factor every single time. Whether you’re craving something crunchy and juicy for lunch or feeding a group of hungry friends, this sandwich hits all the right notes.
Feel free to tweak the spice level, swap toppings, or even try baking for a lighter version. I love how versatile it is — and honestly, it’s become a staple in my recipe box because it’s just that reliable and delicious.
Give it a shot, and tell me how yours turns out! I’d love to hear your favorite twists or any tips you discover along the way. Happy cooking!
FAQs
- Can I use chicken breasts instead of thighs? Yes, but thighs stay juicier and are more forgiving during frying. If you use breasts, be careful not to overcook.
- What if I don’t have buttermilk? Mix 1 cup milk with 1 tablespoon lemon juice or vinegar, let it sit for 5 minutes, then use as a buttermilk substitute.
- How do I keep the breading from falling off? The double-dip method and resting the coated chicken before frying help the breading stick well.
- Can I bake this sandwich instead of frying? Yes, bake at 425°F (220°C) for 25-30 minutes on a wire rack. It won’t be as crispy but is a healthier alternative.
- How should I store leftovers? Refrigerate wrapped tightly for up to 3 days. Reheat in the oven to maintain crispiness.
Pin This Recipe!
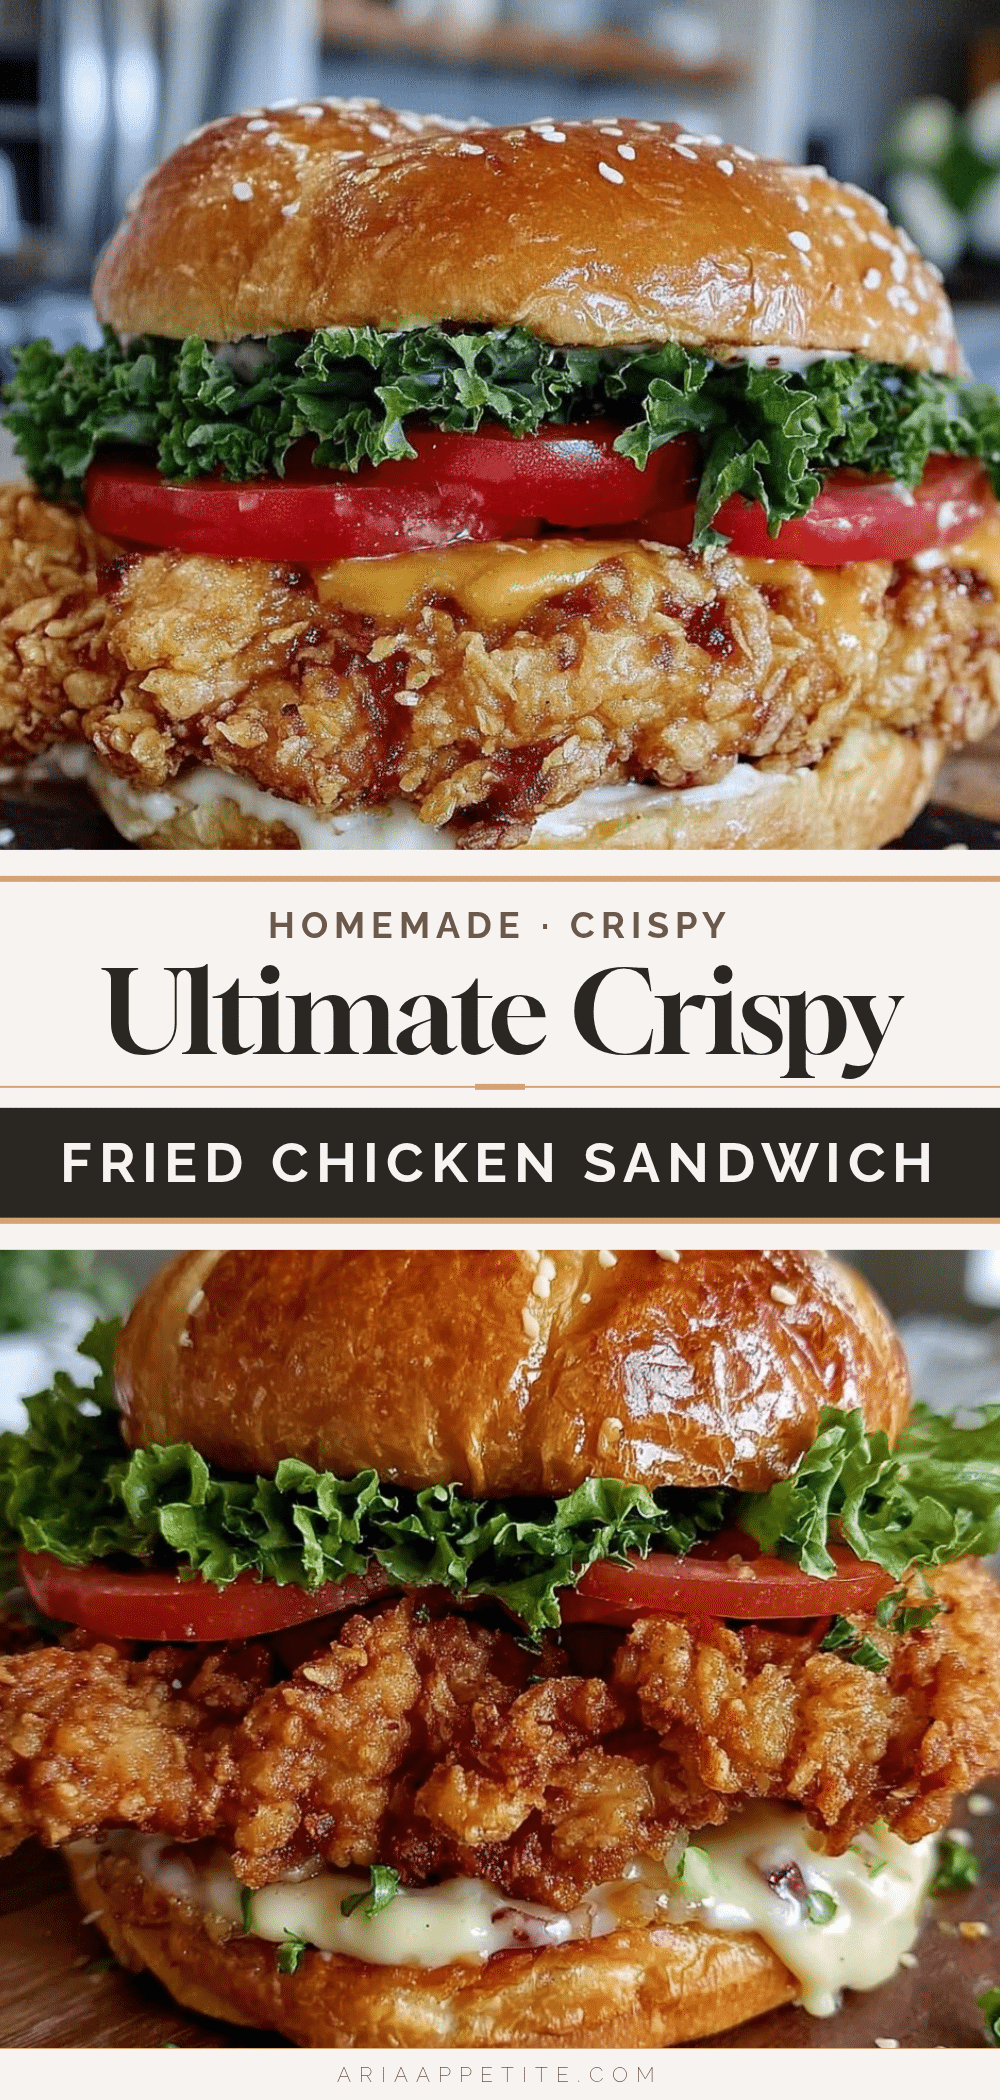
Crispy Ultimate Homemade Fried Chicken Sandwich

A crispy, juicy fried chicken sandwich featuring a double-dip breading technique for an unbeatable crunch, perfect for lunch or any occasion.
- Prep Time: 15 minutes active, plus 30 minutes to 4 hours marinating
- Cook Time: 15-17 minutes
- Total Time: 45 minutes to 4 hours 30 minutes (including marinating)
- Yield: 4 servings 1x
- Category: Main Course
- Cuisine: American
Ingredients
- 4 boneless, skinless chicken thighs (6–8 ounces / 170-225g each)
- 1 cup buttermilk (240ml)
- 2 teaspoons hot sauce (optional)
- 1 ½ cups all-purpose flour (190g)
- 1 teaspoon smoked paprika
- 1 teaspoon garlic powder
- 1 teaspoon onion powder
- 1 teaspoon salt
- ½ teaspoon black pepper
- ½ teaspoon cayenne pepper (optional)
- Vegetable oil or peanut oil (about 4 cups / 1 liter) for deep frying
- 4 sturdy sandwich buns (brioche recommended)
- Mayonnaise or spicy aioli
- Pickles (dill or bread-and-butter)
- Leafy lettuce or shredded cabbage
Instructions
- Marinate the chicken: In a large bowl, whisk together buttermilk and hot sauce. Add chicken thighs, ensuring they’re fully submerged. Cover and refrigerate for at least 30 minutes, ideally up to 4 hours.
- Prepare the breading: In another bowl, combine flour, smoked paprika, garlic powder, onion powder, salt, black pepper, and cayenne. Mix well.
- Double-dip the chicken: Remove chicken from buttermilk, letting excess drip off. Dredge each piece in the flour mixture, pressing lightly to adhere. Dip back into the buttermilk, then again into the flour mixture. Place coated pieces on a wire rack and let rest for 10-15 minutes.
- Heat the oil: Pour oil into a deep skillet or Dutch oven to a depth of about 2 inches. Heat over medium heat until it reaches 350°F (175°C).
- Fry the chicken: Carefully lower chicken pieces into hot oil, frying in batches to avoid crowding. Fry until golden brown and cooked through (internal temperature 165°F / 74°C), about 5-6 minutes per side.
- Drain and rest: Remove chicken with tongs, draining on a wire rack over a baking sheet lined with paper towels. Let rest briefly.
- Assemble the sandwich: Toast buns lightly, spread with mayonnaise or spicy aioli, layer with lettuce, pickles, and top with fried chicken. Cap with the bun top and serve immediately.
Notes
Maintain oil temperature at 350°F (175°C) for best results. Double-dip breading and resting the coated chicken before frying helps the crust stick and stay crispy. Avoid overcrowding the pan to prevent soggy chicken. Toast buns to prevent sogginess. For gluten-free, swap flour and buns accordingly. Leftovers reheat best in oven at 375°F for 10-12 minutes to keep crust crisp.
Nutrition
- Serving Size: 1 sandwich
- Calories: 650
- Fat: 32.5
- Carbohydrates: 52.5
- Protein: 37.5
Keywords: fried chicken sandwich, crispy chicken, homemade sandwich, lunch recipe, double-dip breading, easy fried chicken