Love this? Save it for later!
Share the inspiration with your friends
There used to be a tiny taqueria off the I-10 frontage road in San Antonio that made the most insane chicken fajita quesadilla I’ve ever had. When they closed—literally overnight, with a handwritten sign taped to the door that said “Gracias, amigos”—I honestly felt a little lost. That quesadilla had this perfect crispy exterior, gooey cheese stretching for miles, and fajita meat that was somehow juicy and charred at the same time. After about seven tries—including one sad attempt where I used flour tortillas that turned into soggy mess—I finally cracked the code. The secret? A sheet pan, high heat, and a little patience. Let me tell you, the first time I pulled these out of the oven, I actually texted my sister a photo with the caption “We’re back.”
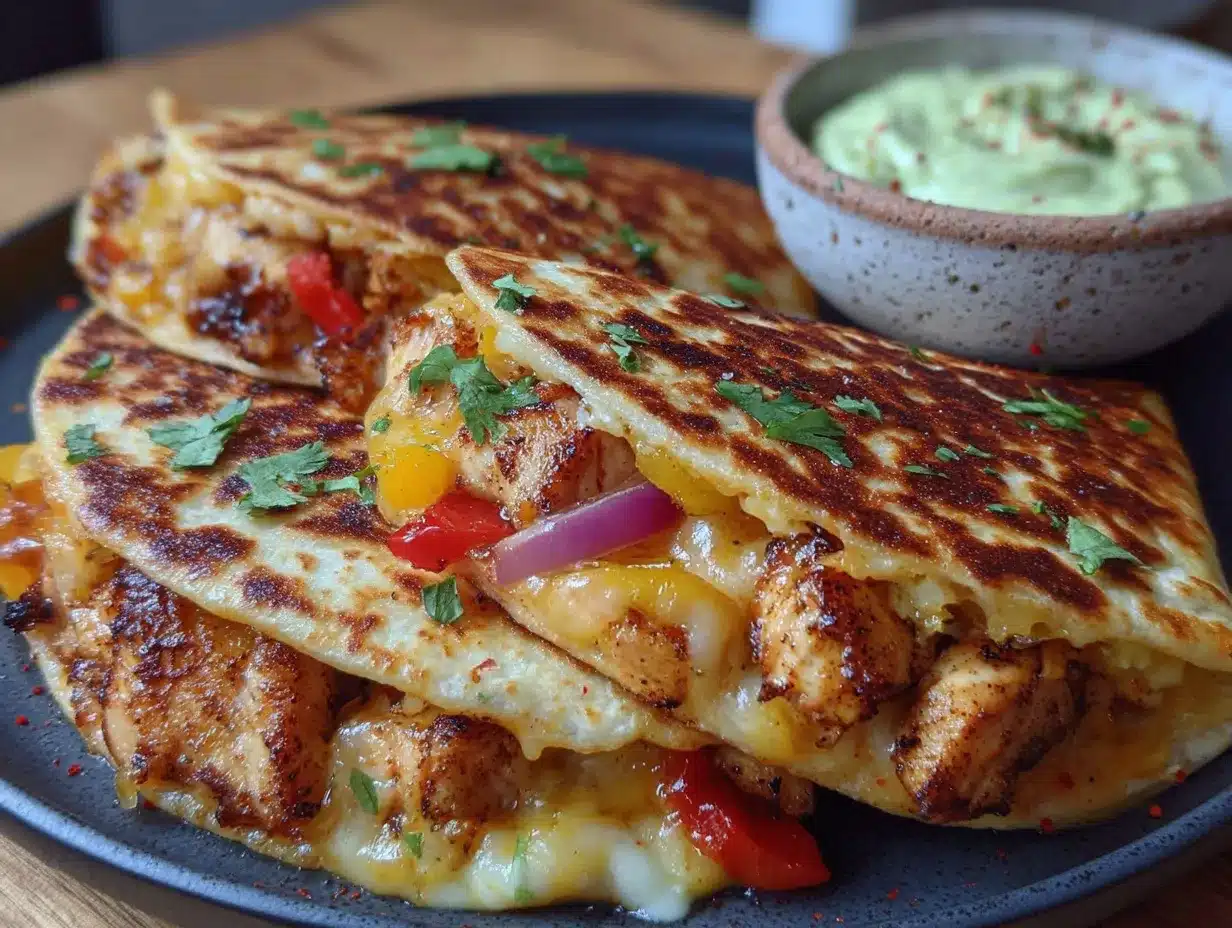
These crispy sheet-pan chicken fajita quesadillas are my weeknight hero. I mean, who doesn’t love a meal that tastes like it took an hour but actually comes together in thirty minutes? The whole thing happens on one pan—the peppers and onions roast first, then the chicken joins the party, and finally everything gets folded into tortillas with a mountain of cheese and crisps up under the broiler. It’s the kind of dinner that makes you look like a rockstar with zero fuss. Maybe you’ve been there—standing in your kitchen at 6 PM, staring at the fridge, wondering if you have the energy for another sad salad. These quesadillas are the answer.
The thing that really makes these special is the texture contrast. You get that shatteringly crisp exterior from the sheet pan method, but the inside stays soft and melty. Honestly, I don’t think I’ll ever go back to pan-frying quesadillas one at a time. Not after discovering how easy it is to feed a crowd (or just yourself for three days of leftovers) with this method. And the best part? You can totally customize the fillings based on what’s in your fridge. This recipe is the one that keeps on giving.
Why You’ll Love This Recipe
Let me be real with you—I’ve tested this recipe more times than I care to admit. There was a version where the tortillas got too dark, another where the chicken dried out, and one memorable disaster where I forgot the cheese entirely. But after all that trial and error, this version is bulletproof. Here’s why it works so beautifully:
- Quick & Easy: From start to finish, this meal is on the table in 30 minutes flat. No standing over a hot stove flipping individual quesadillas. The sheet pan does all the heavy lifting.
- Simple Ingredients: Chicken breasts, bell peppers, onions, tortillas, cheese, and a few pantry spices. That’s it. No fancy grocery store trips required.
- Perfect for Busy Weeknights: Whether it’s a Tuesday night scramble or a Friday “I’m too tired to cook” situation, these quesadillas deliver every single time.
- Crowd-Pleaser: I’ve served these to picky kids, hungry teenagers, and adults who claim they “don’t like Mexican food.” Every single plate comes back clean.
- Unbelievably Crispy: The sheet pan method creates an even, golden crunch on both sides of every quesadilla. No more burnt spots or soggy centers.
What makes this recipe different from every other quesadilla recipe out there? It’s the technique. By roasting the vegetables first and then adding the chicken, you develop deep, caramelized flavor that you just can’t get from a skillet. And the sheet pan method means every single quesadilla gets perfectly crispy at the same time. This isn’t just another version—it’s the best version I’ve ever made.
Honestly, this recipe is the kind that makes you close your eyes after the first bite. It’s comfort food reimagined—faster, easier, but with the same soul-soothing satisfaction. Perfect for impressing guests without stress, or turning a simple Tuesday into something memorable.
What Ingredients You Will Need
This recipe uses simple, wholesome ingredients to deliver bold flavor and satisfying crunch without any fuss. Most of these are probably already in your kitchen, which is exactly how I like it.
For the Chicken Fajita Filling
- 1 ½ pounds boneless, skinless chicken breasts, thinly sliced against the grain (this helps them cook quickly and stay tender)
- 2 bell peppers, sliced into thin strips (I use one red and one green for color, but any combo works)
- 1 large yellow onion, sliced into thin half-moons
- 3 tablespoons olive oil, divided
- 2 teaspoons chili powder (I prefer the mild kind from Spice Islands—it has great depth without being too hot)
- 1 teaspoon ground cumin
- 1 teaspoon smoked paprika (this adds that subtle smoky flavor that makes these taste like they came from a restaurant)
- ½ teaspoon garlic powder
- ½ teaspoon onion powder
- ½ teaspoon salt
- ¼ teaspoon black pepper
- Juice of 1 lime (fresh is non-negotiable here—bottled lime juice just doesn’t cut it)
For the Quesadillas
- 8 large flour tortillas (I use the burrito-size ones from Mission—they hold up better and give you more surface area for crispy goodness)
- 3 cups shredded Mexican blend cheese (or a mix of Monterey Jack and cheddar if you want to get fancy)
- Optional: sour cream, salsa, guacamole, and fresh cilantro for serving
A few ingredient notes from my kitchen to yours: When it comes to the chicken, I’ve tested this with chicken thighs, and they work great too—just add an extra minute or two to the cooking time. For the cheese, pre-shredded bags are fine in a pinch, but freshly shredded melts so much better. And if you’re feeling adventurous, try adding a can of drained and rinsed black beans to the filling for extra protein and fiber. I do this all the time when I want to stretch the recipe to feed more people.
Equipment Needed
- Large rimmed baking sheet (half-sheet size, 18×13 inches—this is my workhorse pan, and I’ve had the same Nordic Ware one for years)
- Parchment paper or aluminum foil (for easy cleanup)
- Chef’s knife and cutting board
- Mixing bowls (one large, one small)
- Measuring spoons
- Spatula (for flipping the quesadillas)
- Pastry brush or paper towel (for oiling the tortillas)
If you don’t have a large rimmed baking sheet, you can use two smaller ones—just rotate them halfway through cooking. And honestly, if you’re in the market for a new one, spend the extra few dollars on a heavy-duty aluminum sheet. The cheap ones warp in the oven, and warped pans mean uneven cooking. I learned that the hard way.
Preparation Method
- Preheat your oven to 400°F (200°C). Position the rack in the upper third of the oven. This high heat is what gives you that beautiful caramelization on the vegetables and chicken.
- Prep the vegetables. Slice your bell peppers and onion into thin strips—about ¼ inch wide. Don’t stress about perfection, but try to keep them uniform so they cook evenly. Toss them on one half of your sheet pan with 1 ½ tablespoons of olive oil, a pinch of salt, and a pinch of pepper.
- Season the chicken. In a small bowl, mix together the chili powder, cumin, smoked paprika, garlic powder, onion powder, salt, and pepper. Slice your chicken breasts into thin strips (about ½ inch thick) and toss them in a bowl with the remaining 1 ½ tablespoons of olive oil and the spice mixture. Use your hands to make sure every piece is coated—trust me, it’s worth the mess.
- Roast the vegetables first. Spread the peppers and onions in a single layer on the sheet pan and roast for 8 minutes. This head start gives them time to soften and develop those lovely charred edges before the chicken goes in.
- Add the chicken. Remove the pan from the oven and push the vegetables to one side. Spread the seasoned chicken strips in a single layer on the empty side of the pan. Return to the oven and roast for another 10-12 minutes, until the chicken is cooked through and the vegetables are tender and slightly charred.
- Squeeze the lime. Remove the pan from the oven and drizzle the lime juice over the chicken and vegetables. Give everything a gentle stir to combine. The steam will carry that bright citrus flavor through the whole filling. At this point, your kitchen should smell absolutely incredible.
- Assemble the quesadillas. Clear a workspace and lay out your tortillas. On one half of each tortilla, sprinkle a generous handful of shredded cheese (about ¼ cup). Top with a scoop of the chicken fajita mixture—don’t overstuff, or they’ll be hard to flip. Sprinkle a little more cheese on top, then fold the empty half over the filling. Press down gently to seal.
- Prep the pan for the second bake. Line your sheet pan with parchment paper (or foil) and lightly brush or spray the surface with oil. Place the assembled quesadillas on the pan in a single layer—they can touch, but don’t overlap them.
- Brush the tops. Lightly brush the top of each quesadilla with a little olive oil or melted butter. This is what gives them that gorgeous golden crust. Don’t skip this step—I’ve tried it without, and they come out pale and sad.
- Bake until crispy. Bake at 400°F for 8 minutes. Carefully flip each quesadilla with a spatula, then bake for another 5-7 minutes, until both sides are deep golden brown and the cheese is melted and bubbly.
- Rest and serve. Let the quesadillas rest on the pan for 2 minutes before slicing. This helps the cheese set slightly so it doesn’t all ooze out when you cut them. Slice each quesadilla into wedges and serve hot with your favorite toppings.
Cooking Tips & Techniques
After making these sheet-pan quesadillas roughly twenty-seven times (yes, I counted), I’ve picked up a few tricks that make a real difference. First, don’t overcrowd the pan when you’re roasting the chicken and vegetables. If everything is piled on top of each other, they’ll steam instead of roast, and you’ll lose that beautiful caramelization. Use the largest sheet pan you have, or split everything between two pans.
Here’s a mistake I made more than once: I used to skip the initial vegetable roasting step. I thought, “Why not just throw everything on the pan at once?” Big mistake. The peppers and onions need that head start to soften properly. If you add them at the same time as the chicken, you end up with crunchy onions and overcooked chicken. Nobody wants that.
Another game-changer? Letting the cooked chicken and vegetables cool for just a few minutes before assembling the quesadillas. If the filling is too hot when you add it to the tortillas, the steam makes them soggy before they even hit the oven. I usually spread the filling out on a plate and let it sit while I’m cleaning up the sheet pan. Five minutes makes all the difference.
For the crispiest results, don’t skip the oil on the tortillas. I know it’s tempting to think the cheese will create enough moisture for browning, but trust me—that little brush of oil or butter is what gives you that shatteringly crisp exterior. And if you’re feeling extra indulgent, brush both sides of the tortillas before baking. I do this when I’m cooking for company, and the texture is absolutely next-level.
Variations & Adaptations
One of the best things about this recipe is how flexible it is. Here are some of my favorite variations:
- Spicy Version: Add 1-2 teaspoons of chipotle powder or a diced jalapeño to the vegetable mix. I made this version for my brother-in-law who loves heat, and he said it was “the best thing I’ve ever made.” High praise from that guy.
- Vegetarian Option: Swap the chicken for 2 cans of drained and rinsed black beans, or use 12 ounces of sliced portobello mushrooms. Roast the mushrooms with the same spice blend—they get beautifully caramelized and meaty.
- Low-Carb Adaptation: Use low-carb tortillas or large lettuce wraps. The filling itself is naturally low-carb, so you’re really just swapping the vessel. I’ve done this for friends on keto diets, and they were thrilled.
- Cheese Variations: Try pepper jack for a spicy kick, or use a mix of Oaxaca cheese and mozzarella for that incredible stretchy texture. I once made a batch with smoked gouda and cheddar, and it was absolutely divine.
- Breakfast Quesadillas: This is my personal favorite twist. Use the same fajita filling, but add a scrambled egg to each quesadilla before baking. Serve with salsa verde for the ultimate weekend breakfast.
Serving & Storage Suggestions
These quesadillas are best served hot, right out of the oven, when the cheese is still gooey and the exterior is at peak crispiness. I like to cut them into wedges and arrange them on a platter with small bowls of sour cream, salsa, guacamole, and fresh cilantro. A squeeze of fresh lime juice right before serving brightens everything up beautifully.
For drinks, a cold Mexican lager like Modelo or a bright margarita pairs perfectly. If you’re keeping it non-alcoholic, a tall glass of horchata or even just iced tea with lime works wonderfully.
Storage: Leftover quesadillas can be stored in an airtight container in the refrigerator for up to 3 days. To reheat, I recommend the oven or air fryer—microwaving makes them soggy. Place them on a baking sheet at 350°F for 5-7 minutes, or in the air fryer at 375°F for 3-4 minutes. They won’t be quite as crispy as fresh, but they’re still delicious.
You can also freeze the assembled but unbaked quesadillas. Wrap each one individually in plastic wrap, then place them in a freezer bag. When you’re ready to cook, bake from frozen at 400°F for 12-15 minutes, flipping halfway through. This is my secret weapon for busy weeks when I know I won’t have time to cook.
Nutritional Information & Benefits
Here’s the approximate nutritional breakdown for one quesadilla (using 8 servings per batch):
- Calories: 385
- Protein: 32g
- Fat: 18g
- Carbohydrates: 24g
- Fiber: 3g
- Sugar: 4g
These quesadillas are actually a pretty balanced meal. The chicken provides lean protein that keeps you full and satisfied, while the bell peppers and onions add a healthy dose of vitamin C and fiber. The cheese offers calcium and a little fat that helps you absorb the fat-soluble vitamins from the vegetables. If you’re watching your sodium, you can reduce the salt in the spice blend and use low-sodium tortillas.
From a wellness perspective, I love that this recipe feels indulgent but isn’t actually that heavy. It’s the kind of meal that satisfies a craving without leaving you feeling sluggish. And honestly, anything that gets me to eat more vegetables while feeling like I’m having a treat is a win in my book.
Conclusion
These crispy sheet-pan chicken fajita quesadillas have become a staple in my kitchen for good reason. They’re quick enough for a frantic Tuesday night but impressive enough for company. The sheet pan method takes all the hassle out of making quesadillas—no flipping individual tortillas in a skillet, no standing over the stove, no mess. Just perfectly crispy, cheesy, fajita-packed goodness every single time.
I hope you give these a try and make them your own. Maybe you’ll add extra jalapeños, or swap in shrimp, or pile on the guacamole like I do. That’s the beauty of this recipe—it’s a starting point that invites creativity. And if you come up with a variation I haven’t thought of, I’d love to hear about it. Drop a comment below and tell me how your quesadillas turned out. Did you try the black bean version? Did your kids gobble them up? Did you discover a new favorite cheese combo?
Until next time, happy cooking—and don’t forget the extra lime juice. Trust me on that one.
Frequently Asked Questions
Can I use corn tortillas instead of flour?
You can, but they won’t get as crispy and they’re more likely to crack when you fold them. If you want to try corn, use the thicker “street taco” size and warm them briefly before assembling so they’re more pliable.
How do I prevent the quesadillas from getting soggy?
The key is not overstuffing them and letting the filling cool slightly before assembling. Also, make sure your sheet pan is hot when you put the assembled quesadillas on it—a hot pan helps create that immediate crisp barrier.
Can I make these ahead of time for a party?
Absolutely! Assemble the quesadillas up to 24 hours in advance and keep them covered in the refrigerator. When you’re ready to serve, bake them straight from the fridge—just add 2-3 minutes to the cooking time.
What’s the best way to reheat leftovers?
Skip the microwave. Use an air fryer at 375°F for 3-4 minutes, or a 350°F oven for 5-7 minutes. They’ll come out almost as crispy as fresh. If you’re in a hurry, a dry skillet over medium heat works too—just flip once.
Can I use pre-cooked chicken or rotisserie chicken?
Yes, and it’s a great shortcut! Skip the roasting step and just warm the pre-cooked chicken with the vegetables for the last 5 minutes of roasting. You’ll lose a little bit of that caramelized flavor, but it’s still delicious and saves even more time.
Pin This Recipe!
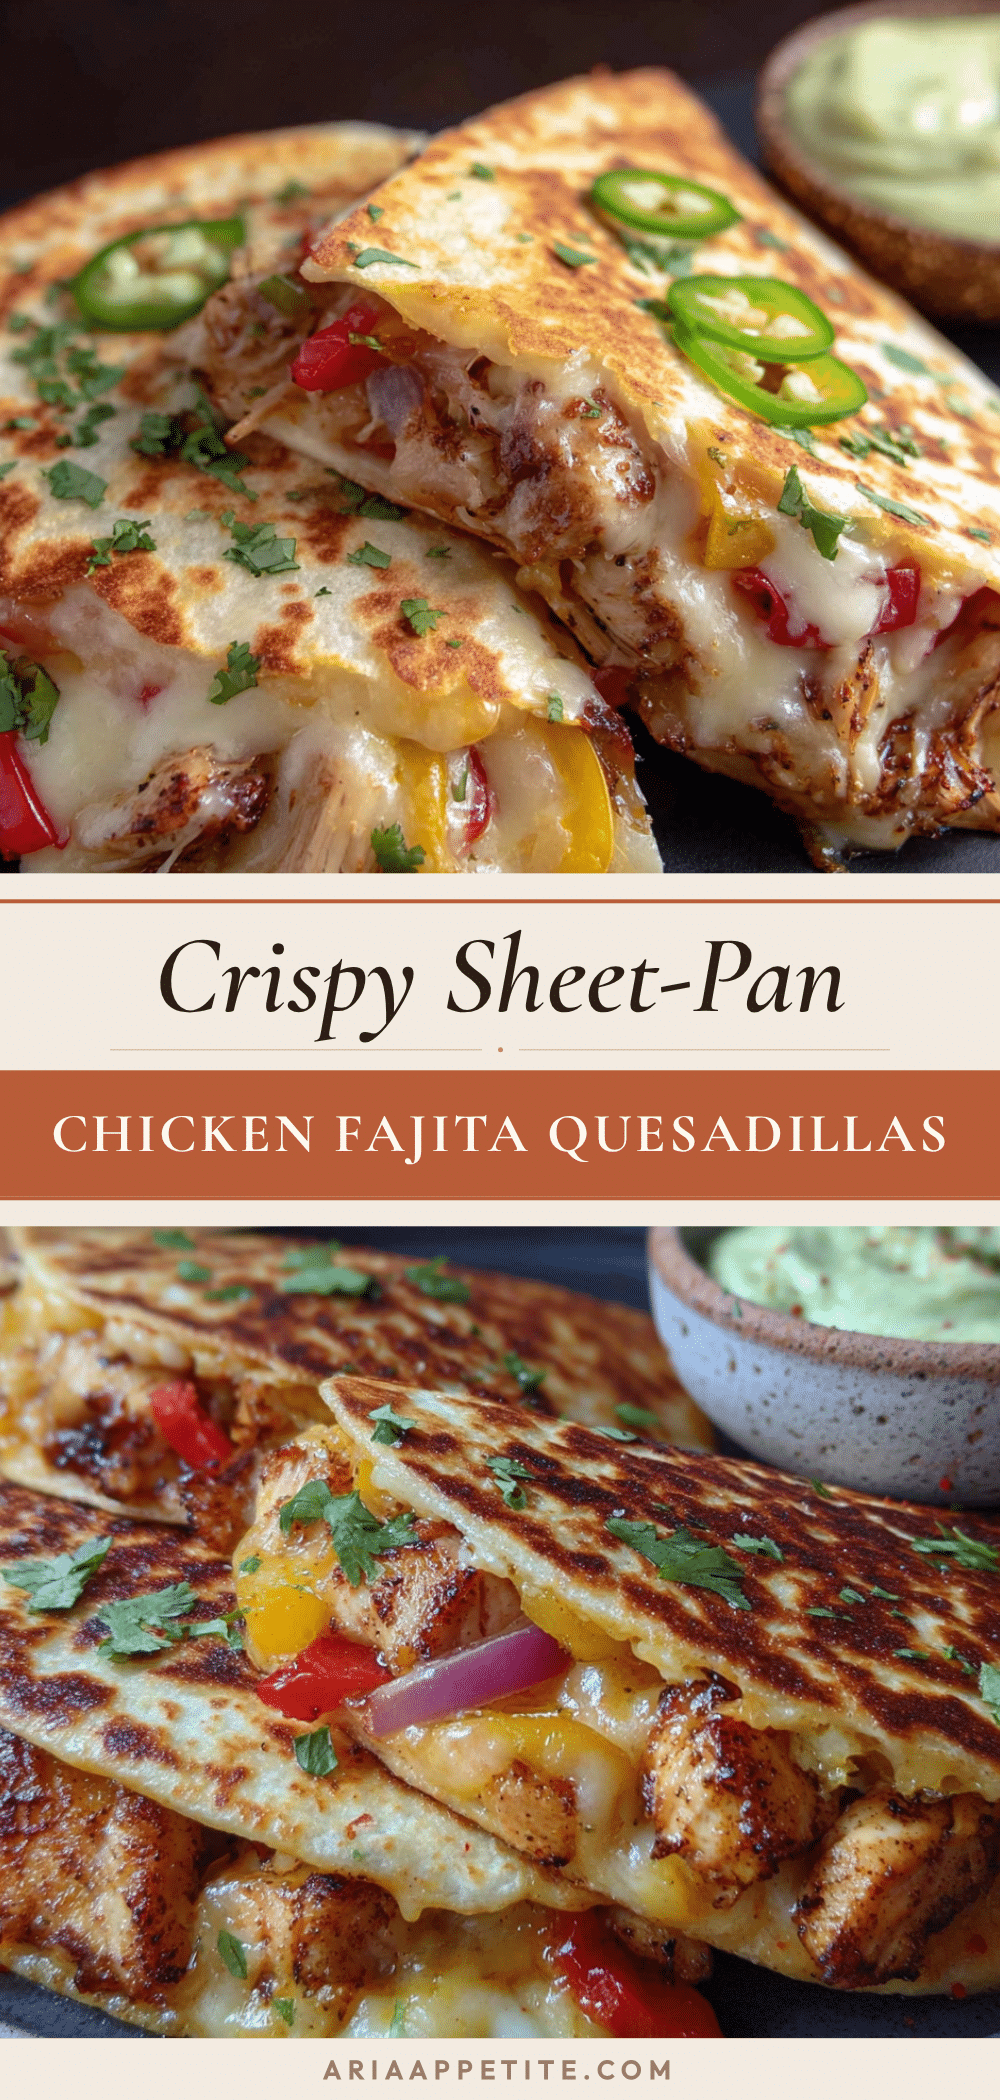
Crispy Sheet-Pan Chicken Fajita Quesadillas: Easy 30-Minute Dinner
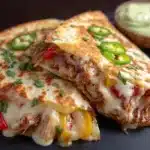
These crispy sheet-pan chicken fajita quesadillas are a weeknight hero, delivering a perfect crispy exterior and gooey, melty interior in just 30 minutes. The sheet pan method makes it easy to feed a crowd with minimal fuss.
- Prep Time: 10 minutes
- Cook Time: 20 minutes
- Total Time: 30 minutes
- Yield: 8 servings 1x
- Category: Main Course
- Cuisine: Mexican
Ingredients
- 1 ½ pounds boneless, skinless chicken breasts, thinly sliced against the grain
- 2 bell peppers (1 red, 1 green), sliced into thin strips
- 1 large yellow onion, sliced into thin half-moons
- 3 tablespoons olive oil, divided
- 2 teaspoons chili powder
- 1 teaspoon ground cumin
- 1 teaspoon smoked paprika
- ½ teaspoon garlic powder
- ½ teaspoon onion powder
- ½ teaspoon salt
- ¼ teaspoon black pepper
- Juice of 1 lime
- 8 large flour tortillas (burrito-size)
- 3 cups shredded Mexican blend cheese (or Monterey Jack and cheddar mix)
- Optional: sour cream, salsa, guacamole, and fresh cilantro for serving
Instructions
- Preheat your oven to 400°F (200°C). Position the rack in the upper third of the oven.
- Slice bell peppers and onion into thin strips (about ¼ inch wide). Toss them on one half of your sheet pan with 1 ½ tablespoons of olive oil, a pinch of salt, and a pinch of pepper.
- In a small bowl, mix chili powder, cumin, smoked paprika, garlic powder, onion powder, salt, and pepper. Slice chicken breasts into thin strips (about ½ inch thick) and toss in a bowl with remaining 1 ½ tablespoons of olive oil and the spice mixture until well coated.
- Spread the peppers and onions in a single layer on the sheet pan and roast for 8 minutes.
- Remove the pan from the oven and push vegetables to one side. Spread seasoned chicken strips in a single layer on the empty side. Return to the oven and roast for another 10-12 minutes, until chicken is cooked through and vegetables are tender and slightly charred.
- Remove the pan from the oven and drizzle lime juice over the chicken and vegetables. Stir gently to combine.
- Lay out tortillas. On one half of each tortilla, sprinkle about ¼ cup of shredded cheese. Top with a scoop of the chicken fajita mixture, then a little more cheese. Fold the empty half over the filling and press gently to seal.
- Line the sheet pan with parchment paper or foil and lightly brush or spray with oil. Place assembled quesadillas in a single layer on the pan.
- Lightly brush the top of each quesadilla with olive oil or melted butter.
- Bake at 400°F for 8 minutes. Carefully flip each quesadilla with a spatula, then bake for another 5-7 minutes, until both sides are deep golden brown and cheese is melted and bubbly.
- Let quesadillas rest on the pan for 2 minutes before slicing into wedges. Serve hot with desired toppings.
Notes
For best results, don’t overcrowd the pan when roasting. Let the cooked filling cool for a few minutes before assembling to prevent soggy tortillas. Brush both sides of tortillas with oil for extra crispiness. Leftovers can be stored in the refrigerator for up to 3 days and reheated in the oven or air fryer.
Nutrition
- Serving Size: 1 quesadilla
- Calories: 385
- Sugar: 4
- Sodium: 650
- Fat: 18
- Saturated Fat: 8
- Carbohydrates: 24
- Fiber: 3
- Protein: 32
Keywords: chicken fajita quesadillas, sheet pan quesadillas, easy dinner, 30-minute meal, crispy quesadillas, Mexican recipe