Love this? Save it for later!
Share the inspiration with your friends
The snow was piling up fast that Wednesday morning. I had been planning to make a proper breakfast—something with eggs and maybe some toast—but the power flickered twice and then just gave up. The kitchen went quiet, the fridge stopped humming, and there I was, staring out the window at this endless white blanket covering everything. Honestly, I was a little annoyed at first. I mean, I had groceries I wanted to use. But then my neighbor’s kid knocked on the door, holding a bucket of fresh snow and looking at me like I had the answer to everything.
“Can we make snow ice cream?” she asked, snowflakes still melting in her hair. And I froze for a second—because I had never actually made snow ice cream before. I knew it was a thing, sure. I’d seen the pictures on social media. But me? In my dark kitchen with no power and a random bucket of snow? It felt like a disaster waiting to happen. But she was so hopeful, and I couldn’t say no. So I grabbed what I had on hand: some vanilla extract, a little sugar, and a can of sweetened condensed milk I’d been saving for something fancy.
The first scoop was terrifying. I poured the sweetened condensed milk over the snow and stirred, watching it turn into this creamy, soft, almost magical texture. And then I tasted it. And honestly? I let out a little laugh right there in the dark kitchen. It was better than anything I had planned. The power stayed out for another four hours, and we sat on the porch eating bowl after bowl of this ridiculously simple snow ice cream. Maybe you’ve been there—when something unplanned becomes the best part of your day. That’s this recipe. It’s not fancy. It’s not complicated. But it’s the kind of thing you’ll remember long after the snow melts. And that’s why I keep making it, every single time it snows.
Why You’ll Love This Recipe
Let me tell you why this snow ice cream recipe is different from the rest. I’ve tested this about a dozen times—with different snow consistencies, different temperatures, and even different brands of sweetened condensed milk. And what I’ve found is that this simple combination just works. It’s not overly sweet, not icy, and not watery. It’s the Goldilocks of snow ice cream, honestly.
- Quick & Easy: This comes together in about 5 minutes flat. No cooking, no waiting, no complicated steps. Perfect for when the snow starts falling and you want to enjoy it immediately.
- Simple Ingredients: You only need 4 ingredients—and I bet you already have most of them in your pantry right now. No special grocery trips required.
- Perfect for Snow Days: Whether you’re stuck inside with kids or just want to feel like a kid again, this recipe turns a snowy afternoon into something special.
- Crowd-Pleaser: I’ve served this to picky eaters, skeptical adults, and kids who usually only want store-bought treats. Every single person has asked for seconds.
- Unbelievably Delicious: The texture is what gets me every time. It’s creamy, soft, and almost like a frozen mousse. The sweetened condensed milk does something magical to the snow that regular sugar just can’t replicate.
What makes this recipe different? It’s the ratio, honestly. I spent three snowstorms tweaking the amount of sweetened condensed milk until it was just right. Too little, and it’s icy. Too much, and it’s soupy. But this version? It’s the one I keep coming back to. It’s comfort food in its purest form—simple, nostalgic, and completely satisfying. And the best part? You don’t need any fancy equipment or skills. Just snow, a bowl, and a spoon.
What Ingredients You Will Need
This snow ice cream recipe uses the simplest ingredients to create something truly special. You probably have most of these in your kitchen already, which makes it perfect for spontaneous snow day cravings.
- 8 cups fresh, clean snow (packed lightly, not packed tight) — This is the star of the show. You want fresh snow that hasn’t been sitting for days. The fluffier and cleaner, the better. I usually wait until the snow has been falling for at least an hour before collecting it. Avoid snow that’s been plowed, walked on, or mixed with dirt or tree debris.
- 1 can (14 ounces) sweetened condensed milk — This is what makes the snow ice cream creamy and sweet without being grainy. I’ve tried this with different brands, and honestly, Eagle Brand works best for me. The texture is consistently smooth. If you’re in a pinch, any brand will work, but avoid the low-fat version—it doesn’t create the same creamy texture.
- 1 teaspoon vanilla extract — Pure vanilla extract makes a noticeable difference here. I’ve used imitation vanilla in a pinch, and it works, but the flavor is a little flat. Spend the extra dollar on pure vanilla if you can. It adds warmth and depth to the snow ice cream.
- Pinch of salt (about ⅛ teaspoon) — This might seem weird, but trust me on this one. A tiny pinch of salt balances the sweetness and enhances the vanilla flavor. It’s one of those little tricks that makes the snow ice cream taste more professional. I use fine sea salt, but regular table salt works fine too.
Optional add-ins: You can stir in chocolate chips, sprinkles, or crushed cookies after mixing. I’ve also added a tablespoon of cocoa powder for a chocolate version—just mix it into the sweetened condensed milk before adding the snow. For a fun twist, try adding a drop of peppermint extract instead of vanilla during the holidays.
Substitution guidance: If you don’t have sweetened condensed milk, you can substitute with ½ cup heavy cream mixed with ⅓ cup sugar. It won’t be quite as creamy, but it works in a pinch. For a dairy-free version, use canned coconut cream mixed with ¼ cup maple syrup. The texture will be slightly different, but still delicious. And if you’re avoiding refined sugar, try using ⅓ cup honey or agave syrup mixed with ¼ cup full-fat coconut milk.
Equipment Needed
You don’t need much for this recipe, which is part of the beauty. Here’s what you’ll need:
- Large mixing bowl — A stainless steel or glass bowl works best. Avoid plastic if you can, as it can sometimes hold onto odors. I use my grandma’s old Pyrex bowl, and it’s perfect for this.
- Wooden spoon or spatula — You’ll want something sturdy for folding the snow into the sweetened condensed milk mixture. A silicone spatula works great too. Just avoid using a whisk, as it can make the snow melt too quickly.
- Measuring cups and spoons — You’ll need these for measuring the snow (yes, really) and the vanilla extract. I use a standard dry measuring cup for the snow.
- Cookie scoop or ice cream scoop — This isn’t strictly necessary, but it makes serving much easier and gives you those beautiful round scoops. I have a spring-loaded scoop that I use for everything.
- Serving bowls and spoons — Metal bowls work best because they keep the snow ice cream cold longer. But honestly, any bowl will do.
Budget-friendly options: If you don’t have a cookie scoop, just use two spoons to shape the snow ice cream. And if you don’t have a large mixing bowl, a clean plastic container works fine. The most important thing is that everything is cold when you start working with the snow.
Preparation Method
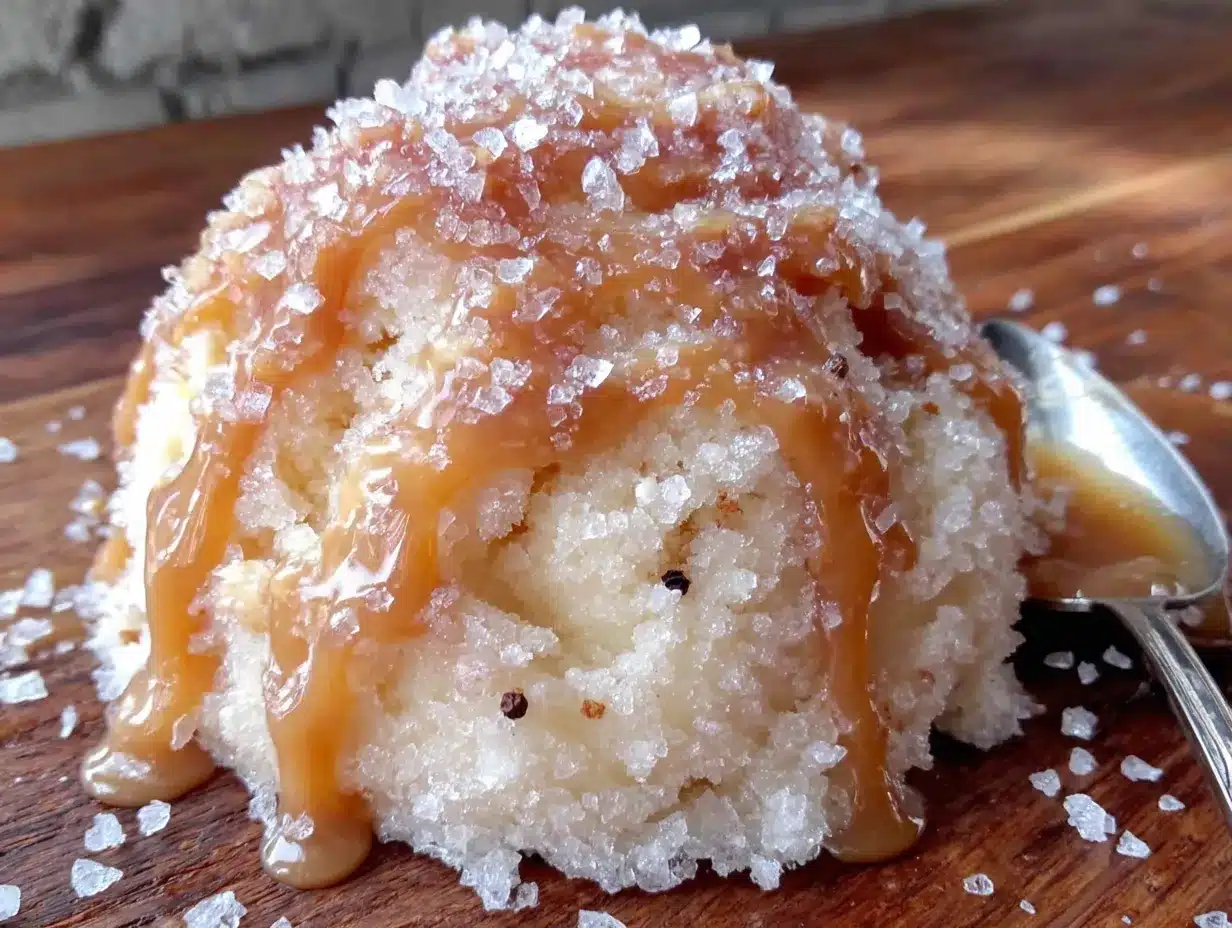
This snow ice cream recipe is incredibly simple, but there are a few tricks to getting it just right. Follow these steps carefully, and you’ll have perfect snow ice cream every time.
- Collect fresh snow (5 minutes) — Wait until the snow has been falling for at least an hour. Go outside with a clean, wide container and gently scoop the top layer of snow. Don’t dig down deep—the top layer is the cleanest. Fill your container with about 8 cups of snow, packed loosely. You want it light and fluffy, not compacted. If the snow has been sitting for more than a day, skip it and wait for fresh snow.
- Prepare the sweetened condensed milk mixture (2 minutes) — In a small bowl, combine the entire can of sweetened condensed milk with the vanilla extract and the pinch of salt. Stir until everything is well combined. The mixture should be smooth and slightly thick. Taste it here—it should be very sweet because it’s going to be diluted by the snow. If it doesn’t taste sweet enough now, add a little more vanilla or a tablespoon of sugar.
- Chill the bowl and spoon (optional but recommended) — If you have time, put your mixing bowl and spoon in the freezer for 10 minutes before you start. This helps keep the snow from melting too quickly when you mix everything together. I usually do this while I’m collecting the snow.
- Combine the snow and sweetened condensed milk mixture (3 minutes) — Place the fresh snow in your chilled mixing bowl. Pour the sweetened condensed milk mixture over the snow in a slow, steady stream. Using your wooden spoon or spatula, gently fold the mixture into the snow. Don’t stir vigorously—you want to incorporate the milk mixture without breaking down the snow too much. Fold until the snow ice cream is uniform in color and texture. You should see no white streaks of plain snow.
- Check the consistency (30 seconds) — The snow ice cream should be soft and scoopable, like a thick milkshake or soft-serve ice cream. If it’s too soupy, add a little more fresh snow and fold gently. If it’s too dry or crumbly, add another tablespoon of sweetened condensed milk. Adjust until it feels right. Trust your instincts here—different snow has different moisture content.
- Serve immediately (2 minutes) — This snow ice cream is best eaten right away. Scoop it into serving bowls and enjoy immediately. The texture changes as it sits, so don’t try to save it for later. If you absolutely must store it, put it in the freezer for no more than 15 minutes. After that, it becomes icy and loses its creamy texture.
- Add toppings (optional, 1 minute) — If you’re using toppings like chocolate chips, sprinkles, or crushed cookies, sprinkle them over the top just before serving. Don’t mix them in, or they’ll sink to the bottom. Let everyone customize their own bowl—it’s more fun that way.
Sensory cues: When you fold the sweetened condensed milk into the snow, you should hear a soft, gentle sound—like folding whipped cream. The snow ice cream should look pale and creamy, almost like vanilla soft-serve. When you scoop it, it should hold its shape but still be soft enough to eat immediately. The smell is pure vanilla and sweetness—comforting and familiar.
Common issue: If your snow ice cream turns out watery, the snow was probably too wet or melting. Try using drier, fluffier snow next time. If it’s too hard to scoop, you might have used too much snow. Add a little more sweetened condensed milk to loosen it up.
Cooking Tips & Techniques
I’ve made this snow ice cream recipe more times than I can count, and I’ve learned a few things the hard way. Here are my best tips for getting it right every time.
Snow quality matters more than you think. I made the mistake of using snow that had been sitting for two days once, and the snow ice cream had a weird, stale taste. Fresh snow is non-negotiable. The best snow comes during the middle of a snowfall, when it’s light and fluffy. Heavy, wet snow from the end of a storm will make your snow ice cream watery. I learned this after a particularly disappointing batch that tasted more like sweet water than ice cream.
Temperature control is everything. Your snow needs to be cold—really cold. If it’s been sitting in a bucket on the counter while you’re mixing the sweetened condensed milk, it’s already starting to melt. Keep the snow in the freezer or outside until you’re ready to use it. I once left my snow on the kitchen counter for five minutes while I looked for the vanilla extract, and it was noticeably softer when I came back. Don’t make that mistake.
Don’t overmix. This is the most common mistake I see. People stir the snow ice cream like they’re making cake batter, and it turns into soup. You want to fold gently, using a light hand. Think of it like folding egg whites into a batter—slow, gentle, and deliberate. Stop as soon as everything is combined. The more you stir, the more the snow melts.
Multitasking strategy: Collect your snow first and put it in the freezer. Then mix your sweetened condensed milk, vanilla, and salt. Chill your bowl and spoon while you’re doing this. By the time everything is ready, your snow is at its coldest and your tools are chilled. This whole process takes about 10 minutes, and it makes a noticeable difference in the final texture.
Consistency tip: If you’re making snow ice cream for a crowd, don’t try to make it all at once. Make it in batches. A large batch takes longer to mix, which means more melting. I make one batch for every 4 people, and it works perfectly. Each batch stays cold and creamy because it’s served immediately.
Variations & Adaptations
One of the best things about this snow ice cream recipe is how easy it is to customize. Here are some of my favorite variations.
Chocolate Snow Ice Cream: Add 2 tablespoons of unsweetened cocoa powder to the sweetened condensed milk mixture before combining with the snow. Stir until smooth. The cocoa powder adds a rich, fudgy flavor that pairs beautifully with the vanilla. I made this for a neighbor who doesn’t like vanilla ice cream, and she asked for the recipe immediately.
Peppermint Snow Ice Cream: Replace the vanilla extract with ½ teaspoon of peppermint extract. Stir in ¼ cup of crushed candy canes or peppermint candies after folding. This version is perfect for the holidays. I made it last Christmas Eve, and it felt like the most festive thing ever. The red and white candy pieces against the white snow ice cream are gorgeous.
Vegan Snow Ice Cream: Use canned coconut cream instead of sweetened condensed milk. Mix 1 can of full-fat coconut cream with ¼ cup maple syrup and 1 teaspoon vanilla extract. The texture will be slightly different—a little less creamy, but still delicious. I’ve tested this version several times, and it’s surprisingly good. The coconut flavor is subtle and works well with the snow.
Fruit Snow Ice Cream: After folding the sweetened condensed milk into the snow, gently fold in ½ cup of fresh or frozen berries. Strawberries, blueberries, or raspberries all work well. If using frozen berries, don’t thaw them first—add them frozen to keep the snow ice cream cold. I love this version in late winter when I’m craving something bright and fresh.
Cookie Butter Snow Ice Cream: Swirl in 2 tablespoons of cookie butter (like Biscoff or Speculoos) after combining the snow and sweetened condensed milk. Don’t fully mix it in—leave ribbons of cookie butter throughout. This version is dangerously good. I made it once for a snow day with friends, and we finished the entire bowl in about 10 minutes.
Serving & Storage Suggestions
Snow ice cream is best enjoyed immediately, but here’s how to make the most of it.
Serving temperature: Serve this snow ice cream right after making it, while it’s still cold and creamy. The ideal temperature is around 20°F (-6°C), which is what fresh snow typically is. If it sits out for more than 5 minutes, it will start to melt. I serve it in chilled metal bowls to keep it cold longer. A metal bowl straight from the freezer can keep the snow ice cream cold for an extra 5-10 minutes.
Presentation: Scoop the snow ice cream into bowls using a cookie scoop or ice cream scoop for uniform, beautiful portions. Top with a drizzle of chocolate syrup, a sprinkle of colorful sprinkles, or a few fresh berries. A light dusting of cinnamon or cocoa powder looks beautiful too. For a fun presentation, serve it in waffle cones or sugar cones—the contrast between the cold snow ice cream and the crunchy cone is wonderful.
Complementary dishes: Snow ice cream pairs beautifully with warm desserts. Serve it alongside a slice of warm apple pie, a brownie fresh from the oven, or a piece of chocolate cake. The hot-and-cold contrast is incredible. I also love serving it with a mug of hot chocolate or a cup of coffee. The warmth of the drink balances the cold of the snow ice cream perfectly.
Storage instructions: Honestly, I don’t recommend storing snow ice cream. It’s really meant to be eaten fresh. But if you absolutely must save some, transfer it to an airtight container and place it in the freezer. It will keep for up to 24 hours, but the texture will change. It becomes icier and less creamy. When you’re ready to eat it, let it sit at room temperature for 5-10 minutes to soften slightly before scooping.
Reheating (or rather, softening): If your snow ice cream has been in the freezer and is too hard to scoop, microwave it for 10-15 seconds to soften it. Don’t microwave it for longer, or it will melt completely. Alternatively, let it sit on the counter for 10-15 minutes. The texture won’t be as good as fresh, but it’s still tasty.
Flavor development: Unlike traditional ice cream, snow ice cream doesn’t improve with time. The flavors don’t meld or deepen. In fact, the opposite happens—the snow ice cream loses its creamy texture and becomes icy. This is one recipe where fresh is always best. So make it, eat it, and enjoy it right away.
Nutritional Information & Benefits
Let’s be honest—this snow ice cream is a treat, not a health food. But it’s made with simple ingredients, and there are a few surprising benefits.
Estimated nutritional values (per ½ cup serving):
- Calories: 180
- Fat: 4g
- Carbohydrates: 32g
- Protein: 3g
- Sugar: 28g
- Sodium: 65mg
Health benefits: The sweetened condensed milk provides calcium and vitamin D from the milk content. It also contains a small amount of protein, which helps balance the sugar rush. The vanilla extract contains small amounts of antioxidants, though honestly, you’d need to eat a lot of it to get any real benefit. The main advantage of this snow ice cream is that it’s made with real ingredients—no artificial flavors, preservatives, or weird additives. It’s a treat, but it’s a clean treat.
Dietary considerations: This recipe is vegetarian. It contains dairy and is not suitable for vegans (unless you use the coconut cream variation). It’s gluten-free, as long as you use pure vanilla extract (some imitation vanillas contain gluten). It’s nut-free, which makes it safe for school or party settings. The main allergen to watch for is milk/dairy.
My personal perspective: I believe in balance. This snow ice cream isn’t something you eat every day—it’s a seasonal treat that appears a few times each winter. And honestly, the joy it brings is worth the sugar. There’s something special about making dessert from snow, about turning a weather event into a memory. So I don’t stress about the nutritional content. I just enjoy it, and I think you should too.
Conclusion
This snow ice cream recipe is one of those rare things that feels both magical and completely simple. It turns a snowy day into something special, using ingredients you probably already have and a process that takes less than 10 minutes. I’ve made it for kids, for adults, for neighbors, and for myself on quiet snowy evenings. And every single time, it brings a smile. There’s something about eating a dessert made from snow that feels like a small miracle—like nature and your kitchen teamed up to create something wonderful.
I hope you try this recipe the next time snow falls in your neighborhood. Don’t overthink it. Just grab a clean bucket, wait for fresh snow, and give it a go. Customize it with your favorite toppings, experiment with the variations, and make it your own. And when you do, I’d love to hear about it. Leave a comment below and let me know how it turned out—did you add chocolate chips? Did you try the peppermint version? Did your kids love it? Your stories make this whole thing worthwhile.
So go ahead—embrace the snow, make a mess in your kitchen, and enjoy every single bite. You deserve it. Happy snow day, friend.
Frequently Asked Questions
Can I use any type of snow for this recipe?
You want fresh, clean snow that has been falling for at least an hour. Avoid snow that’s been sitting for days, snow near roads or sidewalks, and snow that has debris in it. The top layer of fresh snowfall is your best bet.
What if I don’t have sweetened condensed milk?
You can substitute with ½ cup heavy cream mixed with ⅓ cup sugar. It won’t be as creamy, but it works. For a dairy-free version, use canned coconut cream mixed with ¼ cup maple syrup.
Can I make this ahead of time?
This snow ice cream is best eaten immediately. If you store it in the freezer, it will become icy and lose its creamy texture. I recommend making it fresh and serving it right away.
How do I know if the snow is clean enough?
Look for white, fluffy snow with no discoloration. Avoid snow that has yellow or gray patches, and don’t use snow that’s been on the ground for more than a day. If you’re unsure, collect snow from a clean, elevated surface like a table or a car roof (after the car has been cleaned off).
Can I add mix-ins like chocolate chips or fruit?
Absolutely! Fold in chocolate chips, sprinkles, crushed cookies, or fresh berries after combining the snow and sweetened condensed milk. Add them gently to avoid melting the snow. For fruit, use frozen berries to keep the snow ice cream cold.
Pin This Recipe!
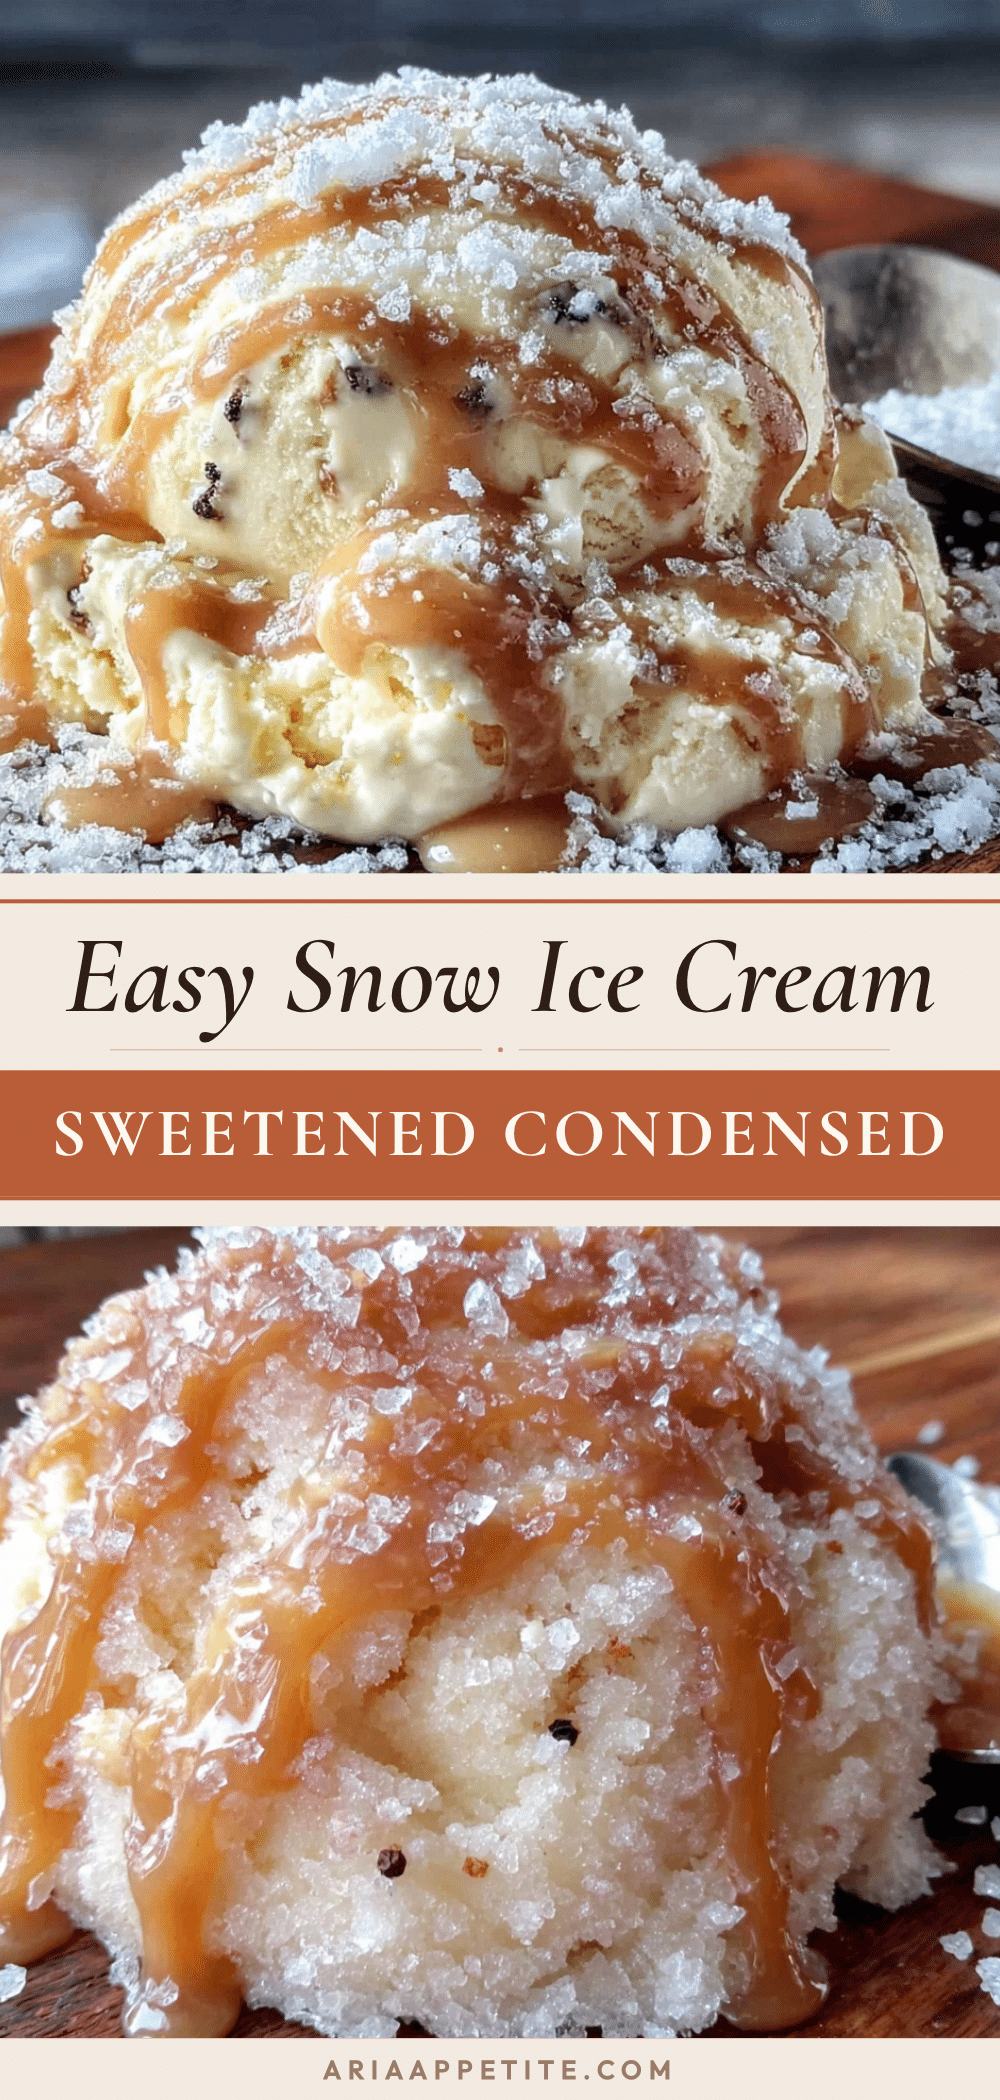
Best Easy Snow Ice Cream Recipe with Condensed Milk (4 Ingredients!)

This snow ice cream recipe uses just 4 ingredients and comes together in about 5 minutes. It’s creamy, soft, and perfect for snow days—a simple treat that turns a snowy afternoon into something special.
- Prep Time: 5 minutes
- Cook Time: 0 minutes
- Total Time: 5 minutes
- Yield: 4 servings 1x
- Category: Dessert
- Cuisine: American
Ingredients
- 8 cups fresh, clean snow (packed lightly)
- 1 can (14 ounces) sweetened condensed milk
- 1 teaspoon vanilla extract
- Pinch of salt (about ⅛ teaspoon)
Instructions
- Collect fresh snow: Wait until the snow has been falling for at least an hour. Go outside with a clean, wide container and gently scoop the top layer of snow. Fill your container with about 8 cups of snow, packed loosely.
- Prepare the sweetened condensed milk mixture: In a small bowl, combine the entire can of sweetened condensed milk with the vanilla extract and the pinch of salt. Stir until everything is well combined.
- Chill the bowl and spoon (optional but recommended): If you have time, put your mixing bowl and spoon in the freezer for 10 minutes before you start.
- Combine the snow and sweetened condensed milk mixture: Place the fresh snow in your chilled mixing bowl. Pour the sweetened condensed milk mixture over the snow in a slow, steady stream. Using a wooden spoon or spatula, gently fold the mixture into the snow until uniform in color and texture.
- Check the consistency: The snow ice cream should be soft and scoopable, like a thick milkshake or soft-serve ice cream. If too soupy, add more fresh snow; if too dry, add another tablespoon of sweetened condensed milk.
- Serve immediately: Scoop into serving bowls and enjoy right away. The texture changes as it sits, so don’t try to save it for later.
- Add toppings (optional): Sprinkle chocolate chips, sprinkles, or crushed cookies over the top just before serving.
Notes
Use fresh, clean snow that has been falling for at least an hour. Avoid snow that’s been sitting for days or near roads. Keep the snow cold until ready to use. Don’t overmix—fold gently to prevent melting. Serve immediately for best texture. For a chocolate version, add 2 tablespoons unsweetened cocoa powder to the milk mixture. For peppermint, replace vanilla with ½ teaspoon peppermint extract and add crushed candy canes.
Nutrition
- Serving Size: ½ cup
- Calories: 180
- Sugar: 28
- Sodium: 65
- Fat: 4
- Saturated Fat: 2.5
- Carbohydrates: 32
- Protein: 3
Keywords: snow ice cream, easy snow ice cream, condensed milk snow ice cream, 4 ingredient snow ice cream, snow day dessert