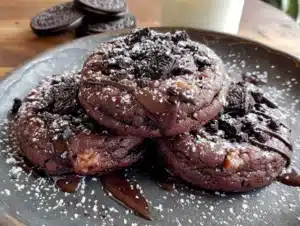
Love this? Save it for later!
Share the inspiration with your friends
Introduction
The school Halloween party was in twelve hours and I’d completely forgotten. My daughter reminded me at 8 PM, right after I’d put my feet up, with that look kids get when they know you’ve messed up. Everyone else would be bringing those elaborate cupcakes with hand-piped frosting and store-bought cookies shaped like ghosts. I had a package of Oreos, some cream cheese, and about an hour before bedtime chaos would fully erupt.
Honestly, I almost just sent her with a bag of candy. But then I remembered these Oreo truffle cookies I’d made once for a neighbor’s potluck, and I figured—why not? I could roll them into little balls, dip them in black candy coating, and call them cat faces. It sounded ridiculous even as I was doing it, but my kitchen looked like a chocolate bomb had gone off by 9 PM, and I had a tray of lumpy black blobs cooling on the counter.
The next day, my daughter came home with an empty container and a note from the room mom. “Please send this recipe!” it said. I mean, I was shocked. These weren’t fancy. They weren’t even particularly pretty—some of the eyes were crooked, and a few whiskers had smudged. But the kids went nuts for them. You know that feeling when you throw something together in a panic and it actually works? That was this recipe. And now it’s become our go-to for every school party, bake sale, and last-minute treat emergency. Let me tell you, there’s something special about a cookie that looks like a cat and tastes like pure Oreo heaven.
Why You’ll Love This Recipe
These Black Cat Oreo Truffle Cookies aren’t just another Halloween treat. They’re the kind of recipe that makes you look like a superhero parent when really you just crushed some cookies and melted some chocolate. Here’s why they work so well for families:
- Super Simple Ingredients: You only need Oreos, cream cheese, and candy coating. That’s it. No fancy baking supplies or trips to specialty stores.
- No Oven Required: Perfect for hot days or when your oven is full of other stuff. These come together on the stovetop or in the microwave.
- Kid-Friendly Assembly: My seven-year-old can make the eyes and whiskers by herself. It’s a great activity for little hands that won’t end in tears.
- Budget-Friendly: A package of Oreos costs about three bucks, and cream cheese is cheap. You can make a whole batch for under ten dollars.
- Picky Eater Approved: I’ve yet to meet a kid who doesn’t love crushed Oreos mixed with cream cheese. It’s basically cheesecake filling in cookie form.
- Make-Ahead Magic: These freeze beautifully, so you can prep them days before your event without any stress.
What sets these apart from other Oreo truffle recipes is the cat face design. It’s not just a ball of chocolate—it’s a cute little animal that kids actually recognize. Plus, the black candy coating gives them that spooky Halloween vibe without any artificial coloring that stains little fingers. I’ve tried versions with white chocolate and milk chocolate, but the black coating really sells the “cat” look. And honestly, the texture is unbeatable—creamy inside with a satisfying snap when you bite through the shell.
This recipe isn’t just good—it’s the kind that makes you close your eyes after the first bite. It’s comfort food reimagined for Halloween, faster and easier than anything you’ll find at the bakery, but with the same soul-soothing satisfaction. Perfect for impressing other parents without spending hours in the kitchen, or turning a simple classroom party into something memorable.
What Ingredients You Will Need
This recipe uses simple, pantry-friendly ingredients to deliver that rich, creamy Oreo flavor with a fun Halloween twist. Most of these items are probably already in your kitchen, which is exactly what you want when you’re making treats for a crowd.
For the Truffle Base:
- 1 package (14.3 ounces) regular Oreo cookies – I recommend using the classic version, not Double Stuf, for the best texture. The filling amount matters here.
- 8 ounces cream cheese, softened – Full-fat cream cheese gives the creamiest result. Let it sit out for 30 minutes before starting so it blends smoothly. Philadelphia brand works great, but any block-style cream cheese is fine.
For the Coating:
- 12 ounces black candy melts or black melting wafers – Wilton brand is my go-to because they melt evenly and have a nice shine. You can find them at craft stores or online.
- 1 tablespoon coconut oil or vegetable shortening – This helps thin the coating for easier dipping. Don’t skip it, or your coating will be too thick.
For the Cat Faces:
- Miniature chocolate chips – For the eyes. About 24 chips for 12 cookies.
- Black licorice strings or black decorating gel – For whiskers. I prefer the gel because it’s easier to control, but licorice strings give a fun crunchy texture.
- Small candy eyes (optional) – You can find these at baking supply stores. They make the cats look extra cute.
- Pretzel sticks – For the cat ears. Break them in half to make triangular shapes. (This is optional if you want a simpler design.)
Substitution Tips:
If you’re gluten-free, use gluten-free Oreo-style cookies—they work exactly the same. For a dairy-free version, use dairy-free cream cheese and dairy-free chocolate chips. I’ve tried both, and while the texture is slightly different, the flavor is still fantastic. For the candy coating, you can use dark chocolate chips melted with a teaspoon of coconut oil, though the color won’t be as black. If you can’t find black candy melts, use dark chocolate and add a tiny bit of black food coloring (oil-based, not water-based, or it will seize).
When selecting your Oreos, check the expiration date. Fresh cookies crush more easily and blend better with the cream cheese. I learned this the hard way when I used an old package and ended up with lumpy truffles that didn’t hold together well. Also, if you’re making these with kids, buy an extra package of Oreos for snacking—trust me on this one.
Equipment Needed
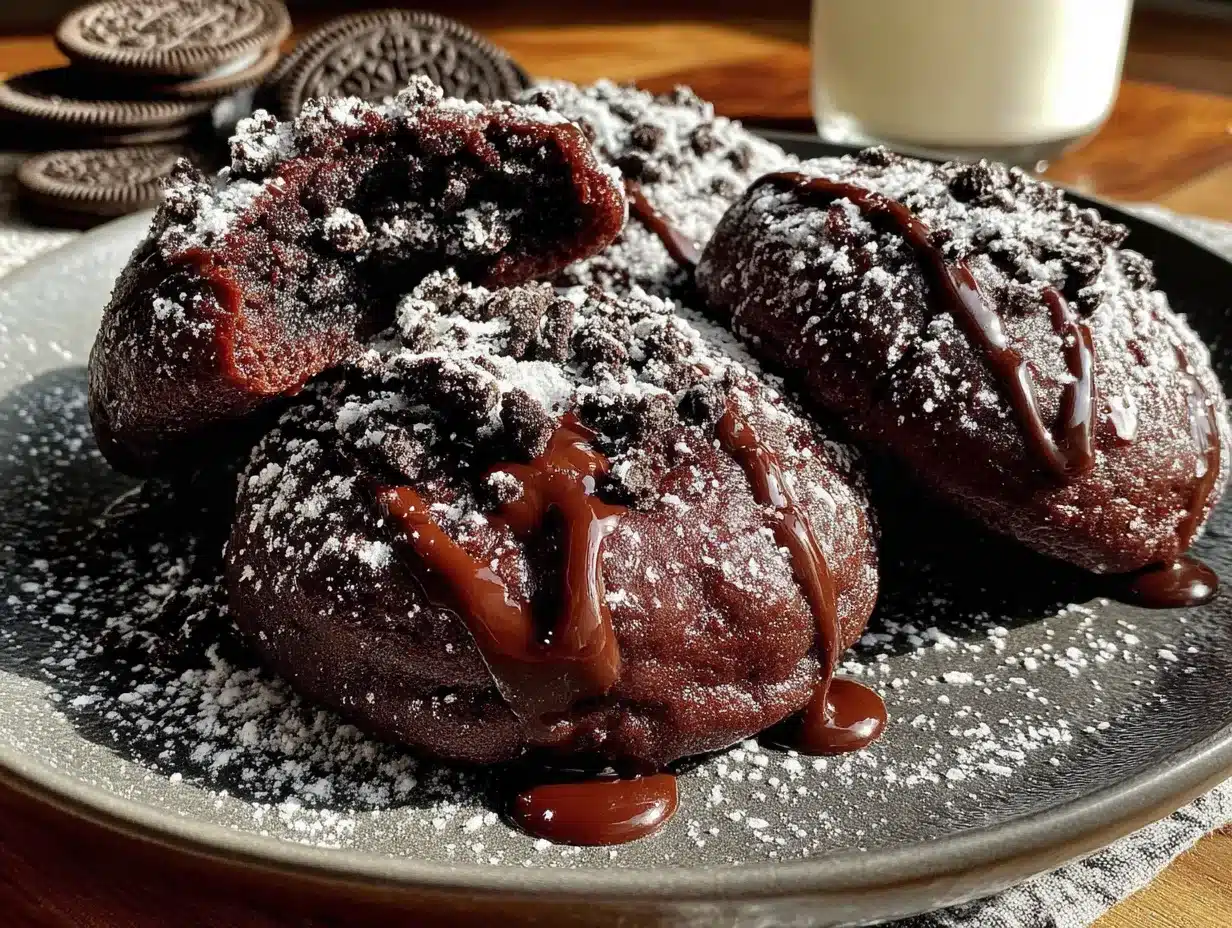
- Food processor or zip-top bag and rolling pin – For crushing the Oreos into fine crumbs. A food processor is faster and gives more consistent results, but the bag-and-rolling-pin method works in a pinch.
- Large mixing bowl – For combining the cookie crumbs and cream cheese.
- Baking sheet lined with parchment paper – For setting the truffles while they chill.
- Microwave-safe bowl or double boiler – For melting the candy coating. I use a glass measuring cup because it’s easy to dip into.
- Fork or dipping tool – For lowering the truffles into the coating. A regular dinner fork works fine.
- Small piping bag or zip-top bag with a tiny corner snipped – For adding the whiskers and details.
- Refrigerator – For chilling the truffles before and after dipping.
If you don’t have a food processor, don’t worry. I’ve made these many times by putting the Oreos in a zip-top bag and going to town with a rolling pin. It’s a great arm workout, and kids love helping with this part. Just make sure the bag is sealed tight—I learned that lesson when crumbs exploded all over my kitchen. For the melting, a double boiler is safer if you’re nervous about burning chocolate, but the microwave works perfectly if you go in 30-second bursts.
Preparation Method
Let me walk you through this step by step. I’ve made these cookies at least two dozen times, so I know exactly where things can go wrong and how to fix them.
- Crush the Oreos (5 minutes)
Place the entire package of Oreos—filling and all—into your food processor. Pulse until you have fine, sand-like crumbs. No big chunks should remain. If you’re using the bag method, seal the Oreos in a zip-top bag, remove as much air as possible, and crush with a rolling pin until uniform. You should have about 2 cups of crumbs. - Mix the truffle base (3 minutes)
In a large bowl, combine the Oreo crumbs with the softened cream cheese. Use a spatula or your hands to mix until fully incorporated. The mixture will be thick and slightly sticky. It should hold together when pressed into a ball. If it’s too dry, add another tablespoon of cream cheese. If it’s too wet, add a few more crushed Oreos. I’ve had both happen, and it’s an easy fix. - Shape the truffles (10 minutes)
Roll the mixture into 1-inch balls. You should get about 24 truffles from this batch. Place them on a parchment-lined baking sheet. For the cat faces, shape each ball slightly into an oval rather than a perfect sphere—this gives them a more cat-like face shape. If you’re adding pretzel ears, gently press two small pretzel pieces into the top of each ball now. - Chill the truffles (30 minutes minimum)
Place the baking sheet in the refrigerator for at least 30 minutes. This is crucial—if you try to dip warm truffles, they’ll fall apart in the coating. I usually chill them for an hour while I clean up the kitchen. You can also freeze them for 15 minutes if you’re in a hurry. - Melt the candy coating (5 minutes)
Place the black candy melts and coconut oil in a microwave-safe bowl. Microwave in 30-second intervals, stirring between each, until completely smooth. Be careful not to overheat—candy coating burns easily and becomes thick and unusable. If it’s too thick, add another teaspoon of coconut oil. - Dip the truffles (15 minutes)
Working one at a time, drop a chilled truffle into the melted coating. Use a fork to gently turn it until fully covered. Lift it out with the fork, tap the handle against the bowl to remove excess coating, and place it back on the parchment paper. If you added pretzel ears, be careful not to knock them off during dipping. I hold the truffle by the ears with my fingers and dip the bottom half first, then use a spoon to coat the top. - Add the cat details (10 minutes)
While the coating is still wet, press two miniature chocolate chips into each truffle for eyes. For the nose, you can add a small dot of black gel or a tiny chocolate chip. For whiskers, use the black decorating gel to draw three lines on each side of the face. If you’re using licorice strings, cut them into small pieces and press them in before the coating sets. Work quickly—the coating hardens fast. - Set the cookies (15 minutes)
Let the decorated truffles sit at room temperature until the coating is completely set. If you’re in a hurry, you can pop them back in the refrigerator for 5 minutes. Once set, they’re ready to serve or store.
Pro tip from my kitchen: When dipping, don’t overcrowd the bowl. Work with just a few truffles at a time so the coating stays smooth. If it starts to thicken, reheat it in the microwave for 15 seconds. Also, keep a damp paper towel nearby for sticky fingers—this gets messy, but that’s half the fun.
Cooking Tips & Techniques
I’ve made plenty of mistakes with these cookies so you don’t have to. Here’s what I’ve learned the hard way:
Don’t overmix the cream cheese. I used to beat it until it was perfectly smooth, but that made the truffles too soft. Now I mix just until combined, and they hold their shape much better. The cookies should have some texture from the Oreo pieces.
Temperature matters. Cold truffles are your best friend. If they start getting warm while you’re dipping, pop the whole tray back in the fridge for 10 minutes. I once tried to rush through this step and ended up with a bowl of black soup with truffle chunks floating in it. Not pretty.
Thin your coating properly. The coconut oil isn’t optional—it makes the coating smooth and easy to work with. Without it, you’ll get thick, gloppy coverage that hides all your cute cat details. I use exactly one tablespoon per 12 ounces of melts.
Work in batches. Don’t try to dip all 24 truffles at once. Take out 6 from the fridge at a time, dip them, add the details, and then move to the next batch. This keeps everything cold and manageable.
Fix mistakes quickly. If a whisker smudges or an eye falls off, you can usually fix it while the coating is still wet. If it’s already set, just dip a toothpick in melted coating and use it as glue. I’ve saved many a lopsided cat this way.
Timing strategy for parties: Make the truffle base and shape the balls the night before. Keep them in the fridge covered with plastic wrap. The next day, all you have to do is melt, dip, and decorate. This takes the pressure off and makes the process much more enjoyable, especially if you have little helpers.
Variations & Adaptations
One of the best things about this recipe is how customizable it is. Here are some variations I’ve tried and loved:
Pumpkin Cat Truffles: For a fall twist, add 1/4 cup pumpkin puree and 1 teaspoon pumpkin pie spice to the cream cheese mixture. Reduce the cream cheese by 2 tablespoons to compensate for the extra moisture. The orange color peeks through the black coating and looks adorable.
White Chocolate Cats: Use white candy melts instead of black, and add orange food coloring to make pumpkin cats. Or leave them white and use dark chocolate chips for eyes—they look like little ghost cats. My daughter prefers these because they’re “less scary.”
Gluten-Free Version: Use gluten-free chocolate sandwich cookies. I’ve tried several brands, and they all work well. Just make sure your candy coating is also gluten-free—most are, but check the label.
Mini Cat Bites: Roll the truffles into 1/2-inch balls for bite-sized treats. They’re perfect for classroom parties where you need to stretch the batch. Kids love the tiny size, and they’re easier for little hands to hold.
Spider Truffles: Skip the cat face and add eight pretzel stick legs instead. Use candy eyes and a dot of red gel for a spider. This is a fun alternative if you’re making a variety of Halloween treats.
Mint Oreo Version: Use mint-flavored Oreos for a refreshing twist. The green filling adds a subtle mint flavor that pairs beautifully with the dark chocolate coating. I made these for a holiday party and they disappeared fast.
My personal favorite variation is adding a pinch of sea salt to the cream cheese mixture. It sounds weird, but that salty-sweet combination is irresistible. I discovered this by accident when I grabbed the wrong container, and now I do it every time.
Serving & Storage Suggestions
These Black Cat Oreo Truffle Cookies are best served chilled or at room temperature. I prefer them straight from the fridge because the coating has a satisfying snap, but my kids like them softer at room temperature. Either way, they’re delicious.
Presentation ideas: Arrange them on a black or orange platter for maximum Halloween impact. You can also place them in mini cupcake liners for easy grabbing at parties. For a classroom treat, pack them in a clear container with a ribbon—they look like something from a fancy bakery.
Storage instructions: Store the truffles in an airtight container in the refrigerator for up to 1 week. Layer them between sheets of parchment paper so the decorations don’t smudge. I’ve kept them for 10 days without any loss of quality, though the coating might start to dull after a week.
Freezer tips: These freeze beautifully for up to 3 months. Place them in a single layer on a baking sheet and freeze until solid, then transfer to a freezer-safe container. When you’re ready to serve, thaw them in the refrigerator overnight. Don’t thaw at room temperature—the coating can sweat and become sticky.
Reheating note: You don’t need to reheat these—they’re served cold. But if you want a softer texture, let them sit at room temperature for 15 minutes before serving. The filling will soften slightly while the coating stays firm.
Flavor development: These actually taste better the next day. The flavors meld together, and the cream cheese softens the Oreo crumbs into a fudgy texture. If you can resist eating them immediately, make them a day ahead for the best results. I’ve learned this through many taste tests—for research purposes, of course.
Nutritional Information & Benefits
Let’s be honest—these are a treat, not a health food. But here’s what you’re looking at per truffle (based on 24 servings):
- Calories: Approximately 180-200
- Fat: 11g
- Carbohydrates: 22g
- Protein: 2g
- Sugar: 15g
That said, there are a few bright spots. The cream cheese adds a small amount of protein and calcium. Oreos contain a bit of iron from the enriched flour. And hey, the coconut oil in the coating provides healthy fats—every little bit counts, right?
Dietary considerations: These are not gluten-free unless you use gluten-free cookies. They contain dairy from the cream cheese and candy coating. For a dairy-free version, use dairy-free cream cheese and dark chocolate that’s certified dairy-free. They’re also nut-free if you use standard Oreos and check your candy coating label.
Allergen note: Oreos are made in a facility that processes peanuts and tree nuts, so if you have severe allergies, check the packaging. The candy coating may also contain soy lecithin.
My personal take: These are a special occasion treat, and there’s nothing wrong with that. I’d rather my kids have one of these homemade cookies than a bag of processed candy from the store. At least I know exactly what’s in them, and they’re made with love—that counts for something.
Conclusion
These Black Cat Oreo Truffle Cookies have saved me more times than I can count. From forgotten school parties to last-minute Halloween gatherings, they’ve never let me down. They’re simple enough for a weeknight project but cute enough to impress at any event. And honestly, watching my daughter’s face light up when she sees her cat creations is worth every messy minute in the kitchen.
I hope you give these a try, whether you’re a seasoned baker or someone who barely knows where the measuring cups are. Customize them however you like—add different colors, change up the faces, or experiment with flavors. That’s the beauty of this recipe: it’s forgiving, flexible, and always delicious.
If you make these, I’d love to hear about it. Drop a comment below with your variations or tag me in your photos. Did your kids help? Did they come up with their own cat designs? I’m always looking for new ideas to try. And if you’re looking for more easy Halloween treats, check out my spider web cupcakes and pumpkin patch bark—they’re just as kid-friendly and just as forgiving.
Happy Halloween, and happy baking! Remember, the crooked cats are the ones with the most character.
Frequently Asked Questions
Can I use Double Stuf Oreos for this recipe?
Yes, but the texture will be slightly softer because of the extra filling. You may need to add a few more crushed cookies to balance it out. I’ve used Double Stuf before and they work fine—just expect a creamier truffle.
How do I prevent the candy coating from cracking?
Cracking happens when the coating is too thick or the truffles are too cold. Make sure your coating is smooth and thin enough to coat easily. Also, let the truffles sit at room temperature for 5 minutes after dipping before refrigerating. This prevents thermal shock.
Can I make these without a food processor?
Absolutely! Place the Oreos in a zip-top bag and crush them with a rolling pin. It takes a few extra minutes, but it’s a great activity for kids. Just make sure the bag is sealed tightly—I learned this the messy way.
How far in advance can I make these for a party?
You can make the truffle base up to 3 days ahead and keep it in the fridge. Or make the fully decorated cookies up to 1 week ahead. They also freeze beautifully for up to 3 months. I usually make them 2 days before an event for the best flavor and texture.
My truffles are too soft and won’t hold their shape. What went wrong?
This usually happens when the cream cheese is too warm or you’ve added too much. Make sure your cream cheese is softened but not warm, and measure it accurately. If the mixture is too soft, add more crushed Oreos. Also, don’t skip the chilling step—cold truffles are much easier to work with.
Pin This Recipe!
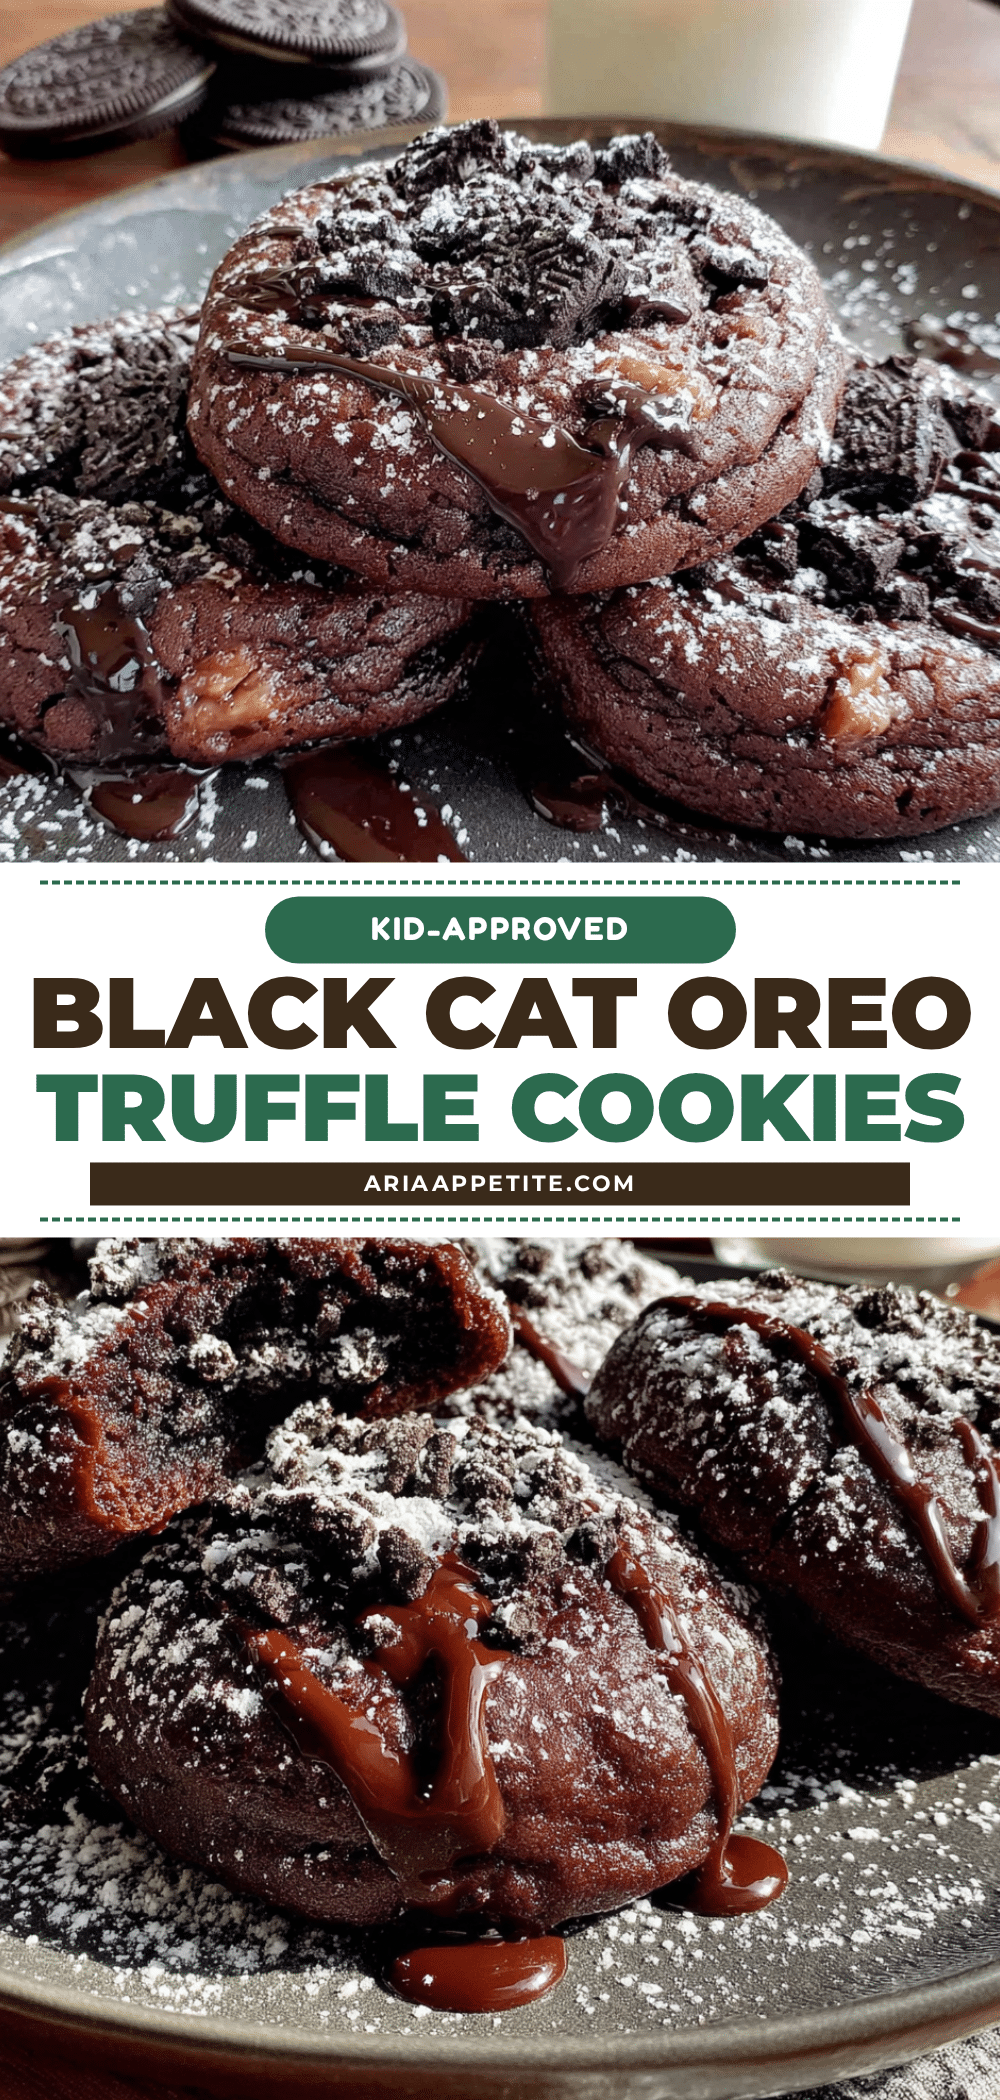
Best Black Cat Oreo Truffle Cookies – Easy Kid-Approved Recipe
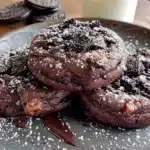
These Black Cat Oreo Truffle Cookies are a fun, no-bake Halloween treat made with crushed Oreos, cream cheese, and black candy coating. Perfect for last-minute school parties, they’re kid-friendly, budget-friendly, and absolutely delicious.
- Prep Time: 15 minutes
- Cook Time: 5 minutes
- Total Time: 1 hour 5 minutes
- Yield: 24 servings 1x
- Category: Dessert
- Cuisine: American
Ingredients
- 1 package (14.3 ounces) regular Oreo cookies
- 8 ounces cream cheese, softened
- 12 ounces black candy melts or black melting wafers
- 1 tablespoon coconut oil or vegetable shortening
- Miniature chocolate chips (for eyes)
- Black licorice strings or black decorating gel (for whiskers)
- Small candy eyes (optional)
- Pretzel sticks (for ears, optional)
Instructions
- Crush the Oreos: Place the entire package of Oreos into a food processor and pulse until fine, sand-like crumbs form. Alternatively, seal in a zip-top bag and crush with a rolling pin.
- Mix the truffle base: In a large bowl, combine the Oreo crumbs with the softened cream cheese. Mix until fully incorporated. The mixture should be thick and slightly sticky.
- Shape the truffles: Roll the mixture into 1-inch balls (about 24). Shape each into a slight oval for a cat-like face. If using pretzel ears, gently press two small pieces into the top of each ball.
- Chill the truffles: Place the baking sheet in the refrigerator for at least 30 minutes (or freeze for 15 minutes).
- Melt the candy coating: Place the black candy melts and coconut oil in a microwave-safe bowl. Microwave in 30-second intervals, stirring between each, until completely smooth.
- Dip the truffles: Working one at a time, drop a chilled truffle into the melted coating. Use a fork to turn it until fully covered. Lift out, tap off excess, and place back on parchment paper.
- Add the cat details: While the coating is still wet, press two miniature chocolate chips into each truffle for eyes. Use black decorating gel to draw three whiskers on each side. Add a small dot for the nose if desired.
- Set the cookies: Let the decorated truffles sit at room temperature until the coating is completely set (about 15 minutes). Refrigerate for 5 minutes if in a hurry.
Notes
Chill truffles thoroughly before dipping to prevent them from falling apart. Thin the candy coating with coconut oil for a smooth finish. Work in batches to keep truffles cold. For best flavor, make a day ahead.
Nutrition
- Serving Size: 1 truffle
- Calories: 190
- Sugar: 15
- Sodium: 120
- Fat: 11
- Saturated Fat: 6
- Carbohydrates: 22
- Fiber: 1
- Protein: 2
Keywords: Halloween cookies, Oreo truffles, no-bake cookies, kid-friendly, black cat cookies, easy Halloween treat