Love this? Save it for later!
Share the inspiration with your friends
My roommate asked why I couldn’t just use the same bread I always did. I started to explain why that wouldn’t work—then stopped. She had a point. It was the Tuesday before Thanksgiving, and I was staring at a pile of gluten-free bread that felt more like cardboard than something you’d actually want to eat. Let me tell you, I was this close to giving up on the whole stuffing idea.
Honestly, I’d been dreading this moment for weeks. Every fall gathering I’d been to that year had this beautiful, golden stuffing sitting on the table, and I just couldn’t have it. The celiac diagnosis was still fresh, and let’s face it, giving up gluten-free bread that actually tastes good is one thing—giving up stuffing was another beast entirely. My roommate, who had never cooked a Thanksgiving meal in her life, watched me struggle with a bag of stale gluten-free bread cubes. “Why don’t you just make it yourself?” she asked. “From scratch. With real herbs.” I laughed at first. Then I realized she wasn’t joking.
Three hours later, I had a kitchen that looked like a flour bomb went off, but I also had something that smelled like my grandmother’s kitchen. The herbs—sage, thyme, rosemary—filled every corner of our tiny apartment. The texture was soft and tender on the inside, with these crispy golden edges that made the most satisfying sound when you bit into them. I mean, I actually cried a little. Not gonna lie. Maybe you’ve been there—that moment when a recipe you were sure would fail turns out to be exactly what you needed.
That’s how this cozy gluten-free herb stuffing was born. It’s been my go-to for every fall gathering since, and I keep making it because it reminds me that sometimes the best things come from being wrong.
Why You’ll Love This Recipe
This isn’t just another gluten-free stuffing recipe that leaves you disappointed. After testing this recipe seven times (yes, seven), I can promise you it delivers on every level. Here’s what makes it stand out:
- Quick & Easy: Comes together in under 45 minutes, perfect for busy holiday mornings or last-minute dinner invites.
- Simple Ingredients: No fancy grocery trips needed. You probably already have most of these in your pantry.
- Perfect for Fall Gatherings: Great for Thanksgiving, Friendsgiving, or any cozy autumn dinner where comfort food is required.
- Crowd-Pleaser: Honestly, I’ve served this to people who don’t need to eat gluten-free, and they always ask for seconds.
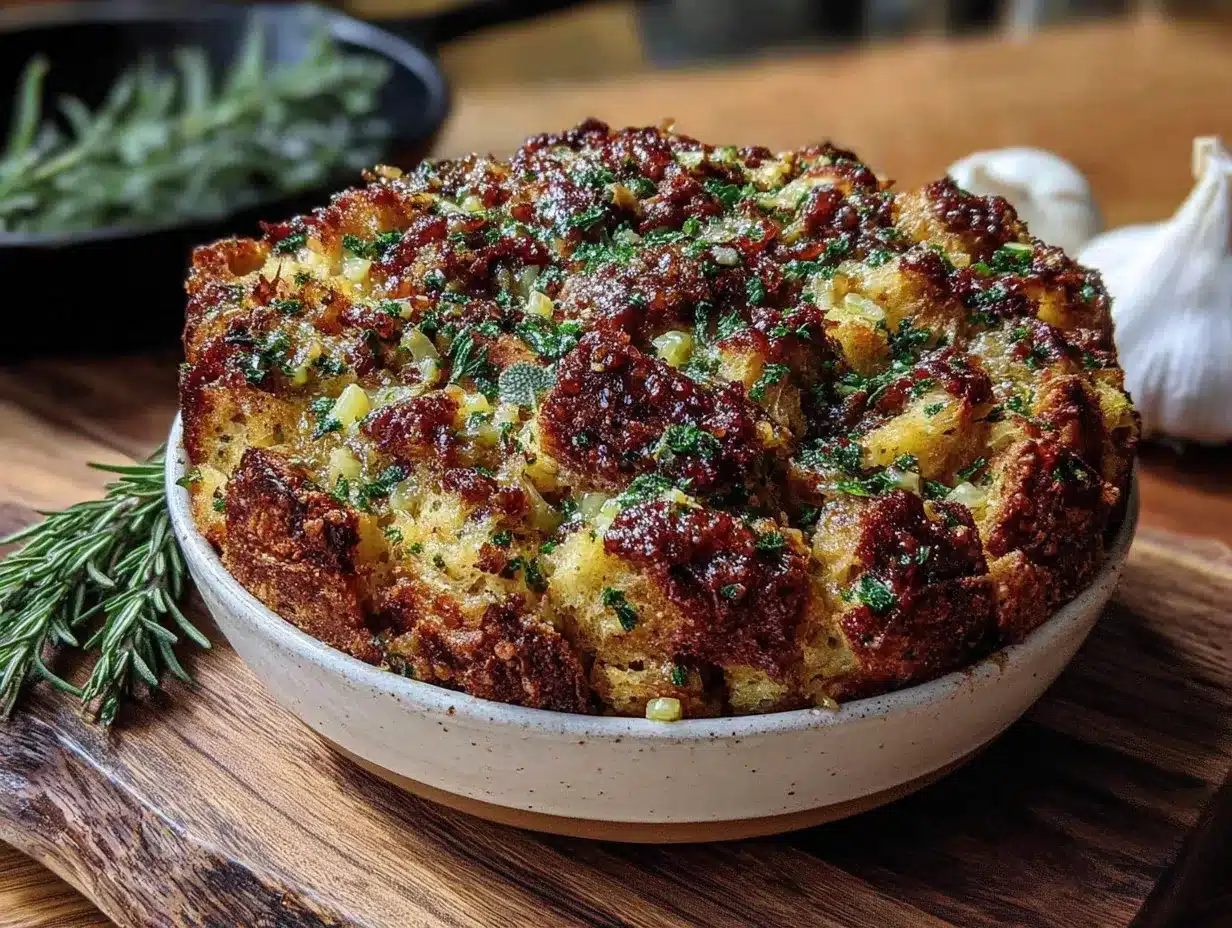
- Unbelievably Delicious: The texture is soft and tender with crispy edges, and the herb flavor is next-level comfort food.
What makes this recipe different from the rest? It’s the technique. Instead of using pre-packaged gluten-free bread cubes that turn to mush, I use a specific type of gluten-free bread and a special toasting method that gives you that perfect texture. The combination of fresh herbs and a rich vegetable broth creates a depth of flavor that you just can’t get from a box.
This recipe isn’t just good—it’s the kind that makes you close your eyes after the first bite. It’s comfort food reimagined, healthier and faster, but with the same soul-soothing satisfaction. Perfect for impressing guests without stress, or turning a simple fall meal into something memorable.
What Ingredients You Will Need
This recipe uses simple, wholesome ingredients to deliver bold flavor and satisfying texture without the fuss. Most of these are pantry staples that you’ll already have on hand during the fall season.
For the Stuffing Base
- 1 large loaf gluten-free bread, cut into 1-inch cubes (about 10-12 cups) — I recommend Canyon Bakehouse or Schar for best texture
- 4 tablespoons unsalted butter (or dairy-free butter, like Miyoko’s, for a vegan option)
- 1 large yellow onion, diced (about 2 cups)
- 3 celery stalks, diced (about 1½ cups) — adds that classic crunch
- 3 cloves garlic, minced
For the Herb Blend
- 2 tablespoons fresh sage, finely chopped — this is non-negotiable for that fall flavor
- 1 tablespoon fresh thyme leaves
- 1 tablespoon fresh rosemary, finely chopped
- 1 teaspoon dried parsley (or 1 tablespoon fresh)
- ½ teaspoon dried oregano
For the Liquid & Seasoning
- 2 cups vegetable broth (use low-sodium so you can control the salt)
- 1 large egg, beaten (or flax egg for vegan version: 1 tablespoon ground flaxseed + 3 tablespoons water)
- 1 teaspoon salt (adjust to taste)
- ½ teaspoon black pepper
- ½ teaspoon poultry seasoning — adds that classic stuffing flavor
Ingredient Selection Tips: Look for gluten-free bread that’s sturdy and not too crumbly. The crusty artisan-style loaves work best. Avoid the soft sandwich bread—it turns into paste. For the herbs, fresh really makes a difference here, but in a pinch, you can use dried herbs. Just reduce the amount by half since dried herbs are more concentrated.
Substitution Guidance: If you’re dairy-free, use a good quality vegan butter. For a lower-sodium option, use homemade vegetable broth or a no-salt-added version. You can also add ½ cup of dried cranberries or chopped apples for a sweet twist—my roommate actually suggested that, and it was amazing.
Equipment Needed
- Large baking sheet — for toasting the bread cubes
- Large skillet or sauté pan — for cooking the vegetables
- Large mixing bowl — for combining everything
- 9×13-inch baking dish — for baking the stuffing
- Sharp knife and cutting board — for chopping vegetables and herbs
- Measuring cups and spoons — for accuracy
- Aluminum foil — for covering during baking
If you don’t have a 9×13-inch dish, you can use a 10-inch cast iron skillet or a 3-quart casserole dish. Just adjust the baking time slightly. I’ve used both, and they work beautifully. Pro tip: line your baking sheet with parchment paper to make cleanup easier—trust me on this one.
Preparation Method
- Preheat your oven to 350°F (175°C). This is the perfect temperature for getting that golden-brown crust without burning the herbs.
- Toast the bread cubes. Spread the gluten-free bread cubes on a large baking sheet in a single layer. Bake for 10-12 minutes, flipping halfway through, until they’re lightly golden and dry to the touch. Don’t skip this step—it’s the secret to preventing mushy stuffing. The cubes should feel like croutons when you take them out.
- While the bread toasts, prepare your vegetables. In a large skillet, melt 3 tablespoons of butter over medium heat. Add the diced onion and celery, and cook for 6-8 minutes, stirring occasionally, until the onions are translucent and the celery is tender. The smell at this point is absolutely incredible—like fall in a pan.
- Add the garlic and herbs. Stir in the minced garlic, fresh sage, thyme, rosemary, dried parsley, and oregano. Cook for another 1-2 minutes until fragrant. Be careful not to burn the garlic—it turns bitter quickly. I learned this the hard way when I got distracted by a phone call.
- Combine the dry ingredients. In a large mixing bowl, combine the toasted bread cubes with the cooked vegetable-herb mixture. Toss gently to distribute everything evenly. Add the salt, pepper, and poultry seasoning, and toss again.
- Prepare the liquid mixture. In a separate bowl or measuring cup, whisk together the vegetable broth and beaten egg until well combined. The egg helps bind the stuffing together, giving it that perfect texture that holds its shape when you serve it.
- Combine wet and dry ingredients. Pour the broth mixture over the bread cube mixture. Use a spatula to gently fold everything together until all the bread cubes are evenly moistened. Don’t overmix—you want some cubes to stay slightly dry so they crisp up in the oven. Let the mixture sit for 5 minutes to allow the bread to absorb the liquid.
- Transfer to baking dish. Grease your 9×13-inch baking dish with the remaining 1 tablespoon of butter. Transfer the stuffing mixture to the dish and spread it evenly. Dot the top with small pieces of butter for extra richness—this is my favorite part.
- Bake the stuffing. Cover the dish with aluminum foil and bake for 25 minutes. Then remove the foil and bake for another 15-20 minutes, until the top is golden brown and crispy. The kitchen will smell like heaven at this point—honestly, it’s hard to wait.
- Rest before serving. Let the stuffing rest for 5-10 minutes before serving. This allows the flavors to settle and makes it easier to serve without it falling apart.
Cooking Tips & Techniques
The first time I made this, I made the mistake of using fresh gluten-free bread straight from the bag. Big mistake. The stuffing turned into a soggy mess that looked more like bread pudding than stuffing. Learn from my failure—toasting the bread is absolutely essential.
Here are some pro tips I’ve learned along the way:
- Dry bread is your friend. If you have time, leave the bread cubes out on the counter overnight before toasting. The drier they are, the better they’ll absorb the broth without turning mushy.
- Don’t skip the egg. The egg acts as a binder and gives the stuffing structure. Without it, your stuffing will be more like a casserole that falls apart when you try to serve it.
- Taste before baking. Take a small piece of the mixture and taste it before you put it in the oven. Adjust the salt and herbs as needed. Just remember that flavors intensify slightly as it bakes.
- Use low-sodium broth. This gives you control over the salt level. Different gluten-free breads have varying salt content, so it’s better to start with less and add more later.
- Toast in batches if needed. Don’t overcrowd the baking sheet. The bread cubes need space to dry out evenly. If your baking sheet is too small, do two batches.
One of my biggest cooking failures was forgetting to cover the stuffing for the first 25 minutes. The top burned while the inside was still cold. Covering it allows the stuffing to steam and cook through, then removing the foil lets the top get crispy. Timing is everything here.
Variations & Adaptations
This cozy gluten-free herb stuffing is incredibly versatile. Here are some ways to make it your own:
- Vegan Version: Replace the butter with vegan butter and use a flax egg (1 tablespoon ground flaxseed mixed with 3 tablespoons water, let sit for 5 minutes). Use vegetable broth instead of chicken broth. I’ve made this for my vegan cousin twice, and she swears it’s better than the traditional version.
- Add Some Sweetness: Toss in ½ cup of dried cranberries or chopped dried apples when you add the vegetables. The sweetness balances the savory herbs beautifully. My roommate insisted on trying this, and now I can’t make it without them.
- Sausage & Herb Stuffing: Brown 1 pound of gluten-free sausage (casings removed) in the skillet before cooking the vegetables. Crumble the sausage and mix it into the stuffing. This turns it into a hearty main dish.
- Mushroom Lover’s Version: Sauté 8 ounces of sliced cremini or shiitake mushrooms with the onions and celery. The earthy flavor pairs perfectly with the herbs.
- Make-Ahead Option: Assemble the stuffing in the baking dish, cover, and refrigerate for up to 24 hours before baking. Add 10-15 minutes to the baking time if baking straight from the fridge.
Serving & Storage Suggestions
Serve this stuffing warm, straight from the oven. The contrast between the crispy golden top and the soft, tender interior is what makes it so special. I like to garnish it with a few fresh herb sprigs for a beautiful presentation that screams “fall gathering.”
What to serve with it: This stuffing pairs beautifully with roasted turkey or chicken, but it’s also amazing alongside a hearty lentil loaf or stuffed acorn squash. For a complete fall meal, serve it with roasted Brussels sprouts and a simple green salad with apple cider vinaigrette.
Storage Instructions: Leftover stuffing can be stored in an airtight container in the refrigerator for up to 4 days. The flavors actually develop and deepen overnight, so leftovers might taste even better than the first serving.
Reheating Methods: To reheat, place the stuffing in a 350°F oven for 10-15 minutes, covered with foil to prevent drying out. You can also reheat individual portions in the microwave for 1-2 minutes, though the top won’t be as crispy. For that just-baked texture, I always recommend the oven method.
Freezer Instructions: This stuffing freezes beautifully. Place it in a freezer-safe container and freeze for up to 3 months. Thaw overnight in the refrigerator before reheating. I always make a double batch and freeze one for those random fall cravings.
Nutritional Information & Benefits
Here’s the approximate nutritional breakdown per serving (based on 8 servings):
- Calories: 215
- Total Fat: 9g
- Saturated Fat: 5g
- Cholesterol: 35mg
- Sodium: 480mg
- Total Carbohydrates: 28g
- Dietary Fiber: 3g
- Sugars: 4g
- Protein: 5g
Health Benefits: This stuffing is packed with fresh herbs that offer anti-inflammatory properties. Sage is known for its antioxidant content, while thyme provides vitamin C and immune support. Celery adds fiber and hydration. By using gluten-free bread, this recipe makes a classic comfort food accessible to those with celiac disease or gluten sensitivity.
Dietary Considerations: This recipe is naturally gluten-free. For dairy-free and vegan options, see the variations section. The recipe contains eggs (unless using a flax egg) and may contain traces of nuts depending on your gluten-free bread brand.
Conclusion
This cozy gluten-free herb stuffing has become my signature dish for fall gatherings, and I’m honestly a little proud of that. It started as a kitchen experiment born from frustration, and it turned into something I genuinely look forward to making every year.
What I love most about this recipe is how forgiving it is. You can tweak the herbs, swap in different vegetables, or add your favorite mix-ins, and it still turns out beautifully. It’s the kind of recipe that invites you to make it your own. So go ahead—add those dried cranberries, throw in some mushrooms, or keep it classic with just the herbs. There’s no wrong way to do this.
I’d love to hear how your stuffing turns out! Drop a comment below and let me know what variations you tried. Did you add sausage? Go vegan? Forget the egg and learn the hard way like I did? Share your stories and tag me in your photos. Happy fall cooking, friends—you’ve got this.
Frequently Asked Questions
Can I make this stuffing ahead of time?
Absolutely! You can assemble the stuffing in the baking dish, cover it, and refrigerate for up to 24 hours before baking. Just add 10-15 minutes to the baking time since you’re starting from cold.
What’s the best gluten-free bread for stuffing?
I recommend using a sturdy, crusty gluten-free bread like Canyon Bakehouse or Schar. Avoid soft sandwich bread—it turns into mush. The bread should be at least a day old for best results.
Can I freeze leftover stuffing?
Yes! Store it in a freezer-safe container for up to 3 months. Thaw overnight in the refrigerator and reheat in a 350°F oven until warmed through.
How do I make this stuffing vegan?
Replace the butter with vegan butter, use a flax egg (1 tablespoon ground flaxseed mixed with 3 tablespoons water), and use vegetable broth. Everything else stays the same!
Why did my stuffing turn out soggy?
This usually happens when the bread cubes aren’t toasted enough before mixing. Make sure your bread cubes are dry and lightly golden before adding the liquid. Also, let the mixture sit for 5 minutes after adding the broth to allow even absorption.
Pin This Recipe!
Cozy Gluten-Free Herb Stuffing: Best Fall Side

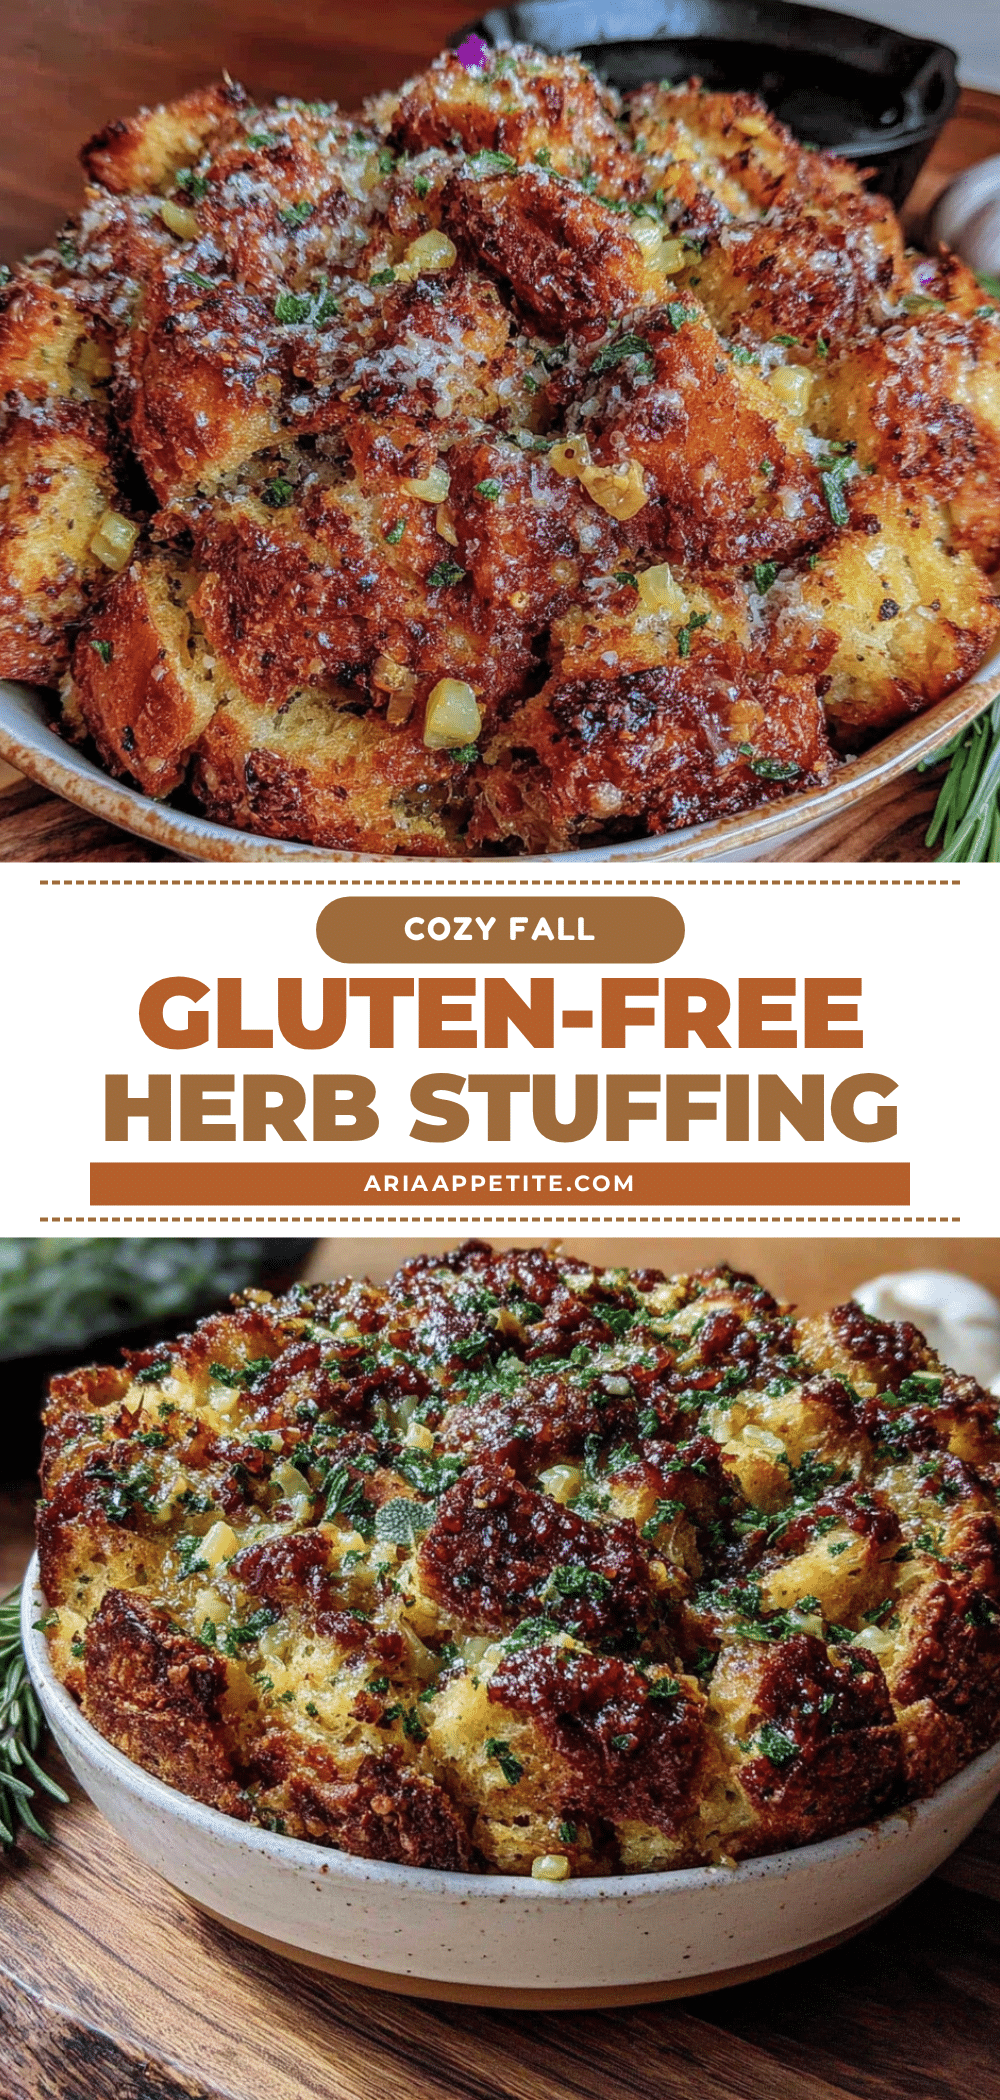
This cozy gluten-free herb stuffing is soft and tender on the inside with crispy golden edges, packed with fresh sage, thyme, and rosemary. Perfect for Thanksgiving, Friendsgiving, or any fall gathering, it’s a crowd-pleaser that even non-gluten-free eaters love.
- Prep Time: 15 minutes
- Cook Time: 45 minutes
- Total Time: 1 hour
- Yield: 8 servings 1x
- Category: Side Dish
- Cuisine: American
Ingredients
- 1 large loaf gluten-free bread, cut into 1-inch cubes (about 10–12 cups)
- 4 tablespoons unsalted butter (or dairy-free butter for vegan option)
- 1 large yellow onion, diced (about 2 cups)
- 3 celery stalks, diced (about 1½ cups)
- 3 cloves garlic, minced
- 2 tablespoons fresh sage, finely chopped
- 1 tablespoon fresh thyme leaves
- 1 tablespoon fresh rosemary, finely chopped
- 1 teaspoon dried parsley (or 1 tablespoon fresh)
- ½ teaspoon dried oregano
- 2 cups vegetable broth (low-sodium recommended)
- 1 large egg, beaten (or flax egg for vegan version: 1 tablespoon ground flaxseed + 3 tablespoons water)
- 1 teaspoon salt (adjust to taste)
- ½ teaspoon black pepper
- ½ teaspoon poultry seasoning
Instructions
- Preheat your oven to 350°F (175°C).
- Toast the bread cubes: Spread the gluten-free bread cubes on a large baking sheet in a single layer. Bake for 10-12 minutes, flipping halfway through, until lightly golden and dry to the touch.
- While the bread toasts, prepare your vegetables: In a large skillet, melt 3 tablespoons of butter over medium heat. Add the diced onion and celery, and cook for 6-8 minutes, stirring occasionally, until the onions are translucent and the celery is tender.
- Add the garlic and herbs: Stir in the minced garlic, fresh sage, thyme, rosemary, dried parsley, and oregano. Cook for another 1-2 minutes until fragrant.
- Combine the dry ingredients: In a large mixing bowl, combine the toasted bread cubes with the cooked vegetable-herb mixture. Toss gently to distribute everything evenly. Add the salt, pepper, and poultry seasoning, and toss again.
- Prepare the liquid mixture: In a separate bowl or measuring cup, whisk together the vegetable broth and beaten egg until well combined.
- Combine wet and dry ingredients: Pour the broth mixture over the bread cube mixture. Use a spatula to gently fold everything together until all the bread cubes are evenly moistened. Let the mixture sit for 5 minutes to allow the bread to absorb the liquid.
- Transfer to baking dish: Grease your 9×13-inch baking dish with the remaining 1 tablespoon of butter. Transfer the stuffing mixture to the dish and spread it evenly. Dot the top with small pieces of butter.
- Bake the stuffing: Cover the dish with aluminum foil and bake for 25 minutes. Then remove the foil and bake for another 15-20 minutes, until the top is golden brown and crispy.
- Rest before serving: Let the stuffing rest for 5-10 minutes before serving.
Notes
Toasting the bread is essential to prevent mushy stuffing. For best results, use sturdy gluten-free bread like Canyon Bakehouse or Schar. Let the mixture sit for 5 minutes after adding broth for even absorption. For a vegan version, replace butter with vegan butter and use a flax egg. Add ½ cup dried cranberries or chopped apples for a sweet twist.
Nutrition
- Serving Size: 1 serving (about 1 c
- Calories: 215
- Sugar: 4
- Sodium: 480
- Fat: 9
- Saturated Fat: 5
- Carbohydrates: 28
- Fiber: 3
- Protein: 5
Keywords: gluten-free stuffing, herb stuffing, Thanksgiving stuffing, fall side dish, gluten-free Thanksgiving, easy stuffing recipe


