Love this? Save it for later!
Share the inspiration with your friends
I had the whole thing planned out in my head. It was the week before Halloween, and my daughter’s class party was coming up. I was going to be the mom who brought the beautiful, Pinterest-perfect veggie tray with the veggies arranged like a rainbow. I had even bought those little plastic eyeballs to stick in the dip. I mean, I was ready. Then, I grabbed the wrong bag of carrots at the store—the pre-cut, skinny little matchstick ones instead of the regular baby carrots. The broccoli was looking a little sad, and the bell peppers I’d bought three days ago were starting to get a bit wrinkly. Honestly, I was already running late and feeling that familiar pressure of trying to be a “fun mom” while simultaneously keeping my sanity. I stared at the mismatched pile of veggies on my cutting board and thought, “Well, this is going to look like a disaster.”
But then, something clicked. Instead of trying to force these imperfect veggies into a perfect rainbow, I just started piling them onto the tray. I grabbed a round platter, plopped the ranch dip bowl in the center, and started arranging the veggies around it like spokes on a wheel. The skinny carrots became little white bandages, the cucumber rounds turned into eyes, and those wrinkly bell peppers? They just looked like they were part of the “spooky” theme. I added a few more strips of red pepper for a tongue, and before I knew it, I had created a mummy. A silly, slightly lopsided, totally imperfect mummy veggie tray. And you know what? It was the first thing to disappear at the party. The kids went wild for it. Maybe you’ve been there—staring at a half-empty fridge, wondering how you’re going to pull off a cute snack for a school event. Let me tell you, this is the recipe that saves you every time.
Why You’ll Love This Recipe
This isn’t just another veggie tray. This is the veggie tray that makes your kid actually *want* to eat their vegetables. As a mom who has tried every trick in the book (including hiding pureed spinach in brownies), I can tell you that presentation is half the battle. This recipe is a total game-changer for family meals and school parties.
- Quick & Easy: From fridge to table in under 15 minutes. No cooking, no complicated steps. It’s the ultimate last-minute party hack.
- Simple Ingredients: You probably have most of these veggies in your crisper drawer right now. The “special” ingredients are just a batch of ranch dip and some edible eyes.
- Perfect for Halloween & School Parties: It’s spooky, it’s healthy, and it’s guaranteed to be a hit with kids of all ages. No sugar crash required.
- Crowd-Pleaser: I’ve brought this to three different school events and one family reunion. It’s always the first platter to come back empty. The kids love the “gross” factor, and the parents love that their kids are eating veggies.
- Unbelievably Delicious: The key is the homemade ranch dip. It’s so much better than the store-bought stuff—creamy, herby, and perfectly seasoned. It makes even the plainest celery stick taste amazing.
This recipe is different because it’s built for real life. It’s not about having perfect, uniform vegetables. It’s about taking what you have and turning it into something fun and memorable. It’s the kind of recipe that makes you feel like a kitchen rockstar, even when you’re short on time and patience. That first bite of a crisp cucumber dipped in that cool, creamy ranch? It’s pure comfort food, reimagined for the lunchbox set.
What Ingredients You Will Need
This recipe uses simple, wholesome ingredients to deliver big flavor and fun without any fuss. You can easily customize the veggies based on what your family likes or what you have on hand.
For the Mummy Veggie Tray
- 1 large round platter or cutting board (at least 12 inches in diameter)
- 1 cup ranch dip (store-bought or homemade, recipe below)
- 2 cups broccoli florets (fresh, cut into small, bite-sized pieces)
- 1 cup cherry tomatoes (washed and halved)
- 1 large cucumber (sliced into rounds, then halved)
- 1 cup baby carrots (or regular carrots, peeled and cut into sticks)
- 1/2 cup celery sticks (cut into 3-inch lengths)
- 1/2 cup bell pepper strips (any color, cut into thin strips for the “bandages”)
- 2-3 tablespoons edible candy eyeballs (found at most grocery stores or online)
For the Homemade Ranch Dip (Optional but Highly Recommended)
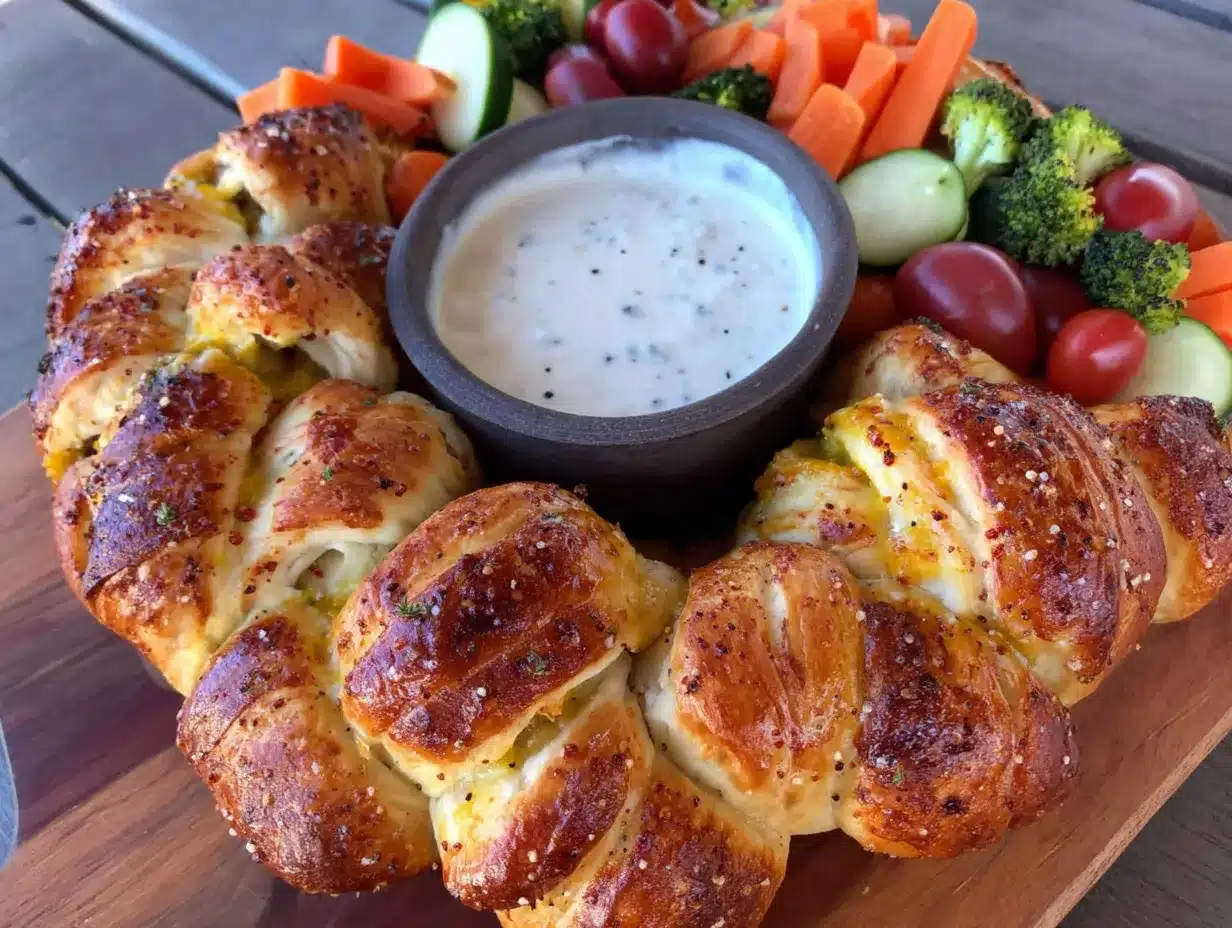
- 1 cup sour cream (full-fat works best for creaminess)
- 1/2 cup mayonnaise (I recommend Hellmann’s or Duke’s for best flavor)
- 1 tablespoon fresh lemon juice (adds brightness)
- 1 teaspoon dried dill
- 1 teaspoon dried parsley
- 1/2 teaspoon garlic powder
- 1/2 teaspoon onion powder
- 1/4 teaspoon salt
- 1/4 teaspoon black pepper
Ingredient Tips: For the ranch dip, using fresh dill instead of dried makes a world of difference if you have it on hand. Just double the amount. If you’re short on time, a good quality store-bought ranch like Litehouse or Hidden Valley works perfectly. For the veggies, try to get a mix of colors for the most “mummy-like” effect. The bell pepper strips are great for the bandages, but you can also use strips of red cabbage or even thinly sliced radishes for a peppery kick.
Substitution Guidance: Need a dairy-free option? Use a dairy-free sour cream and mayonnaise for the dip. For a gluten-free version, just double-check the labels on your ranch mix if using store-bought. You can also swap the broccoli for cauliflower or the cherry tomatoes for grape tomatoes. The beauty of this recipe is its flexibility!
Equipment Needed
- Large round platter or wooden cutting board (a pizza pan works great too)
- Small mixing bowl (for the ranch dip)
- Chef’s knife (a good, sharp one makes all the difference)
- Cutting board
- Measuring cups and spoons
- Rubber spatula (for scraping every last bit of dip)
I’ve used everything from a fancy ceramic platter to a cheap plastic tray from the dollar store for this. Honestly, the dollar store tray worked just as well. The key is having a flat, round surface to work on. If you don’t have a round platter, a large square one will do—just arrange the veggies in a more rectangular mummy shape. And don’t stress about having a special “veggie tray” tool. A simple bowl for the dip in the center is all you need.
Preparation Method
Let’s get this mummy built! It’s way easier than it looks. I promise you can do this while your kid is finishing their homework or while you’re waiting for the water to boil for pasta.
- Make the Ranch Dip (5 minutes): In your small mixing bowl, combine the sour cream, mayonnaise, lemon juice, dried dill, dried parsley, garlic powder, onion powder, salt, and pepper. Whisk or stir with a fork until everything is well combined. Give it a taste and adjust the seasoning if needed. I always add a little extra dill because I love that flavor. Cover the bowl and pop it in the fridge while you prep the veggies. This lets the flavors meld together.
- Prep the Veggies (5-7 minutes): Wash all your vegetables thoroughly. Cut the broccoli into small florets—try to make them all roughly the same size so they look uniform on the tray. Slice the cucumber into rounds about 1/4-inch thick, then cut each round in half. Halve the cherry tomatoes. Cut the bell pepper into thin strips—these will be your mummy’s “bandages.” If you’re using whole carrots, peel them and cut them into sticks about 3 inches long and 1/2-inch thick.
- Assemble the Mummy Face (2 minutes): Place your small bowl of ranch dip in the center of your platter. This is the “head” of the mummy. Now, start arranging the veggie strips (bell pepper, carrot, celery) around the bowl like spokes on a wheel. Think of them as the mummy’s wrappings coming out from the center. Leave a little space at the top of the platter for the “eyes.”
- Create the Mummy’s Body (3 minutes): Use the broccoli florets and cucumber halves to build the mummy’s body below the dip bowl. Arrange them in a rough oval shape, filling in the space. Don’t worry about making it perfect—a slightly messy mummy looks more authentic! Use the cherry tomato halves to create a “mouth” or a “heart” shape on the body.
- Add the Eyes (1 minute): This is the fun part! Take two of the edible candy eyeballs and press them gently into the top of the ranch dip, just above the veggie “bandages.” Position them so they look like they’re peeking out from the wrappings. You can add a tiny dab of dip on the back of the eyeballs to help them stick if needed.
- Final Adjustments (1 minute): Step back and look at your mummy. Does it need more “bandages”? Add a few more bell pepper strips. Is there a bare spot? Fill it in with some extra broccoli. The goal is to have the veggies completely cover the platter, with only the dip bowl and the eyes visible in the center. It should look like a cohesive, spooky creature.
Troubleshooting Tip: If your veggies are sliding around on the platter, it means they’re too wet. Pat them dry with a paper towel before arranging them. A dry veggie sticks much better to a dry platter.
Cooking Tips & Techniques
I’ve made this tray at least a dozen times now, and I’ve learned a few things the hard way. Let me save you some trouble!
The Dip is the Anchor: Don’t skimp on the dip. It’s not just for flavor—it’s the structural center of your mummy. Make sure the bowl is heavy enough that it doesn’t slide around. A small, heavy ceramic ramekin works better than a light plastic bowl.
Cut Veggies to the Same Thickness: This is a pro tip I learned from years of making crudité platters. When your cucumber slices and carrot sticks are all roughly the same thickness, the tray looks much more professional. It also makes it easier for little hands to grab and dip.
The “Bandage” Trick: For the most mummy-like effect, use a vegetable peeler to create thin, wide strips of bell pepper or carrot. These look exactly like linen bandages wrapped around a mummy. It takes an extra minute, but the visual payoff is huge.
My Biggest Failure: The first time I made this, I used a huge dollop of dip right in the center without a bowl. It was a disaster. The dip seeped under the veggies, and the whole tray turned into a soggy, slimy mess. Always, always use a bowl. I also learned the hard way that you should add the eyes last, right before serving. If you put them on too early, they can slide off or get smudged.
Timing is Everything: You can prep all the veggies and the dip up to 24 hours in advance. Store them separately in the fridge. Assemble the tray no more than 2 hours before serving. This keeps the veggies crisp and the dip cold. If you’re bringing it to a party, assemble it right before you walk out the door.
Variations & Adaptations
This recipe is incredibly flexible. Here are a few ways to change it up based on what you have or who you’re feeding.
- The “Frankenstein” Tray: Swap the mummy design for a Frankenstein monster. Use green bell pepper strips for the face, black olive slices for the eyes, and a strip of red bell pepper for the mouth. Use broccoli florets for the “bolts” on the sides of the head.
- The “Jack-O’-Lantern” Tray: Arrange the veggies in the shape of a pumpkin face. Use orange bell pepper strips for the outline, cucumber rounds for the eyes, and a celery stick for the stem. It’s perfect for a non-scary Halloween option.
- The “Veggie Skeleton”: Use white cauliflower florets for the skull and bones. Arrange celery sticks for the spine and ribs. It’s a bit more advanced, but it’s a huge hit with older kids.
- Dairy-Free / Vegan Option: Use a dairy-free sour cream and vegan mayonnaise for the ranch dip. The flavor will be slightly different, but still delicious. You can also use a store-bought vegan ranch dressing to save time.
- Add More Protein: For a heartier snack, add some cheese cubes or slices of turkey pepperoni around the edges of the tray. Just make sure they don’t distract from the mummy shape.
I once made a “Mummy Dog” version for a Halloween party where I used hot dogs cut to look like little mummies, arranged around a central dip bowl. It was a massive hit with the adults!
Serving & Storage Suggestions
This tray is best served cold. The contrast between the crisp, cool veggies and the creamy ranch dip is what makes it so satisfying.
Serving: Place the tray on a large, flat surface where kids can easily reach it. I like to set it on a low coffee table for parties so the little ones can help themselves. You can also serve it alongside other Halloween treats like popcorn balls or apple slices. For a beverage pairing, apple cider or a simple fruit punch works wonderfully.
Storage: If you have leftovers (which is rare!), separate the veggies from the dip. Store the veggies in an airtight container in the fridge for up to 2 days. The dip can be stored in its own container for up to 5 days. Do not store the assembled tray—the veggies will get soggy from the dip.
Reheating: No reheating needed! That’s the beauty of a cold veggie tray. If the dip has thickened up in the fridge, just let it sit at room temperature for 10 minutes before stirring and serving.
Flavor Development: The ranch dip actually tastes better after it sits in the fridge for a few hours. The flavors meld together and become more complex. So if you’re making this for a party, make the dip the night before. Your taste buds will thank you.
Nutritional Information & Benefits
This is one of the healthiest “Halloween treats” you can serve! It’s packed with vitamins, fiber, and healthy fats.
- Estimated Nutritional Values (per serving, based on 8 servings): Calories: 180, Fat: 14g, Carbs: 10g, Fiber: 3g, Protein: 3g.
- Key Ingredient Benefits: Broccoli is rich in Vitamin C and fiber. Carrots are packed with beta-carotene (great for eye health). Cucumbers are hydrating and low in calories. The ranch dip, when made with sour cream and mayonnaise, provides healthy fats that help your body absorb the fat-soluble vitamins from the veggies.
- Dietary Considerations: This recipe is naturally gluten-free (just double-check your ranch ingredients). It can easily be made vegetarian and dairy-free with simple substitutions. It’s also low in added sugar, making it a smart choice for kids with sugar sensitivities.
- Potential Allergens: Dairy (from sour cream and mayonnaise), Eggs (from mayonnaise).
I love that I can serve this at a Halloween party and feel good about what my kids are eating. It’s a win-win: they get a fun, spooky snack, and I get to sneak in a serving of veggies. It’s all about balance, right?
Conclusion
So there you have it—the veggie tray that started as a total accident and ended up as a family tradition. It’s proof that you don’t need perfect ingredients or a ton of time to create something memorable. Sometimes the best recipes come from the moments when you just let go and have a little fun with it.
I honestly love this recipe because it takes the pressure off. You don’t have to be a Pinterest-perfect mom to pull this off. You just need a round platter, some veggies, and a little bit of imagination. It’s the kind of recipe that makes you feel like you’ve got it all figured out, even when you’re just barely holding it together.
Now, I want to see your mummy creations! Snap a photo and share it in the comments below. Did you add a different veggie? Did you make a Frankenstein instead? I’d love to hear about your kitchen adventures. And if you have a picky eater at home, let me know if this tray worked its magic on them too. Happy Halloween, and happy snacking!
Frequently Asked Questions
Can I make this veggie tray ahead of time?
Yes, you can prep the veggies and the dip up to 24 hours in advance. Store them separately in the fridge. Assemble the tray no more than 2 hours before serving to keep the veggies crisp.
What if I don’t have edible candy eyeballs?
No problem! You can make eyes using cream cheese and black olives. Just pipe a small dot of cream cheese onto the dip and place a sliced black olive on top. You can also use halved black grapes for a similar effect.
My kids are super picky about veggies. What should I use?
Start with the veggies they already like. If they only like carrots and cucumbers, use those as the base. You can also add some sweet cherry tomatoes or mild bell peppers. The key is the fun shape—sometimes that’s enough to get them to try something new.
How do I keep the veggies from sliding off the platter?
Make sure your veggies are dry before arranging them. Pat them with a paper towel if needed. Also, use a platter with a slightly textured surface, like a wooden cutting board, which gives the veggies more grip.
Can I use a different dip?
Absolutely! A creamy garlic dip, a hummus, or even a simple yogurt-based dip would work great. Just make sure the dip is thick enough to hold the veggies in place. A thin dip will seep under the veggies and make them soggy.
Pin This Recipe!
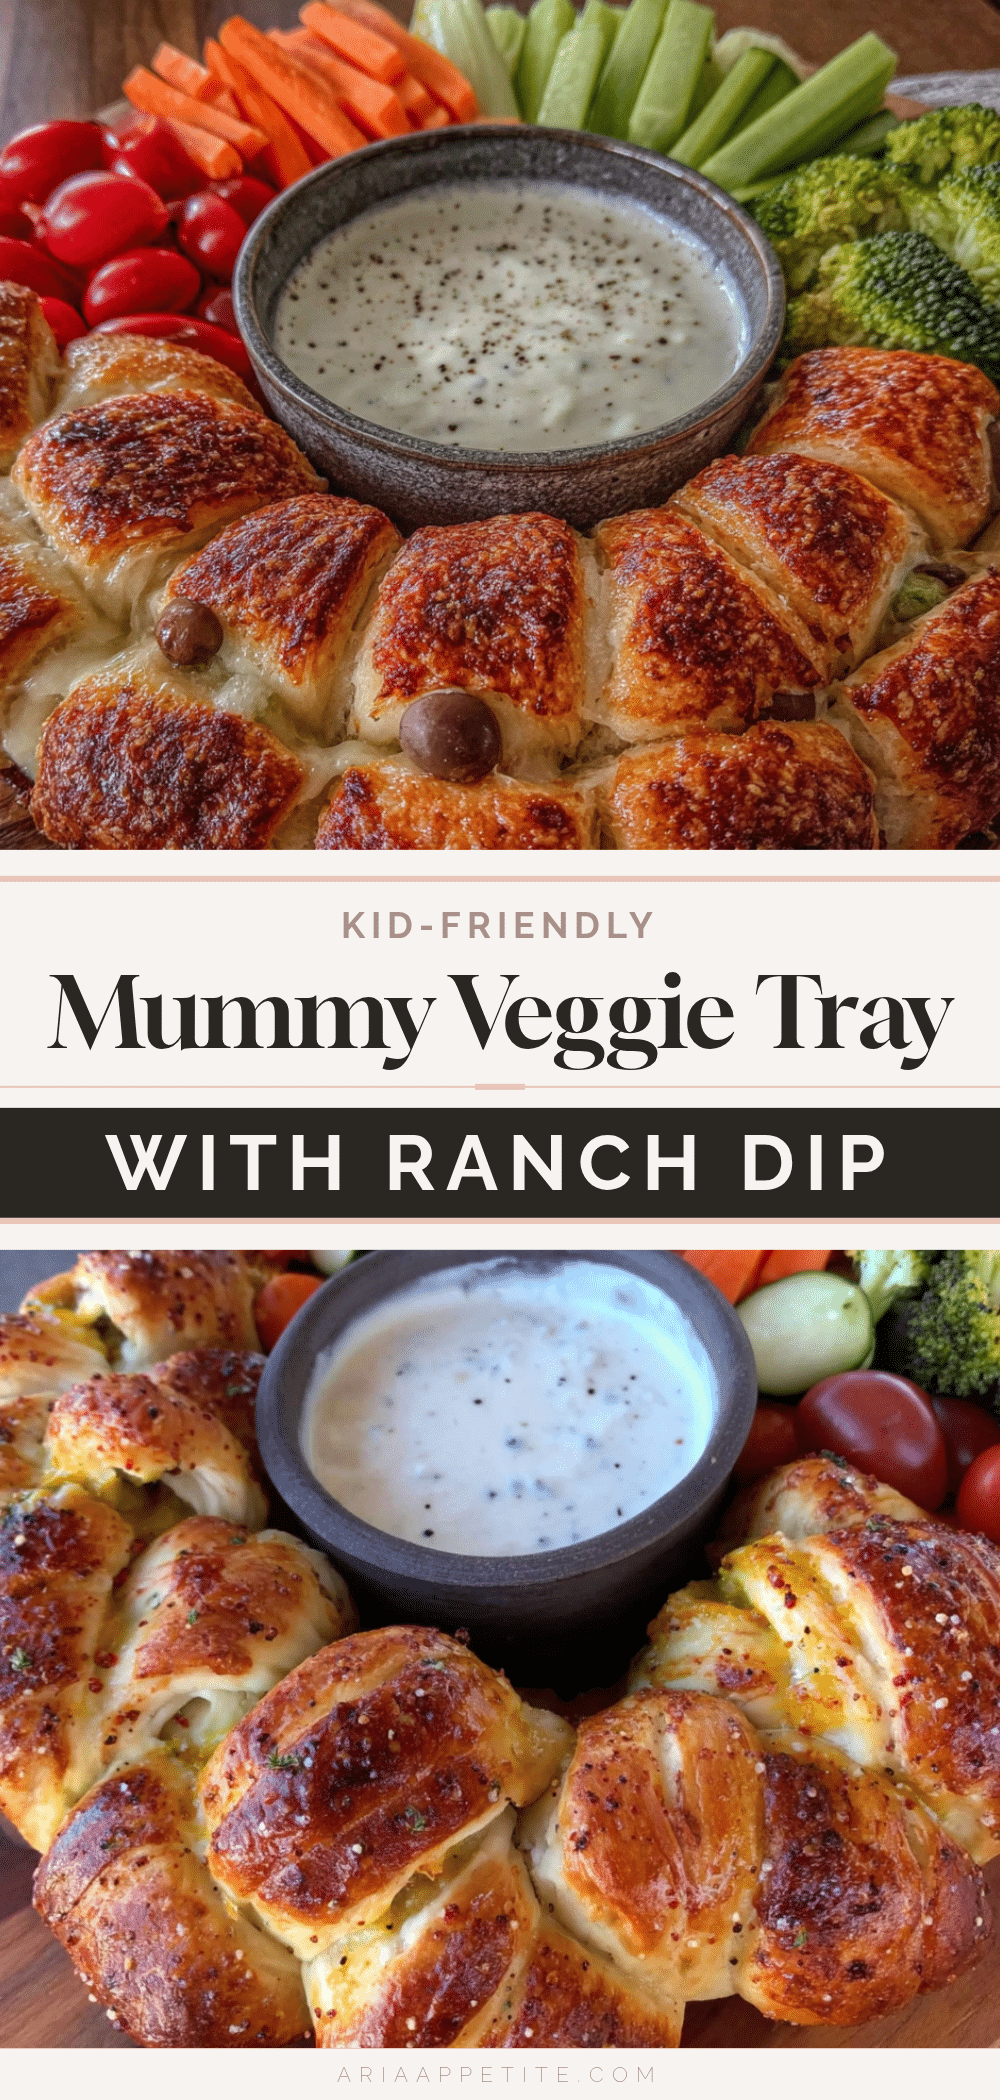
Kid-Friendly Mummy Veggie Tray with Easy Ranch Dip

A fun and spooky Halloween veggie tray shaped like a mummy, served with a creamy homemade ranch dip. Perfect for school parties and family gatherings, this quick and easy recipe turns simple vegetables into a crowd-pleasing snack.
- Prep Time: 15 minutes
- Cook Time: 0 minutes
- Total Time: 15 minutes
- Yield: 8 servings 1x
- Category: Appetizer
- Cuisine: American
Ingredients
- 1 large round platter or cutting board (at least 12 inches in diameter)
- 1 cup ranch dip (store-bought or homemade, recipe below)
- 2 cups broccoli florets (fresh, cut into small, bite-sized pieces)
- 1 cup cherry tomatoes (washed and halved)
- 1 large cucumber (sliced into rounds, then halved)
- 1 cup baby carrots (or regular carrots, peeled and cut into sticks)
- 1/2 cup celery sticks (cut into 3-inch lengths)
- 1/2 cup bell pepper strips (any color, cut into thin strips for the ‘bandages’)
- 2–3 tablespoons edible candy eyeballs
- 1 cup sour cream (full-fat works best for creaminess)
- 1/2 cup mayonnaise (Hellmann’s or Duke’s recommended)
- 1 tablespoon fresh lemon juice
- 1 teaspoon dried dill
- 1 teaspoon dried parsley
- 1/2 teaspoon garlic powder
- 1/2 teaspoon onion powder
- 1/4 teaspoon salt
- 1/4 teaspoon black pepper
Instructions
- Make the Ranch Dip (5 minutes): In a small mixing bowl, combine the sour cream, mayonnaise, lemon juice, dried dill, dried parsley, garlic powder, onion powder, salt, and pepper. Whisk or stir with a fork until well combined. Taste and adjust seasoning if needed. Cover and refrigerate while prepping the veggies.
- Prep the Veggies (5-7 minutes): Wash all vegetables thoroughly. Cut broccoli into small florets of roughly the same size. Slice cucumber into 1/4-inch thick rounds, then cut each round in half. Halve the cherry tomatoes. Cut bell pepper into thin strips. If using whole carrots, peel and cut into sticks about 3 inches long and 1/2-inch thick.
- Assemble the Mummy Face (2 minutes): Place the bowl of ranch dip in the center of the platter. Arrange veggie strips (bell pepper, carrot, celery) around the bowl like spokes on a wheel, leaving space at the top for the eyes.
- Create the Mummy’s Body (3 minutes): Use broccoli florets and cucumber halves to build the mummy’s body below the dip bowl, arranging them in a rough oval shape. Use cherry tomato halves to create a mouth or heart shape on the body.
- Add the Eyes (1 minute): Press two edible candy eyeballs gently into the top of the ranch dip, just above the veggie bandages. Add a tiny dab of dip on the back of the eyeballs to help them stick if needed.
- Final Adjustments (1 minute): Step back and look at the mummy. Add more bandages or fill bare spots with extra veggies. The goal is to have the veggies completely cover the platter, with only the dip bowl and eyes visible.
Notes
For the ranch dip, using fresh dill instead of dried makes a world of difference—just double the amount. If short on time, a good quality store-bought ranch like Litehouse or Hidden Valley works perfectly. For the most mummy-like effect, use a vegetable peeler to create thin, wide strips of bell pepper or carrot. You can prep all the veggies and the dip up to 24 hours in advance; assemble the tray no more than 2 hours before serving. If veggies slide around, pat them dry with a paper towel. Always use a bowl for the dip to prevent sogginess.
Nutrition
- Serving Size: 1 serving (about 1 c
- Calories: 180
- Sugar: 4
- Sodium: 320
- Fat: 14
- Saturated Fat: 4
- Carbohydrates: 10
- Fiber: 3
- Protein: 3
Keywords: Halloween, veggie tray, mummy, ranch dip, kid-friendly, party snack, healthy, spooky


