Love this? Save it for later!
Share the inspiration with your friends
There used to be a tiny gelato shop tucked behind a bookstore on Main Street that made a salted caramel gelato so good, it felt like a secret. When they closed suddenly two summers ago—just a sign on the door saying “Thanks for the memories”—I honestly felt a little lost. That creamy, salty-sweet perfection was my go-to reward after a long week, and I couldn’t just find it anywhere else. After maybe a dozen attempts—some too icy, some just sad—I finally cracked the code.
This Easy No-Churn Salted Caramel Ice Cream is that exact memory, but better because I can make it in my own kitchen. No ice cream maker, no weird ingredients, and honestly, no fuss. The first time I got it right, I stood there in my pajamas eating it straight from the container. You know that feeling when something just works? That was it.
The trick is simplicity. Five ingredients, a little arm work, and patience while it freezes. I mean, let’s be real—who has time for custard bases and constant stirring on a Tuesday night? Not me. This recipe came together because I needed that flavor back in my life, and I needed it without a whole production. If you’ve ever mourned a closed-down dessert spot, you get it. This one’s for us.
Why You’ll Love This Recipe
Let me tell you why this recipe is a game-changer for busy weeknights. You don’t need fancy equipment or a culinary degree—just a bowl, a whisk, and a freezer. Here’s what makes it stand out:
- Quick & Easy: Comes together in about 10 minutes of active time. The hardest part is waiting for it to freeze, I promise.
- Simple Ingredients: You probably have most of these in your pantry right now. No need for a special trip to the store.
- Perfect for Weeknights: When you’re craving something sweet after dinner but don’t want to bake a cake, this is your answer.
- Crowd-Pleaser: Kids love it, adults love it, and it disappears fast at any gathering.
- Unbelievably Delicious: The texture is creamy, not icy, and that salted caramel flavor is spot-on.
What makes this different from other recipes? It’s the way the caramel folds into the whipped cream—creating ribbons of sweetness that hit every bite. No churning, no ice crystals, just pure indulgence. Honestly, it’s the kind of dessert that makes you close your eyes after the first spoonful. Comfort food reimagined—faster, simpler, but with the same soul-soothing satisfaction.
What Ingredients You Will Need
This recipe uses five simple ingredients to deliver that rich, creamy, salty-sweet flavor you’re after. No complicated list here—just pantry staples that work together beautifully.
- 2 cups (480 ml) heavy cream: This is the base of your ice cream. Make sure it’s cold—straight from the fridge works best. I prefer brands like Organic Valley or Horizon for consistent results.
- 1 can (14 oz or 397 g) sweetened condensed milk: This adds sweetness and creaminess without needing to cook a custard. Look for a can that’s not dented or expired. For a dairy-free option, use coconut condensed milk.
- 1/2 cup (120 ml) homemade or store-bought salted caramel sauce: You can use your favorite jarred kind, but I’ll share my quick stovetop version in the tips section. Brands like Stonewall Kitchen or Trader Joe’s work great in a pinch.
- 1 teaspoon (5 ml) vanilla extract: Pure vanilla adds depth. Avoid imitation if you can—it makes a difference in the final flavor.
- Flaky sea salt (like Maldon), for finishing: This isn’t optional. The crunch and pop of salt on top is what makes this ice cream unforgettable.
That’s it. Five ingredients, and you’re on your way to homemade ice cream. If you want to get fancy, you can add a tablespoon of bourbon or a pinch of cinnamon, but honestly, the original is perfect as is.
Equipment Needed
You don’t need much for this recipe, which is the whole point. Here’s what you’ll need:
- Large mixing bowl: A metal or glass bowl works best for whipping cream. I use my trusty stainless steel one from Cuisinart.
- Electric hand mixer or stand mixer: You can whip cream by hand, but it’ll take a solid 5-7 minutes of whisking. A mixer saves time and arm fatigue. I’ve used a $20 hand mixer from KitchenAid for years—nothing fancy needed.
- Rubber spatula: For folding the condensed milk and caramel into the whipped cream. A silicone one is ideal for scraping every last bit.
- Loaf pan or freezer-safe container: A 9×5-inch loaf pan works perfectly. You can also use a round cake pan or a plastic container with a lid. Glass is fine, but metal helps it freeze faster.
- Plastic wrap or parchment paper: To cover the surface directly and prevent ice crystals from forming.
That’s really all you need. No ice cream maker, no thermometer, no stress. If you don’t have a loaf pan, use whatever freezer-safe dish you have—just make sure it holds about 4 cups of liquid.
Preparation Method
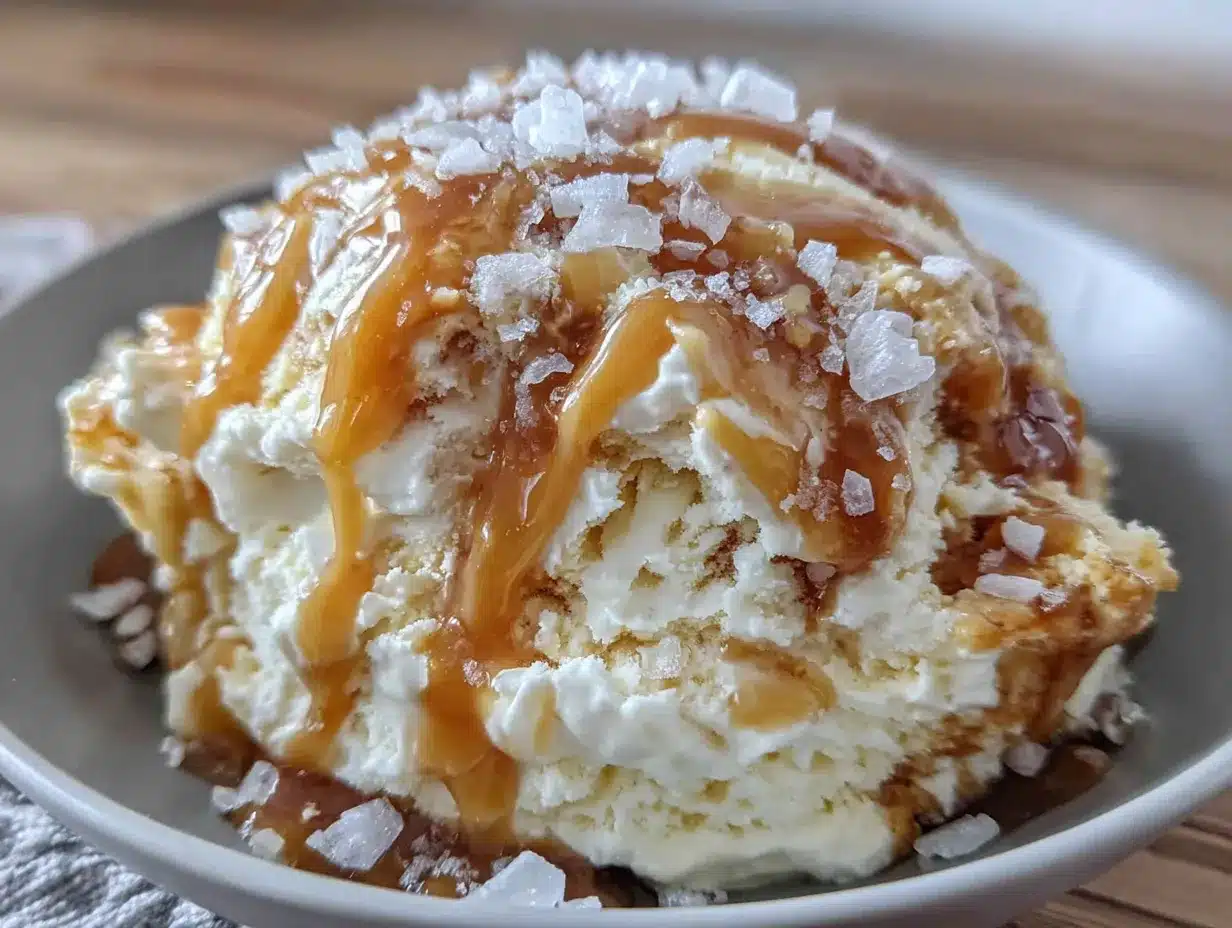
Follow these steps, and you’ll have creamy, dreamy ice cream in a few hours. The process is straightforward, but I’ve added some cues to help you get it right every time.
- Whip the cream: Pour the cold heavy cream into your large mixing bowl. Using an electric mixer on medium-high speed, whip until stiff peaks form. This takes about 3-4 minutes with a hand mixer. You’ll know it’s ready when you lift the beaters and the cream stands up in firm peaks without collapsing. Don’t over-whip—if it looks grainy or separates, you’ve gone too far. Stop as soon as it’s stiff.
- Fold in the condensed milk: Add the sweetened condensed milk and vanilla extract to the whipped cream. Gently fold them together using a rubber spatula. Use a cutting motion through the center, then scoop from the bottom. Do this slowly—about 15-20 folds—until no white streaks remain. The mixture should be thick and creamy, like a soft mousse.
- Add the caramel: Drizzle about 1/3 cup of your salted caramel sauce over the top of the mixture. Use a knife or skewer to swirl it through—don’t mix it in completely. You want ribbons of caramel running through the ice cream. A few gentle figure-eight motions are all you need. If you overmix, you’ll lose the swirl effect.
- Transfer to pan: Spoon the mixture into your loaf pan or container. Smooth the top with the spatula. Drizzle the remaining caramel sauce over the top and swirl it in lightly with a knife. Sprinkle a generous pinch of flaky sea salt over the surface—this is where the magic happens.
- Cover and freeze: Press a piece of plastic wrap directly onto the surface of the ice cream. This prevents ice crystals from forming. Place the pan in the freezer on a flat surface. Freeze for at least 6 hours, but overnight is best for a firm, scoopable texture. If you’re impatient like me, check it at 4 hours—it’ll be soft-serve consistency, which is also delicious.
- Serve: Let the ice cream sit at room temperature for 5-10 minutes before scooping. This softens it just enough for easy scooping. Use a warm ice cream scoop for clean, round scoops. Drizzle with extra caramel sauce and a pinch of salt if you’re feeling fancy.
Cooking Tips & Techniques
I’ve made this recipe more times than I can count, and I’ve learned a few things along the way. Here are my best tips for success:
- Keep everything cold: Cold cream whips better and holds its shape longer. If your kitchen is warm, chill your bowl and beaters in the freezer for 10 minutes before starting.
- Don’t skip the salt: The flaky sea salt on top isn’t just garnish—it balances the sweetness and adds that addictive salty crunch. I’ve forgotten it before, and the ice cream was just… sweet. Not the same.
- Make your own caramel: Homemade caramel takes 10 minutes and tastes worlds better. Melt 1 cup sugar in a saucepan over medium heat until amber, then whisk in 6 tablespoons butter and 1/2 cup heavy cream. Add a pinch of salt. Let it cool before using. Store-bought works, but homemade is worth the extra step.
- Avoid ice crystals: Pressing plastic wrap directly onto the surface is non-negotiable. I’ve skipped it when I was in a hurry, and the top layer was icy and sad. Don’t be like me.
- Double the recipe: This freezes beautifully, so make a double batch. You’ll thank yourself later when you’re craving a scoop at 10 PM.
Variations & Adaptations
This recipe is forgiving, so feel free to play around. Here are some variations I’ve tried and loved:
- Chocolate Salted Caramel: Add 1/4 cup cocoa powder to the condensed milk before folding it in. You get a chocolate base with caramel swirls—dangerously good.
- Vegan Version: Use full-fat coconut cream instead of heavy cream and coconut condensed milk. Whip the coconut cream until fluffy (it takes a bit longer), then proceed as usual. The texture is slightly different but still creamy.
- Bourbon Caramel: Add 1 tablespoon bourbon to the caramel sauce before swirling. It adds warmth and depth—perfect for adult-only gatherings.
- Nutty Crunch: Fold in 1/2 cup toasted pecans or chopped pretzels after adding the caramel. The crunch contrasts beautifully with the creamy base.
- Mint Chocolate Chip: Skip the caramel and add 1 teaspoon peppermint extract to the base. Fold in 1/2 cup mini chocolate chips. A completely different but equally delicious ice cream.
Serving & Storage Suggestions
This ice cream is best served straight from the freezer with a little patience. Here’s how to make it shine:
- Serving: Let the ice cream sit at room temperature for 5-10 minutes before scooping. Serve in chilled bowls or cones. A drizzle of warm caramel sauce and a sprinkle of flaky salt takes it over the top. Pair it with a warm brownie or a slice of apple pie for an unforgettable dessert.
- Storage: Keep the ice cream in an airtight container with plastic wrap pressed directly onto the surface. It will stay fresh for up to 2 weeks in the freezer—though it rarely lasts that long in my house. After a week, it might develop a few ice crystals, but it’s still perfectly edible.
- Reheating: If the ice cream becomes too hard, let it sit at room temperature for 15 minutes. You can also microwave it for 10-15 seconds on low power to soften it slightly. Don’t overdo it, or you’ll end up with soup.
Nutritional Information & Benefits
Let’s be honest—this is a treat, not a health food. But here’s what you’re looking at per 1/2 cup serving (approximate values):
- Calories: 380
- Fat: 24g
- Carbohydrates: 38g
- Protein: 4g
- Sugar: 34g
The heavy cream provides a good dose of vitamin A and calcium, while the caramel sauce (if homemade) has no artificial preservatives. The flaky sea salt adds trace minerals. For a lighter option, use reduced-fat condensed milk and swap half the heavy cream with whole milk—the texture won’t be as rich, but it’ll still be satisfying. This recipe is naturally gluten-free, so it’s safe for those with celiac or gluten sensitivity. Just double-check your caramel sauce label if you buy it pre-made.
Conclusion
This Easy No-Churn Salted Caramel Ice Cream is proof that you don’t need a fancy machine or a ton of time to make something spectacular. Five ingredients, ten minutes of work, and a little patience—that’s all it takes. I’ve made this for dinner parties, lazy Sundays, and random Tuesday cravings, and it never disappoints. It’s the kind of recipe that feels like a secret weapon in your back pocket.
I’d love to hear how yours turns out. Did you add a twist? Did it disappear too fast? Drop a comment below and share your experience. And if you loved it, share this post with a friend who needs a little homemade happiness in their life. Trust me—they’ll thank you.
Happy scooping!
Frequently Asked Questions
Can I use low-fat cream or milk instead of heavy cream?
I wouldn’t recommend it. Heavy cream is what gives this ice cream its creamy, rich texture. Lower-fat options won’t whip properly and will result in an icy, thin consistency. Stick with heavy cream for the best results.
How long does this ice cream need to freeze?
At least 6 hours, but overnight is best for a firm, scoopable texture. If you’re in a hurry, check it at 4 hours—it’ll be soft-serve consistency, which is still delicious.
Can I use store-bought caramel sauce?
Absolutely. Just make sure it’s a thick, high-quality caramel sauce, not a thin syrup. Brands like Stonewall Kitchen or Trader Joe’s work great. Homemade is better, but store-bought saves time.
Why did my ice cream turn out icy?
Ice crystals usually form when the mixture isn’t covered properly or if it’s been in the freezer too long. Press plastic wrap directly onto the surface before freezing to prevent this. Also, make sure your cream is whipped to stiff peaks—under-whipped cream can lead to a less stable texture.
Can I make this without an electric mixer?
Yes, but it takes some elbow grease. Whisk the heavy cream by hand in a chilled bowl for about 5-7 minutes until stiff peaks form. It’s a good arm workout, but totally doable. I’ve done it when my mixer was on the fritz—just takes patience.
Pin This Recipe!
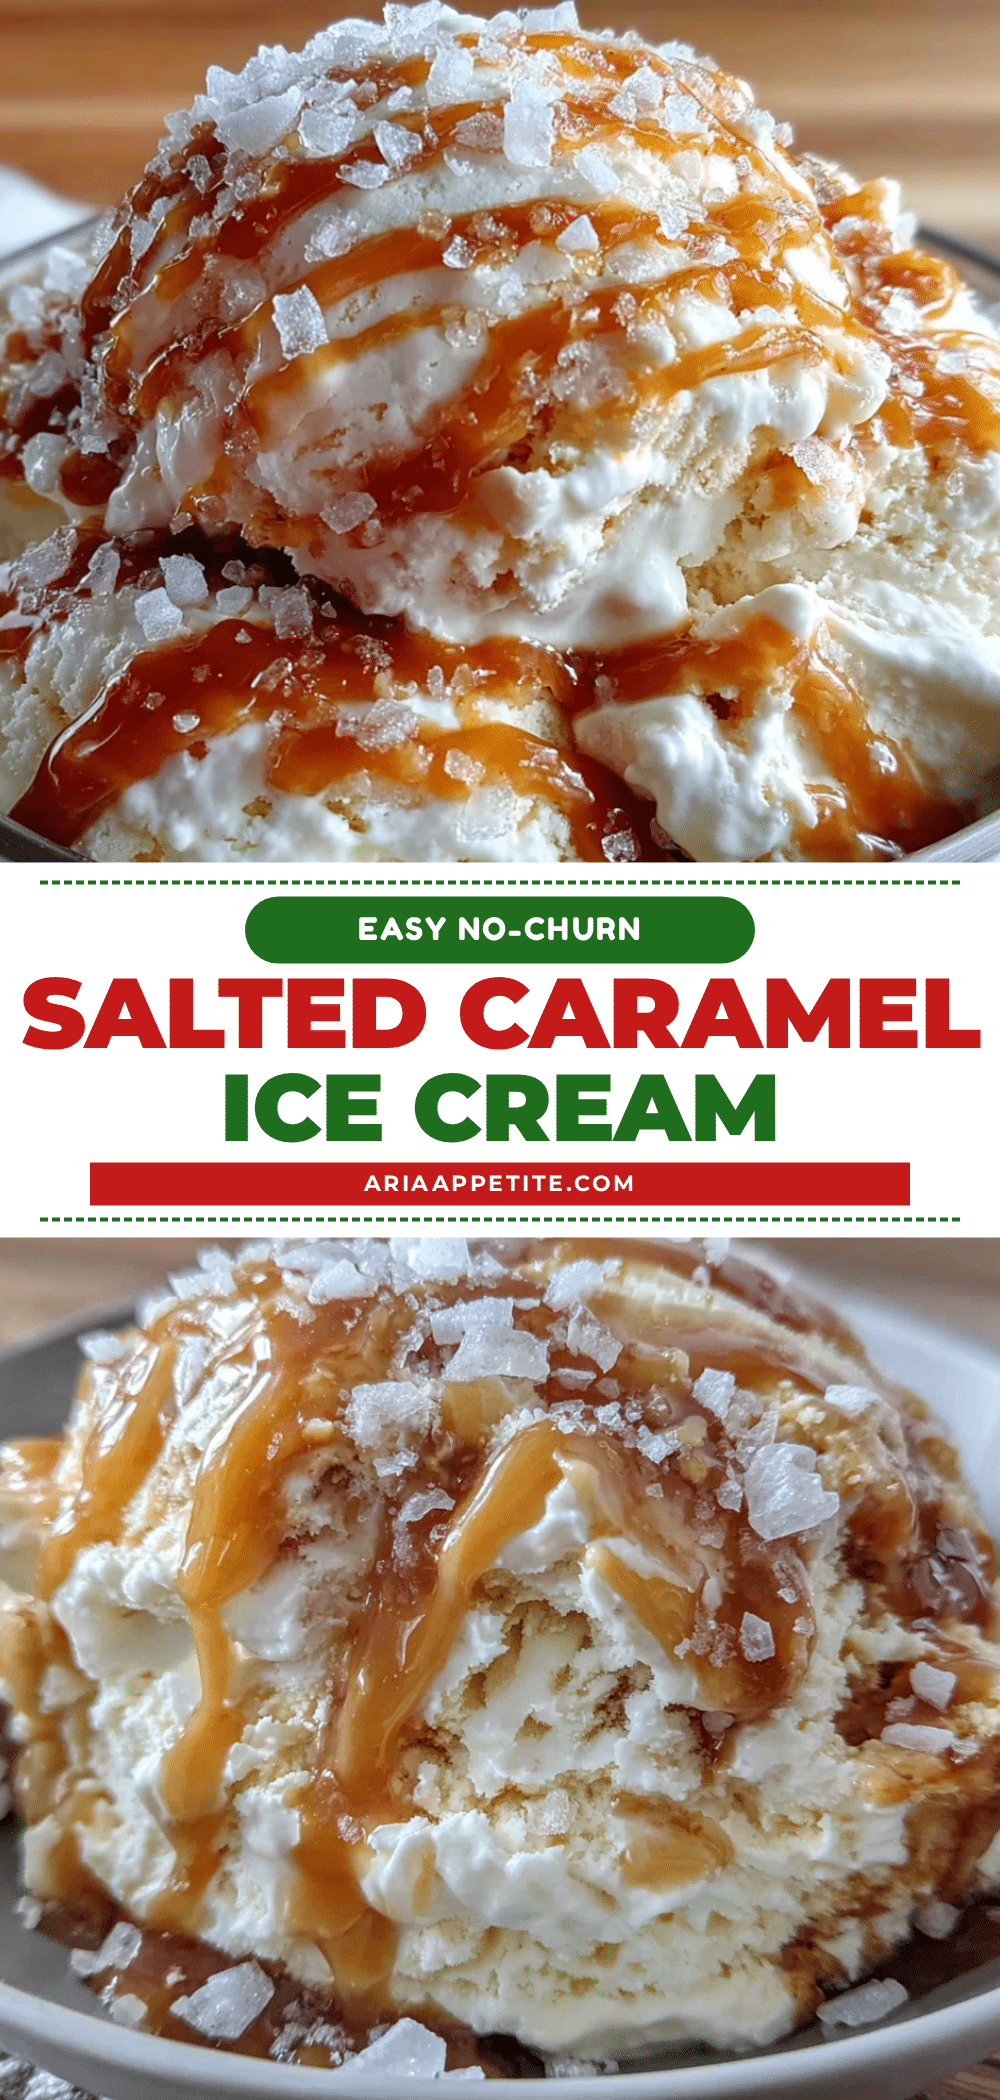
Easy No-Churn Salted Caramel Ice Cream (5 Ingredients)

This Easy No-Churn Salted Caramel Ice Cream is a creamy, salty-sweet treat made with just five ingredients and no ice cream maker. It comes together in 10 minutes of active time and delivers the perfect texture with ribbons of caramel in every bite.
- Prep Time: 10 minutes
- Cook Time: 0 minutes
- Total Time: 6 hours 10 minutes (includes freezing time)
- Yield: 8 servings 1x
- Category: Dessert
- Cuisine: American
Ingredients
- 2 cups (480 ml) heavy cream
- 1 can (14 oz or 397 g) sweetened condensed milk
- 1/2 cup (120 ml) homemade or store-bought salted caramel sauce
- 1 teaspoon (5 ml) vanilla extract
- Flaky sea salt (like Maldon), for finishing
Instructions
- Whip the cream: Pour the cold heavy cream into your large mixing bowl. Using an electric mixer on medium-high speed, whip until stiff peaks form, about 3-4 minutes. Stop as soon as it’s stiff; do not over-whip.
- Fold in the condensed milk: Add the sweetened condensed milk and vanilla extract to the whipped cream. Gently fold together using a rubber spatula with a cutting motion through the center, then scoop from the bottom. Do about 15-20 folds until no white streaks remain.
- Add the caramel: Drizzle about 1/3 cup of your salted caramel sauce over the top. Use a knife or skewer to swirl it through with gentle figure-eight motions—do not mix completely. You want ribbons of caramel.
- Transfer to pan: Spoon the mixture into a loaf pan or freezer-safe container. Smooth the top with the spatula. Drizzle the remaining caramel sauce over the top and swirl lightly. Sprinkle a generous pinch of flaky sea salt over the surface.
- Cover and freeze: Press a piece of plastic wrap directly onto the surface of the ice cream. Place the pan in the freezer on a flat surface. Freeze for at least 6 hours, but overnight is best for a firm, scoopable texture.
- Serve: Let the ice cream sit at room temperature for 5-10 minutes before scooping. Use a warm ice cream scoop for clean, round scoops. Drizzle with extra caramel sauce and a pinch of salt if desired.
Notes
Keep everything cold for best results. Press plastic wrap directly onto the surface to prevent ice crystals. Homemade caramel sauce is recommended for best flavor. For a vegan version, use full-fat coconut cream and coconut condensed milk. The ice cream stays fresh for up to 2 weeks in the freezer.
Nutrition
- Serving Size: 1/2 cup
- Calories: 380
- Sugar: 34
- Sodium: 180
- Fat: 24
- Saturated Fat: 15
- Carbohydrates: 38
- Protein: 4
Keywords: no-churn ice cream, salted caramel, easy ice cream, 5 ingredients, homemade ice cream, no ice cream maker


