Love this? Save it for later!
Share the inspiration with your friends
My neighbor, a retired caterer named Margot, watched me struggling to peel a mountain of pearl onions for a traditional pot pie one Tuesday afternoon. She didn’t say anything at first. Then she just slid a tiny, perfectly formed pie tin across the fence line and said, “Try it small. It tastes better that way.”
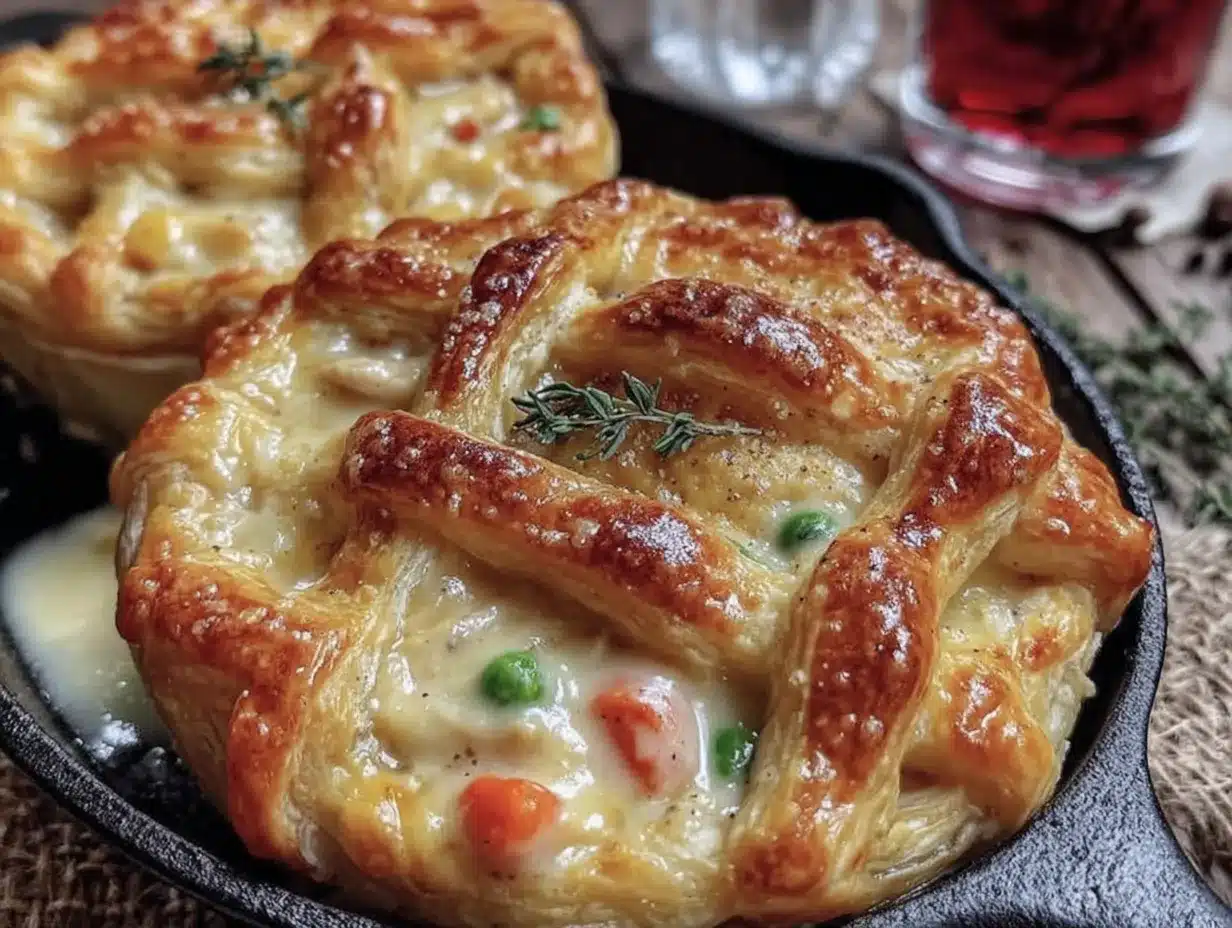
That was six years ago, and honestly, I haven’t made a big pot pie since. These Perfect Friendsgiving Mini Chicken Pot Pies changed everything about how I host. They’re personal, they’re adorable, and they let everyone get their own little golden dome of flaky perfection. I mean, who doesn’t want their own pie at the table? It feels special, and that’s exactly what Friendsgiving is about—making the people you love feel like they matter.
I’ll never forget the first time I served these at a Friendsgiving. I had six of them lined up on a wooden board, and the table went quiet. Not because something was wrong, but because everyone was too busy taking that first bite—the crunch of the crust giving way to creamy, herby filling. My friend Dave actually asked for a second one before he finished his first. That’s when I knew Margot’s little secret was something special.
Maybe you’ve been there—standing over a bubbling dish, hoping everyone gets an equal share of the good parts. These mini pies solve that problem completely. Plus, you can prep them days ahead, which is basically a hosting superpower. Let me tell you, there’s nothing better than pulling these out of the oven while your guests are pouring wine, knowing you’re about to steal the whole dang table.
Why You’ll Love This Recipe
As someone who has tested this recipe at least thirty times (my neighbors can confirm), I can tell you with confidence that this is the only chicken pot pie recipe you’ll ever need for entertaining. Here’s why these mini pies deserve a spot at your Friendsgiving table:
- Perfect for Hosting: Each guest gets their own personal pie. No awkward slicing, no fighting over the corner piece. It’s elegant and effortless.
- Make-Ahead Magic: Assemble these up to two days in advance and bake when your guests arrive. Your oven time is only 25 minutes, leaving you free to mingle.
- Crowd-Pleasing Comfort: The combination of tender chicken, creamy sauce, and flaky crust is universally loved. Even picky eaters go back for seconds.
- Impressive Presentation: Individual pies look stunning on a serving board. They scream “I put thought into this” without screaming “I spent all day in the kitchen.”
- Foolproof Recipe: I’ve simplified Margot’s original method so anyone can make them. No complicated techniques, just honest, delicious food.
What makes these different from every other pot pie recipe? It’s the little things. I use a combination of butter and cream cheese in the crust for extra flakiness. The filling gets a splash of white wine and fresh thyme, which adds a layer of sophistication without being fussy. And the size? That’s the real genius. When you have your own little pie, every bite feels like the best bite.
These pies are the kind of food that makes people close their eyes after the first forkful. It’s comfort food that feels special—perfect for impressing your Friendsgiving crew without stressing yourself out.
What Ingredients You Will Need
This recipe uses simple, wholesome ingredients to deliver bold flavor and satisfying texture without the fuss. Most of these are pantry staples or easy to find at any grocery store. Let’s break down what you need and why each ingredient matters.
For the Crust
- 2 ½ cups all-purpose flour (I prefer King Arthur for consistent results)
- 1 teaspoon salt
- 1 cup unsalted butter, very cold and cut into small cubes (cold butter is non-negotiable for flaky layers)
- 4 ounces cream cheese, cold (adds tenderness and richness to the crust)
- 6-8 tablespoons ice water (you might not need all of it)
For the Filling
- 2 tablespoons unsalted butter
- 1 medium yellow onion, finely diced
- 2 medium carrots, peeled and diced small
- 2 celery stalks, diced small
- 3 cloves garlic, minced
- ⅓ cup all-purpose flour (for thickening the sauce)
- 2 cups chicken broth (low-sodium, please)
- 1 cup whole milk or heavy cream (heavy cream makes it extra luxurious)
- ¼ cup dry white wine (optional but recommended—use something you’d drink)
- 3 cups cooked chicken, shredded or diced (rotisserie chicken works beautifully)
- 1 cup frozen peas (no need to thaw)
- 2 teaspoons fresh thyme leaves (or 1 teaspoon dried)
- Salt and black pepper to taste
For Assembly
- 1 large egg, beaten with 1 tablespoon water (for egg wash)
- Flaky sea salt for sprinkling
When it comes to the chicken, I almost always use a rotisserie chicken from the store. It’s a huge time-saver and the meat is always juicy. If you have leftover turkey from Thanksgiving, that works beautifully too—just saying. For the vegetables, make sure you dice them small and uniform so they cook evenly in the filling. Nobody wants a chunk of raw carrot in their pie.
If you’re dairy-sensitive, you can substitute the milk with unsweetened oat milk and use a dairy-free cream cheese alternative. The texture will be slightly less rich, but still delicious. For a gluten-free version, use a gluten-free all-purpose flour blend in both the crust and the filling—just know the crust will be a bit more delicate.
Equipment Needed
You don’t need a professional kitchen to make these pies, but a few specific tools will make your life much easier. Here’s what I recommend:
- 4-inch mini pie tins or a jumbo muffin tin: I use a set of six mini pie tins I found at a kitchen supply store. A jumbo muffin tin works perfectly too—just grease it well.
- Food processor: This makes the crust come together in seconds. If you don’t have one, a pastry cutter and some elbow grease work fine.
- Rolling pin: A standard rolling pin is all you need. I have a French rolling pin that I love, but any will do.
- Large skillet: For cooking the filling. A 12-inch skillet gives you plenty of room.
- Measuring cups and spoons: Precision matters in baking, even for savory pies.
- Pastry brush: For applying the egg wash. A silicone brush works well and is easy to clean.
- Baking sheet: Place your mini pies on a baking sheet to catch any drips during baking.
If you’re on a budget, skip the food processor and use a pastry cutter or two forks. The crust will still be flaky—it just takes a few more minutes of work. And honestly, I’ve made these in disposable aluminum mini pie tins for a Friendsgiving potluck, and they turned out just as good.
Preparation Method
Let’s get cooking. I’ll walk you through every step so you feel confident, even if you’ve never made a pie crust from scratch. Set aside about an hour for prep, plus chilling time for the dough.
Step 1: Make the Crust
In a food processor, combine the flour and salt. Pulse a few times to mix. Add the cold butter cubes and cold cream cheese. Pulse until the mixture looks like coarse meal with some pea-sized butter pieces remaining—this is what creates flaky layers. Don’t overprocess, or the crust will be tough.
Sprinkle 6 tablespoons of ice water over the mixture and pulse until the dough just starts to come together. It should hold together when you squeeze a bit in your hand. If it’s too dry, add the remaining water one tablespoon at a time. Turn the dough out onto a lightly floured surface, divide it in half, and shape each half into a disk. Wrap in plastic wrap and refrigerate for at least 30 minutes. This rest is crucial—it relaxes the gluten and keeps the crust tender.
Step 2: Prepare the Filling
While the dough chills, make the filling. Melt the 2 tablespoons of butter in a large skillet over medium heat. Add the onion, carrots, and celery. Cook, stirring occasionally, until the vegetables are softened but not browned—about 6 to 8 minutes. Add the garlic and cook for another minute until fragrant.
Sprinkle the ⅓ cup of flour over the vegetables and stir constantly for 1 to 2 minutes. This cooks out the raw flour taste. Slowly pour in the chicken broth while whisking to prevent lumps. Then add the milk or cream and the white wine if using. Bring the mixture to a gentle simmer, whisking often. It will thicken nicely after about 3 to 4 minutes.
Remove the skillet from heat. Stir in the cooked chicken, frozen peas, and fresh thyme. Season generously with salt and black pepper. Taste it—this is your moment to adjust the seasoning. The filling should be flavorful and creamy. Let it cool slightly while you roll out the dough.
Step 3: Roll and Assemble
Preheat your oven to 400°F (200°C). Lightly grease your mini pie tins or jumbo muffin tin.
On a lightly floured surface, roll out one disk of dough to about ⅛-inch thickness. Use a 5-inch round cutter or a small bowl to cut out circles for the bottom crusts. You’ll need 6 circles. Gently press each circle into a pie tin, letting the edges hang over slightly. Don’t stretch the dough—just ease it in.
Divide the filling evenly among the 6 pies. It should come almost to the top of each tin. Roll out the second disk of dough and cut out 6 more circles, slightly smaller this time (about 4 inches). Place these on top of the filling. Crimp the edges with your fingers or a fork to seal. Cut a few small slits in the top of each pie to let steam escape.
Step 4: Bake to Golden Perfection
Brush the tops of each pie with the egg wash, then sprinkle with a pinch of flaky sea salt. Place the pies on a baking sheet and bake for 20 to 25 minutes, until the crust is deep golden brown and the filling is bubbling up through the slits. Let them cool for 5 to 10 minutes before serving—the filling is lava-hot straight out of the oven.
Cooking Tips & Techniques
Over the years, I’ve made every mistake you can imagine with these pies. Let me save you the trouble with some hard-earned wisdom.
Keep everything cold. The number one reason pie crust turns out tough or greasy is warm butter. If your kitchen is warm, pop the dough back in the fridge for 10 minutes between rolling and assembling. I once made these on a hot July day and had to chill the dough three times. Worth it for the flaky results.
Don’t skip the egg wash. I know it seems like an extra step, but that golden, glossy finish is what makes these pies look professional. It also helps the flaky sea salt stick, which adds a lovely pop of texture.
Make the filling thick. If your filling seems too thin before you assemble, cook it a minute or two longer. Too much liquid will make the bottom crust soggy. The filling should be thick enough to hold its shape on a spoon.
Multitask like a pro. While the dough chills, prep your vegetables and shred your chicken. While the filling cools slightly, roll out the dough. Good timing is the secret to making this recipe feel effortless.
Use a baking sheet. I learned this one the hard way—filling bubbles over in the oven and drips onto the oven floor, creating a smoky mess. A baking sheet catches everything and makes cleanup a breeze.
Variations & Adaptations
One of the best things about this recipe is how flexible it is. Here are some of my favorite variations:
- Turkey and Stuffing Pot Pies: Swap the chicken for leftover Thanksgiving turkey and add ½ cup of cooked stuffing to the filling. It’s like Thanksgiving in a pie.
- Vegetarian Version: Omit the chicken and double the vegetables. Add a cup of diced mushrooms and a can of drained chickpeas for heartiness. Use vegetable broth instead of chicken broth.
- Herb-Crusted Pies: Add 2 tablespoons of finely chopped fresh herbs (parsley, chives, dill) to the flour when making the crust. It adds a beautiful green fleck and extra flavor.
- Cheesy Crust: Add ½ cup of finely grated Parmesan cheese to the flour mixture. The cheese crisps up in the oven and adds a savory, nutty note.
- Spicy Kick: Add a pinch of cayenne pepper and ½ teaspoon of smoked paprika to the filling. It gives the pies a subtle warmth that pairs beautifully with the creamy sauce.
I once made a batch with leftover rotisserie chicken and added a handful of chopped mushrooms I needed to use up. My friend declared them the best pot pies she’d ever had. Don’t be afraid to experiment—this recipe is forgiving.
Serving & Storage Suggestions
These mini pies are best served warm, straight from the oven. Let them rest for 5 to 10 minutes so the filling sets slightly—this prevents runny pies and burned tongues. Arrange them on a large wooden board or a platter for a stunning presentation. I like to garnish each pie with a small sprig of fresh thyme or a sprinkle of fresh parsley.
For a full Friendsgiving spread, serve these alongside a cranberry walnut salad with a tangy vinaigrette to cut through the richness. A side of roasted Brussels sprouts or green beans with almonds also works beautifully. And don’t forget the mashed potatoes with garlic and herb—because is it really Friendsgiving without mashed potatoes?
Storage: Baked pies keep in the refrigerator for up to 4 days. Reheat them in a 350°F oven for 10 to 15 minutes until warmed through. The microwave works in a pinch, but the crust won’t be as crispy.
Freezing: These freeze beautifully, either baked or unbaked. To freeze unbaked pies, assemble them completely but don’t add the egg wash. Wrap each pie tightly in plastic wrap and then foil. Freeze for up to 3 months. When ready to bake, brush with egg wash and bake from frozen, adding 10 to 15 minutes to the baking time. To freeze baked pies, cool them completely, then wrap and freeze. Reheat directly from frozen in a 350°F oven for 20 minutes.
The flavors actually deepen after a day in the fridge. I often make these a day ahead for Friendsgiving and just reheat them before guests arrive. It takes the pressure off and lets me actually enjoy the party.
Nutritional Information & Benefits
Here’s an approximate nutritional breakdown for one mini chicken pot pie (based on 6 servings):
- Calories: 485
- Protein: 28g
- Fat: 28g
- Carbohydrates: 32g
- Fiber: 3g
- Sugar: 5g
These pies pack a solid protein punch from the chicken, which helps keep you full and satisfied. The carrots and peas add a good dose of vitamin A and fiber. Using whole milk or heavy cream provides calcium and healthy fats. If you’re watching your intake, you can lighten things up by using half-and-half instead of heavy cream and increasing the vegetable-to-chicken ratio.
This recipe contains gluten and dairy, so it’s not suitable for those with celiac disease or severe lactose intolerance. For a gluten-free version, use a quality gluten-free flour blend in both the crust and the filling. For dairy-free, substitute the butter with a plant-based butter, use oat milk, and skip the cream cheese in the crust—the texture will be different but still tasty.
Conclusion
These Perfect Friendsgiving Mini Chicken Pot Pies are more than just a recipe—they’re a way to make your gathering feel special without spending all day in the kitchen. Each little pie is a warm, buttery hug on a plate, and sharing them with the people you love is what Friendsgiving is really about.
I still think about Margot every time I make these. She taught me that good food doesn’t have to be complicated—it just has to be made with care. And honestly, that’s the best advice I can give you. Don’t stress over perfect crimping or even-sized circles. Just make them with love, and they’ll be perfect.
I’d love to hear how yours turn out. Did you add your own twist? Did your friends fight over the last one? Drop a comment below and let me know. And if you’re looking for more Friendsgiving inspiration, check out my slow cooker mac and cheese or this pumpkin bread pudding with bourbon caramel for dessert. Happy Friendsgiving, friend—you’ve got this.
Frequently Asked Questions
Can I use store-bought pie crust instead of making my own?
Absolutely. If you’re short on time, store-bought pie crust works perfectly. Just roll it out slightly thinner than it comes, and follow the same assembly instructions. The texture won’t be quite as flaky as homemade, but it saves a good 20 minutes of prep time.
How far in advance can I assemble these pies?
You can assemble the pies up to two days ahead. Keep them covered in the refrigerator. Add the egg wash just before baking. If you’re making them for a party, this is a huge time-saver. Just pop them in the oven when guests start arriving.
Can I make these in a regular muffin tin?
Yes, a standard 12-cup muffin tin works, but the pies will be smaller. You’ll get about 10 to 12 mini pies instead of 6. Reduce the baking time to 15 to 18 minutes, and keep an eye on them—they brown faster in smaller tins.
What’s the best way to reheat leftover pies?
The oven is your best friend here. Reheat at 350°F for 10 to 15 minutes. The microwave will work, but the crust will lose its crispiness. If you’re in a hurry, microwave for 1 minute and then pop them under the broiler for 2 minutes to crisp up the top.
Can I add other vegetables to the filling?
Definitely. Diced potatoes, mushrooms, green beans, or corn all work well. Just make sure any hard vegetables are diced small and cooked until tender before adding the liquid. Frozen mixed vegetables are a great shortcut—just thaw and drain them first so they don’t water down the sauce.
Pin This Recipe!
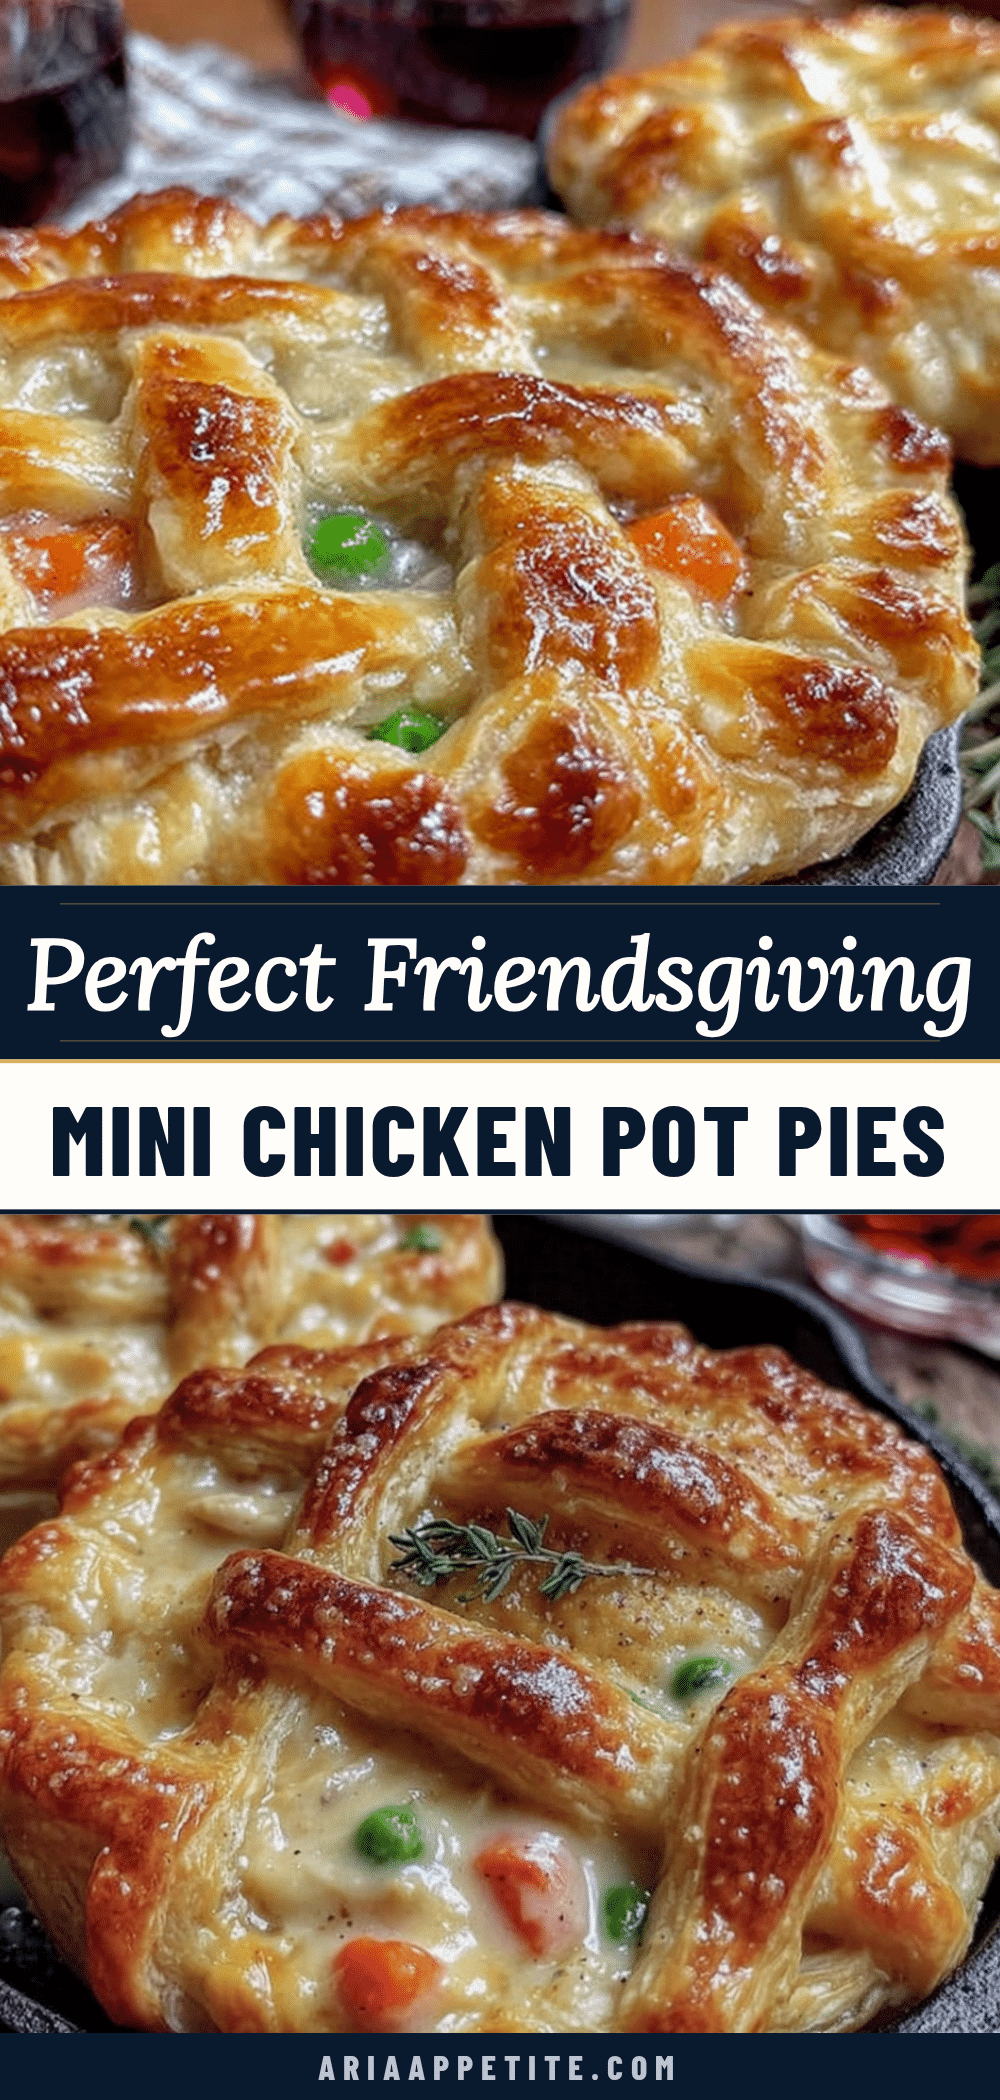
Perfect Friendsgiving Mini Chicken Pot Pies

These personal-sized chicken pot pies feature a flaky, buttery crust and a creamy, herby filling. Perfect for Friendsgiving, they’re make-ahead friendly and guaranteed to impress your guests.
- Prep Time: 1 hour
- Cook Time: 25 minutes
- Total Time: 1 hour 25 minutes
- Yield: 6 servings 1x
- Category: Main Course
- Cuisine: American
Ingredients
- 2 ½ cups all-purpose flour
- 1 teaspoon salt
- 1 cup unsalted butter, very cold and cut into small cubes
- 4 ounces cream cheese, cold
- 6–8 tablespoons ice water
- 2 tablespoons unsalted butter
- 1 medium yellow onion, finely diced
- 2 medium carrots, peeled and diced small
- 2 celery stalks, diced small
- 3 cloves garlic, minced
- ⅓ cup all-purpose flour
- 2 cups low-sodium chicken broth
- 1 cup whole milk or heavy cream
- ¼ cup dry white wine (optional)
- 3 cups cooked chicken, shredded or diced
- 1 cup frozen peas
- 2 teaspoons fresh thyme leaves (or 1 teaspoon dried)
- Salt and black pepper to taste
- 1 large egg, beaten with 1 tablespoon water
- Flaky sea salt for sprinkling
Instructions
- Make the crust: In a food processor, combine flour and salt. Pulse to mix. Add cold butter cubes and cold cream cheese. Pulse until mixture resembles coarse meal with some pea-sized butter pieces. Sprinkle 6 tablespoons ice water over mixture and pulse until dough just starts to come together. Turn dough out onto a lightly floured surface, divide in half, shape into disks, wrap in plastic wrap, and refrigerate for at least 30 minutes.
- Prepare the filling: Melt 2 tablespoons butter in a large skillet over medium heat. Add onion, carrots, and celery. Cook, stirring occasionally, until softened (6-8 minutes). Add garlic and cook 1 minute more. Sprinkle ⅓ cup flour over vegetables and stir constantly for 1-2 minutes. Slowly pour in chicken broth while whisking. Add milk or cream and white wine (if using). Bring to a gentle simmer, whisking often, until thickened (3-4 minutes). Remove from heat. Stir in cooked chicken, frozen peas…
- Preheat oven to 400°F (200°C). Lightly grease 6 mini pie tins or a jumbo muffin tin.
- On a lightly floured surface, roll out one disk of dough to about ⅛-inch thickness. Cut out 6 circles using a 5-inch round cutter. Gently press each circle into a pie tin, letting edges hang over slightly.
- Divide filling evenly among the 6 pies. Roll out second disk of dough and cut out 6 circles (about 4 inches). Place on top of filling. Crimp edges with fingers or a fork to seal. Cut a few small slits in the top of each pie.
- Brush tops with egg wash and sprinkle with flaky sea salt. Place pies on a baking sheet and bake for 20-25 minutes, until crust is deep golden brown and filling is bubbling. Let cool 5-10 minutes before serving.
Notes
Keep all ingredients cold for flaky crust. Don’t skip the egg wash for a golden finish. Make filling thick to avoid soggy bottom crust. Use a baking sheet to catch drips. Can be assembled up to 2 days ahead. Freezes well baked or unbaked.
Nutrition
- Serving Size: 1 mini pie
- Calories: 485
- Sugar: 5
- Fat: 28
- Carbohydrates: 32
- Fiber: 3
- Protein: 28
Keywords: mini chicken pot pie, Friendsgiving, individual pot pie, chicken pot pie, comfort food, make-ahead, holiday recipe


