Love this? Save it for later!
Share the inspiration with your friends
It was 11:47 PM on a rainy Tuesday in late October, and I had an unreasonable craving for stuffing. Not just any stuffing—the kind that soaks up gravy like a sponge and gets those crispy, golden edges that make you forget about the turkey entirely. But here’s the thing: I didn’t have a single loaf of bread in the house. No sourdough, no brioche, not even a sad heel of sandwich bread. What I did have was a bag of gluten-free bread that my sister had left after her last visit (she swears by it, I’ve always been skeptical), a sad bunch of sage from the back of the fridge, and this wild idea that maybe, just maybe, I could make a stuffing that didn’t taste like cardboard.
Honestly, I was tired. It had been one of those days where everything felt slightly off—I’d burned my hand on the toaster, forgot to pick up the dry cleaning, and somehow managed to spill coffee on my favorite sweater. But there I was, standing in my kitchen at nearly midnight, chopping onions and trying not to wake the neighbors. The rain was coming down harder now, and the whole house smelled like celery and thyme and something that felt suspiciously like hope. I mean, maybe you’ve been there—that late-night urge to make something familiar but better, even when the odds are stacked against you.
I grabbed the gluten-free bread and tore it into uneven chunks, because honestly, who has the energy for perfect cubes at midnight? I toasted it in the oven while I sautéed the aromatics, and something about the quiet rhythm of it all felt right. The butter sizzling, the onions going translucent, the smell of fresh herbs filling up the kitchen—it was like a warm hug after a long day. And when I pulled that pan out of the oven, golden and fragrant and actually good, I knew I’d stumbled onto something special. This wasn’t just a substitution. This was the stuffing I’d been looking for all along.
Why You’ll Love This Recipe
Let me tell you why this gluten-free stuffing has become my go-to for Thanksgiving and beyond. I’ve tested this recipe more times than I care to admit—some batches were too dry, others turned into mush, and one memorable disaster involved a smoke alarm and a very annoyed neighbor. But after all that trial and error, I can confidently say this version is the one.
- Quick & Easy: Comes together in under 45 minutes, perfect for busy holiday mornings or when you need a last-minute side dish that feels impressive.
- Simple Ingredients: No fancy grocery trips needed—you likely already have most of these pantry staples in your kitchen.
- Perfect for Thanksgiving: This stuffing is the ultimate comfort food for your holiday table, and nobody will guess it’s gluten-free.
- Crowd-Pleaser: Always gets rave reviews from kids and adults alike, whether they’re gluten-free or not.
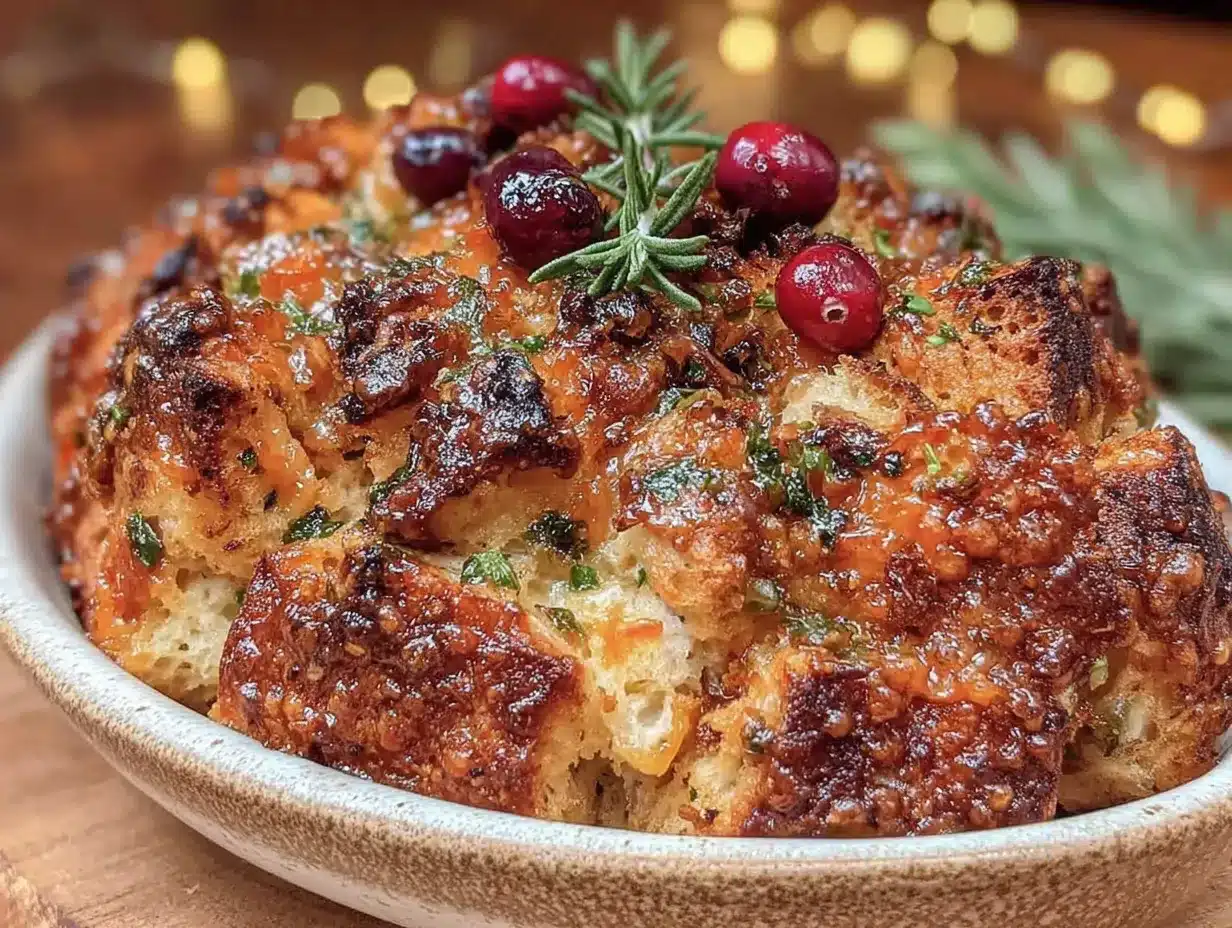
- Unbelievably Delicious: The texture is perfectly crispy on top, tender and moist inside, with a herb-forward flavor that’ll make you close your eyes after the first bite.
What makes this recipe different from the rest? It’s the technique. Instead of using stale bread that can turn rock-hard, I toast the gluten-free bread just enough to dry it out without making it brittle. The key is using a good-quality gluten-free bread—I’ve found that brands like Canyon Bakehouse or Schär work beautifully because they have a sturdy crumb that holds up to the broth. And the seasoning? It’s perfectly balanced with fresh sage, rosemary, and thyme, giving you that classic Thanksgiving flavor without any weird aftertaste.
This recipe isn’t just good—it’s the kind that makes you forget you’re eating gluten-free. It’s comfort food reimagined: healthier, faster, but with the same soul-soothing satisfaction that makes stuffing the star of the show.
What Ingredients You Will Need
This recipe uses simple, wholesome ingredients to deliver bold flavor and satisfying texture without the fuss. Most of these are pantry staples or easy to find at any grocery store, especially during the holiday season.
For the Stuffing Base
- 1 loaf (about 12-14 oz) gluten-free bread – I recommend Canyon Bakehouse or Schär for best texture; look for a sturdy loaf, not something too airy or crumbly
- 4 tablespoons unsalted butter (adds richness and helps with browning)
- 1 large yellow onion, diced (about 1½ cups)
- 3 celery stalks, diced (about 1 cup)
- 3 cloves garlic, minced
- 1½ teaspoons kosher salt
- ½ teaspoon black pepper
For the Herb Blend
- 2 tablespoons fresh sage, chopped – dried sage works in a pinch (use 2 teaspoons), but fresh really makes a difference here
- 1 tablespoon fresh rosemary, chopped – I’ve also used 1 teaspoon dried rosemary, crushed between your fingers to release the oils
- 1 tablespoon fresh thyme leaves – about 6-8 sprigs, stripped
- 2 teaspoons fresh parsley, chopped (optional but adds a nice freshness)
For the Liquid
- 1½ cups low-sodium chicken or vegetable broth – use vegetable broth for a vegetarian version; I prefer Swanson or Kitchen Basics for consistent flavor
- 1 large egg, lightly beaten – this helps bind the stuffing and gives it that custardy texture (use a flax egg for vegan option)
Optional Add-Ins
- ½ cup dried cranberries – adds a pop of sweetness that pairs beautifully with the herbs
- ½ cup chopped pecans or walnuts – for extra crunch and nuttiness
- ½ cup cooked sausage or bacon – if you want a heartier, meatier stuffing
Ingredient Selection Tip: When choosing gluten-free bread for stuffing, look for one that’s not too sweet or too light. A hearty multigrain or white bread with a good crumb structure will give you the best results. Avoid breads that are very soft or airy—they’ll turn to mush when mixed with the broth. And if you’re using dried herbs instead of fresh, remember that dried herbs are more concentrated, so use about one-third of the amount.
Equipment Needed
- 9×13-inch baking dish – glass or ceramic works best for even heat distribution
- Large skillet – for sautéing the aromatics
- Large mixing bowl – for combining all the ingredients
- Baking sheet – for toasting the bread cubes
- Chef’s knife and cutting board
- Wooden spoon or spatula
- Measuring cups and spoons
If you don’t have a 9×13 dish, you can use a 10-inch cast iron skillet or a 2-quart casserole dish. Just adjust the baking time slightly—a shallower dish will cook faster. I’ve also made this in a disposable aluminum pan for potlucks, and it works great! For the toasting step, a sheet pan with raised edges prevents bread cubes from rolling off. And honestly, if you don’t have a wooden spoon, any sturdy spoon will do—I’ve used a rubber spatula in a pinch and it worked fine.
Preparation Method
Let me walk you through this step by step. Trust me, I’ve made every mistake possible with stuffing, so I’ll tell you exactly what to watch out for.
- Preheat your oven to 375°F (190°C). This is important—you want the oven nice and hot for toasting the bread and baking the stuffing.
- Prepare the gluten-free bread. Cut the bread into ½-inch cubes (about 6 cups total). Don’t worry about being perfect—uneven pieces add texture! Spread them on a baking sheet in a single layer. Toast for 10-12 minutes, stirring halfway through, until the cubes are dry and lightly golden. Pro tip: If the bread feels soft or fresh, you might need an extra 2-3 minutes. You want them dry but not hard—think crouton-light, not crouton-crunchy.
- Sauté the aromatics. While the bread toasts, melt the butter in a large skillet over medium heat. Add the diced onion and celery, and cook for 6-8 minutes until softened and translucent. The onions should be fragrant but not browned. Add the minced garlic and cook for another 30 seconds—just until you can smell it. Watch out: Garlic burns quickly! If it starts to brown, remove the pan from heat immediately.
- Add the herbs. Stir in the fresh sage, rosemary, and thyme. Cook for 1 minute until fragrant. The herbs will release their oils and fill your kitchen with that irresistible Thanksgiving aroma. Remove from heat.
- Combine the ingredients. In a large mixing bowl, combine the toasted bread cubes and the sautéed vegetable-herb mixture. Toss gently to distribute everything evenly. In a separate small bowl, whisk together the broth and beaten egg. Here’s where I learned my lesson: pour the broth mixture slowly over the bread, about half at a time, and toss gently. You want the bread to absorb the liquid but not get soggy. The cubes should feel moist but still hold their shape.
- Transfer to baking dish. Grease your 9×13-inch baking dish with butter or non-stick spray. Spoon the stuffing mixture into the dish and spread it evenly. Don’t press it down—you want some air pockets for those crispy bits.
- Bake to perfection. Bake uncovered at 375°F (190°C) for 25-30 minutes. The top should be golden brown and crispy, while the inside stays tender and moist. Sensory cue: You’ll know it’s done when the edges are deep golden and the kitchen smells like a Thanksgiving dream. If you want extra crispy edges, broil for the last 2 minutes—but watch it carefully!
- Rest before serving. Let the stuffing rest for 5-10 minutes before serving. This allows the liquid to settle and makes it easier to scoop without falling apart. Plus, it gives you time to finish up the rest of the meal!
Cooking Tips & Techniques
After making this stuffing at least a dozen times (including one particularly disastrous attempt where I forgot the egg entirely), I’ve picked up some tricks that make a real difference.
Don’t skip the toasting step. I know it feels like an extra step, but toasting the gluten-free bread is absolutely crucial. Gluten-free bread is naturally more moist and dense than regular bread, so if you skip the toasting, your stuffing will turn into a gummy, gluey mess. Trust me, I learned this the hard way. Toast until the cubes are dry and just starting to color—they’ll absorb the broth perfectly without falling apart.
Watch your liquid ratio. This is where most people go wrong. Start with 1¼ cups of broth, add the egg, and see how the bread feels. If it seems too dry, add the remaining ¼ cup. The bread should feel moist but not swimming in liquid. When you squeeze a handful, a little liquid should drip out—but it shouldn’t be soupy. Different gluten-free breads absorb liquid differently, so trust your instincts.
Layer your flavors. Don’t just dump everything together. Sautéing the aromatics first develops their sweetness and depth. Adding the herbs at the end of cooking preserves their bright, fresh flavor. And toasting the bread gives it that nutty complexity. Each step builds on the last, creating a stuffing that’s far more than the sum of its parts.
Multitasking tip: While the bread is toasting, you can sauté the aromatics. While the stuffing bakes, you can make the gravy or finish the turkey. This recipe is designed to fit seamlessly into your Thanksgiving timeline—just start it about 45 minutes before you’re ready to eat.
Consistency trick: If you’re making this ahead of time (which you absolutely can), undercook it slightly. Bake for just 20 minutes, then let it cool completely and refrigerate. When you’re ready to serve, add a splash of broth and bake for another 15-20 minutes. This prevents it from drying out during reheating.
Variations & Adaptations
One of the things I love about this recipe is how versatile it is. Here are some of my favorite variations:
Vegan Version: Swap the butter for vegan butter or olive oil, use vegetable broth, and replace the egg with a flax egg (1 tablespoon ground flaxseed mixed with 3 tablespoons water, let sit for 5 minutes). It works beautifully—I’ve served this to vegan friends who couldn’t tell the difference.
Sausage & Apple Stuffing: Brown ½ pound of gluten-free sausage (I like Johnsonville’s Italian sausage) and crumble it into the mixture. Add 1 diced apple (Honeycrisp or Granny Smith work great) along with the onion and celery. The sweetness of the apple and the savory sausage are a match made in heaven.
Mushroom & Leek Stuffing: Sauté 8 ounces of sliced cremini mushrooms with the onion and celery, and swap half the onion for 1 cup of sliced leeks (white and light green parts only). The earthy mushrooms and delicate leeks add a whole new dimension of flavor.
Southern Cornbread-Style: Use gluten-free cornbread instead of regular bread for a Southern twist. Crumble 4 cups of gluten-free cornbread and toast it the same way. Add a pinch of cayenne pepper for a little heat. This is my personal favorite for Thanksgiving—it’s got that perfect balance of sweet and savory.
Herb Variation: If you don’t have fresh herbs, use 2 teaspoons dried sage, 1 teaspoon dried rosemary, and 1 teaspoon dried thyme. Just crumble them between your fingers before adding to release their oils. And if you’re feeling adventurous, add a teaspoon of fresh dill or tarragon for a unique twist.
Serving & Storage Suggestions
This stuffing is best served warm, right out of the oven, when the top is still crispy and the inside is tender and steaming. I love to scoop it onto plates alongside roasted turkey, mashed potatoes, and a generous drizzle of gravy. It’s also fantastic with roasted root vegetables for a complete holiday meal.
For leftovers: Store in an airtight container in the refrigerator for up to 4 days. The flavors actually get better overnight as the herbs meld together. To reheat, spread the stuffing on a baking sheet and warm in a 350°F oven for 10-15 minutes. You can also microwave individual portions, but the top won’t be as crispy.
To freeze: This stuffing freezes beautifully! Let it cool completely, then transfer to a freezer-safe container or zip-top bag. It will keep for up to 3 months. To serve, thaw overnight in the refrigerator, then reheat in a 350°F oven with a splash of broth to refresh the moisture.
Make-ahead tip: You can assemble the stuffing up to 24 hours in advance. Prepare everything through step 6, cover the dish with foil, and refrigerate. When ready to bake, add 10-15 minutes to the baking time since you’re starting from cold. I do this every year for Thanksgiving—it’s a lifesaver when you’re juggling a dozen dishes.
Nutritional Information & Benefits
Per serving (about 1 cup): Approximately 220 calories, 9g fat, 28g carbohydrates, 4g fiber, 6g protein, 450mg sodium. Values will vary based on specific ingredients and add-ins.
This gluten-free stuffing is a great source of complex carbohydrates from the bread, which provide sustained energy. The celery and onions add fiber and antioxidants, while the fresh herbs offer anti-inflammatory properties. Sage is particularly known for its cognitive benefits, and rosemary contains compounds that support digestion.
For those with dietary restrictions, this recipe is naturally dairy-free if you use vegan butter, and can easily be made egg-free with a flax egg. It’s also nut-free (unless you add the optional pecans) and soy-free if you choose your broth carefully. As always, check your ingredient labels to ensure they’re certified gluten-free if you have celiac disease or severe sensitivity.
I love that this stuffing lets me enjoy a classic Thanksgiving dish without compromising on flavor or texture. It’s proof that gluten-free eating doesn’t mean missing out—it just means finding new ways to make the foods we love.
Conclusion
This cozy Thanksgiving herb stuffing has become a staple in my kitchen, and I hope it becomes one in yours too. It’s the kind of recipe that proves gluten-free cooking can be just as delicious, comforting, and satisfying as the original—maybe even more so. Whether you’re serving it at a holiday feast, a Sunday dinner, or just because you’re craving something warm and herby, this stuffing delivers every time.
Don’t be afraid to make it your own. Add your favorite herbs, toss in some dried fruit or nuts, or keep it simple and classic. The beauty of this recipe is its flexibility. And honestly, the best version is the one that makes you happy.
I’d love to hear how yours turns out! Leave a comment below and let me know what variations you tried, or share a photo of your stuffing on Pinterest. And if you’re looking for more gluten-free holiday inspiration, check out my gluten-free Thanksgiving dinner guide for the full menu. Happy cooking, friends—and happy Thanksgiving!
Frequently Asked Questions
Can I make this stuffing ahead of time?
Absolutely! You can assemble the stuffing up to 24 hours in advance and refrigerate it unbaked. Just add 10-15 minutes to the baking time. You can also bake it fully, then reheat it in a 350°F oven with a splash of broth.
What’s the best gluten-free bread for stuffing?
I’ve had the best results with sturdy breads like Canyon Bakehouse or Schär. Avoid soft, airy gluten-free breads—they’ll turn mushy. A hearty white or multigrain loaf with a good crumb structure works perfectly.
Can I use dried herbs instead of fresh?
Yes, but use about one-third of the amount. For this recipe, use 2 teaspoons dried sage, 1 teaspoon dried rosemary, and 1 teaspoon dried thyme. Crush the dried herbs between your fingers before adding to release their oils.
How do I prevent my stuffing from being too dry or too soggy?
The key is the liquid ratio. Start with 1¼ cups of broth and add the egg, then check the texture. The bread should feel moist but not swimming. If it seems dry, add the remaining ¼ cup. Also, make sure you toast the bread well—this helps it absorb liquid evenly.
Can I freeze this gluten-free stuffing?
Yes! Let it cool completely, then store in a freezer-safe container for up to 3 months. Thaw overnight in the refrigerator and reheat in a 350°F oven with a splash of broth to refresh the moisture. It’s a great make-ahead option for busy holidays.
Pin This Recipe!
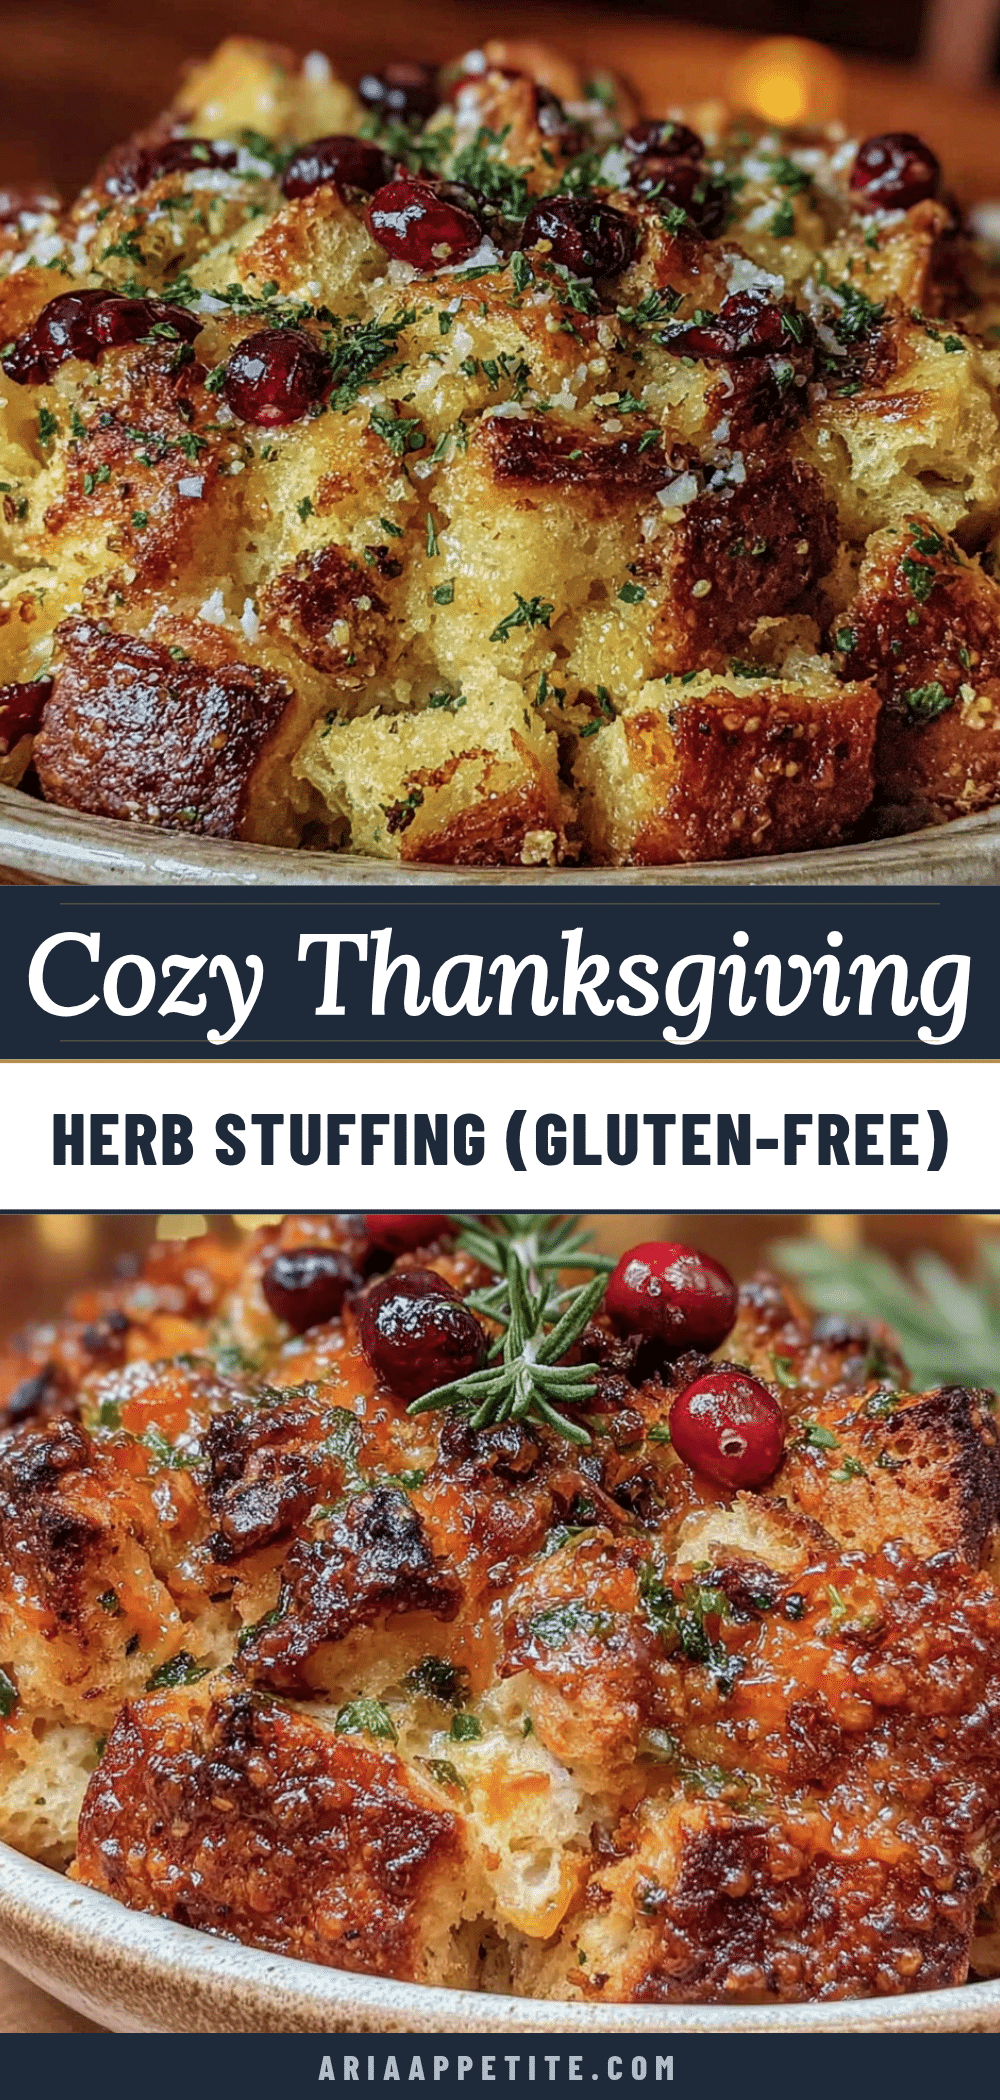
Cozy Thanksgiving Herb Stuffing – Easy Gluten-Free Recipe

A delicious gluten-free stuffing that’s crispy on top, tender inside, and packed with herb flavor. Perfect for Thanksgiving or any cozy meal.
- Prep Time: 15 minutes
- Cook Time: 30 minutes
- Total Time: 45 minutes
- Yield: 8 servings 1x
- Category: Side Dish
- Cuisine: American
Ingredients
- 1 loaf (about 12-14 oz) gluten-free bread (recommended: Canyon Bakehouse or Schär)
- 4 tablespoons unsalted butter
- 1 large yellow onion, diced (about 1½ cups)
- 3 celery stalks, diced (about 1 cup)
- 3 cloves garlic, minced
- 1½ teaspoons kosher salt
- ½ teaspoon black pepper
- 2 tablespoons fresh sage, chopped (or 2 teaspoons dried)
- 1 tablespoon fresh rosemary, chopped (or 1 teaspoon dried)
- 1 tablespoon fresh thyme leaves (or 1 teaspoon dried)
- 2 teaspoons fresh parsley, chopped (optional)
- 1½ cups low-sodium chicken or vegetable broth
- 1 large egg, lightly beaten
- ½ cup dried cranberries (optional)
- ½ cup chopped pecans or walnuts (optional)
- ½ cup cooked sausage or bacon (optional)
Instructions
- Preheat your oven to 375°F (190°C).
- Cut the gluten-free bread into ½-inch cubes (about 6 cups total). Spread on a baking sheet in a single layer. Toast for 10-12 minutes, stirring halfway, until dry and lightly golden.
- While the bread toasts, melt the butter in a large skillet over medium heat. Add the diced onion and celery, and cook for 6-8 minutes until softened and translucent. Add the minced garlic and cook for another 30 seconds.
- Stir in the fresh sage, rosemary, and thyme. Cook for 1 minute until fragrant. Remove from heat.
- In a large mixing bowl, combine the toasted bread cubes and the sautéed vegetable-herb mixture. Toss gently. In a separate small bowl, whisk together the broth and beaten egg. Pour the broth mixture slowly over the bread, tossing gently to coat evenly.
- Grease a 9×13-inch baking dish with butter or non-stick spray. Spoon the stuffing mixture into the dish and spread evenly without pressing down.
- Bake uncovered at 375°F (190°C) for 25-30 minutes, until the top is golden brown and crispy. For extra crispy edges, broil for the last 2 minutes.
- Let the stuffing rest for 5-10 minutes before serving.
Notes
For best results, use a sturdy gluten-free bread like Canyon Bakehouse or Schär. Toast the bread well to prevent a gummy texture. Adjust liquid ratio as needed; different breads absorb differently. For make-ahead, assemble up to 24 hours in advance and refrigerate unbaked, then add 10-15 minutes to baking time. Freezes well for up to 3 months.
Nutrition
- Serving Size: 1 cup
- Calories: 220
- Sugar: 4
- Sodium: 450
- Fat: 9
- Saturated Fat: 4
- Carbohydrates: 28
- Fiber: 4
- Protein: 6
Keywords: gluten-free stuffing, Thanksgiving stuffing, herb stuffing, gluten-free side dish, holiday stuffing


