Love this? Save it for later!
Share the inspiration with your friends
I was supposed to be making a classic cheeseball for our neighborhood potluck. You know the one—rolled in nuts, served with crackers, the usual boring thing everyone’s seen a hundred times. But I was already running late, my toddler was “helping” by dumping pretzel sticks onto the counter, and the block of cream cheese I’d left out was still stubbornly cold in the center. Honestly, I just stood there for a minute, staring at the mess, feeling that familiar panic rise up. Then my kid grabbed a handful of those pretzel sticks, shoved them into the soft edges of the cream cheese, and laughed like it was the funniest thing ever. And that’s when it hit me—this wasn’t a disaster. This was a mummy.
I started pressing more pretzel sticks in, shaping the cheese into a rough log, and suddenly I had this lumpy, bandage-looking thing that was actually kind of cute in a goofy way. I added two little olive eyes, and my daughter shrieked with delight. The potluck? I almost forgot about it. We just stood there, giggling at this weird little cheese monster we’d made together. I finished it up, tossed it in the fridge, and brought it to the party anyway—mostly because I didn’t have time to start over. Let me tell you, it was the first thing to disappear. People kept asking for the recipe, and I had to admit it was a complete accident.
Maybe you’ve been there—staring at a half-failed snack, wondering how to salvage the situation before the kids lose interest. This recipe is proof that sometimes the best things come from a moment of chaos. I mean, who knew a cheese ball could be this fun? It’s become our go-to for Halloween parties, movie nights, and even just a random Tuesday when we need a laugh. Every time I make it, I remember that afternoon of pretzel sticks and happy accidents, and it makes me smile. So if you’re looking for a way to get the kids excited about cooking without stressing over perfection, this one’s for you.
Why You’ll Love This Recipe
Let’s be real—most Halloween snacks are either too complicated or just plain gross. This one is neither. It’s the kind of recipe that makes you look like a creative genius without actually having to work for it. Here’s why this spooky mummy cheese ball will become your new favorite:
- Quick & Easy: Comes together in under 20 minutes, which is perfect for busy weeknights or last-minute party prep. No baking, no fuss.
- Simple Ingredients: You probably already have everything in your fridge. Cream cheese, shredded cheese, a few seasonings, and pretzel sticks—that’s it.
- Perfect for Halloween: Whether it’s a school party, a family gathering, or just a fun snack before trick-or-treating, this recipe delivers the spooky factor without the scary effort.
- Crowd-Pleaser: Kids love it because it looks like a mummy. Adults love it because it tastes amazing. It’s a win-win.
- Unbelievably Delicious: The creamy, savory cheese mixture paired with salty, crunchy pretzel sticks is next-level comfort food. You won’t be able to stop dipping.
What makes this recipe different from all those other cheese balls out there? It’s the texture. The pretzel sticks don’t just sit on top—they’re pressed right into the cheese, so every bite has that perfect crunch. Plus, the seasoning blend is simple but spot-on. It’s not just another cream cheese log; it’s a fun, interactive snack that gets everyone involved. And honestly, the look on a kid’s face when they see a mummy made of cheese? Priceless.
This recipe isn’t just good—it’s the kind that makes you close your eyes after the first bite. It’s comfort food reimagined: spooky, salty, and totally satisfying. Perfect for impressing guests without stress, or turning a simple snack into something memorable.
What Ingredients You Will Need
This recipe uses simple, everyday ingredients to deliver big flavor and that fun mummy look. No fancy grocery trips needed—just grab these basics from your pantry and fridge.
For the Cheese Ball Base
- Cream cheese, softened (16 oz or two 8-oz blocks) – Make sure it’s at room temperature for easy mixing. I prefer Philadelphia brand for its consistent creaminess.
- Shredded mozzarella cheese (1 cup) – Adds that mild, stretchy texture. Pre-shredded works fine, but freshly shredded melts in better.
- Shredded cheddar cheese (1/2 cup) – Gives the cheese ball a sharper flavor and a nice color. Use mild or sharp, depending on your preference.
- Garlic powder (1/2 teaspoon) – Just enough to add savory depth without overpowering.
- Onion powder (1/2 teaspoon) – Balances the garlic and adds a subtle sweetness.
- Salt (1/4 teaspoon) – Enhances all the flavors. Go easy if you’re using salted butter or pre-shredded cheese.
- Black pepper (1/4 teaspoon) – A little kick to round things out.
For the Mummy Decoration
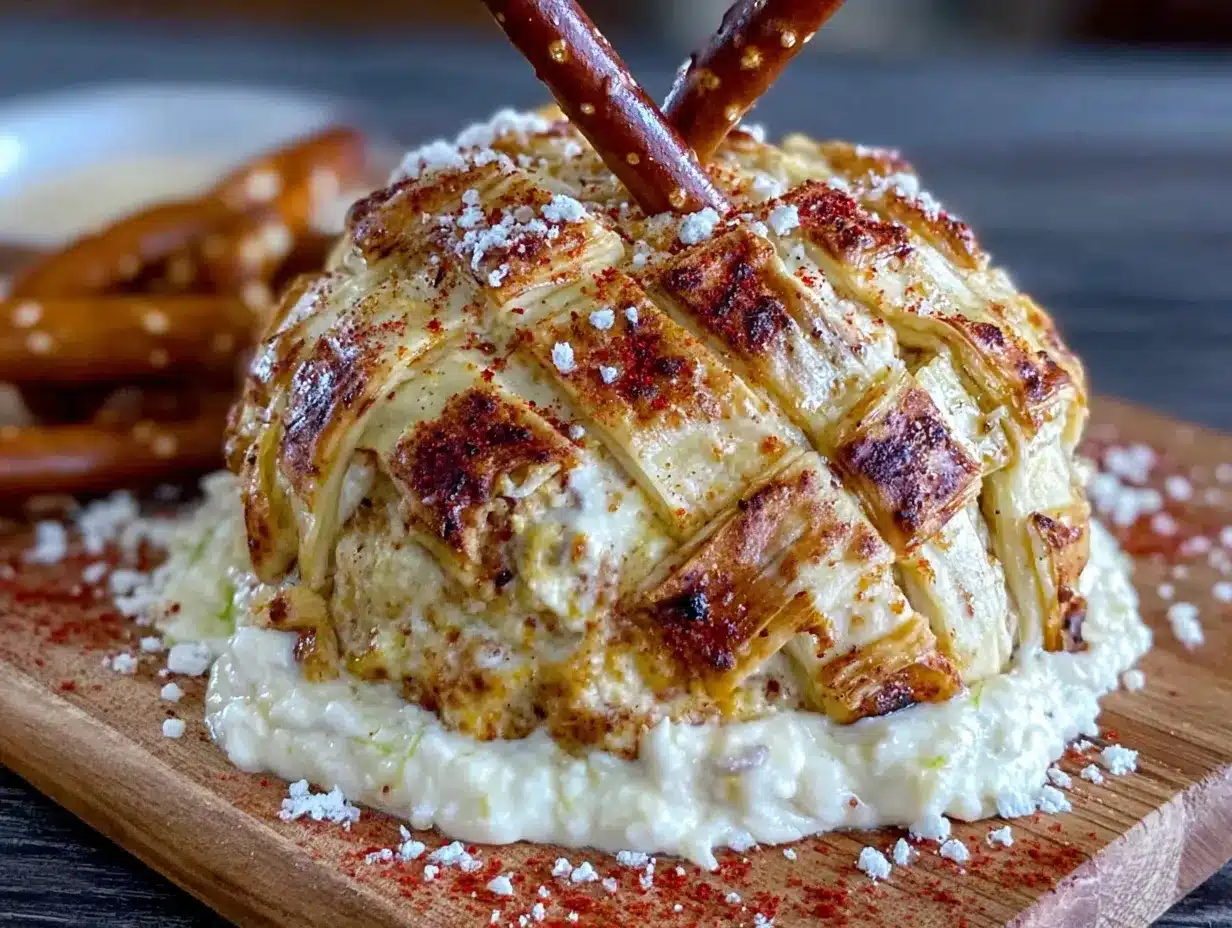
- Pretzel sticks (about 40-50 sticks) – These become the mummy’s “bandages.” Stick with standard thin pretzel sticks for the best look. Avoid the thick sourdough ones—they’re too chunky.
- Black olives (2 large, pitted) – For the eyes. Slice them into rounds and place two on the front. You can also use candy eyeballs if you want a sweeter touch.
- Fresh parsley or chives (optional, for garnish) – A little green around the base makes it look like a spooky graveyard scene. Totally optional but fun.
For Serving
- Extra pretzel sticks, crackers, or veggie sticks – For dipping and scooping. The salty crunch pairs perfectly with the creamy cheese.
Substitution Guidance: If you’re dairy-sensitive, use dairy-free cream cheese and shredded vegan cheese blends. Just note the texture will be slightly softer. For a lower-fat version, swap half the cream cheese with plain Greek yogurt—though the cheese ball will be a bit looser. And if you don’t have pretzel sticks, try using breadsticks or even carrot sticks for a healthier twist. The mummy look works with any long, thin shape!
Equipment Needed
You don’t need any fancy gadgets for this one. Here’s what you’ll need:
- Large mixing bowl – For combining the cheeses and seasonings. A glass or stainless steel bowl works best.
- Hand mixer or stand mixer – Makes mixing the cream cheese a breeze. A sturdy spatula and some elbow grease will also do the trick.
- Plastic wrap – To shape and chill the cheese ball. Press it tight so the cheese holds its form.
- Baking sheet or large plate – For assembling and serving. A flat surface helps the pretzel sticks stay in place.
- Sharp knife – For slicing the olives. A paring knife is perfect.
- Spatula – For scraping every last bit of cheese out of the bowl (because waste is not an option).
If you don’t have a hand mixer, just soften the cream cheese really well—leave it out for an extra 30 minutes—and mix by hand. It takes a little more muscle, but it’s totally doable. And for the plastic wrap, any brand works. I’ve used generic store brands and they’ve never let me down. Budget-friendly tip: wash and reuse the baking sheet for other snacks—this recipe is so simple, you won’t need to buy anything new.
Preparation Method
Follow these steps to create your spooky mummy cheese ball. It’s easier than you think, and the kids can help with most of it.
- Soften the cream cheese – Take the cream cheese out of the fridge at least 30 minutes before you start. It should be soft to the touch, not cold and hard. If you’re in a rush, microwave it in 10-second bursts, flipping the block each time, until it’s just soft but not melted. (Trust me, melted cream cheese won’t hold its shape.)
- Mix the cheese base – In a large mixing bowl, combine the softened cream cheese, shredded mozzarella, shredded cheddar, garlic powder, onion powder, salt, and black pepper. Use a hand mixer on low speed to blend everything together until smooth and uniform. Scrape down the sides with a spatula to make sure nothing’s left behind. The mixture should be thick and slightly sticky.
- Shape the cheese ball – Lay out a large piece of plastic wrap on your counter. Scoop the cheese mixture onto the center of the wrap. Fold the plastic over the cheese and shape it into a log or oval—something that resembles a mummy’s body. Don’t worry about perfection; the pretzel sticks will cover any lumps. Twist the ends of the plastic wrap to seal it tight, and refrigerate for at least 30 minutes. This firms it up so it’s easier to decorate.
- Prepare the pretzel sticks – While the cheese chills, count out your pretzel sticks. You’ll need about 40-50, depending on the size of your cheese ball. If any are broken, set them aside for snacking (or use them as smaller bandages).
- Assemble the mummy – Remove the chilled cheese log from the fridge and unwrap it. Place it on a baking sheet or serving plate. Starting at one end, press pretzel sticks into the cheese at a slight angle, overlapping them slightly like bandages. Work your way around the entire log, covering all the cheese except for a small space in the front where the eyes will go. The pretzels should stick out a bit—that’s the mummy look!
- Add the eyes – Slice two black olives into rounds. Press them gently into the exposed cheese area, positioning them like eyes. You can space them close together for a cute look or farther apart for a goofy expression. If the olives won’t stay, dab a tiny bit of cream cheese on the back to act as glue.
- Chill again (optional but recommended) – Pop the assembled mummy back in the fridge for 15-20 minutes to let the pretzel sticks set firmly into the cheese. This makes it easier to transfer and serve without everything sliding off.
- Garnish and serve – If you’re using parsley or chives, scatter them around the base of the mummy for a creepy “grass” effect. Serve immediately with extra pretzel sticks, crackers, or veggie sticks for dipping. Watch it disappear!
Sensory cues: When mixing, the cheese should feel smooth and creamy, not lumpy. When shaping, it should hold together without cracking. When pressing in the pretzels, you’ll hear a soft crunch as they sink into the cheese—that’s the sound of success.
Cooking Tips & Techniques
I’ve made this recipe about a dozen times now, and I’ve learned a few things the hard way. Here are my best tips to make sure your mummy turns out perfect every time.
Don’t skip the chilling step. I know you’re excited, but if you try to stick the pretzels into warm, soft cheese, they’ll just slide right out. Thirty minutes in the fridge makes all the difference. One time I was in a hurry and skipped it—let’s just say my mummy looked like it had a bad hair day. The pretzels were all over the place.
Overlap the pretzels like real bandages. If you space them too far apart, you’ll see bare cheese, and it won’t look like a mummy. Think of it like wrapping a sprained ankle—you want those sticks to crisscross and cover everything. It’s okay if they stick out at different angles; that adds to the charm.
Use room-temperature cream cheese. Cold cream cheese is a nightmare to mix—it stays lumpy and won’t blend smoothly with the shredded cheeses. Leave it out for at least 30 minutes, or microwave it gently. I learned this after a particularly frustrating mixing session where I ended up with chunks of cold cream cheese floating in shredded mozzarella. Not cute.
Let the kids help with the eyes. This is the fun part! Let them decide where the olives go—close together for a surprised look, or far apart for a goofy expression. My daughter always insists on giving the mummy “angry eyebrows” by placing the olives at a slight angle. It cracks me up every time.
Double the recipe for a crowd. This cheese ball serves about 8-10 people as a snack. If you’re hosting a party, make two—one for the table and one for the fridge. Trust me, it goes fast. I once brought one to a Halloween potluck and it was gone in 15 minutes. People were standing around the plate with sad, empty hands.
Keep extra pretzel sticks on hand. Some will break, some will get eaten during assembly, and some will just disappear. Buy an extra bag just to be safe. You can always snack on the leftovers.
Variations & Adaptations
This recipe is super flexible, so feel free to make it your own. Here are some variations I’ve tried and loved.
Sweet Mummy Dessert Ball: Swap the cheddar and mozzarella for a sweet cream cheese mixture. Mix the cream cheese with 1/4 cup powdered sugar and 1 teaspoon vanilla extract. Roll it in crushed graham crackers instead of pretzels, and use candy eyeballs for the eyes. Serve with apple slices or vanilla wafers. It’s a totally different vibe, but just as fun.
Spicy Mummy: Add 1/4 teaspoon cayenne pepper or a dash of hot sauce to the cheese mixture. Use pepper jack cheese instead of cheddar for an extra kick. The spicy-savory combo is amazing with the salty pretzels. My husband loves this version—he says it’s “adult-approved.”
Vegan Mummy: Use dairy-free cream cheese and shredded vegan mozzarella. The texture will be a bit softer, so chill it longer (at least an hour) before adding the pretzels. I’ve made this for a friend who’s vegan, and she said it was the best Halloween snack she’d had in years. Use vegan “butter” flavored pretzels for extra richness.
Gluten-Free Option: Use gluten-free pretzel sticks. Most brands are available at regular grocery stores now. The rest of the ingredients are naturally gluten-free, so this is an easy swap. Just double-check the labels on your shredded cheese—some brands add anti-caking agents that contain gluten.
Mini Mummy Bites: Instead of one large log, shape the cheese into small balls (about 1 inch each). Press a few pretzel stick pieces into each one to make mini mummies. These are perfect for lunchboxes or party platters. My kids love finding them in their lunch bags—it makes snack time feel like a celebration.
Serving & Storage Suggestions
This mummy cheese ball is best served cold or at room temperature. Here’s how to make it shine.
Serving temperature: Take it out of the fridge about 15 minutes before serving. This softens the cheese just enough to make it spreadable, but keeps it firm enough to hold the pretzels. If it’s too cold, the cheese will be hard and difficult to scoop. Too warm, and the pretzels might slide off.
Presentation ideas: Place the mummy on a dark-colored plate or a wooden board for contrast. Add a few “spooky” elements around it—like plastic spiders, a small pumpkin, or some fake cobwebs. Kids love the extra decoration. For a graveyard effect, arrange the mummy on a bed of crushed chocolate cookies (dirt) with a few gummy worms poking out.
What to serve with it: Extra pretzel sticks are the obvious choice, but don’t stop there. Try it with carrot sticks, celery, bell pepper strips, or cucumber rounds for a healthier option. Crackers, pita chips, or even plain potato chips work great too. The salty, crunchy contrast is what makes this snack so addictive.
Storage: Leftover mummy cheese ball can be stored in the refrigerator for up to 3 days. Wrap it tightly in plastic wrap or place it in an airtight container. The pretzel sticks may soften a bit over time, but the flavor is still great. If you want to keep the pretzels crunchy, store them separately and reassemble before serving.
Reheating: This is a cold dish, so no reheating needed. If the cheese has firmed up too much in the fridge, let it sit at room temperature for 20 minutes before serving. The texture will come back to life.
Flavor development: Honestly, this cheese ball tastes even better the next day. The flavors meld together overnight, creating a richer, more savory taste. So if you’re planning ahead, make it a day in advance—your future self will thank you.
Nutritional Information & Benefits
This recipe is indulgent, but it’s made with real ingredients that offer some nutritional perks. Here’s a rough estimate per serving (based on 10 servings):
| Nutrient | Amount per Serving |
|---|---|
| Calories | 280 |
| Total Fat | 22g |
| Saturated Fat | 13g |
| Cholesterol | 65mg |
| Sodium | 450mg |
| Total Carbohydrates | 12g |
| Dietary Fiber | 1g |
| Sugars | 2g |
| Protein | 10g |
Health benefits: Cream cheese provides calcium and protein, which are great for bone health and muscle repair. The pretzel sticks offer quick energy from carbohydrates—perfect for active kids. And the black olives are a good source of healthy monounsaturated fats and vitamin E. Not bad for a spooky snack!
Dietary considerations: This recipe is vegetarian and can be made gluten-free (with GF pretzels) or vegan (with dairy-free alternatives). It’s naturally low in sugar and contains no artificial colors or flavors. Just be mindful of the sodium content if you’re watching your salt intake—the pretzels and cheese both contribute.
Potential allergens: Contains dairy (cream cheese, mozzarella, cheddar) and gluten (pretzel sticks). If you’re serving a crowd, label the dish clearly so everyone knows what’s in it. I always put a little sign next to mine that says “Contains dairy and gluten” just to be safe.
Conclusion
So there you have it—a spooky, silly, and seriously delicious mummy cheese ball that started as a total accident. Honestly, I still can’t believe how something so simple turned into one of our family’s most-loved Halloween traditions. It’s proof that you don’t need fancy ingredients or hours of prep to create something memorable. Sometimes the best recipes come from a moment of chaos, a handful of pretzel sticks, and a kid’s laugh.
I hope you give this recipe a try and make it your own. Maybe your mummy will have angry eyebrows like my daughter’s, or maybe you’ll go for a sweet dessert version. Whatever you do, have fun with it. That’s what cooking with kids is all about—making messes, learning together, and ending up with something that tastes amazing.
If you make this spooky mummy cheese ball, I’d love to hear about it! Drop a comment below and tell me how your family decorated it. Did you use olives or candy eyes? Did your kids come up with a funny name for it? Share your photos and tag me—I can’t wait to see your creations. Until next time, happy cooking, and may your cheese balls always be delightfully spooky!
Frequently Asked Questions
Can I make this cheese ball ahead of time?
Absolutely! You can prepare the cheese mixture and shape it into a log up to 2 days in advance. Just wrap it tightly in plastic wrap and refrigerate. Add the pretzel sticks and olive eyes no more than a few hours before serving to keep the pretzels crunchy. If you add them too early, they’ll soften and lose their snap.
What if I don’t have pretzel sticks?
No problem! You can use breadsticks, thin carrot sticks, or even long slices of bell pepper for the bandages. The look will be different, but the fun factor is still there. For a gluten-free option, rice cakes cut into strips work surprisingly well—though they’re a bit more delicate to handle.
How do I get the cheese ball to hold its shape?
The key is chilling it thoroughly before adding the pretzels. If the cheese mixture is too soft, it will slump and lose its mummy shape. After shaping the log, refrigerate it for at least 30 minutes (an hour is even better). If it’s still too soft, pop it in the freezer for 10-15 minutes—just don’t forget about it!
Can I use low-fat cream cheese?
You can, but the texture will be softer and the flavor less rich. Low-fat cream cheese has a higher water content, which can make the cheese ball a bit looser. If you go this route, add an extra 1/4 cup of shredded cheese to help absorb some of the moisture. It will still taste good, just with a slightly different texture.
What’s the best way to serve this to a crowd?
Place the mummy on a large platter surrounded by extra pretzel sticks, crackers, and veggie sticks for dipping. You can also add small bowls of different dips (like ranch or hummus) for variety. For a party, make two mummies—one for the table and one hidden in the fridge as backup. Trust me, you’ll need it!
Pin This Recipe!
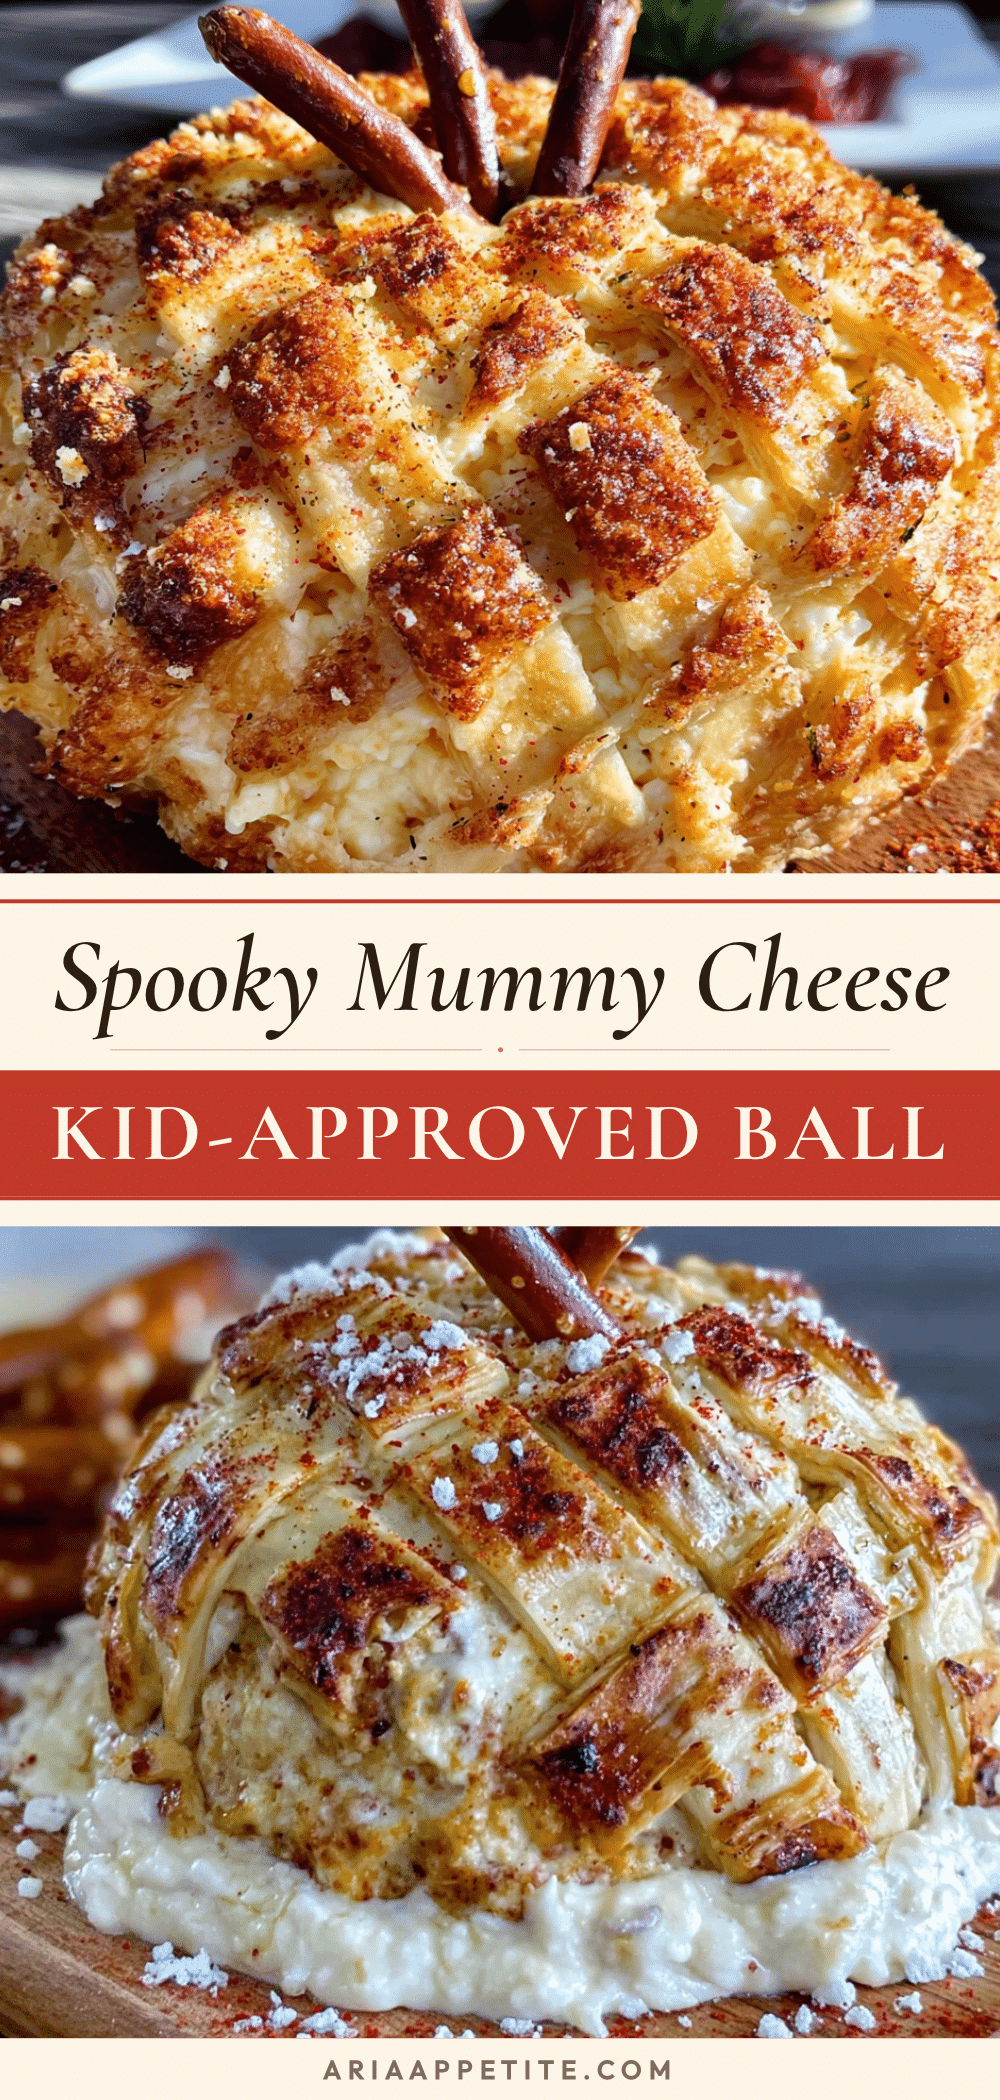
Kid-Approved Spooky Mummy Cheese Ball (Easy 20-Min Recipe)
A fun and easy Halloween snack made with cream cheese, shredded cheeses, and pretzel sticks shaped like a mummy. Perfect for parties and kid-friendly cooking.
- Prep Time: 15 minutes
- Cook Time: 0 minutes
- Total Time: 20 minutes
- Yield: 10 servings 1x
- Category: Appetizer
- Cuisine: American
Ingredients
- 16 oz cream cheese, softened
- 1 cup shredded mozzarella cheese
- 1/2 cup shredded cheddar cheese
- 1/2 teaspoon garlic powder
- 1/2 teaspoon onion powder
- 1/4 teaspoon salt
- 1/4 teaspoon black pepper
- 40–50 pretzel sticks
- 2 large black olives, pitted
- Fresh parsley or chives (optional, for garnish)
- Extra pretzel sticks, crackers, or veggie sticks (for serving)
Instructions
- Soften the cream cheese: Take the cream cheese out of the fridge at least 30 minutes before starting. It should be soft to the touch. If in a rush, microwave in 10-second bursts until just soft but not melted.
- Mix the cheese base: In a large mixing bowl, combine softened cream cheese, shredded mozzarella, shredded cheddar, garlic powder, onion powder, salt, and black pepper. Use a hand mixer on low speed to blend until smooth and uniform. Scrape down the sides with a spatula.
- Shape the cheese ball: Lay out a large piece of plastic wrap on the counter. Scoop the cheese mixture onto the center of the wrap. Fold the plastic over the cheese and shape it into a log or oval. Twist the ends to seal tight and refrigerate for at least 30 minutes.
- Prepare the pretzel sticks: While the cheese chills, count out 40-50 pretzel sticks. Set aside any broken ones for snacking.
- Assemble the mummy: Remove the chilled cheese log from the fridge and unwrap it. Place on a baking sheet or serving plate. Starting at one end, press pretzel sticks into the cheese at a slight angle, overlapping them like bandages. Cover all the cheese except a small space in the front for the eyes.
- Add the eyes: Slice two black olives into rounds. Press them gently into the exposed cheese area to form eyes. If needed, dab a tiny bit of cream cheese on the back to act as glue.
- Chill again (optional but recommended): Refrigerate the assembled mummy for 15-20 minutes to let the pretzel sticks set firmly.
- Garnish and serve: If using parsley or chives, scatter them around the base. Serve immediately with extra pretzel sticks, crackers, or veggie sticks for dipping.
Notes
Don’t skip the chilling step—it helps the pretzels stay in place. Overlap the pretzels like real bandages for the best mummy look. Let kids help with placing the olive eyes for a fun activity. The cheese ball tastes even better the next day as flavors meld.
Nutrition
- Serving Size: 1 serving (based on
- Calories: 280
- Sugar: 2
- Sodium: 450
- Fat: 22
- Saturated Fat: 13
- Carbohydrates: 12
- Fiber: 1
- Protein: 10
Keywords: Halloween snack, cheese ball, mummy, kid-friendly, easy appetizer, spooky, cream cheese, pretzel sticks


