Love this? Save it for later!
Share the inspiration with your friends
It was 11:37 PM on a random Wednesday in late September, and I had a very specific, almost primal craving for something buttery and sweet. I didn’t have the patience for a full layer cake, but I had a stick of butter that was perfectly soft and a bag of flour that was practically begging to be used. The idea arrived fully formed, like a ghost in my kitchen: sugar cookies. Not just any sugar cookies, but the kind you can decorate into something spooky and fun. I didn’t have the fancy cutters I wanted—the ones shaped like a haunted house—but I had a classic bat and a pumpkin that I’d bought on a whim last year. So, at nearly midnight, with the house completely quiet, I creamed butter and sugar by hand because I was too tired to dig out the stand mixer from the back of the cabinet. I made a mess. I got flour on my favorite black t-shirt. But honestly, that first bite of a warm, slightly underdone cookie at 12:15 AM was pure magic. Maybe you’ve been there, where the late-night kitchen feels like your own secret workshop. That’s the energy this recipe is built on—a little bit of quiet chaos that turns into something you’re proud to share.
Why You’ll Love This Recipe
Let’s be real for a second: hosting a Halloween party or a spooky dinner is stressful enough without worrying about a dessert that falls flat. This recipe is your secret weapon. It’s the kind of cookie that makes people stop mid-conversation and say, “Wait, you made these?” I’ve tested this dough more times than I care to admit, tweaking the butter-to-sugar ratio until it holds its shape perfectly without spreading into a blob. The royal icing? That took a few late-night failures, too. I learned the hard way that too much water makes it runny and sad. But now, this is my go-to, and it’s going to be yours.
- Perfect for a Crowd: This recipe scales beautifully. You can easily double or triple it for a party without losing any quality.
- Simple Ingredients: You probably have most of these in your pantry right now. No weird extracts or hard-to-find flours.
- Holds Its Shape: The dough is sturdy enough for intricate Halloween shapes like bats, ghosts, and pumpkins.
- Unbelievably Delicious: The texture is that perfect balance—crisp edges with a soft, tender center. The royal icing dries hard, giving you that satisfying snap.
- Impressive Without the Stress: You can prep the dough and icing days ahead. The actual decorating is the fun part, and it’s a great activity for guests.
This isn’t just another sugar cookie. It’s the one that gets you invited back to host next year. It’s the one that makes your kitchen the hub of the pre-party chaos. It’s comfort food reimagined for a night of tricks and treats.
What Ingredients You Will Need
This recipe uses simple, wholesome ingredients to deliver bold flavor and a texture that’s just right for decorating. Most of these are pantry staples, which is exactly what you want when you’re planning a big gathering.
For the Sugar Cookies
- Unsalted Butter, softened: 1 cup (2 sticks / 226g). I always use unsalted to control the salt level. Let it sit out for at least 30 minutes.
- Granulated Sugar: 1 cup (200g). White sugar gives the cookies that classic crisp edge.
- Large Egg: 1, at room temperature. This helps with even mixing.
- Vanilla Extract: 1 teaspoon. I prefer pure vanilla, but imitation works fine for a party crowd.
- Almond Extract: ½ teaspoon. This is my secret weapon. It adds a subtle, nutty depth that makes people wonder what’s different.
- All-Purpose Flour: 2 ½ cups (312g). Spoon and level it—don’t scoop directly from the bag.
- Baking Powder: 1 teaspoon. For a little lift.
- Salt: ½ teaspoon. Balances the sweetness.
For the Royal Icing
- Powdered Sugar: 4 cups (480g). Sift it if it’s clumpy.
- Meringue Powder: 3 tablespoons. This is non-negotiable for the right consistency and shine. I recommend Wilton brand.
- Warm Water: 5-6 tablespoons. Add it slowly—you can always add more, but you can’t take it out.
- Vanilla Extract: ½ teaspoon. Optional, but I like it.
- Gel Food Coloring: Orange, black, purple, and green. Gel is much better than liquid; it won’t mess up the consistency.
If you’re feeding a crowd with dietary restrictions, you can swap the all-purpose flour for a 1:1 gluten-free baking blend. I’ve used King Arthur’s Measure for Measure with great results. For a dairy-free version, use a high-quality vegan butter block, not the spreadable kind.
Equipment Needed
You don’t need a professional bakery setup to make these look amazing. Here’s what you’ll actually use:
- Stand Mixer or Hand Mixer: A hand mixer works fine, but a stand mixer makes creaming the butter and sugar a breeze.
- Rolling Pin: A standard wooden one is perfect. If you don’t have one, a clean wine bottle works in a pinch.
- Halloween Cookie Cutters: Bat, pumpkin, ghost, and cat shapes are crowd favorites. I got my set from a craft store for under $10.
- Baking Sheets: At least two, so you can rotate them in and out of the oven.
- Parchment Paper: Non-negotiable. It prevents sticking and makes cleanup effortless.
- Piping Bags or Squeeze Bottles: Small piping bags with a #2 tip are great for details. Squeeze bottles are easier for flooding (filling in large areas).
- Toothpicks: For fixing mistakes and popping air bubbles in the icing.
Preparation Method
This process is broken down into manageable steps. The key is to work ahead so you’re not rushing on party day.
- Make the Dough (Day Before): In a large bowl, cream the softened butter and granulated sugar together until light and fluffy, about 3-4 minutes. Scrape down the sides. Add the egg, vanilla, and almond extract. Mix until combined. In a separate bowl, whisk the flour, baking powder, and salt. Gradually add the dry ingredients to the wet mixture, mixing on low speed until a soft dough forms. Don’t overmix—stop as soon as the flour disappears.
- Chill the Dough: Divide the dough into two discs, wrap them tightly in plastic wrap, and refrigerate for at least 2 hours, or overnight. This step is crucial. Chilled dough spreads less and is much easier to roll out.
- Roll and Cut: Preheat your oven to 350°F (175°C). On a lightly floured surface, roll one disc of dough to ¼-inch thickness. Cut out your shapes and place them on a parchment-lined baking sheet, about 1 inch apart. Gather the scraps, re-roll, and cut again.
- Bake: Bake for 8-10 minutes, or until the edges are just barely golden. The centers should look set but not brown. Let them cool on the baking sheet for 5 minutes, then transfer to a wire rack to cool completely. Do not ice warm cookies—the icing will melt.
- Prepare the Royal Icing: In a clean bowl, combine the powdered sugar and meringue powder. Add 5 tablespoons of warm water and beat on medium-high speed for 7-10 minutes. The icing should be glossy and form stiff peaks. Add more water, one teaspoon at a time, until it reaches a “flood” consistency—it should flow like thick honey and smooth out within 10 seconds after being stirred.
- Color and Bag: Divide the icing into separate bowls. Add your gel food coloring. I usually make a large batch of orange and smaller batches of black, purple, and green. Transfer each color to a piping bag fitted with a #2 tip or a squeeze bottle.
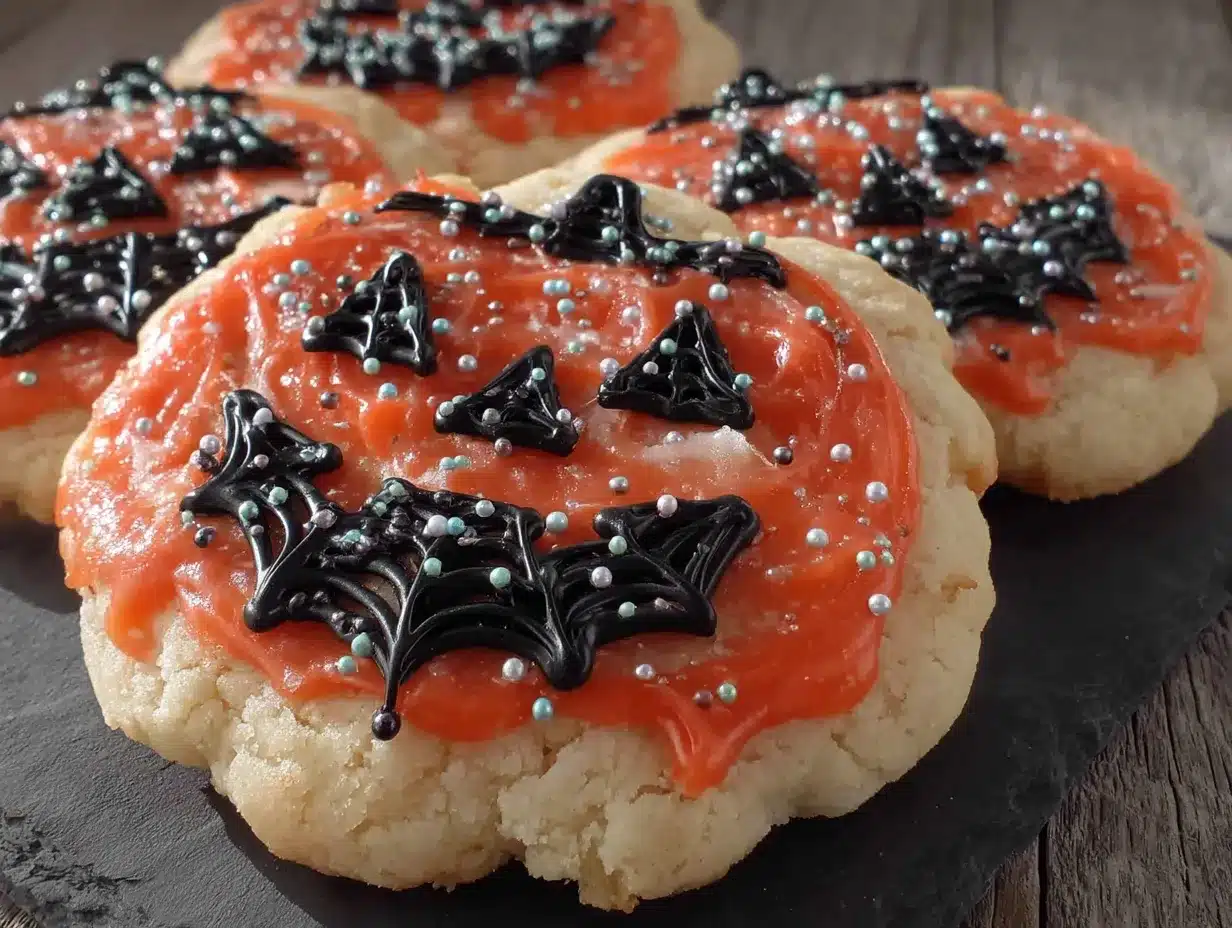
- Decorate: Outline each cookie with the piping bag, then “flood” the inside with the squeeze bottle or a spoon. Use a toothpick to spread the icing into the corners and pop any air bubbles. Add details like eyes or stripes while the base is still wet, so they sink in slightly.
- Let Dry: Allow the decorated cookies to dry on a cooling rack for at least 6 hours, or overnight. The icing should be completely hard to the touch. This is why I always do the decorating the day before the party.
Cooking Tips & Techniques
I’ve made every mistake in the book so you don’t have to. Here’s what I’ve learned the hard way.
Don’t Skip the Chill. I once tried to rush the process and rolled the dough straight from the mixer. The cookies spread into giant, amorphous blobs. They tasted fine, but they looked like sad pancakes. Chill the dough for at least 2 hours. If your kitchen is warm, pop the cut-out cookies in the freezer for 10 minutes before baking.
The Royal Icing Consistency Trick. The biggest struggle with royal icing is getting the consistency right. If it’s too thick, it won’t spread. If it’s too thin, it will run off the cookie. The test: lift your spoon or spatula. The icing should fall back into the bowl in a ribbon that disappears after 10-12 seconds. If it’s too thick, add water a drop at a time. If it’s too thin, add a tablespoon of sifted powdered sugar.
Multitasking for the Win. While the first batch of cookies is baking, roll out the next disc of dough. This keeps the assembly line moving. Also, if you’re using multiple colors of icing, keep the ones you’re not using covered with a damp paper towel. Royal icing dries out fast, and you don’t want it crusting over in the bag.
Fix Your Mistakes. Smudged a line of black icing? Use a dry toothpick to gently scrape it off before it dries. Made a mess of a pumpkin? Let it dry completely, then peel off the icing and start over. The cookie itself is forgiving.
Variations & Adaptations
This recipe is a blank canvas. Here are some ways to make it your own.
- Spooky Spice Cookies: Add 1 teaspoon of cinnamon and ½ teaspoon of nutmeg to the dry ingredients. It gives the cookies a warm, fall flavor that pairs perfectly with the royal icing.
- Chocolate Halloween Cookies: Swap ¼ cup of the flour for ¼ cup of unsweetened cocoa powder. The dark chocolate base looks amazing with bright orange and green icing.
- Vegan Option: Use a flax egg (1 tablespoon ground flaxseed mixed with 3 tablespoons water) and a vegan butter block. The texture will be slightly different, but still delicious.
- Gluten-Free Version: As mentioned, a 1:1 gluten-free flour blend works beautifully. I’ve also used almond flour for a grain-free version, but the cookies are more fragile and crumbly.
- No Royal Icing Shortcut: If you’re short on time, dust the baked cookies with powdered sugar for a “ghostly” effect, or drizzle them with a simple glaze of powdered sugar and milk.
Serving & Storage Suggestions
For a Halloween party, presentation is everything. Arrange the cookies on a large platter or tiered stand. I like to group them by color—all the orange pumpkins together, all the black bats together. It creates a visual impact that screams “I put effort into this.”
Serve them at room temperature. The royal icing should be completely set and hard. These cookies pair perfectly with a warm apple cider or a spiced latte for the adults. For the kids, a glass of cold milk is the classic choice.
Storage: Store the decorated cookies in an airtight container at room temperature, separating layers with parchment paper. They will stay fresh for up to 2 weeks. Do not refrigerate them—the humidity will make the icing tacky and soft.
Freezer Instructions: You can freeze the baked, undecorated cookies for up to 3 months. Wrap them tightly in plastic wrap and then foil. Thaw at room temperature before icing. The flavors actually develop nicely over time, so making them a week ahead is a great strategy for hosting.
Nutritional Information & Benefits
Let’s be honest—these are a treat, not a health food. But knowing what’s in them helps you plan your party spread.
Per cookie (based on a 3-inch pumpkin shape, with icing): Approximately 150 calories, 6g fat, 22g carbohydrates, 1g protein, and 15g sugar. The main ingredients are butter, sugar, and flour, so they are not suitable for low-carb or keto diets. However, they are free of common allergens like nuts (unless you add the almond extract, which is derived from almonds). The meringue powder is made from dried egg whites, so they are not vegan in their standard form.
From a wellness perspective, I see these as a joy food. They’re the kind of thing you make for a celebration, not for daily consumption. The act of decorating them is a creative outlet, and sharing them with friends and family is a genuine form of connection. That has its own nutritional value, if you ask me.
Conclusion
This Halloween sugar cookie recipe is more than just a dessert. It’s an experience. It’s the thing that gets your guests talking, that makes the kids’ eyes go wide, that turns your dinner party into a memorable event. I love this recipe because it’s forgiving enough for a beginner but impressive enough for a seasoned baker. It gives you permission to be a little messy, to experiment with colors, and to have fun.
I encourage you to make this recipe your own. Swap the colors, try different cutters, or add a sprinkle of edible glitter for extra sparkle. The best part about these cookies is that there are no rules. Once you have the base down, you can let your imagination run wild.
I’d love to see your creations! Drop a comment below and tell me what shapes you made, or share a photo of your decorated cookies. And if you’re looking for another crowd-pleasing dessert, you should definitely try my spooky cupcakes for your next gathering. Happy Halloween, and happy baking!
Frequently Asked Questions
Can I use a different type of icing?
Absolutely. Royal icing is the gold standard for detail and a hard finish, but you can use a simple buttercream or a glaze. Just keep in mind that buttercream won’t dry hard, so you’ll need to store the cookies in a single layer. A glaze is easier to make but won’t hold sharp details like royal icing.
Why did my cookies spread in the oven?
This is almost always because the dough was too warm. Make sure you chill the dough for at least 2 hours. If your kitchen is hot, pop the cut-out cookies in the freezer for 10 minutes before baking. Also, make sure your butter is not too soft when you start—it should be cool to the touch, not greasy.
How far in advance can I make these?
You can make the dough up to 3 days ahead and keep it in the fridge. The baked, undecorated cookies can be frozen for up to 3 months. The decorated cookies will stay fresh in an airtight container at room temperature for up to 2 weeks. I usually do the baking a week before and the decorating 2 days before the party.
My royal icing is too runny. How do I fix it?
If your icing is too thin, add more sifted powdered sugar, one tablespoon at a time, until it thickens. If it’s too thick, add water one drop at a time. The perfect consistency is when the icing flows like thick honey and smooths out within 10 seconds after being stirred.
Can I use liquid food coloring instead of gel?
You can, but I don’t recommend it for royal icing. Liquid coloring adds extra water, which can throw off the consistency and make the icing runny. Gel food coloring is concentrated, so you use less, and it doesn’t affect the texture. It’s worth the small investment.
Pin This Recipe!
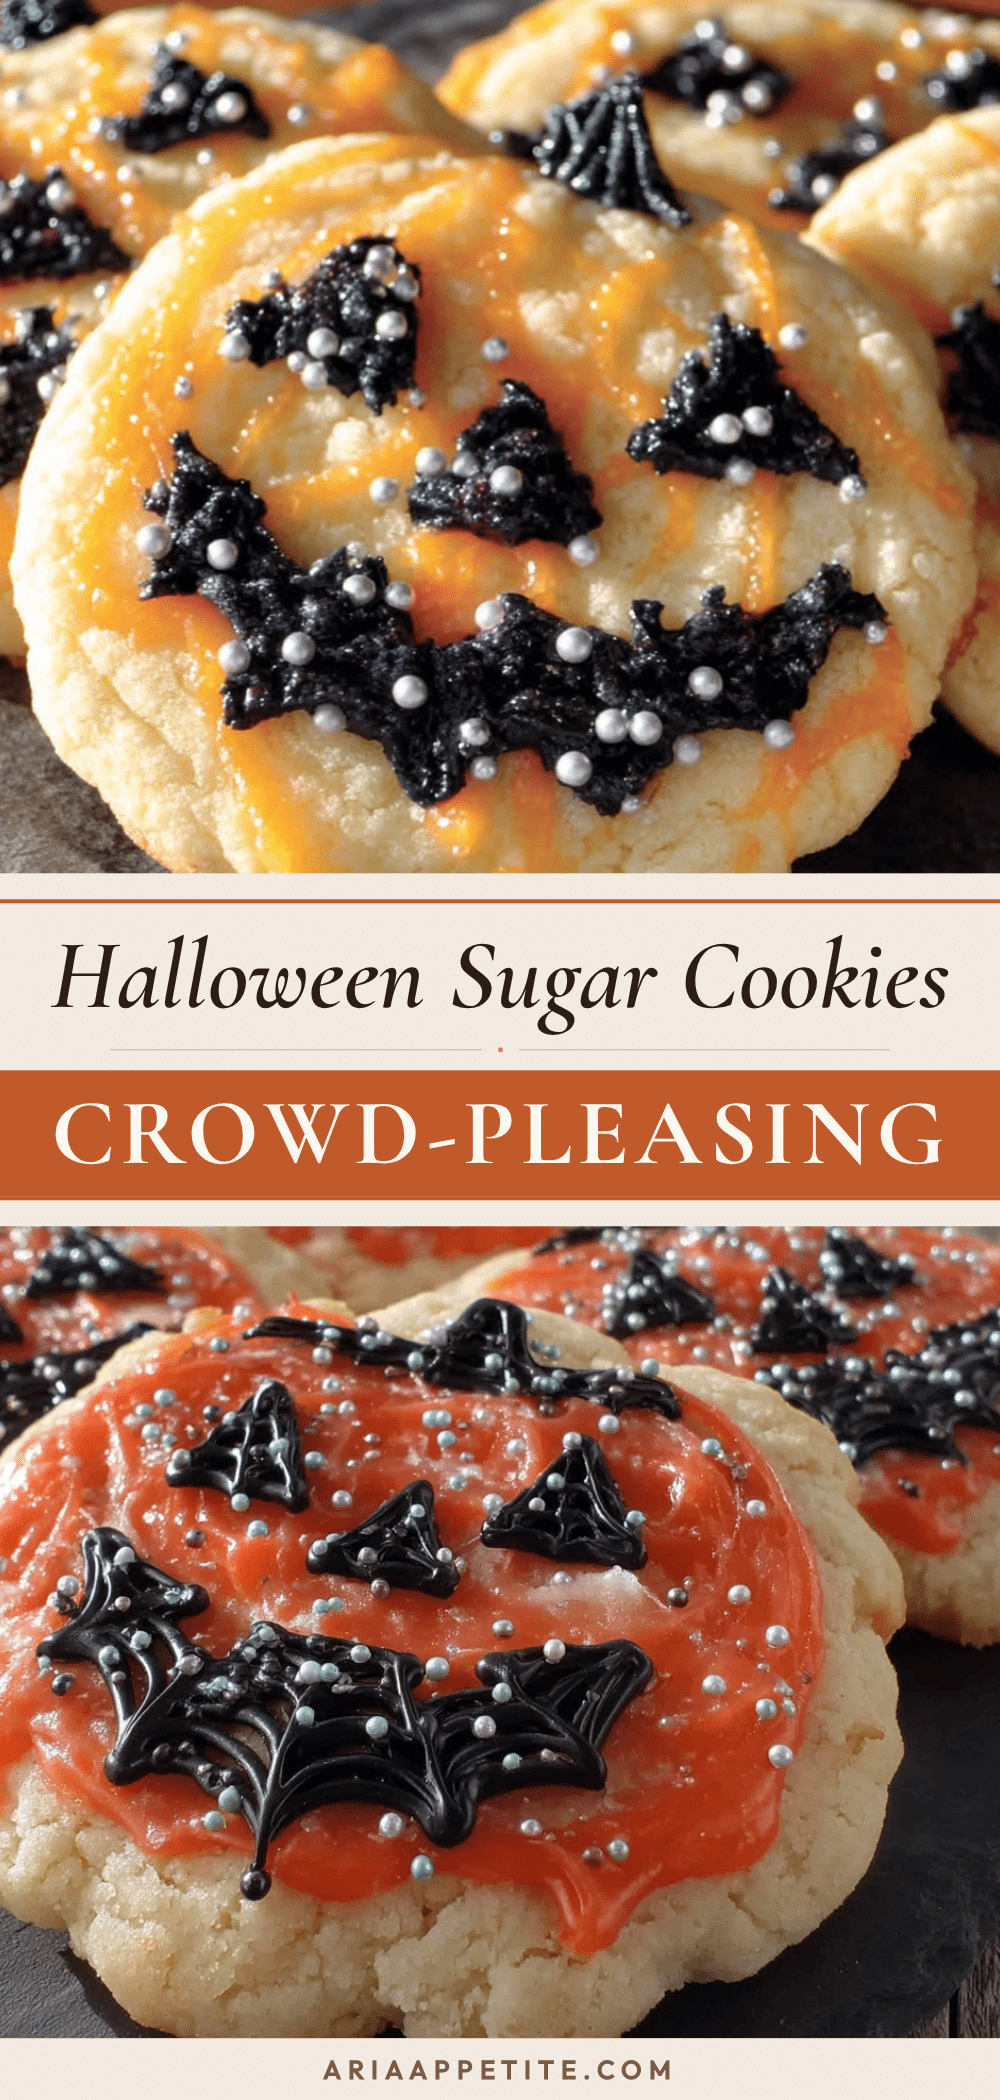
Best Halloween Sugar Cookies Recipe with Easy Royal Icing
The perfect sugar cookie for Halloween decorating—crisp edges with a soft, tender center, topped with a glossy royal icing that dries hard. This recipe is forgiving enough for beginners but impressive enough for seasoned bakers, making it the ideal treat for spooky parties and gatherings.
- Prep Time: 30 minutes
- Cook Time: 10 minutes
- Total Time: 2 hours 40 minutes (includes 2 hours chilling and 6 hours drying)
- Yield: 24 cookies 1x
- Category: Dessert
- Cuisine: American
Ingredients
- 1 cup (2 sticks / 226g) unsalted butter, softened
- 1 cup (200g) granulated sugar
- 1 large egg, at room temperature
- 1 teaspoon vanilla extract
- ½ teaspoon almond extract
- 2 ½ cups (312g) all-purpose flour
- 1 teaspoon baking powder
- ½ teaspoon salt
- 4 cups (480g) powdered sugar
- 3 tablespoons meringue powder
- 5–6 tablespoons warm water
- ½ teaspoon vanilla extract (optional)
- Gel food coloring (orange, black, purple, green)
Instructions
- Make the dough: In a large bowl, cream the softened butter and granulated sugar together until light and fluffy, about 3-4 minutes. Scrape down the sides. Add the egg, vanilla, and almond extract. Mix until combined.
- In a separate bowl, whisk the flour, baking powder, and salt. Gradually add the dry ingredients to the wet mixture, mixing on low speed until a soft dough forms. Do not overmix.
- Divide the dough into two discs, wrap tightly in plastic wrap, and refrigerate for at least 2 hours, or overnight.
- Preheat oven to 350°F (175°C). On a lightly floured surface, roll one disc of dough to ¼-inch thickness. Cut out shapes and place on a parchment-lined baking sheet, about 1 inch apart. Gather scraps, re-roll, and cut again.
- Bake for 8-10 minutes, until edges are just barely golden. Centers should look set but not brown. Cool on baking sheet for 5 minutes, then transfer to a wire rack to cool completely.
- Prepare royal icing: In a clean bowl, combine powdered sugar and meringue powder. Add 5 tablespoons warm water and beat on medium-high speed for 7-10 minutes until glossy and stiff peaks form. Add more water, one teaspoon at a time, until it reaches a ‘flood’ consistency (flows like thick honey and smooths out within 10 seconds).
- Divide icing into separate bowls and add gel food coloring. Transfer each color to a piping bag fitted with a #2 tip or a squeeze bottle.
- Decorate: Outline each cookie with piping bag, then ‘flood’ the inside with squeeze bottle or spoon. Use a toothpick to spread icing into corners and pop air bubbles. Add details while base is still wet.
- Let decorated cookies dry on a cooling rack for at least 6 hours, or overnight, until icing is completely hard.
Notes
Chill dough for at least 2 hours to prevent spreading. For royal icing, test consistency: lift spoon, icing should fall back in a ribbon that disappears after 10-12 seconds. Keep unused icing covered with a damp paper towel to prevent drying. Store decorated cookies in an airtight container at room temperature for up to 2 weeks; do not refrigerate. Baked undecorated cookies can be frozen for up to 3 months.
Nutrition
- Serving Size: 1 cookie (3-inch pum
- Calories: 150
- Sugar: 15
- Sodium: 75
- Fat: 6
- Saturated Fat: 3.5
- Carbohydrates: 22
- Protein: 1
Keywords: Halloween sugar cookies, royal icing, decorated cookies, spooky cookies, Halloween dessert, sugar cookie recipe, easy royal icing