Love this? Save it for later!
Share the inspiration with your friends
Three autumns ago, I was standing in my community garden plot, knee-deep in frost-nipped kale and trying to figure out what to do with the last of the season’s sugar pumpkins. My neighbor, a retired schoolteacher named Marguerite who grew the most gorgeous squash I’d ever seen, watched me wrestling with a particularly stubborn pumpkin vine. She didn’t say anything at first. Then she just handed me a small, speckled pumpkin over the fence and said, “Roast it whole, mash it up, and put it in everything for a week. You’ll thank me later.”
I did thank her, honestly, about a dozen times that week. That pumpkin went into soups, pancakes, and eventually, these healthy baked pumpkin oatmeal cups. I’ll admit, my first batch was a bit of a disaster—I forgot to grease the muffin tin and spent twenty minutes chiseling oatmeal off the pan. But the flavor? That first bite had this unexpected warmth, like a hug you didn’t know you needed. The cinnamon and ginger hit first, then the creamy pumpkin melted into the oats, and I just stood there in my messy kitchen, eating one after another, completely sold.
Maybe you’ve been there—standing in front of your pantry, staring at a can of pumpkin puree and wondering what to make that’s actually good for you but also feels like a treat. That’s exactly why these healthy baked pumpkin oatmeal cups exist. They’re the breakfast you can grab when you’re running late, the snack that keeps your energy steady, and honestly, the recipe that made me actually look forward to Monday mornings. Let me tell you, that’s no small thing.
Why You’ll Love This Recipe
These healthy baked pumpkin oatmeal cups aren’t just another breakfast recipe—they’re the kind of thing that makes your whole morning better. I’ve tested this recipe at least eight times (my family has been very patient), and each batch got devoured faster than the last. Here’s what makes them special:
- Quick & Easy : Comes together in under 30 minutes, perfect for busy weeknights or last-minute cravings. You can prep the batter in one bowl while your coffee brews.
- Simple Ingredients : No fancy grocery trips needed; you likely already have everything in your kitchen. Oats, pumpkin puree, eggs, maple syrup—that’s it.
- Perfect for Meal Prep : Make a batch on Sunday, and you’ve got breakfast sorted for the whole week. They actually taste better on day two.
- Crowd-Pleaser : Always gets rave reviews from kids and adults alike. Even my picky nephew asked for seconds.
- Unbelievably Delicious : The texture and flavor combo is next-level comfort food. Soft, tender, and perfectly spiced, with just the right amount of sweetness.
What makes these oatmeal cups different from every other pumpkin baked oatmeal recipe out there? It’s the ratio, honestly. I spent way too long figuring out the perfect balance of oats to pumpkin so they’re not too dense or too mushy. The secret is letting the oats soak up the pumpkin mixture for a few minutes before baking—it changes everything. Plus, they’re naturally sweetened with just a touch of maple syrup, so you get that cozy fall flavor without the sugar crash.
This recipe isnt just good—it is the kind that makes you close your eyes after the first bite. It’s comfort food reimagined—healthier, faster, but with the same soul-soothing satisfaction. Perfect for impressing guests without stress, or turning a simple breakfast into something memorable.
What Ingredients You Will Need
This recipe uses simple, wholesome ingredients to deliver bold flavor and satisfying texture without the fuss. Most of these are pantry staples, which makes this recipe perfect for those mornings when you’re craving something cozy but don’t want to run to the store.
- Rolled oats, 2 cups (use certified gluten-free if needed)
- Pumpkin puree, 1 cup (not pumpkin pie filling—make sure it’s 100% pure pumpkin)
- Eggs, 2 large, room temperature (adds richness and helps bind everything)
- Maple syrup, 1/3 cup (or honey, if that’s what you have)
- Unsweetened almond milk, 1/2 cup (any milk works—dairy, oat, or coconut)
- Coconut oil, 2 tablespoons, melted (or any neutral oil)
- Vanilla extract, 1 teaspoon
- Pumpkin pie spice, 2 teaspoons (or make your own with cinnamon, ginger, nutmeg, and cloves)
- Cinnamon, 1 teaspoon
- Baking powder, 1 teaspoon
- Salt, 1/4 teaspoon
- Optional mix-ins : 1/2 cup dark chocolate chips, 1/4 cup chopped pecans, or 1/4 cup dried cranberries
I recommend using Bob’s Red Mill rolled oats for best texture—they hold their shape beautifully without turning mushy. For the pumpkin puree, I’ve found that Libby’s works perfectly, but any brand of 100% pure pumpkin will do. Look for cans that feel heavy for their size; that means the pumpkin is dense and not watery.
If you’re out of pumpkin pie spice, don’t worry. Just mix 1 teaspoon cinnamon, 1/2 teaspoon ginger, 1/4 teaspoon nutmeg, and 1/4 teaspoon cloves. It’ll taste just as good, I promise. And for a dairy-free option, use coconut oil and your favorite plant-based milk.
Equipment Needed
You don’t need a fancy kitchen to make these healthy baked pumpkin oatmeal cups. Here’s what you’ll need:
- Muffin tin, 12-cup standard size (I prefer non-stick for easier release)
- Mixing bowls, one large and one medium
- Whisk (a fork works in a pinch, but whisk is better)
- Measuring cups and spoons
- Spatula for scraping every last bit of batter
- Cooling rack (optional but helps prevent soggy bottoms)
If you don’t have a muffin tin, you can bake this in an 8×8 inch baking dish for about 25-30 minutes. Just adjust the time and cut into squares. I’ve done it that way when my muffin tin was in the dishwasher, and honestly, it worked perfectly. Silicone muffin liners are a game-changer if you make these often—nothing sticks, and cleanup is a breeze. For budget-friendly options, paper liners work fine, just give them a quick spray of cooking oil first.
Preparation Method
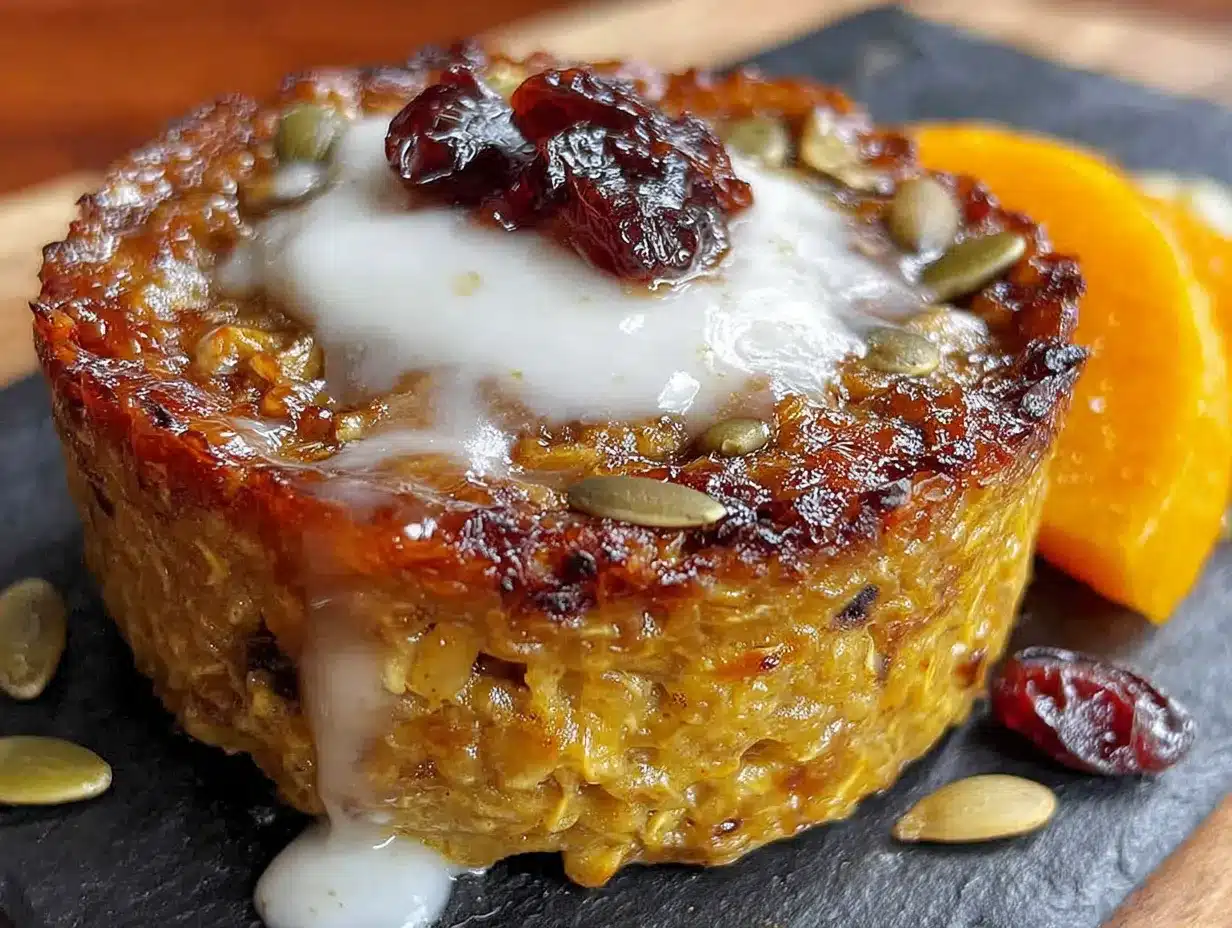
Let me walk you through this step by step. Trust me, it’s easier than you think.
- Preheat your oven to 350°F (175°C) and grease your muffin tin well. I use coconut oil for this, but cooking spray works too. Don’t skip this step unless you want to be like me, chiseling oatmeal off the pan.
- In a large mixing bowl, whisk together the wet ingredients : pumpkin puree, eggs, maple syrup, almond milk, melted coconut oil, and vanilla extract. Whisk until smooth and fully combined. The mixture should look like a thick, creamy orange sauce. Take a second to smell it—that pumpkin and vanilla combo is pure fall magic.
- In a separate medium bowl, combine the dry ingredients : rolled oats, pumpkin pie spice, cinnamon, baking powder, and salt. Stir with a fork to distribute the spices evenly. This step matters more than you think—nobody wants a bite with all the cinnamon clumped together.
- Pour the dry ingredients into the wet ingredients and stir until just combined. Don’t overmix! You want the oats to be coated but still have some texture. If you’re adding mix-ins like chocolate chips or pecans, fold them in now.
- Let the batter rest for 5 minutes. This is the secret step I learned through trial and error. The oats need time to absorb some of the liquid, which makes the oatmeal cups tender instead of crunchy. Use this time to wash your mixing bowls or just take a sip of coffee.
- Spoon the batter into the prepared muffin tin, filling each cup about 3/4 full. I use a cookie scoop for this—it’s faster and gives you even portions. The batter will be thick and scoopable, not runny. If it looks too thin, add a tablespoon more oats.
- Bake for 18-20 minutes, or until the tops are set and a toothpick inserted in the center comes out clean. The edges should be golden brown and slightly pulling away from the pan. Your kitchen will smell incredible at this point—like a pumpkin spice candle, but better.
- Cool in the pan for 5 minutes, then transfer to a wire rack to cool completely. This resting time is crucial—the oatmeal cups need to set up, or they’ll fall apart. I learned this the hard way when I tried to flip them out too early and ended up with pumpkin oatmeal crumble (which was delicious, but not what I was going for).
One more tip: if you’re making a double batch, don’t try to bake two pans at once unless they’re on the same rack. The heat distribution gets weird, and one batch will be done before the other. Bake them one at a time for the best results.
Cooking Tips & Techniques
After making these healthy baked pumpkin oatmeal cups more times than I care to count, I’ve picked up a few tricks that make a real difference. Let me share what I’ve learned.
Don’t skip the rest time. I know it’s tempting to just mix and bake, but that five-minute rest is non-negotiable. The first time I made these, I was in a rush and skipped it. The oatmeal cups came out crunchy and dry, like eating spiced gravel. Let the oats soak up that liquid goodness, and you’ll be rewarded with tender, soft cups every time.
Watch your oven temperature. Every oven runs a little differently. My friend’s oven runs hot, so she bakes these at 325°F (160°C) for 22 minutes. Start checking at 16 minutes if your oven tends to be aggressive. The tops should be golden and spring back when you gently press them.
Use room temperature eggs. Cold eggs can make the coconut oil seize up and create lumps in your batter. If you forgot to take them out of the fridge, place them in a bowl of warm water for five minutes. Problem solved.
Don’t overfill the muffin cups. I know it feels like you’re not getting enough batter in each cup, but these oatmeal cups don’t rise much. Fill them 3/4 full, and you’ll get perfectly domed tops. Overfill, and they’ll spill over and burn on the pan edges.
Let them cool completely before storing. I made this mistake once—I packed warm oatmeal cups into a container, and they turned into a soggy mess by morning. Patience, my friend. Let them cool on a wire rack for at least 30 minutes before you even think about storage.
Variations & Adaptations
One of the best things about this recipe is how flexible it is. I’ve tried all sorts of variations, and honestly, most of them turned out great. Here are some of my favorites:
- Chocolate Chip Pumpkin Oatmeal Cups : Fold in 1/2 cup dark chocolate chips before baking. The chocolate melts into little pools of goodness. My kids request these constantly.
- Vegan Version : Replace the eggs with flax eggs (2 tablespoons ground flaxseed mixed with 6 tablespoons water, let sit for 5 minutes). Use maple syrup instead of honey and a plant-based milk. They come out a bit denser but still delicious.
- Protein Boost : Add 1 scoop of vanilla or unflavored protein powder and reduce the oats by 1/4 cup. You might need to add an extra tablespoon of milk to keep the batter moist.
- Gluten-Free Option : Use certified gluten-free rolled oats. That’s it—oats are naturally gluten-free, but they can be processed in facilities that handle wheat. Check the label.
- Nut-Free Version : Use oat milk instead of almond milk and skip the pecans. The coconut oil is fine since coconut isn’t a tree nut (but check with your allergist if you’re concerned).
I once tried a savory version with cheddar cheese and sage instead of the pumpkin spice. It was… interesting. Not bad, but definitely not what I’d call breakfast. Stick with the sweet version for these oatmeal cups, and save the savory experiments for a different recipe.
Serving & Storage Suggestions
These healthy baked pumpkin oatmeal cups are incredibly versatile when it comes to serving. Here’s how I like to enjoy them:
At room temperature : Grab one on your way out the door for a quick breakfast. They’re perfect for busy mornings when you don’t have time to sit down.
Warmed up : Pop one in the microwave for 15-20 seconds and drizzle with a little extra maple syrup or a dollop of Greek yogurt. The warmth brings out the spices beautifully.
With toppings : Spread a little almond butter or pumpkin butter on top for extra flavor. A sprinkle of chopped pecans adds a nice crunch.
Storage : Keep them in an airtight container in the refrigerator for up to 5 days. Layer them with parchment paper between stacks so they don’t stick together. I’ve also frozen them for up to 3 months—just thaw overnight in the fridge or microwave for 30 seconds.
Reheating : The best way to reheat is in the oven at 300°F (150°C) for 5-7 minutes. The microwave works in a pinch, but the texture gets a bit soft. If you’re meal prepping, I recommend reheating in a toaster oven for that just-baked feel.
One thing I love about these oatmeal cups is that the flavors actually get better after a day in the fridge. The spices meld together, and the oats soften even more. So don’t be afraid to make them ahead—they’re even better on day two.
Nutritional Information & Benefits
These healthy baked pumpkin oatmeal cups aren’t just delicious—they’re packed with good-for-you ingredients that keep you full and energized. Here’s a rough breakdown per oatmeal cup (based on 12 servings, without mix-ins):
- Calories : 145
- Protein : 4g
- Carbohydrates : 22g
- Fiber : 3g
- Sugar : 8g (naturally from maple syrup and pumpkin)
- Fat : 5g
- Vitamin A : 80% of your daily needs (thank you, pumpkin!)
Pumpkin is a nutritional powerhouse—it’s loaded with vitamin A for healthy vision, fiber for digestion, and antioxidants that fight inflammation. Oats provide slow-release energy that keeps your blood sugar stable, which means no mid-morning crash. The eggs add protein, and the coconut oil offers healthy fats that support brain function.
These oatmeal cups are naturally vegetarian and can be made vegan, gluten-free, or nut-free with simple substitutions. They’re also low in added sugar compared to most baked goods, making them a smart choice for anyone watching their sugar intake. I personally love that I can feel good about eating two of them without any guilt.
Conclusion
These healthy baked pumpkin oatmeal cups have become a staple in my kitchen, and I have a feeling they’ll become one in yours too. They’re the perfect balance of cozy and convenient—the kind of recipe that makes you feel like you’ve got your life together, even on chaotic mornings.
What I love most about this recipe is how adaptable it is. You can make it your own with different mix-ins, adjust the sweetness to your liking, or double the batch for a crowd. It’s forgiving, reliable, and always delicious. Honestly, it’s the recipe I turn to when I need something that just works.
I’d love to hear how these turn out for you! Did you add chocolate chips? Try a nut-free version? Find a new favorite spice blend? Drop a comment below and let me know—I read every single one. And if you share a photo on Pinterest, tag me so I can see your beautiful creations. Until next time, happy baking!
Frequently Asked Questions
Can I use quick oats instead of rolled oats?
Yes, you can, but the texture will be different. Quick oats absorb liquid faster and create a softer, more uniform oatmeal cup. If that’s what you have, go for it—just reduce the rest time to 2 minutes since they soak up liquid quickly.
How do I make these oatmeal cups less sweet?
Reduce the maple syrup to 1/4 cup and add an extra tablespoon of milk to keep the batter moist. You can also use unsweetened applesauce in place of some of the syrup for natural sweetness with fewer calories.
Can I use fresh pumpkin instead of canned?
Absolutely! Just make sure to roast and puree your pumpkin until it’s smooth. Fresh pumpkin has more water content than canned, so you might need to drain it slightly by pressing it through a fine-mesh strainer or cheesecloth.
Why did my oatmeal cups turn out dry?
This usually happens from overbaking or using too many oats. Check your oven temperature with an oven thermometer—many run hot. Also, make sure you’re measuring your oats correctly (spoon them into the measuring cup, don’t scoop directly from the bag).
Can I make these in a mini muffin tin?
Yes! Reduce the baking time to 10-12 minutes and keep a close eye on them. Mini oatmeal cups are perfect for kids’ lunches or snacking. Just be careful not to overfill the tiny cups—fill them about 3/4 full.
Pin This Recipe!
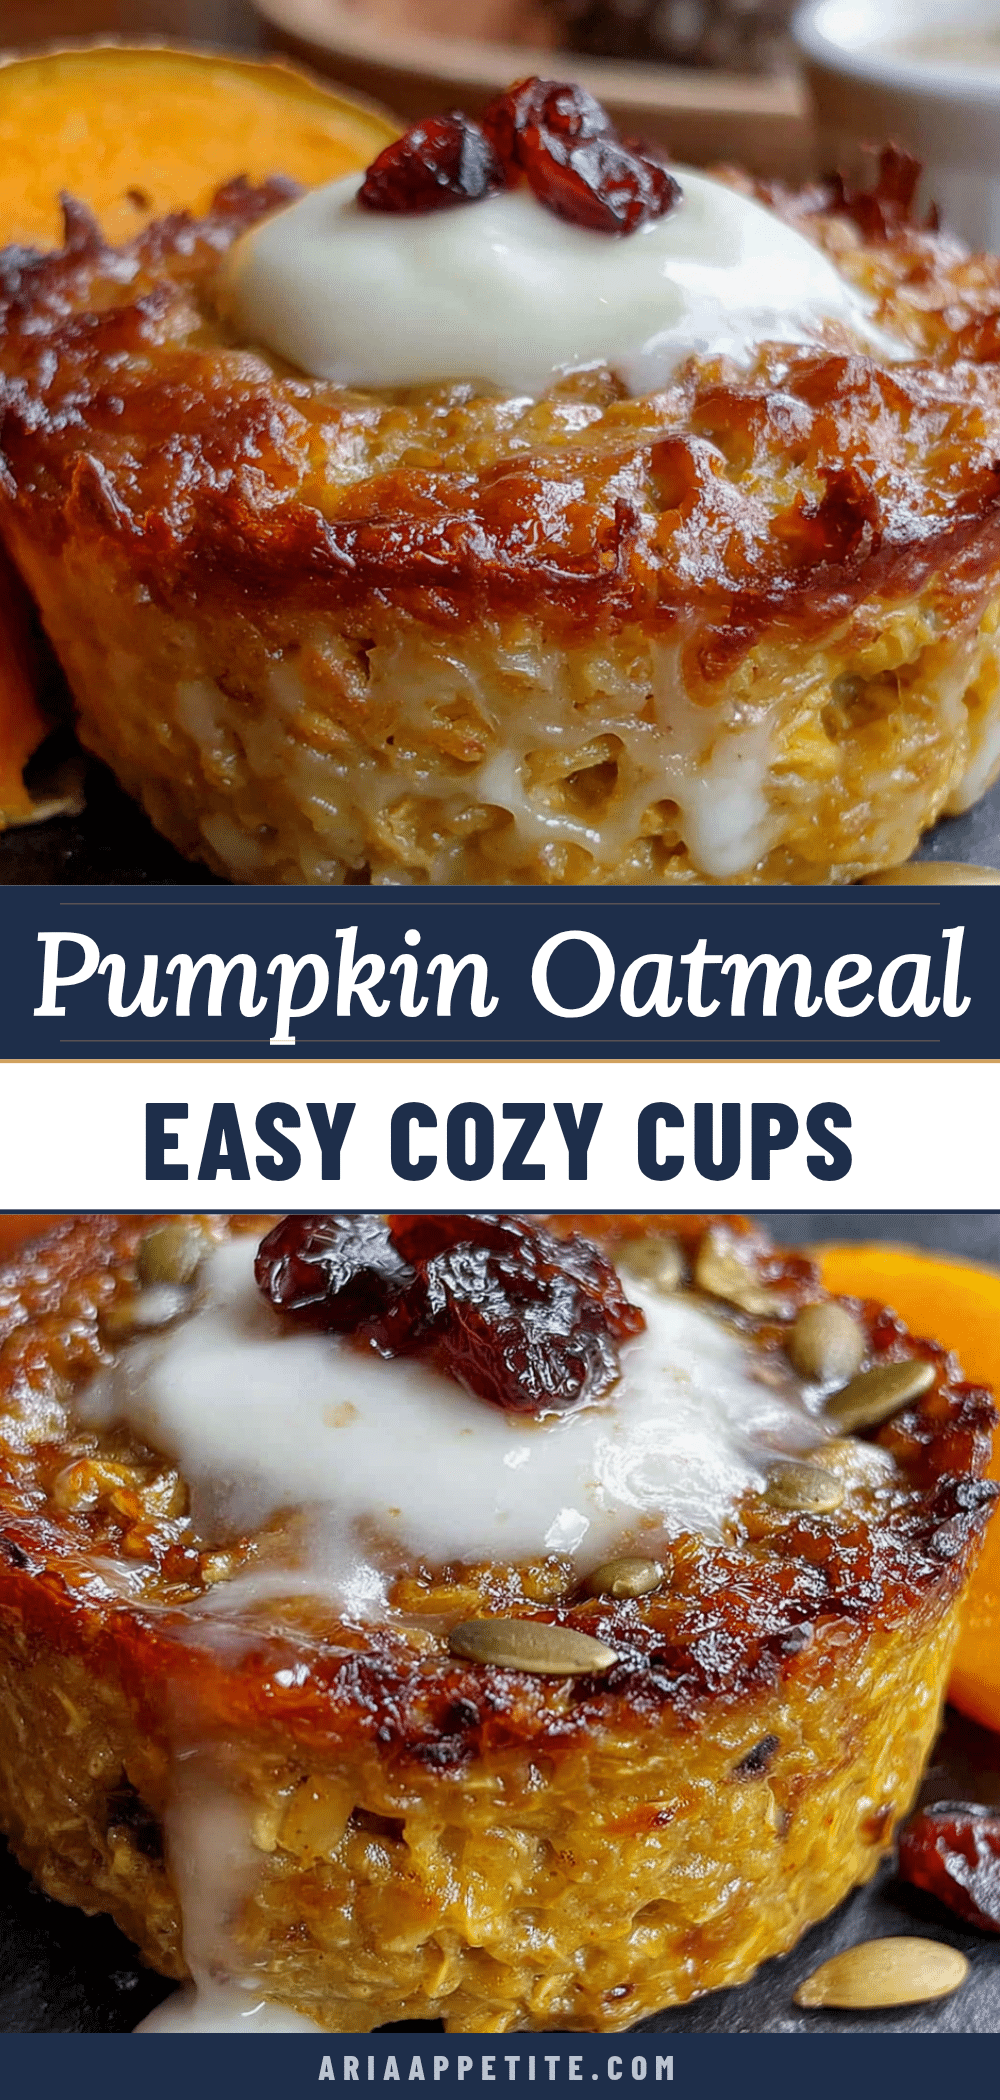
Healthy Baked Pumpkin Oatmeal Cups – Easy 30-Minute Breakfast

These healthy baked pumpkin oatmeal cups are the perfect grab-and-go breakfast, made with simple ingredients like oats, pumpkin puree, and maple syrup. They’re quick to prepare, naturally sweetened, and packed with cozy fall flavors.
- Prep Time: 10 minutes
- Cook Time: 20 minutes
- Total Time: 30 minutes
- Yield: 12 servings 1x
- Category: Breakfast
- Cuisine: American
Ingredients
- 2 cups rolled oats (use certified gluten-free if needed)
- 1 cup pumpkin puree (not pumpkin pie filling)
- 2 large eggs, room temperature
- 1/3 cup maple syrup (or honey)
- 1/2 cup unsweetened almond milk (or any milk)
- 2 tablespoons coconut oil, melted (or any neutral oil)
- 1 teaspoon vanilla extract
- 2 teaspoons pumpkin pie spice
- 1 teaspoon cinnamon
- 1 teaspoon baking powder
- 1/4 teaspoon salt
- Optional mix-ins: 1/2 cup dark chocolate chips, 1/4 cup chopped pecans, or 1/4 cup dried cranberries
Instructions
- Preheat your oven to 350°F (175°C) and grease your muffin tin well.
- In a large mixing bowl, whisk together the wet ingredients: pumpkin puree, eggs, maple syrup, almond milk, melted coconut oil, and vanilla extract until smooth.
- In a separate medium bowl, combine the dry ingredients: rolled oats, pumpkin pie spice, cinnamon, baking powder, and salt. Stir with a fork to distribute the spices evenly.
- Pour the dry ingredients into the wet ingredients and stir until just combined. Do not overmix. If adding mix-ins, fold them in now.
- Let the batter rest for 5 minutes to allow the oats to absorb the liquid.
- Spoon the batter into the prepared muffin tin, filling each cup about 3/4 full.
- Bake for 18-20 minutes, or until the tops are set and a toothpick inserted in the center comes out clean.
- Cool in the pan for 5 minutes, then transfer to a wire rack to cool completely.
Notes
Don’t skip the 5-minute rest time for the oats—it ensures tender oatmeal cups. Use room temperature eggs to prevent coconut oil from seizing. For best results, bake one pan at a time. These oatmeal cups taste even better on day two after the flavors meld.
Nutrition
- Serving Size: 1 oatmeal cup
- Calories: 145
- Sugar: 8
- Sodium: 95
- Fat: 5
- Saturated Fat: 3
- Carbohydrates: 22
- Fiber: 3
- Protein: 4
Keywords: pumpkin oatmeal cups, healthy breakfast, baked oatmeal, pumpkin recipes, fall breakfast, meal prep breakfast, gluten-free oatmeal cups, vegan oatmeal cups


