Love this? Save it for later!
Share the inspiration with your friends
This was supposed to be a full-sized pumpkin dump cake for a potluck I was dreading. I had the big 9×13 dish buttered, the canned pumpkin measured out for a crowd, and the yellow cake mix ready to sprinkle. But then my oven decided to be, well, an oven from 1998. It preheated to what I thought was 350°F, but my little thermometer told me it was actually closer to 425°F. I was already running late, the butter was melting in a puddle, and honestly, I felt like just giving up on the whole thing. I grabbed a smaller dish—a random 8×8 that was dusty from the back of the cabinet—and I just halved everything on a whim. I mean, I didn’t even measure properly. I just eyeballed it and prayed. What came out of that screaming hot oven was nothing like the plan. It was a perfect, golden, bubbling little dessert that was somehow richer and more buttery than the full version. It was just for me. And it was better.
That tiny, accidental cake became my favorite fall secret. I’ve made it maybe a dozen times since, tweaking the ratios until it was just right for two people. You know that feeling when you want a warm, cozy dessert but don’t want a whole pan staring at you from the counter for a week? This is that recipe. It’s the one you make on a quiet Tuesday night when the air gets crisp, or when you just want to feel a little bit spoiled without the leftovers. It’s forgiving, it’s fast, and it tastes like you spent way more effort than you actually did. Let me tell you, there is something deeply satisfying about pulling a single-serving dessert out of the oven that looks like it belongs on a magazine cover.
Why You’ll Love This Recipe
This isn’t just another pumpkin dessert. It’s a small-batch miracle that gives you all the cozy, spiced flavor of fall without the commitment. After testing this about seven times (yes, my neighbors loved me that month), I can confidently say this is the best version for two people. Here is why it works:
- Quick & Easy: This comes together in about 10 minutes of active prep time. The oven does all the heavy lifting. It’s perfect for a last-minute craving on a chilly evening.
- Simple Ingredients: You likely have everything in your pantry right now. No fancy grocery trips needed. Canned pumpkin, cake mix, butter—that’s the heart of it.
- Perfect for Cozy Nights: This is the ultimate “just us” dessert. Great for a date night in, a quiet evening with a book, or a small Thanksgiving for two.
- No Leftovers: Let’s face it, a full-sized dump cake can feel like a week-long project. This one is gone in one sitting, which is oddly satisfying.
- Unbelievably Delicious: The texture is magic. You get a gooey, pumpkin-spiced bottom layer and a buttery, crunchy top that is pure comfort. It’s next-level.
What makes this different from the standard dump cake? It’s the ratio. In a small dish, the butter and cake mix create a thicker, more decadent topping. It gets perfectly golden and crisp, while the pumpkin filling stays luscious and soft. I also add a tiny pinch of extra cinnamon and a whisper of nutmeg to the pumpkin layer because, honestly, you can never have too much spice. This isn’t just another version—it’s the best version for two.
What Ingredients You Will Need
This recipe uses simple, wholesome ingredients to deliver that cozy fall flavor without the fuss. Most of these are pantry staples, which makes this dessert dangerously easy to whip up on a whim.
- For the Pumpkin Filling:
- Canned pumpkin puree: 1 cup (not pumpkin pie filling). I prefer Libby’s for its consistent texture, but any 100% pure pumpkin works.
- Sweetened condensed milk: ½ cup (this adds richness and sweetness).
- Large egg: 1, at room temperature (helps bind the filling).
- Pumpkin pie spice: 1 teaspoon (I use McCormick, but homemade is lovely).
- Vanilla extract: ½ teaspoon (pure is best, but imitation works in a pinch).
- Salt: A tiny pinch (just to balance the sweetness).
- For the Topping:
- Yellow cake mix: 1 cup (about half a standard box). Use a plain yellow or butter cake mix for the best buttery flavor.
- Unsalted butter: 4 tablespoons (½ stick), melted (this creates that signature crunchy top).
- Chopped pecans or walnuts: ¼ cup (optional, but adds a lovely crunch).
- Cinnamon sugar: 1 teaspoon (for sprinkling on top).
Ingredient Selection Tips: Look for a can of pumpkin that is just pure pumpkin, not the pre-sweetened pie mix. It makes a big difference in texture. For the cake mix, I honestly just use whatever generic brand is on sale, and it works great. The melted butter is key—don’t skip it or try to use cold butter, as it won’t create that same crumbly, golden topping.
Substitution Guidance: If you are out of pumpkin pie spice, use ½ teaspoon cinnamon, ¼ teaspoon ginger, ⅛ teaspoon nutmeg, and a tiny pinch of cloves. For a gluten-free version, use a gluten-free yellow cake mix. You can also swap the pecans for sliced almonds or leave them out entirely.
Equipment Needed
You don’t need much for this cozy little dessert, which is part of its charm. Here is what you will need:
- Small baking dish: An 8×8-inch square pan or a 1-quart baking dish works perfectly. I use a vintage Corningware dish I found at a thrift store, and it feels just right for this.
- Mixing bowls: One medium bowl for the pumpkin filling and a small bowl for the topping.
- Whisk: For smoothing out the pumpkin mixture without lumps.
- Measuring cups and spoons: For accurate measurements, though this recipe is forgiving.
- Spatula: To spread the filling evenly.
- Oven thermometer: Honestly, this is a game-changer. My old oven runs hot, and this little tool saves me from burnt edges.
If you don’t have an 8×8 pan, you can use a small cast-iron skillet or even two 10-ounce ramekins for an individual serving presentation. Just adjust the baking time by about 5 minutes for ramekins. Also, a note on the cake mix—you don’t need a mixer. Just your hands or a fork to sprinkle it on top.
Preparation Method
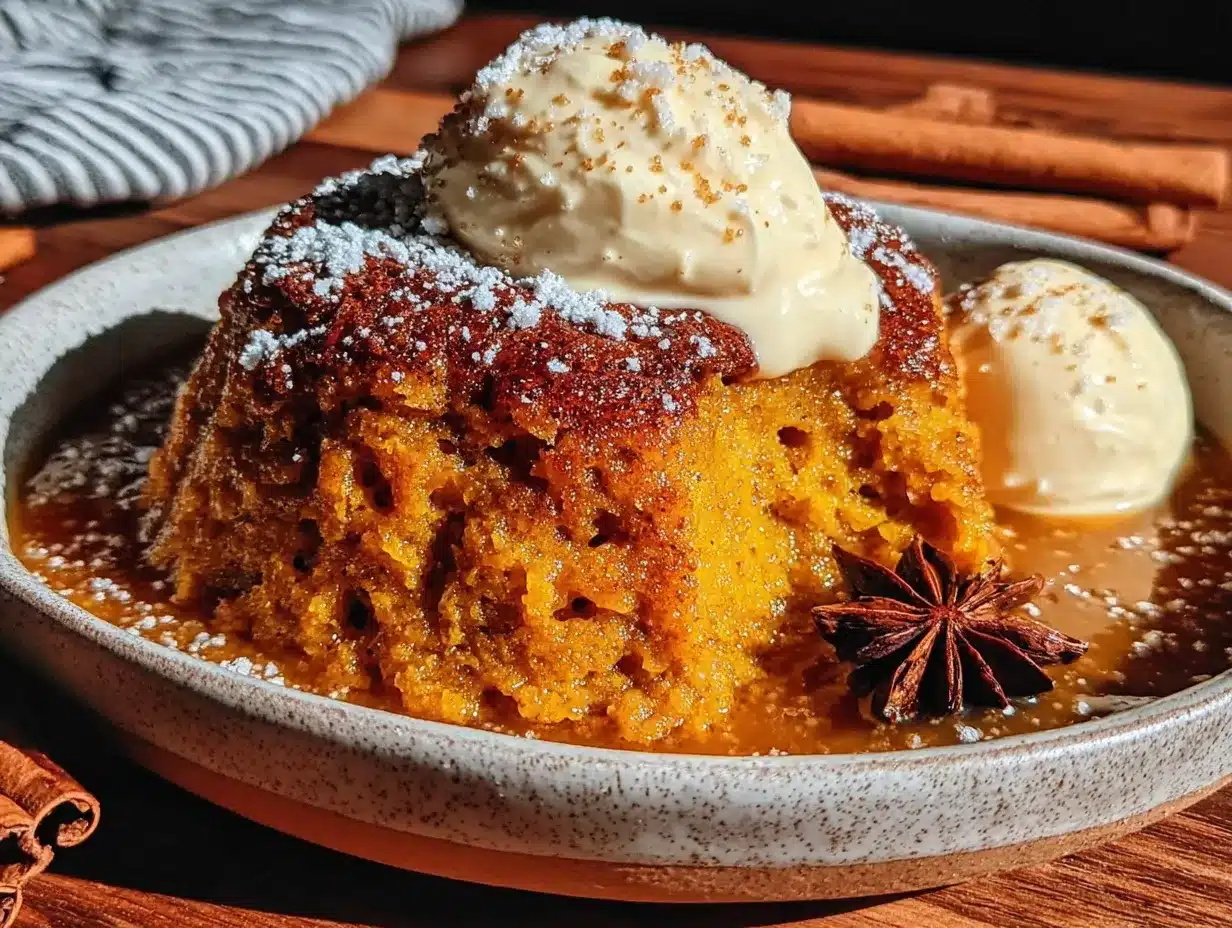
This is the easiest part. Seriously, it’s called a “dump” cake for a reason. But a little care goes a long way. Here is how to get that perfect, golden result every time.
- Preheat your oven to 350°F (175°C). While it’s heating, lightly grease your 8×8 baking dish with a bit of butter or non-stick spray. This helps with easy serving later.
- Make the pumpkin filling. In your medium mixing bowl, whisk together the 1 cup of pumpkin puree, ½ cup of sweetened condensed milk, 1 large egg, 1 teaspoon of pumpkin pie spice, ½ teaspoon of vanilla extract, and a tiny pinch of salt. Whisk until the mixture is completely smooth and glossy. It should look like a thick, creamy pudding. (Sensory cue: it should smell like fall in a bowl—warm and spicy.)
- Pour the filling into the dish. Use your spatula to spread it into an even layer. Don’t worry if it doesn’t look perfect; the topping will cover it.
- Prepare the topping. In a small bowl, combine the 1 cup of yellow cake mix and the ¼ cup of chopped pecans (if using). Sprinkle this dry mixture evenly over the pumpkin filling. Do not stir it in! This is the secret to the “dump” cake texture. It should look like a snowy, crumbly layer on top.
- Drizzle with melted butter. Slowly pour the 4 tablespoons of melted butter over the cake mix layer. Try to drizzle it as evenly as possible. It will soak into the dry mix and create those buttery, golden clumps as it bakes. Then, sprinkle the 1 teaspoon of cinnamon sugar over the top for extra crunch.
- Bake for 30-35 minutes. Place the dish on the middle rack of your oven. Bake until the top is deep golden brown and the filling is bubbly around the edges. (Sensory cue: your kitchen will smell like a pumpkin spice candle had a baby with a buttery croissant. It’s heavenly.) If the top is browning too fast but the filling isn’t set, tent it loosely with foil for the last 5 minutes.
- Cool for at least 10 minutes. This is the hardest part. Let the cake sit on a wire rack. The filling needs this time to set up a bit. If you dig in too soon, it will be a delicious but soupy mess. Trust me, I have made that mistake.
- Serve warm. Scoop it into bowls or eat it straight from the dish. It is absolutely divine on its own, but a scoop of vanilla ice cream or a dollop of whipped cream takes it over the top.
Cooking Tips & Techniques
After making this little cake more times than I care to admit, I have picked up a few tricks that make a real difference. Here is what I have learned:
- Don’t overmix the filling. Just whisk until it’s smooth. Overmixing can incorporate too much air, which might cause the filling to puff up and then sink. You want it dense and creamy.
- The butter is the boss. Make sure your butter is fully melted but not hot. If it’s too hot, it can start to cook the cake mix before it even hits the oven. I melt mine in the microwave in 15-second bursts, then let it sit for a minute.
- Even sprinkling matters. When you add the dry cake mix, try to spread it in an even, thin layer. Clumps are fine—they create those delicious crunchy bits—but you don’t want a thick, dry patch of unmixed powder.
- Watch your oven. I once burned the edges because I got distracted. Every oven is different. Start checking at the 25-minute mark. The top should be golden brown, and the edges should be bubbling. If you see the filling bubbling up through the topping, you are in the sweet spot.
- Let it rest. I know it smells incredible, but letting it sit for those 10 minutes is non-negotiable. It goes from a lava-like mess to a perfectly scoopable, set dessert. This was a hard lesson for me.
One time, I forgot to add the egg to the filling. I realized it halfway through baking. The result was a sad, watery layer. So, double-check your ingredients before you pour! It’s a simple mistake that can ruin the whole thing.
Variations & Adaptations
This recipe is a fantastic canvas for your own twists. Here are a few ways I have played with it:
- Spiced Apple Pumpkin: Add ½ cup of finely diced apple (like Honeycrisp or Granny Smith) to the pumpkin filling before baking. It adds a lovely tartness and texture that pairs beautifully with the spices.
- Chocolate Lover’s Version: Sprinkle ¼ cup of semi-sweet chocolate chips over the pumpkin filling before adding the cake mix. The melted chocolate creates a gooey, fudgy layer that is absolutely sinful.
- Vegan & Dairy-Free: Use a vegan yellow cake mix, substitute the butter with melted coconut oil or vegan butter, and use a flax egg (1 tablespoon ground flaxseed mixed with 3 tablespoons water) in the filling. It works surprisingly well, though the topping is a bit less crisp.
- Gluten-Free Option: Simply swap the regular yellow cake mix for a gluten-free yellow cake mix. I have used the King Arthur Flour brand with great results. The texture is slightly more crumbly but still delicious.
- Pumpkin Pecan Praline: After baking, drizzle a simple caramel sauce over the top and add a few extra toasted pecans. It turns this humble dessert into something that feels fancy enough for company.
My personal favorite variation is the apple one. I tried it one Sunday afternoon when I had a lonely apple sitting in the fruit bowl. The slight tartness cuts through the sweetness perfectly. Give it a try!
Serving & Storage Suggestions
This cake is best served warm, straight from the oven. The contrast between the warm, gooey pumpkin and the cold ice cream is a classic for a reason. Here is how I like to serve it:
- Serving Temperature: Warm is non-negotiable. Let it cool for 10 minutes, then scoop it into bowls. Top with a generous scoop of vanilla bean ice cream or a cloud of lightly sweetened whipped cream. A drizzle of caramel sauce is never a bad idea.
- Complementary Sides: A simple cup of hot coffee or a chai latte is the perfect drink pairing. For a more decadent treat, serve it alongside a slice of sharp cheddar cheese—the salty-sweet combo is a New England tradition that works surprisingly well here.
- Storage: If you have any leftovers (which is rare in my house), cover the dish tightly with plastic wrap or transfer the cake to an airtight container. It will keep in the refrigerator for up to 3 days.
- Reheating: The best way to reheat this is in the oven at 300°F (150°C) for about 10 minutes. This helps restore some of the crunch to the topping. You can use the microwave, but the topping will get soft and chewy. It’s still tasty, just different.
- Flavor Development: Honestly, this cake is at its peak right out of the oven. The flavors meld together perfectly when it’s warm. It’s still good the next day, but that fresh-from-the-oven magic is something special.
Nutritional Information & Benefits
While this is definitely a treat, it does have a few redeeming qualities. Here is a rough estimate per serving (based on two servings):
- Calories: Approximately 480 per serving (with pecans).
- Fat: About 24g (mostly from butter and nuts).
- Carbohydrates: Around 60g.
- Protein: About 7g.
- Fiber: 3g (thanks to the pumpkin).
- Vitamin A: A whopping 190% of your daily value from the pumpkin! Great for your eyes and immune system.
Health Benefits: Pumpkin is packed with fiber and beta-carotene, which is an antioxidant that your body converts to vitamin A. It’s also low in calories and fat on its own. So, while the butter and cake mix add the indulgence, the base ingredient gives you a little nutritional boost. It’s not health food, but it’s a dessert you can feel a little less guilty about enjoying. Plus, it’s portion-controlled for two, which helps with mindful eating.
Dietary Considerations: This recipe contains gluten, dairy, and eggs. For a gluten-free or vegan version, please see the variations section above. It is naturally nut-free if you omit the pecans.
Conclusion
This small-batch pumpkin dump cake has become my favorite fall ritual. It’s the dessert I make when I want something warm, cozy, and completely satisfying without the hassle of a big production. It started as a happy accident in a hot oven, and now it’s a staple in my kitchen. I love that it feels special enough for a date night or a holiday, but simple enough for a random Tuesday.
I really hope you give this a try. Don’t be afraid to make it your own—add chocolate, throw in some apples, or go nuts with the caramel. The beauty of a dump cake is its forgiving nature. It wants you to succeed. If you make it, I would love to hear how it turns out. Leave a comment below and tell me your favorite variation, or share a photo on Pinterest. Tag me so I can see your cozy creation! Happy baking, friends. You deserve this little moment of comfort.
Frequently Asked Questions
Can I use pumpkin pie filling instead of pure pumpkin?
I wouldn’t recommend it. Pumpkin pie filling is already sweetened and spiced, which will throw off the balance of this recipe. It will be too sweet and the texture will be different. Stick with 100% pure pumpkin puree for the best results.
Can I make this in a slow cooker or air fryer?
Yes, you can adapt it! For a slow cooker, cook on low for about 2-3 hours or on high for 1-1.5 hours. The top won’t get as crispy, but it will still be delicious. For an air fryer, use a small oven-safe dish that fits in your basket and bake at 320°F (160°C) for about 18-22 minutes, checking for doneness.
My topping came out soggy. What did I do wrong?
This usually happens if the butter wasn’t drizzled evenly, or if the oven temperature was too low. Make sure your oven is fully preheated to 350°F (175°C). Also, try to sprinkle the dry cake mix in an even, thin layer so the butter can soak in evenly. Don’t stir it!
Can I double this recipe for a larger group?
Absolutely! To double it, use a standard 9×13-inch baking dish. Double all the ingredients and increase the baking time to about 40-45 minutes. Keep an eye on it, and test for doneness by looking for bubbly edges and a golden brown top.
How do I store leftovers and reheat them?
Store any leftovers covered in the refrigerator for up to 3 days. To reheat, the oven is best. Bake at 300°F (150°C) for about 10 minutes to restore some crunch. The microwave works in a pinch, but the topping will be softer.
Pin This Recipe!
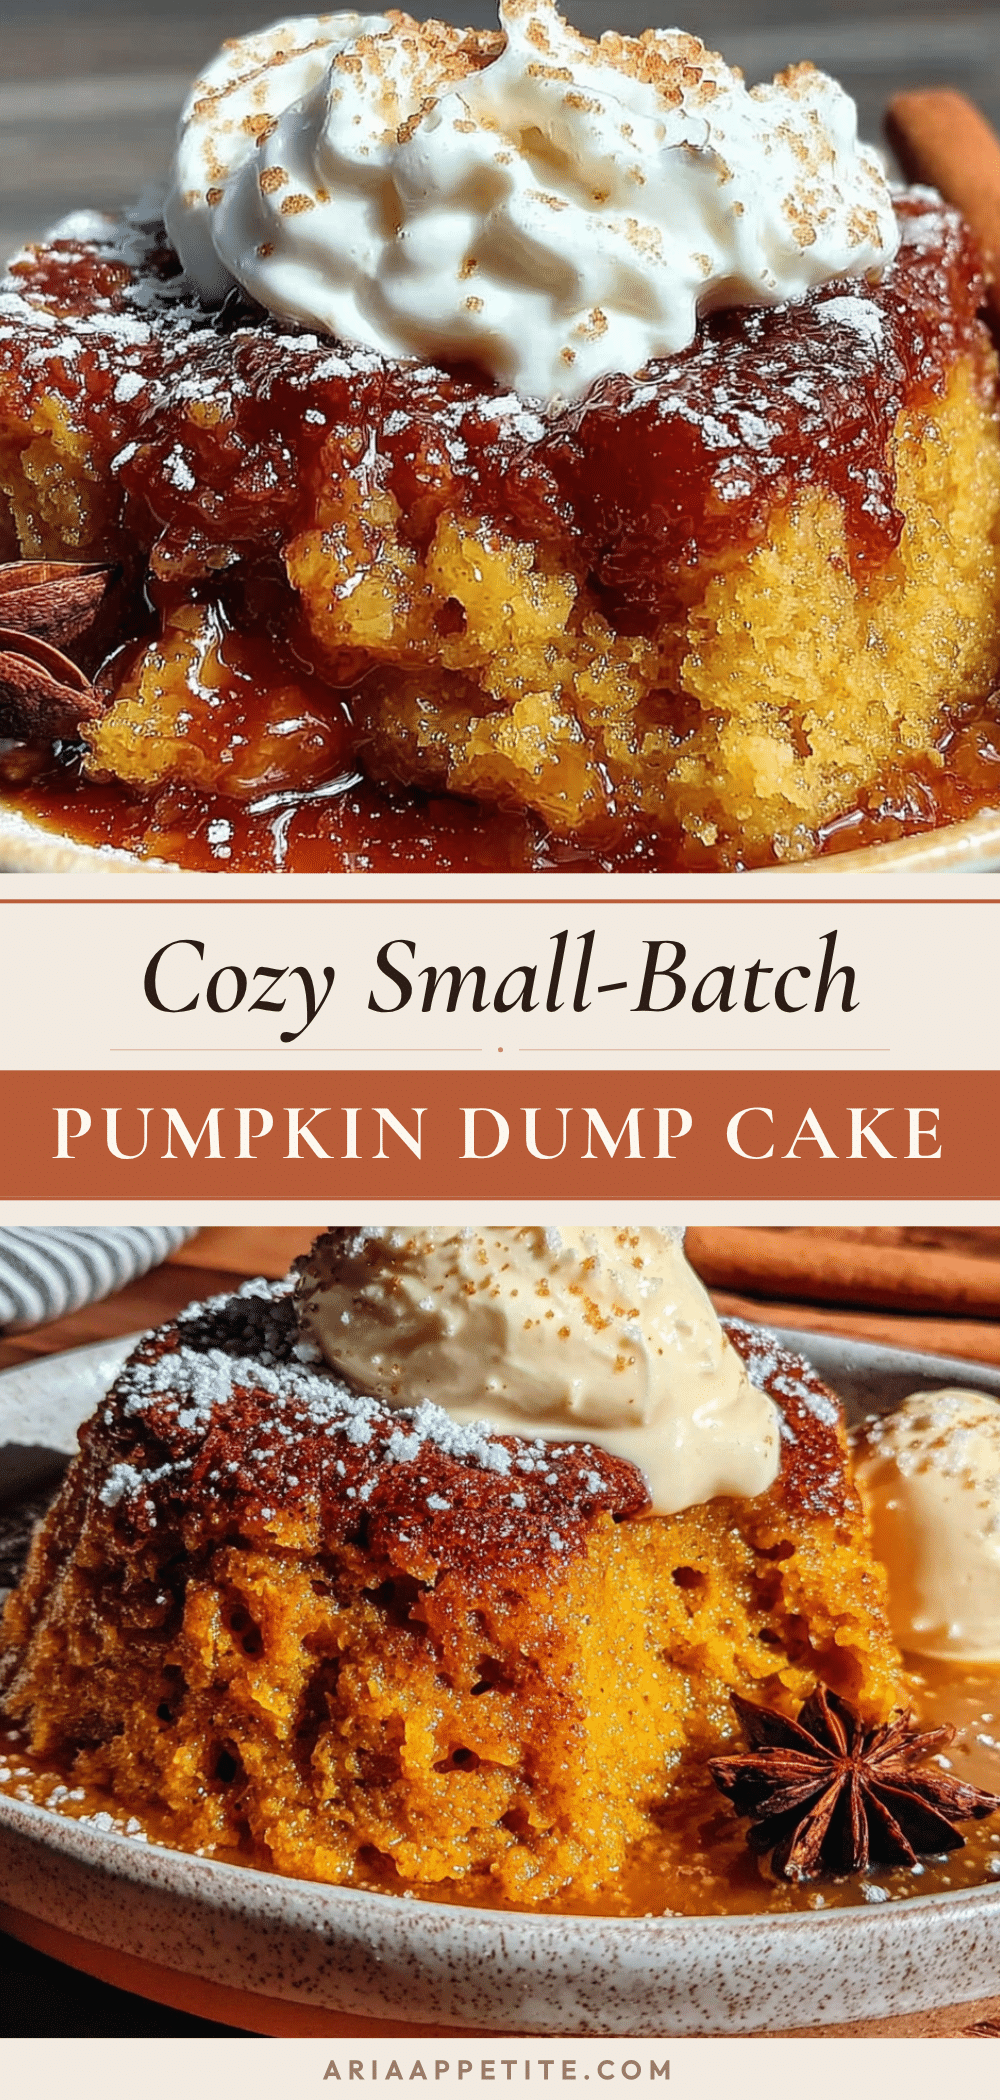
Best Small-Batch Pumpkin Dump Cake for Two: Easy Fall Dessert
A cozy, single-serving pumpkin dump cake that’s perfect for two. This easy fall dessert features a gooey pumpkin-spiced bottom layer and a buttery, crunchy top, all made with simple pantry ingredients.
- Prep Time: 10 minutes
- Cook Time: 30 minutes
- Total Time: 40 minutes
- Yield: 2 servings 1x
- Category: Dessert
- Cuisine: American
Ingredients
- 1 cup canned pumpkin puree (not pumpkin pie filling)
- ½ cup sweetened condensed milk
- 1 large egg, at room temperature
- 1 teaspoon pumpkin pie spice
- ½ teaspoon vanilla extract
- A tiny pinch of salt
- 1 cup yellow cake mix (about half a standard box)
- 4 tablespoons unsalted butter, melted
- ¼ cup chopped pecans or walnuts (optional)
- 1 teaspoon cinnamon sugar
Instructions
- Preheat your oven to 350°F (175°C). Lightly grease an 8×8-inch baking dish with butter or non-stick spray.
- In a medium mixing bowl, whisk together the pumpkin puree, sweetened condensed milk, egg, pumpkin pie spice, vanilla extract, and salt until smooth and glossy.
- Pour the pumpkin filling into the prepared dish and spread it into an even layer with a spatula.
- In a small bowl, combine the yellow cake mix and chopped pecans (if using). Sprinkle this dry mixture evenly over the pumpkin filling. Do not stir.
- Drizzle the melted butter evenly over the cake mix layer. Sprinkle the cinnamon sugar on top.
- Bake for 30-35 minutes, until the top is deep golden brown and the filling is bubbly around the edges. If browning too fast, tent loosely with foil for the last 5 minutes.
- Cool on a wire rack for at least 10 minutes to allow the filling to set.
- Serve warm, optionally with vanilla ice cream or whipped cream.
Notes
Don’t overmix the filling. Make sure butter is fully melted but not hot. Sprinkle cake mix evenly. Let the cake rest for 10 minutes after baking to set. For a gluten-free version, use a gluten-free yellow cake mix. For a vegan version, use a vegan cake mix, melted coconut oil or vegan butter, and a flax egg.
Nutrition
- Serving Size: 1 serving (half of t
- Calories: 480
- Sugar: 35
- Sodium: 350
- Fat: 24
- Saturated Fat: 12
- Carbohydrates: 60
- Fiber: 3
- Protein: 7
Keywords: pumpkin dump cake, small batch dessert, fall dessert for two, easy pumpkin dessert, cozy dessert