Love this? Save it for later!
Share the inspiration with your friends
“Mom, can you make your birthday cake again this year?” That’s the line I hear every time a birthday rolls around, and honestly, I don’t blame them. This Perfect Mom’s Homemade Birthday Cake with Creamy Buttercream Frosting has a way of making celebrations feel extra special, even if the day itself is hectic. One afternoon, while rummaging through a box of old recipe cards, I found Mom’s original scribbled note for this cake. It was tucked behind a photo of her and my dad from the ‘90s, and I couldn’t help but smile at the thought of her baking this very cake every year.
The funny thing is, this recipe wasn’t always a sure thing. I remember the first time I tried to recreate it, I totally underestimated how much patience buttercream frosting requires (spoiler: it’s not instant). The kitchen looked like a snowstorm hit it—powdered sugar everywhere, frosting on the ceiling, and me laughing like a goofball trying to get the perfect swirl on the cake. You know that feeling when a recipe seems simple on paper but throws you curveballs? Yep, that was me. But after a few tries and plenty of tasting (not complaining), it became my go-to celebration cake.
Maybe you’ve been there too—searching for that one reliable cake recipe that’s both classic and comforting. This isn’t just any birthday cake. It’s the kind that pulls family together, makes kids beam, and sometimes, just sometimes, it’s the reason someone forgets the day’s craziness for a while. So, let me tell you how to make this perfect homemade birthday cake with that irresistibly creamy buttercream frosting. Spoiler alert: it’s easier than you think, and the payoff is totally worth it.
Why You’ll Love This Recipe
Having tested this Perfect Mom’s Homemade Birthday Cake with Creamy Buttercream Frosting more times than I can count, I can confidently say it’s a winner for so many reasons. Honestly, it’s one of those recipes that feels like a hug in dessert form.
- Quick & Easy: Comes together in under 90 minutes, perfect for busy moms or last-minute party plans.
- Simple Ingredients: No fancy or hard-to-find items—just pantry staples you probably already have.
- Perfect for Celebrations: Whether it’s a birthday, anniversary, or just a sweet Tuesday night, this cake fits the bill.
- Crowd-Pleaser: Kids, teens, and adults all agree—this cake always disappears fast.
- Unbelievably Delicious: The soft, moist crumb pairs perfectly with the buttery, smooth frosting for that classic combo you crave.
What really sets this cake apart is the frosting technique I picked up from Mom—whipping the buttercream until it’s light and silky smooth without being overly sweet. Plus, the cake layers stay moist for days if stored right, which means you can make it ahead and still impress. It’s not just about the ingredients; it’s about the love and little tricks baked into every slice. I mean, who doesn’t want a birthday cake that tastes like it came from a cozy kitchen filled with laughter and a little bit of mess? This recipe isn’t just good—it’s memorable.
What Ingredients You Will Need
This recipe uses simple, wholesome ingredients to deliver that classic birthday cake flavor and texture without the fuss. Most of these are pantry staples, and substitutions are easy if you need to tweak it for allergies or preferences.
- For the Cake:
- 2 ½ cups (312g) all-purpose flour (for best results, sifted)
- 2 ½ teaspoons baking powder
- ½ teaspoon salt
- 1 cup (226g) unsalted butter, softened (I prefer Land O Lakes for creaminess)
- 2 cups (400g) granulated sugar
- 4 large eggs, room temperature
- 1 tablespoon pure vanilla extract (real vanilla makes a difference!)
- 1 cup (240ml) whole milk, room temperature (can substitute with almond milk for dairy-free)
- For the Creamy Buttercream Frosting:
- 1 cup (226g) unsalted butter, softened
- 4 cups (480g) powdered sugar, sifted
- 2 teaspoons pure vanilla extract
- 2-3 tablespoons heavy cream or milk (adjust to desired consistency)
- Pinch of salt (balances the sweetness)
If you’re feeling adventurous, swapping out vanilla for a teaspoon of almond extract in the frosting adds a lovely twist. Also, in summer, I sometimes fold fresh berries between the layers for a fresh pop. Just a heads-up: when choosing butter, room temperature is key—too cold and it won’t whip properly; too soft and the frosting gets runny. Trust me, I’ve learned this the messy way.
Equipment Needed
- Two 8-inch (20 cm) round cake pans (non-stick or well-greased)
- Mixing bowls (medium and large)
- Electric mixer (stand mixer preferred, but hand mixer works fine)
- Measuring cups and spoons (for accuracy, especially with baking powder)
- Rubber spatula for scraping the bowl
- Cooling racks to let the cakes cool evenly
- Offset spatula or butter knife for frosting
If you don’t have a stand mixer, no worries—just be prepared for a bit more arm work! I’ve used handheld mixers many times, especially when traveling or baking at a friend’s house. Also, make sure your pans are well greased and floured to avoid sticking; a little tip I picked up is lining the bottom with parchment paper for an easy release. For budget-friendly options, silicone spatulas and pans work just as well and clean up easily.
Preparation Method
- Preheat and Prepare Pans: Preheat your oven to 350°F (175°C). Grease the two 8-inch cake pans and line the bottoms with parchment paper. This step prevents sticking and helps with easy removal. (5 minutes)
- Mix Dry Ingredients: In a medium bowl, sift together the flour, baking powder, and salt. Set aside. This ensures the leavening agents are evenly distributed. (3 minutes)
- Cream Butter and Sugar: In a large bowl, beat the softened butter and granulated sugar on medium speed until light and fluffy, about 4-5 minutes. This step is crucial for a tender crumb. You’ll know it’s ready when the mixture looks pale and almost doubles in size. (5 minutes)
- Add Eggs and Vanilla: One at a time, add the eggs, beating well after each addition. Then mix in the vanilla extract. If your batter looks a bit curdled, don’t panic—it’s normal at this stage. (3 minutes)
- Alternate Adding Dry Ingredients and Milk: Reduce mixer speed to low. Add the flour mixture in three parts, alternating with the milk in two parts (start and end with flour). Mix just until combined—overmixing can toughen the cake. The batter should be smooth and pourable. (4-5 minutes)
- Divide and Bake: Evenly divide the batter between the prepared pans. Smooth the tops gently with a spatula. Bake for 30-35 minutes or until a toothpick inserted in the center comes out clean. (30-35 minutes)
- Cool the Cakes: Let the cakes cool in the pans for 10 minutes, then turn out onto wire racks to cool completely. Patience here pays off—frosting warm cake melts into a mess! (40 minutes)
- Make the Buttercream Frosting: Beat the softened butter on medium speed until creamy, about 2 minutes. Gradually add powdered sugar, one cup at a time, mixing on low. Add vanilla, salt, and 2 tablespoons of cream. Beat on high for 3-4 minutes until light and fluffy. If too thick, add an extra tablespoon of cream. (10 minutes)
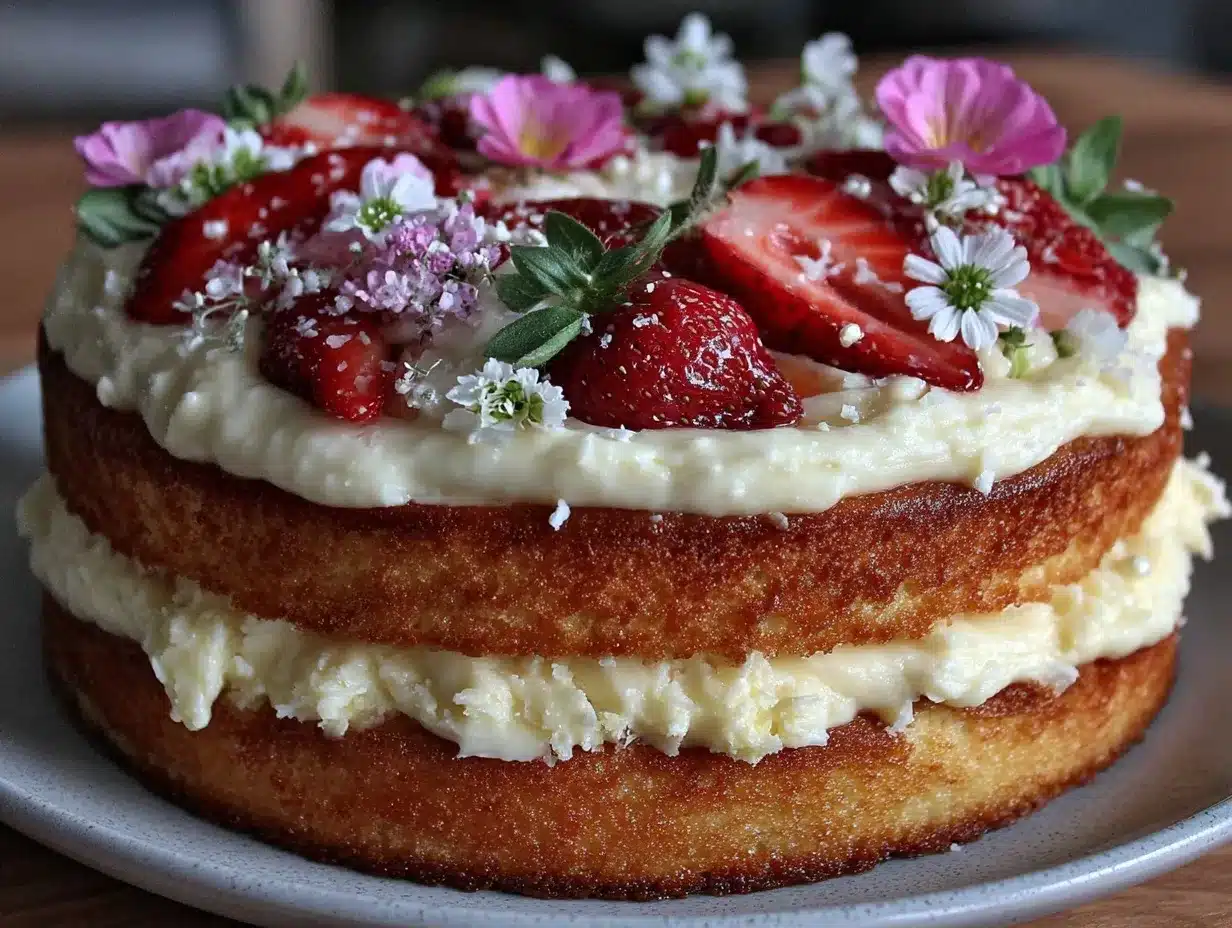
- Assemble the Cake: Place one cake layer on your serving plate. Spread a generous amount of frosting on top. Add the second layer, then cover the entire cake with frosting using an offset spatula. Decorate as you like! (10-15 minutes)
If the frosting feels too soft at any point, pop it in the fridge for 10 minutes and then continue frosting. Also, if you notice the cake is browning too fast in the oven, loosely tent it with foil. Trust me, little adjustments like these make all the difference.
Cooking Tips & Techniques
Buttercream frosting can be tricky, so here are some tips I’ve picked up over the years:
- Room Temperature Ingredients: Butter and eggs should be at room temp to mix evenly. Cold butter means lumpy frosting; too warm, and it’s runny.
- Don’t Overmix Batter: Mix just until ingredients come together. Overmixing develops gluten, making the cake dense.
- Beat Butter and Sugar Well: This step traps air and creates a light crumb, so don’t rush it.
- Use Sifted Powdered Sugar: It prevents lumps in your frosting and gives a silky finish.
- Chill Frosting if Needed: If your kitchen is warm, the frosting can get soft. A quick chill helps it firm up before spreading.
- Layer Evenly: Use a serrated knife to level cake layers if they dome too much, for a professional look.
- Practice Patience: Let the cake cool fully before frosting. I learned this the hard way when the frosting melted and slid off!
Honestly, this cake is forgiving if you follow these pointers, but don’t stress if something’s off. Baking is part science, part art—and a little messy fun.
Variations & Adaptations
Want to switch things up? Here are some ideas for customizing your Perfect Mom’s Homemade Birthday Cake:
- Gluten-Free Version: Use a 1:1 gluten-free baking flour blend. Just watch the texture, sometimes a bit crumbly but still tasty.
- Chocolate Twist: Add ½ cup cocoa powder to the dry ingredients for a rich chocolate cake. You can also mix mini chocolate chips into the batter.
- Fruit-Filled: Add fresh or frozen berries between layers, or swirl in some raspberry jam for a fruity surprise.
- Dairy-Free Adaptation: Swap butter with vegan margarine and use coconut or almond milk. The frosting can be made with dairy-free butter and powdered sugar.
- Flavor Variations: Try swapping vanilla extract for lemon or almond extract for a different aroma and taste.
I once tried the chocolate twist version for a friend’s party, and it was a hit—even with non-chocolate fans. Don’t be afraid to experiment and make this recipe your own.
Serving & Storage Suggestions
This cake is best served at room temperature to let the buttercream frosting soften just enough for that creamy bite. If you need to transport it, keep it chilled until just before serving to avoid frosting smudges.
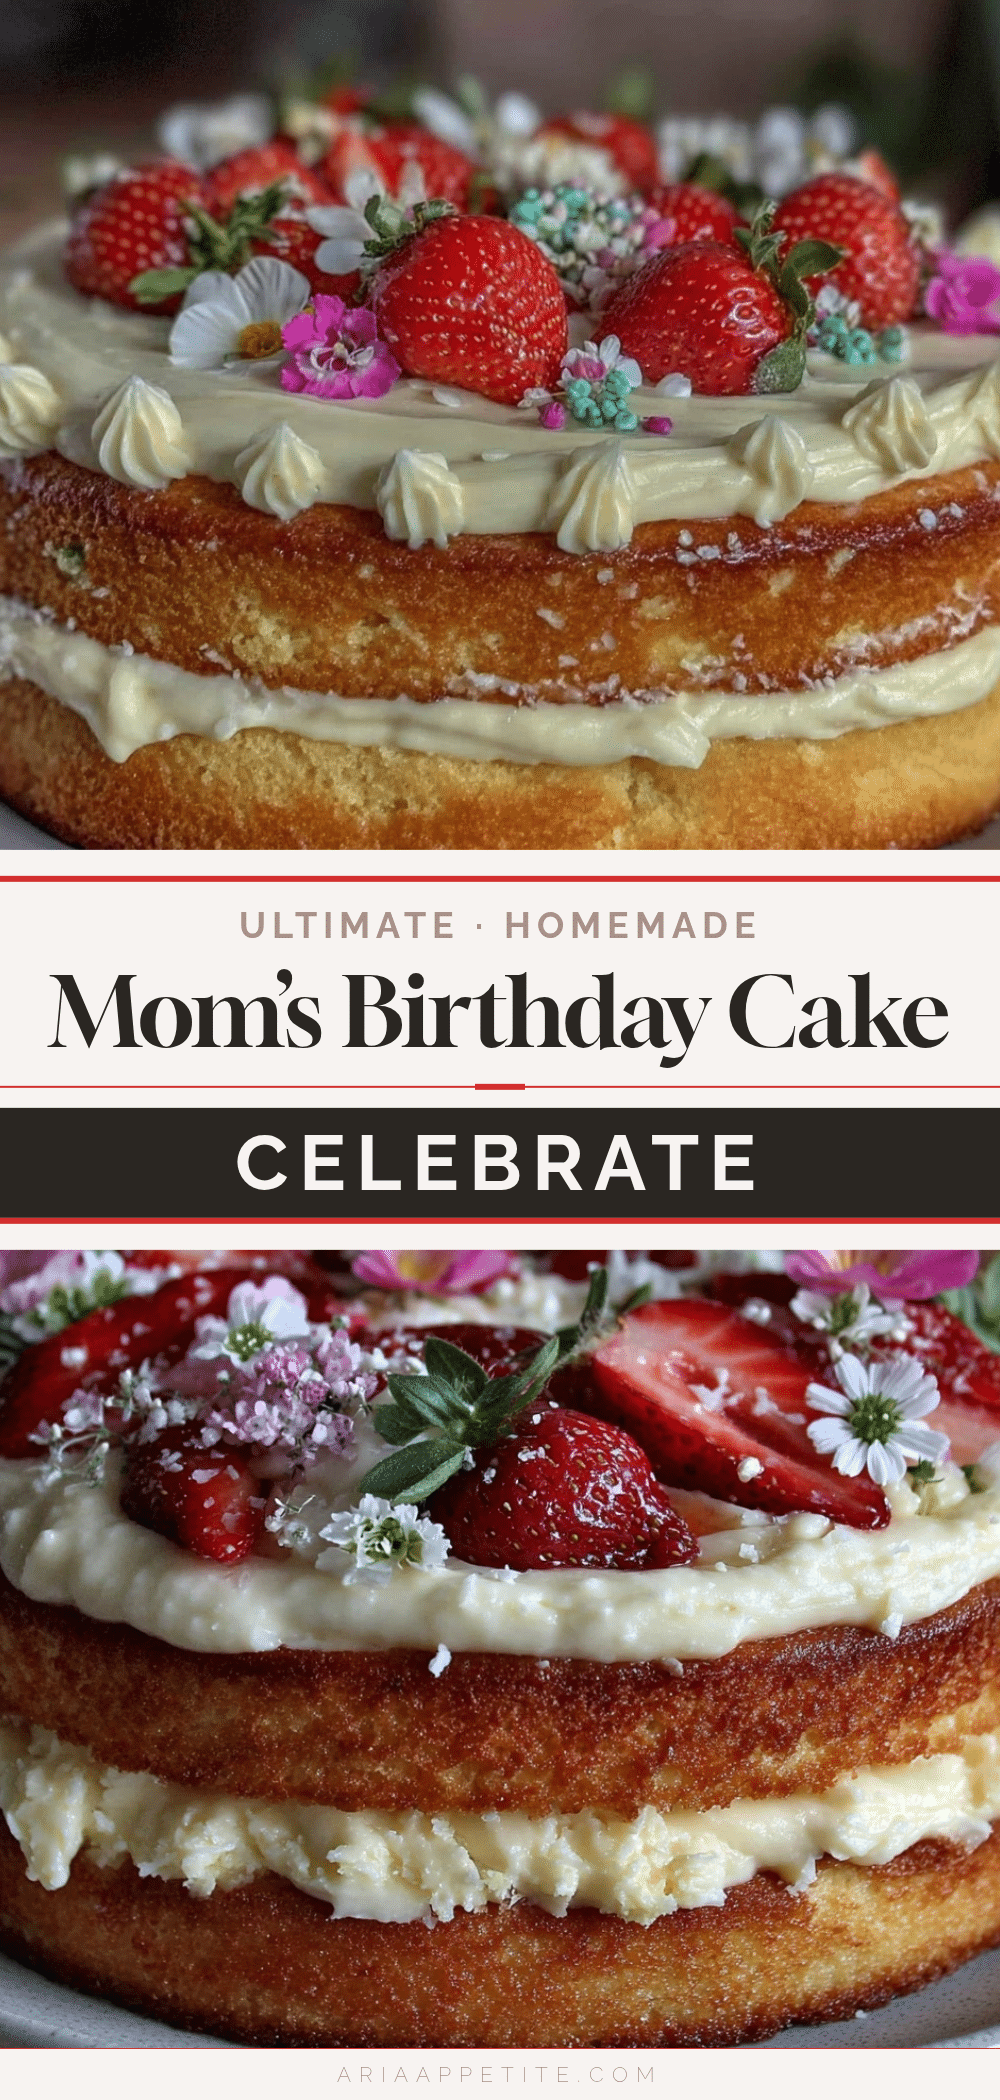
Pair it with a simple cup of tea or a cold glass of milk for a nostalgic feel. For a festive touch, fresh berries or edible flowers on top make it look extra special.
To store, cover the cake loosely with plastic wrap or place it in an airtight container. It stays fresh in the refrigerator for up to 4 days. When you’re ready to enjoy leftovers, let the cake sit at room temperature for 30 minutes before slicing for the best texture.
If you want to freeze the cake, wrap it tightly in plastic wrap and then foil, freezing it for up to 3 months. Thaw overnight in the fridge and bring to room temp before serving.
As it sits, the flavors actually deepen a bit—so sometimes, the next day’s slice tastes even better. That’s my little secret for stretching the celebration joy.
Nutritional Information & Benefits
Here’s an approximate nutritional breakdown per slice (based on 12 slices):
| Calories | 350 |
|---|---|
| Fat | 18g |
| Saturated Fat | 11g |
| Carbohydrates | 45g |
| Sugar | 32g |
| Protein | 4g |
While this recipe is definitely a treat, the use of real butter and whole eggs means you’re getting some beneficial fats and proteins, which can help with satiety. The vanilla extract adds aroma without any added sugar. For those mindful of gluten or dairy, the substitutions shared earlier can help adjust the recipe to fit dietary needs.
From a wellness perspective, enjoying a slice of homemade cake with loved ones can be a meaningful moment of joy and connection. Sometimes, that’s just as important as the ingredients themselves.
Conclusion
This Perfect Mom’s Homemade Birthday Cake with Creamy Buttercream Frosting has earned a permanent spot in my recipe box—and I hope it will in yours too. It’s straightforward, comforting, and has that nostalgic vibe that makes any birthday feel like a warm celebration. Remember, the best cakes come with a bit of mess and a lot of love.
Feel free to tweak the flavors, add your own personal touch, or even create new traditions around it. I’d love to hear how your version turns out or what special memories it brings back for you. Drop a comment below, share your frosting tips, or tell me about your favorite cake moments!
Now, go ahead—bake this cake, enjoy the process, and savor every creamy, buttery bite. Birthdays never tasted so good.
FAQs
Can I make this cake a day ahead?
Absolutely! The cake layers can be baked a day in advance and stored wrapped tightly at room temperature. Frost the cake the next day for the freshest taste and best texture.
How do I fix frosting that’s too runny?
If your buttercream frosting feels too soft, chill it in the fridge for 10-15 minutes and then whip it again. Adding a bit more powdered sugar can also help thicken it up.
Can I use a different size cake pan?
You can, but baking times will vary. For example, a 9-inch pan may bake a bit faster, so start checking for doneness around 25 minutes.
Is there a way to make this cake vegan?
Yes! Use dairy-free butter and plant-based milk, and replace eggs with flax eggs or commercial egg replacers. The texture will be slightly different but still delicious.
How should I store leftover frosted cake?
Store leftover cake in an airtight container in the refrigerator. Let it come to room temperature before serving for the best flavor and texture.
Pin This Recipe!
Perfect Mom’s Homemade Birthday Cake with Creamy Buttercream Frosting
A classic, moist, and tender homemade birthday cake paired with a light and silky smooth buttercream frosting. Perfect for celebrations and easy enough for busy moms.
- Prep Time: 20 minutes
- Cook Time: 35 minutes
- Total Time: 1 hour 30 minutes
- Yield: 12 servings 1x
- Category: Dessert
- Cuisine: American
Ingredients
- 2 ½ cups (312g) all-purpose flour, sifted
- 2 ½ teaspoons baking powder
- ½ teaspoon salt
- 1 cup (226g) unsalted butter, softened
- 2 cups (400g) granulated sugar
- 4 large eggs, room temperature
- 1 tablespoon pure vanilla extract
- 1 cup (240ml) whole milk, room temperature
- For the Frosting:
- 1 cup (226g) unsalted butter, softened
- 4 cups (480g) powdered sugar, sifted
- 2 teaspoons pure vanilla extract
- 2–3 tablespoons heavy cream or milk
- Pinch of salt
Instructions
- Preheat oven to 350°F (175°C). Grease two 8-inch round cake pans and line bottoms with parchment paper.
- In a medium bowl, sift together flour, baking powder, and salt. Set aside.
- In a large bowl, beat softened butter and granulated sugar on medium speed until light and fluffy, about 4-5 minutes.
- Add eggs one at a time, beating well after each addition. Mix in vanilla extract.
- Reduce mixer speed to low. Add flour mixture in three parts, alternating with milk in two parts, starting and ending with flour. Mix just until combined.
- Divide batter evenly between prepared pans. Smooth tops gently with a spatula.
- Bake for 30-35 minutes or until a toothpick inserted in the center comes out clean.
- Let cakes cool in pans for 10 minutes, then turn out onto wire racks to cool completely.
- For the frosting, beat softened butter on medium speed until creamy, about 2 minutes.
- Gradually add powdered sugar, one cup at a time, mixing on low speed.
- Add vanilla extract, salt, and 2 tablespoons of cream. Beat on high for 3-4 minutes until light and fluffy. Add extra cream if needed for consistency.
- Place one cake layer on serving plate. Spread a generous amount of frosting on top.
- Add second layer and cover entire cake with remaining frosting using an offset spatula. Decorate as desired.
Notes
Use room temperature butter and eggs for best results. Chill frosting if too soft before spreading. Line pans with parchment paper for easy removal. Avoid overmixing batter to keep cake tender. For variations, try gluten-free flour, add cocoa powder for chocolate twist, or use dairy-free substitutes.
Nutrition
- Serving Size: 1 slice (1/12th of c
- Calories: 350
- Sugar: 32
- Fat: 18
- Saturated Fat: 11
- Carbohydrates: 45
- Protein: 4
Keywords: birthday cake, homemade cake, buttercream frosting, celebration cake, easy cake recipe, classic cake