Love this? Save it for later!
Share the inspiration with your friends
My sister-in-law wasn’t trying to impress anyone. I’d stopped by to drop off a birthday present for my nephew, and the smell hit me before I even got through the front door. Something warm and spicy, like autumn had decided to move into her kitchen and set up camp. She just shrugged when I asked what she was making. “Oh, just some oatmeal things for the boys,” she said, like it was nothing. Like she hadn’t just created something that smelled better than any bakery I’d ever walked into.
Honestly, I stood there for a second, just breathing it in. Pumpkin, cinnamon, a hint of maple — it was the kind of smell that makes you feel like everything is going to be okay. And the casualness of it all? That’s what got me. She wasn’t hosting a brunch or testing a recipe for a blog. She was just feeding her kids on a regular Wednesday morning. You know that feeling when you stumble onto something so simple and good that you can’t believe you’ve been missing it your whole life?
I watched her pull a tray of these little muffin-like things out of the oven. They were golden on top, soft in the middle, and my nephew — who usually has to be bribed to eat breakfast — grabbed one without being asked. That’s when I knew I had to get the recipe. And let me tell you, after making them about a dozen times since then, I’ve tweaked them just enough to make them my own. These baked pumpkin oatmeal cups are now my go-to for busy mornings, and I’m pretty sure they’ll become yours too.
Why You’ll Love This Recipe
Let me be honest with you — I’ve tried a lot of healthy breakfast recipes that sounded good on paper but ended up tasting like cardboard. These baked pumpkin oatmeal cups are absolutely not that. They’re the real deal, and here’s why you’re going to love them.
- Kid-Approved and Mom-Tested: My own kids are picky eaters. One of them once refused a sandwich because the bread was “too bread-y.” So when they actually ask for these oatmeal cups for breakfast, I know we’ve hit gold. The pumpkin flavor is mild and sweet, and the texture is soft and muffin-like — no weird textures to scare off little eaters.
- Perfect for Meal Prep: These are my Sunday afternoon secret weapon. I make a batch, pop them in the fridge, and breakfast is solved for the whole week. Grab one, warm it up for 20 seconds, and you’re out the door. No more morning chaos or skipped breakfasts.
- Budget-Friendly Ingredients: You probably already have most of these in your pantry. Canned pumpkin, oats, eggs, a little maple syrup, and some spices. No fancy superfood powders or expensive nut flours. Just real, affordable ingredients that work.
- Naturally Sweetened: These use just a touch of maple syrup and the natural sweetness of pumpkin. My kids don’t miss the refined sugar, and I don’t feel guilty about handing them one as they run out the door.
- Freezer-Friendly: I always make a double batch and stash half in the freezer. They thaw beautifully, and it’s like having a homemade breakfast emergency kit ready to go.
What makes these different from every other oatmeal cup recipe out there? It’s the texture. I’ve played around with the oat-to-liquid ratio until I found that perfect sweet spot — not too dry, not too mushy. They hold their shape like a muffin but stay tender and moist inside. Plus, the pumpkin adds so much moisture that you don’t need a ton of oil or butter. It’s comfort food that actually works for real life.
What Ingredients You Will Need
This recipe uses simple, wholesome ingredients that work together to create something genuinely delicious. No weird stuff here — just pantry staples that come together beautifully.
For the Oatmeal Cups
- Rolled oats, 2 cups (180g) — Not quick oats, not steel-cut. Rolled oats give the best texture. I prefer Bob’s Red Mill or Quaker old-fashioned. Quick oats will make them mushy, so stick with rolled.
- Canned pumpkin puree, 1 cup (245g) — Make sure it’s 100% pumpkin, not pumpkin pie filling. Libby’s is my go-to. The pumpkin adds moisture, fiber, and that beautiful orange color.
- Large eggs, 2 — Room temperature if you remember, but honestly, cold works too. They help bind everything together.
- Milk, ¾ cup (180ml) — Any milk works. I usually use whole milk, but almond milk, oat milk, or even buttermilk all work great. If using buttermilk, the cups come out extra tender.
- Maple syrup, ⅓ cup (80ml) — Pure maple syrup, not pancake syrup. The real stuff makes a difference in flavor. You can also use honey if that’s what you have.
- Coconut oil or unsalted butter, ¼ cup (60ml), melted — I’ve used both and honestly can’t pick a favorite. Coconut oil gives a slight tropical note; butter makes them richer. Both work.
- Vanilla extract, 1 teaspoon — Pure vanilla if you’ve got it, imitation in a pinch. It rounds out all the flavors.
- Pumpkin pie spice, 2 teaspoons — Store-bought is fine, or make your own with 1 teaspoon cinnamon, ½ teaspoon ginger, ¼ teaspoon nutmeg, and ¼ teaspoon cloves.
- Ground cinnamon, 1 teaspoon — Because you can never have too much cinnamon in pumpkin recipes.
- Baking powder, 1 teaspoon — Helps them puff up just a little bit so they’re not dense hockey pucks.
- Salt, ¼ teaspoon — Don’t skip it! Salt makes all the sweet flavors pop.
Optional Mix-Ins
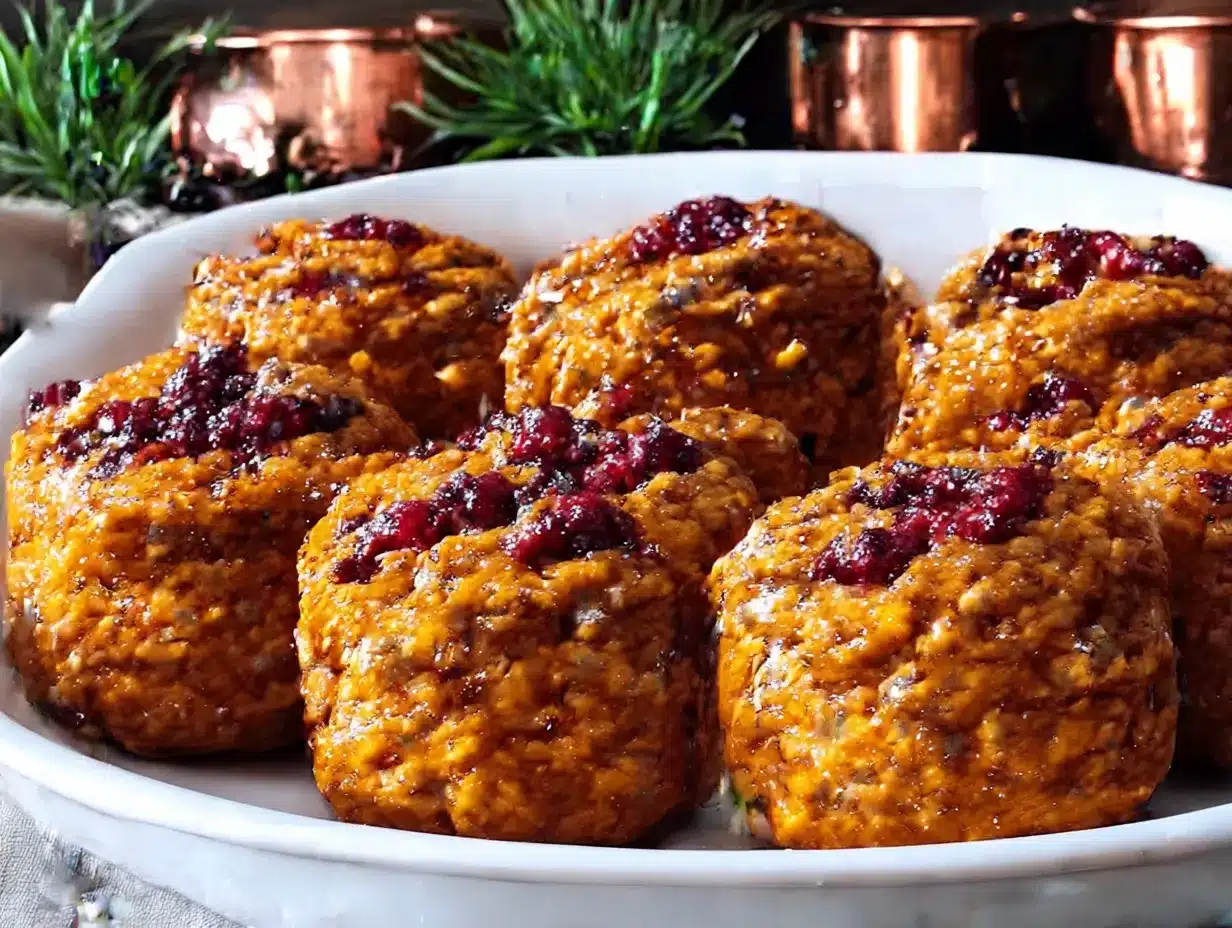
- Chocolate chips, ½ cup (90g) — My kids’ favorite addition. Mini chocolate chips distribute better.
- Chopped pecans or walnuts, ½ cup (60g) — Adds crunch and healthy fats. Toast them first for extra flavor.
- Dried cranberries, ¼ cup (40g) — Tart and chewy, great against the sweet pumpkin.
- Flax seeds or chia seeds, 2 tablespoons — Sneaky nutrition boost, and they don’t change the flavor.
Equipment Needed
You don’t need a fancy kitchen to make these. Here’s what you’ll need:
- Muffin tin (12-cup standard size) — This is non-negotiable. A 12-cup tin makes the perfect batch. If you only have a 6-cup tin, just bake in two rounds.
- Muffin liners (paper or silicone) — I prefer paper liners for easy cleanup, but silicone ones work great and are reusable. If you go without liners, make sure to grease the pan really well.
- Large mixing bowl — Any bowl works. I use my grandmother’s old ceramic one, but a stainless steel one is fine.
- Whisk — For mixing the wet ingredients. A fork works in a pinch.
- Rubber spatula — For folding everything together and scraping the bowl clean.
- Measuring cups and spoons — Dry and liquid measures if you have them, but I’ve used the same set for years and it’s fine.
- Cooling rack — Helps them cool evenly so they don’t get soggy on the bottom. If you don’t have one, just let them cool in the pan for 10 minutes, then transfer to a plate.
Budget-friendly tip: You can find a good muffin tin at any thrift store for a couple of dollars. No need to spend big money.
Preparation Method
Alright, let’s get cooking. This is straightforward, I promise. Here’s how to make these baked pumpkin oatmeal cups:
- Preheat your oven to 350°F (175°C). While it’s heating up, line your muffin tin with paper liners. Trust me on this — the liners make cleanup so much easier, and the cups pop right out without sticking.
- In your large mixing bowl, whisk together the eggs, pumpkin puree, milk, maple syrup, melted coconut oil (or butter), and vanilla extract. Whisk until everything is smooth and well combined. It should look like a thick, orange-tinted milkshake. Don’t worry if there are a few tiny lumps — they’ll work themselves out.
- Add the rolled oats, pumpkin pie spice, cinnamon, baking powder, and salt to the wet mixture. Stir with your rubber spatula until everything is evenly combined. The oats will start absorbing the liquid right away, so don’t let it sit too long before scooping. If you’re adding any mix-ins like chocolate chips or nuts, fold them in now.
- Let the mixture rest for 5 minutes. This is a little trick I learned the hard way. Giving the oats a few minutes to soak up some liquid means the cups will be tender, not crunchy. I usually use this time to wash the measuring cups or pour myself a cup of coffee.
- Scoop the mixture evenly into the prepared muffin cups. Fill each cup almost to the top — about ¾ full. I use a ⅓-cup measuring cup or an ice cream scoop to keep them even. The mixture will be thick and spoonable, not runny.
- Bake for 20-25 minutes. You’ll know they’re done when the tops are set and golden brown, and a toothpick inserted in the center comes out clean or with just a few moist crumbs. My oven runs hot, so I check at 20 minutes. If yours is cooler, it might take the full 25.
- Let them cool in the pan for 10 minutes. This is important — they need this time to set up properly. If you try to take them out too soon, they might fall apart. After 10 minutes, transfer them to a wire rack to cool completely.
- Once completely cool, store them in an airtight container. I’ll get into storage specifics in a minute, but for now, just know that these keep beautifully.
A note from personal experience: The first time I made these, I was in a hurry and skipped the 5-minute rest. The oatmeal cups were still good, but the oats had a slightly crunchy texture that my youngest complained about. That 5-minute rest makes a real difference. Also, don’t overmix the batter — just stir until everything comes together. Overmixing can make them tough.
Cooking Tips & Techniques
After making these baked pumpkin oatmeal cups more times than I can count, I’ve picked up a few tricks that make the process smoother and the results better. Here’s what I’ve learned:
Don’t skip the liners. I know, I know, it’s tempting to just grease the pan and save a few cents. But these cups have a tendency to stick, especially around the edges where the oats caramelize a bit. Paper liners save so much frustration. If you’re trying to be eco-friendly, silicone liners work beautifully and last for years.
Make your own pumpkin pie spice. I used to buy the little jar at the store, but then I realized I already had cinnamon, ginger, nutmeg, and cloves in my pantry. Mixing my own takes 30 seconds and tastes fresher. Plus, you can adjust the ratios — I like extra cinnamon and a little less clove.
Double the batch. Seriously, if you’re going to preheat the oven and dirty a bowl, make it worth your time. These freeze like a dream, and having a stash in the freezer means you’re always prepared for busy mornings, after-school snacks, or even a quick dessert. I always make 24 at a time.
Watch your oven. All ovens are liars. Mine runs about 25 degrees hot, so I set it to 325°F when I want 350°F. Get an oven thermometer if you don’t have one — they’re cheap and they’ll save you from burnt bottoms.
One mistake I made: I once used quick oats because that’s all I had in the pantry. The texture was… not great. They turned out gummy and dense, like oatmeal mush that had been baked into a vaguely muffin-like shape. Stick with rolled oats. Your future self will thank you.
Variations & Adaptations
One of the best things about this recipe is how flexible it is. Here are some ways I’ve adapted it for different needs and moods:
Gluten-Free Version: Use certified gluten-free rolled oats. That’s literally the only change. Everything else is naturally gluten-free. My neighbor has celiac disease, and she loves these.
Dairy-Free Version: Swap the milk for almond milk, oat milk, or coconut milk (the carton kind, not canned). Use coconut oil instead of butter. I’ve made them this way for a friend who’s lactose intolerant, and honestly, I couldn’t tell the difference.
Egg-Free Version: Replace each egg with a flax egg (1 tablespoon ground flaxseed mixed with 3 tablespoons water, let sit for 5 minutes). The texture is slightly less fluffy, but they still hold together well. My sister tried this when her kids had an egg allergy scare, and they passed the kid test.
Pumpkin-Chocolate Chip: This is my kids’ favorite variation. Fold in ½ cup of mini chocolate chips before baking. The chocolate melts into little pockets of sweetness, and somehow it makes breakfast feel like a treat. I tell myself the pumpkin cancels out the chocolate. That’s how nutrition works, right?
Apple Cinnamon Version: Swap the pumpkin for 1 cup of unsweetened applesauce and add an extra teaspoon of cinnamon. Fold in ½ cup of finely diced fresh apple. It’s a completely different flavor profile but just as good. Great for when pumpkin season is over.
Savory-ish Version: Reduce the maple syrup to 2 tablespoons, skip the pumpkin pie spice, and add ½ cup of shredded cheddar cheese and ¼ cup of chopped green onions. My husband actually prefers these for a quick breakfast on the go. They’re weirdly good.
Serving & Storage Suggestions
These baked pumpkin oatmeal cups are incredibly versatile when it comes to serving and storing. Here’s how I handle both:
Serving: I like these warm, straight from the microwave for about 20 seconds. They’re also delicious at room temperature — perfect for lunchboxes or road trips. For a more filling breakfast, I’ll serve two cups with a side of Greek yogurt and some fresh fruit. Sometimes my kids dip them in a little extra maple syrup or peanut butter for fun.
Refrigerator Storage: Store them in an airtight container in the fridge for up to 5 days. I put a paper towel at the bottom of the container to absorb any extra moisture, and I change it out after a couple of days. They actually get better on day 2 — the flavors meld together overnight.
Freezer Storage: These freeze beautifully. Let them cool completely, then arrange them in a single layer on a baking sheet and freeze for 1 hour. Once they’re frozen solid, transfer them to a freezer-safe bag or container. They’ll keep for up to 3 months. To reheat, just pop one in the microwave for 30-45 seconds, or let it thaw overnight in the fridge.
Reheating Tip: If you’re reheating from frozen, wrap the cup in a slightly damp paper towel before microwaving. This adds a little steam and keeps them from drying out. I learned this trick from a friend who works in a bakery, and it works like magic.
Flavor Development: Honestly, these are even better the next day. The spices have time to settle in, and the oats soften to the perfect texture. I often make them on Sunday and we enjoy them all week long.
Nutritional Information & Benefits
Here’s the approximate nutritional breakdown for one oatmeal cup (based on the basic recipe without mix-ins):
- Calories: 175
- Protein: 6g
- Carbohydrates: 24g
- Fiber: 4g
- Sugar: 8g (naturally occurring from maple syrup and pumpkin)
- Fat: 7g
These numbers will vary depending on your specific ingredients and any mix-ins you add. Chocolate chips will obviously add more sugar, and nuts will add more healthy fats.
Health Benefits: Pumpkin is packed with vitamin A, which is great for eye health and immune function. Oats provide soluble fiber that helps keep you full and supports heart health. Eggs add high-quality protein, and the maple syrup is a more natural sweetener than refined sugar. I feel good about feeding these to my kids — they’re getting real nutrition without any artificial ingredients or preservatives.
Dietary Considerations: This recipe is vegetarian and can easily be made gluten-free, dairy-free, and egg-free with the substitutions mentioned earlier. It’s also nut-free if you skip the pecan or walnut mix-ins, making it a safe option for school lunchboxes.
Potential Allergens: Contains eggs and dairy (if using milk and butter). Oats are naturally gluten-free but can be cross-contaminated, so use certified gluten-free oats if that’s a concern.
Conclusion
Look, I’m not saying these baked pumpkin oatmeal cups will change your life. But they might change your mornings. They’re simple, affordable, and genuinely delicious — the kind of recipe that makes you feel like you’ve got your act together, even on chaotic days when the kids can’t find their shoes and you’re running late.
What I love most about this recipe is how forgiving it is. You can customize it a hundred different ways, and it almost always turns out great. It’s the kind of recipe you can make with whatever you have on hand, and it still feels special. That’s rare in the world of healthy breakfasts.
I’d love to hear how these turn out for you. Did your kids love them? Did you try a fun variation? Drop a comment below and let me know — I read every single one, and I’m always looking for new ideas to try. And if you found this helpful, share it with a friend who could use an easier morning routine. Happy baking, friends!
Frequently Asked Questions
Can I use quick oats instead of rolled oats?
I really don’t recommend it. Quick oats are more processed and absorb liquid differently, which makes the oatmeal cups turn out gummy and dense. Rolled oats give you that perfect tender-but-holds-its-shape texture. If rolled oats are all you have, you’re good to go.
Can I make these ahead and freeze them?
Absolutely, and I actually encourage it! These freeze beautifully for up to 3 months. Just cool them completely, freeze them on a baking sheet first so they don’t stick together, then transfer to a freezer bag. Reheat in the microwave for 30-45 seconds and they taste fresh-baked.
Are these healthy enough for a toddler?
Yes! My toddler loves them. They’re soft, easy to hold, and packed with good-for-you ingredients like pumpkin, oats, and eggs. Just skip any hard mix-ins like nuts or large chocolate chunks if you’re serving them to a very young child, and make sure the cups are cool enough before handing them over.
Can I use fresh pumpkin instead of canned?
You can, but you’ll need to cook and puree it first. Fresh pumpkin has more water than canned, so you’ll want to strain the puree through a cheesecloth or fine-mesh strainer to remove excess moisture. Otherwise, your oatmeal cups might turn out soggy. Canned pumpkin is more consistent and honestly more convenient for this recipe.
Why did my oatmeal cups turn out dry?
This usually happens for one of two reasons: either you baked them too long, or you used too many oats. Check your oven temperature with a thermometer, and pull the cups out when a toothpick comes out with just a few moist crumbs — not completely clean. Also, make sure you’re measuring your oats correctly. Scoop them into the measuring cup and level it off, don’t pack them down.
Pin This Recipe!
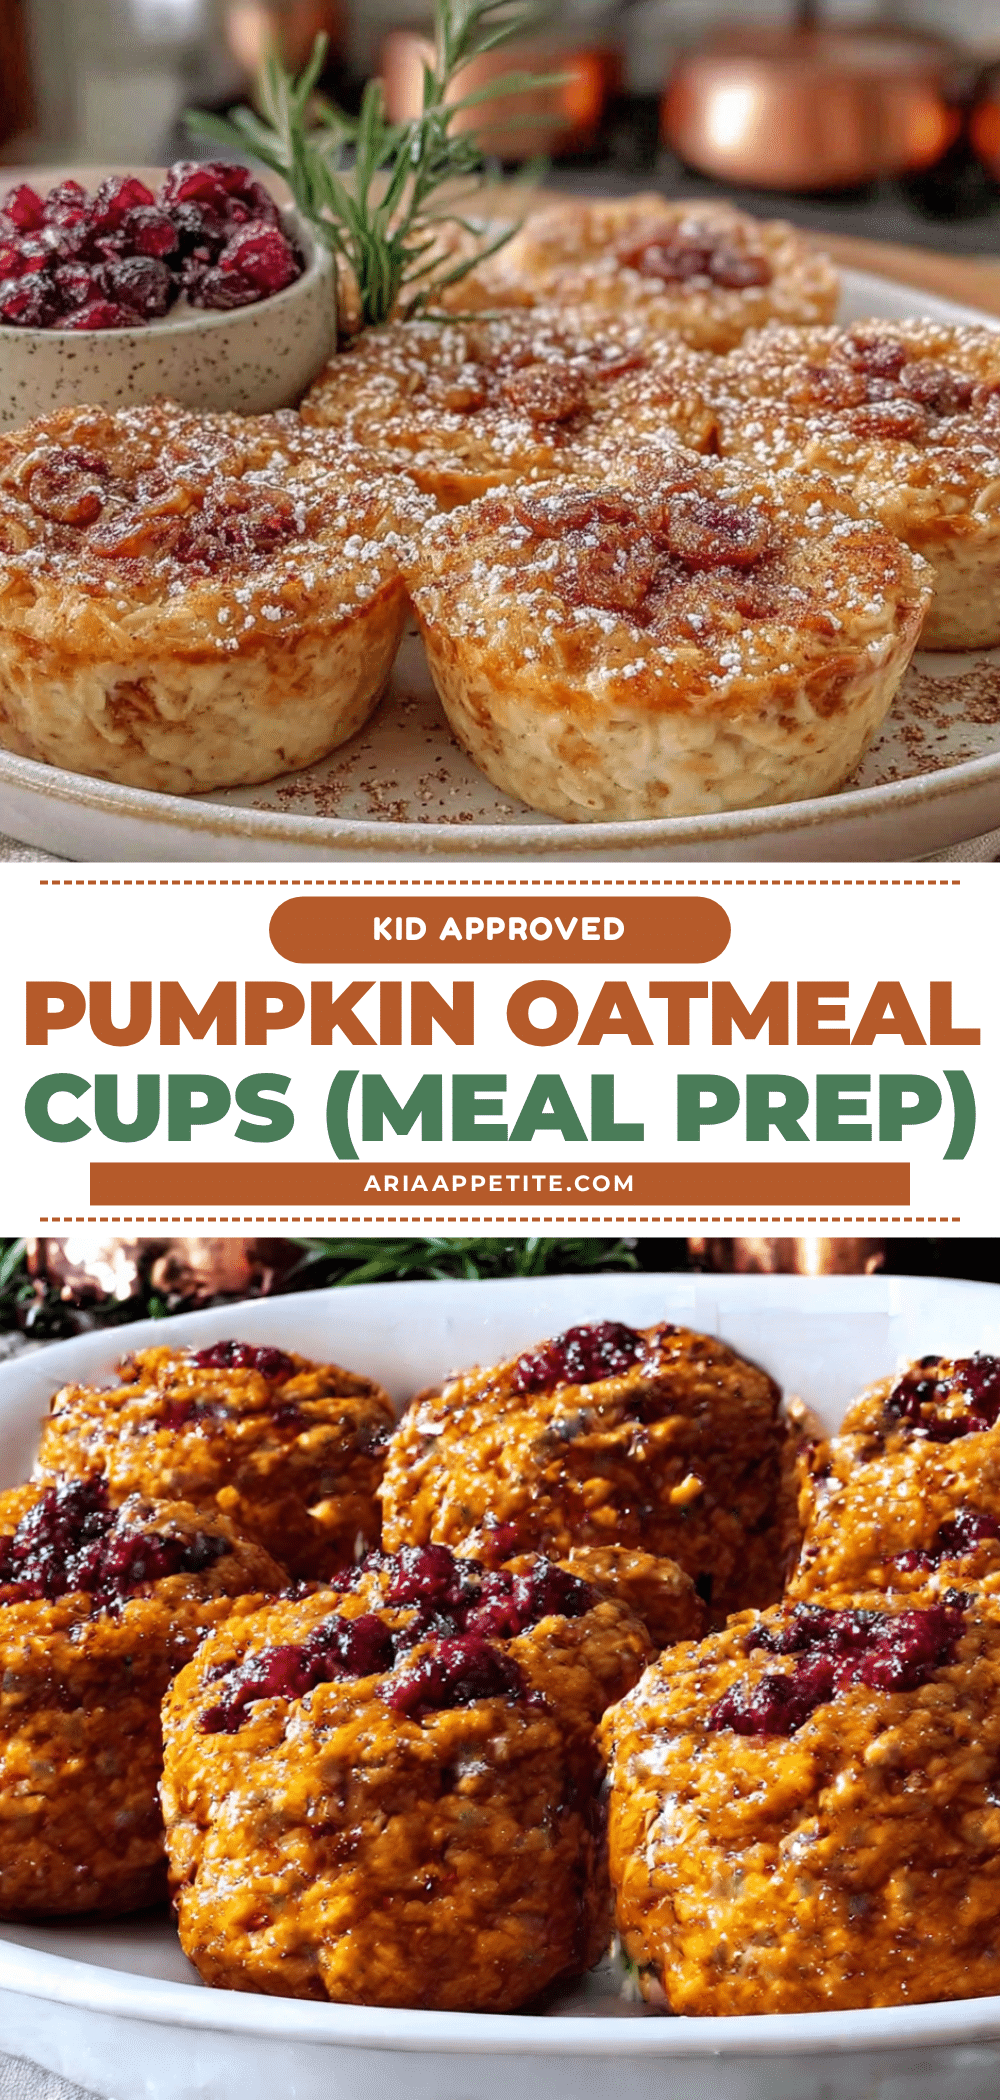
Easy Baked Pumpkin Oatmeal Cups – Kid-Approved Meal Prep

These baked pumpkin oatmeal cups are soft, muffin-like, and naturally sweetened with maple syrup. Perfect for meal prep, kid-approved, and freezer-friendly for busy mornings.
- Prep Time: 15 minutes
- Cook Time: 25 minutes
- Total Time: 40 minutes
- Yield: 12 servings 1x
- Category: Breakfast
- Cuisine: American
Ingredients
- 2 cups (180g) rolled oats
- 1 cup (245g) canned pumpkin puree (100% pumpkin, not pie filling)
- 2 large eggs (room temperature or cold)
- 3/4 cup (180ml) milk (any kind: whole, almond, oat, or buttermilk)
- 1/3 cup (80ml) pure maple syrup
- 1/4 cup (60ml) coconut oil or unsalted butter, melted
- 1 teaspoon vanilla extract
- 2 teaspoons pumpkin pie spice (or homemade: 1 tsp cinnamon, 1/2 tsp ginger, 1/4 tsp nutmeg, 1/4 tsp cloves)
- 1 teaspoon ground cinnamon
- 1 teaspoon baking powder
- 1/4 teaspoon salt
- Optional mix-ins: 1/2 cup (90g) mini chocolate chips, 1/2 cup (60g) chopped pecans or walnuts, 1/4 cup (40g) dried cranberries, 2 tablespoons flax seeds or chia seeds
Instructions
- Preheat oven to 350°F (175°C). Line a 12-cup standard muffin tin with paper liners.
- In a large mixing bowl, whisk together eggs, pumpkin puree, milk, maple syrup, melted coconut oil (or butter), and vanilla extract until smooth and well combined.
- Add rolled oats, pumpkin pie spice, cinnamon, baking powder, and salt to the wet mixture. Stir with a rubber spatula until evenly combined. If using mix-ins, fold them in now.
- Let the mixture rest for 5 minutes to allow oats to absorb liquid.
- Scoop the mixture evenly into the prepared muffin cups, filling each about 3/4 full (use a 1/3-cup measure or ice cream scoop).
- Bake for 20-25 minutes, until tops are set and golden brown, and a toothpick inserted in the center comes out clean or with a few moist crumbs.
- Let cool in the pan for 10 minutes, then transfer to a wire rack to cool completely.
- Store in an airtight container in the refrigerator for up to 5 days, or freeze for up to 3 months.
Notes
Don’t skip the 5-minute rest for the oats—it ensures a tender texture. Use rolled oats, not quick oats, to avoid a gummy result. For best results, use an oven thermometer to ensure accurate temperature. These cups are even better the next day as flavors meld. To reheat from frozen, wrap in a slightly damp paper towel and microwave 30-45 seconds.
Nutrition
- Serving Size: 1 oatmeal cup
- Calories: 175
- Sugar: 8
- Sodium: 120
- Fat: 7
- Saturated Fat: 3
- Carbohydrates: 24
- Fiber: 4
- Protein: 6
Keywords: pumpkin oatmeal cups, baked oatmeal cups, healthy breakfast, meal prep breakfast, kid-friendly breakfast, pumpkin recipes, fall breakfast


