Love this? Save it for later!
Share the inspiration with your friends
This was supposed to be a simple batch of dinner rolls. I had the flour measured, the yeast proofing, the whole plan laid out in my head. But then the power flickered, the oven reset itself to some mysterious default temperature, and I realized I’d grabbed the can of pumpkin puree instead of the buttermilk I was reaching for. Honestly, at that point, I was ready to just order takeout. The kitchen was a mess of half-measured ingredients, and I was already twenty minutes behind schedule. Instead of starting over, I just… kept going. I dumped the pumpkin in, swapped the butter for what was browning in a pan, and crossed my fingers.
What came out of that disaster of an afternoon was absolutely nothing like the rolls I had planned. They were fluffier, sweeter, and had this warm, almost caramel-like flavor from the butter that I’d accidentally let go a little too long. I mean, I almost threw that pan of butter out. It smelled too nutty, too dark. But I poured it into the glaze anyway, and let me tell you—that was the moment everything clicked. These fluffy pumpkin scones with brown butter glaze were born from a complete kitchen meltdown. And honestly? I’m not sure I would have ever thought to put it all together if things hadn’t gone so wrong.
You know that feeling when you’re cooking and everything seems to be falling apart, but then the final result is somehow better than the original vision? That’s this recipe. It’s the happy accident that I keep coming back to, season after season. The texture is impossibly light, the pumpkin flavor is subtle but present, and that brown butter glaze is the kind of thing you’ll want to put on everything. So maybe your scone journey starts with a plan, or maybe it starts with a mistake—either way, you’re in for something special.
Why You’ll Love This Recipe
I’ve tested a lot of pumpkin scone recipes over the years. Some were too dense, like little hockey pucks. Others were so dry they crumbled before you could even get them to your mouth. These fluffy pumpkin scones with brown butter glaze are the result of all those trials and errors. They’re the version I finally felt confident sharing with my family, and now, with you.
- Quick & Easy: From start to finish, these come together in about 35 minutes. No chilling the dough, no complicated folding techniques. Just mix, shape, bake, and glaze.
- Simple Ingredients: You likely already have most of these in your pantry—flour, sugar, butter, pumpkin puree, and some warm spices. No trips to a specialty store required.
- Perfect for Fall Mornings: These scones are made for cozy weekend breakfasts, Thanksgiving brunches, or even a quiet afternoon with a cup of coffee. They bring that autumn feeling without any fuss.
- Crowd-Pleaser: I’ve brought these to potlucks and family gatherings, and they disappear fast. Kids love the sweetness of the glaze, and adults appreciate that they’re not overly sugary.
- Unbelievably Delicious: The secret is in the technique—cutting cold butter into the flour just right, and not overworking the dough. The result is a scone that’s tender, flaky, and practically melts in your mouth. And that brown butter glaze? It’s the kind of thing that makes you close your eyes after the first bite.
What makes these different from every other pumpkin scone out there is the balance. They’re not too sweet, not too spiced, and the texture is light enough that you could easily eat two. It’s comfort food reimagined—healthier than a donut, but with the same soul-soothing satisfaction. Perfect for impressing guests without stress, or turning a simple morning into something memorable.
What Ingredients You Will Need
This recipe uses simple, wholesome ingredients to deliver that fluffy texture and rich flavor. Nothing fancy here, just smart choices that work together beautifully.
- All-Purpose Flour: 2 ½ cups (300g). This gives the scones structure. I usually stick with Gold Medal or King Arthur for consistent results.
- Granulated Sugar: ⅓ cup (65g). Just enough to sweeten without overwhelming the pumpkin.
- Baking Powder: 1 tablespoon. Make sure it’s fresh—this is what gives the scones their lift.
- Pumpkin Pie Spice: 1 ½ teaspoons. You can use store-bought or make your own blend with cinnamon, nutmeg, ginger, and cloves.
- Cinnamon: ½ teaspoon. Adds warmth and depth.
- Salt: ½ teaspoon. Balances the sweetness and enhances the other flavors.
- Cold Unsalted Butter: ½ cup (113g), cut into small cubes. This is crucial. The cold butter creates steam pockets in the oven, making the scones flaky.
- Pumpkin Puree: ½ cup (120g). Not pumpkin pie filling—just pure pumpkin. Libby’s is my go-to brand because it’s thick and not watery.
- Heavy Cream: ¼ cup (60ml), plus more for brushing. The fat in the cream adds tenderness.
- Large Egg: 1, lightly beaten. Helps bind everything together.
- Vanilla Extract: 1 teaspoon. Pure vanilla, not imitation, for the best flavor.
For the Brown Butter Glaze:
- Unsalted Butter: ¼ cup (56g). You’ll brown this yourself—it’s easier than you think.
- Powdered Sugar: 1 cup (120g), sifted. Sifting prevents lumps in the glaze.
- Vanilla Extract: ½ teaspoon.
- Milk: 2-3 tablespoons, as needed. Adjust for your desired consistency.
A quick note on substitutions: If you’re out of heavy cream, you can use whole milk, but the scones won’t be quite as tender. For a dairy-free version, use cold coconut oil instead of butter and a dairy-free milk in the glaze. And if you don’t have pumpkin pie spice, just use 1 teaspoon cinnamon, ¼ teaspoon nutmeg, ¼ teaspoon ginger, and a pinch of cloves.
Equipment Needed
You don’t need a professional bakery setup for these scones. Just a few basic tools you probably already own.
- Large Mixing Bowl: For combining the dry ingredients.
- Pastry Cutter or Two Forks: To cut the cold butter into the flour. I prefer a pastry cutter—it’s faster and gives you more control. But if you don’t have one, two forks work just fine.
- Baking Sheet: Line it with parchment paper for easy cleanup.
- Sharp Knife or Bench Scraper: For cutting the scone dough into wedges. A bench scraper is my favorite because it doesn’t drag through the dough.
- Small Saucepan: For browning the butter. A light-colored pan is best so you can see the color change.
- Whisk: For the glaze. A small one works perfectly.
- Cooling Rack: Essential for letting the scones cool properly before glazing.
If you don’t have a pastry cutter, don’t stress. I’ve used my hands plenty of times—just work quickly so the butter doesn’t warm up. And if you don’t have a bench scraper, a regular knife will do. The key is to cut cleanly, not saw back and forth.
Preparation Method
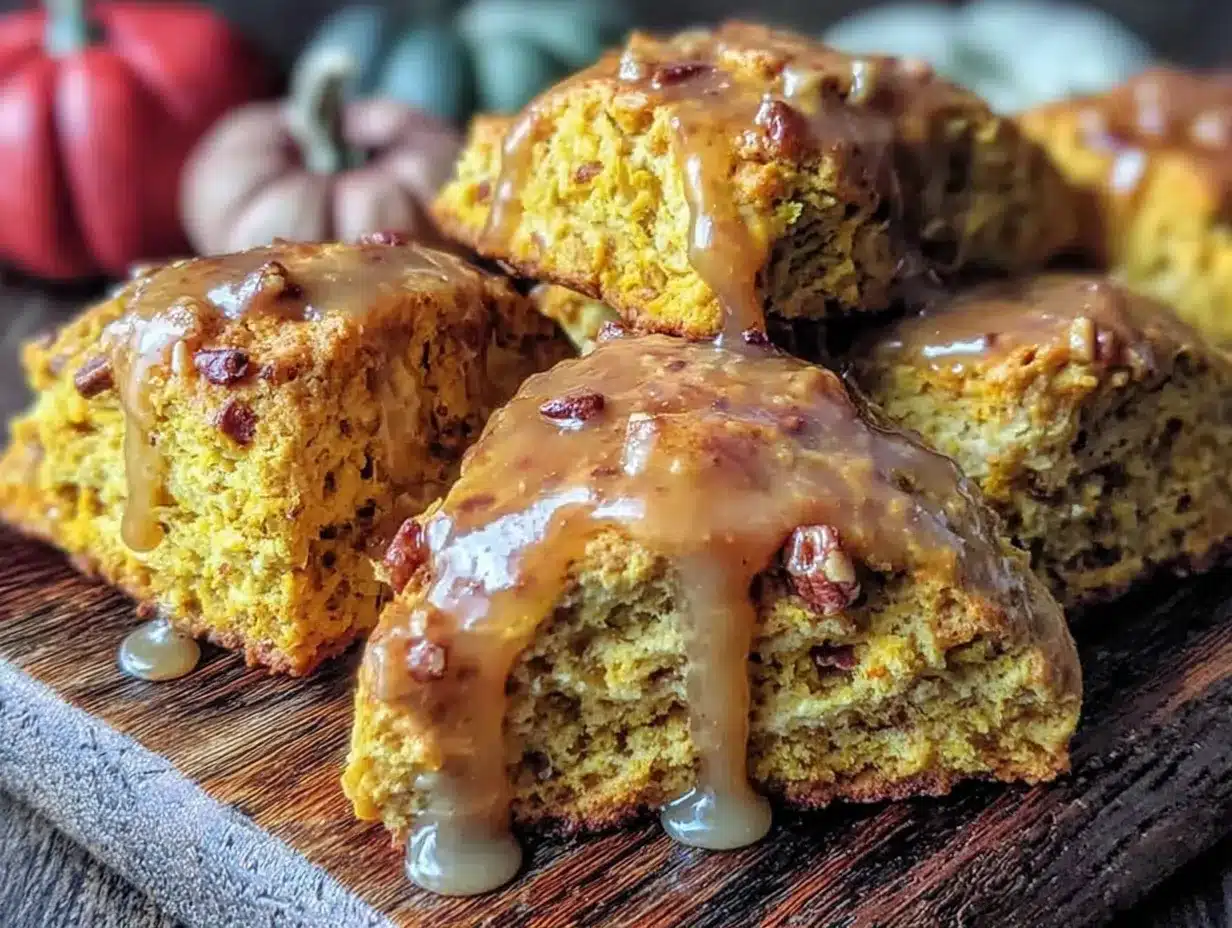
Let’s get to the good part. Follow these steps, and you’ll have the fluffiest pumpkin scones of your life.
- Preheat your oven to 400°F (200°C). Line a baking sheet with parchment paper and set aside.
- In a large bowl, whisk together the flour, sugar, baking powder, pumpkin pie spice, cinnamon, and salt. Make sure everything is evenly distributed. Give it a good stir—you don’t want a pocket of baking powder in your scone.
- Add the cold butter cubes to the flour mixture. Using a pastry cutter or two forks, cut the butter into the flour until the mixture looks like coarse meal with some pea-sized butter pieces remaining. This is where the flakiness comes from. Don’t overdo it—those little butter bits are your friends.
- In a separate small bowl, whisk together the pumpkin puree, heavy cream, beaten egg, and vanilla extract. Mix until smooth. The mixture should be thick but pourable.
- Pour the wet ingredients into the dry ingredients. Stir with a spatula or wooden spoon until just combined. The dough will be shaggy and a little sticky. Do not overmix—overworking the dough will make the scones tough.
- Turn the dough out onto a lightly floured surface. Gently bring it together with your hands, patting it into a ¾-inch thick circle. It should be about 8 inches in diameter. If it’s sticking too much, dust your hands with a little flour.
- Using a sharp knife or bench scraper, cut the circle into 8 equal wedges. Like you’re cutting a pizza. Transfer the wedges to the prepared baking sheet, spacing them about 2 inches apart.
- Brush the tops of the scones with a little extra heavy cream. This helps them get that golden-brown top. Don’t skip this step—it makes a difference.
- Bake for 15-18 minutes, or until the scones are lightly golden on the bottom and the edges look set. The tops should be firm to the touch but not hard. Let them cool on the baking sheet for 5 minutes, then transfer to a cooling rack.
- While the scones cool, make the brown butter glaze. In a small saucepan over medium heat, melt the ¼ cup of butter. Swirl the pan occasionally. The butter will start to foam, then turn a golden amber color with a nutty aroma. This takes about 3-5 minutes. Watch it carefully—it can go from brown to burnt very quickly. Once it’s amber, remove it from the heat immediately.
- Pour the brown butter into a small bowl. Let it cool for 2 minutes. Then whisk in the sifted powdered sugar and vanilla extract. Add milk, one tablespoon at a time, until the glaze is thick but pourable. It should coat the back of a spoon.
- Drizzle the glaze over the cooled scones. Use a spoon or a piping bag for a cleaner look. Let the glaze set for about 10 minutes before serving.
A few things to watch for: If your dough feels too dry, add a splash of cream. If it’s too sticky, add a dusting of flour. And don’t worry if your scones aren’t perfect triangles—the rustic look is part of their charm.
Cooking Tips & Techniques
After making these scones more times than I can count, I’ve picked up a few tricks that make the process smoother and the results more consistent.
Keep Everything Cold. This is the number one rule for flaky scones. Your butter should be straight from the fridge, and if your kitchen is warm, pop the shaped scones in the freezer for 10 minutes before baking. Cold butter creates steam, and steam creates flakiness. I learned this the hard way after a batch of sad, flat scones one summer afternoon.
Don’t Overwork the Dough. I know I’ve said this already, but it’s worth repeating. Mix until the dough just comes together. If you see streaks of flour, that’s okay. Overmixing develops gluten, and that leads to tough, dense scones. I used to knead my scone dough like bread, and they always came out like rocks. Now I handle it as little as possible.
Watch the Butter Like a Hawk. Browning butter is easy, but it’s also easy to ruin. Once it starts turning amber, it happens fast. Have your powdered sugar and vanilla ready to go so you can whisk it in immediately. The first time I made brown butter, I got distracted by my phone and ended up with black butter. It smelled like burnt popcorn. Not ideal.
Use a Light-Colored Pan for Browning. This is a game-changer. Dark pans make it hard to see the color change, and you’ll end up guessing. A stainless steel or light nonstick pan lets you see exactly when the butter hits that perfect golden shade.
Let the Scones Cool Before Glazing. I know it’s tempting to drizzle the glaze on warm scones, but it will just melt and slide off. Wait until they’re completely cool, or at least just barely warm. The glaze will set properly and look beautiful.
Variations & Adaptations
One of the best things about this recipe is how easy it is to tweak. Here are a few variations I’ve tried and loved.
- Spiced Maple Version: Replace the vanilla extract in the glaze with 1 teaspoon of maple syrup and add a pinch of cinnamon. The maple and pumpkin combo is incredible for fall.
- Chocolate Chip Pumpkin Scones: Fold in ½ cup of semi-sweet chocolate chips after mixing the dough. The chocolate adds a little richness that pairs beautifully with the brown butter glaze.
- Gluten-Free Option: Substitute the all-purpose flour with a good 1:1 gluten-free baking flour. I’ve had success with Bob’s Red Mill. The texture will be slightly more crumbly, but still delicious.
- Vegan Adaptation: Use cold coconut oil instead of butter, a flax egg (1 tablespoon flaxseed meal + 3 tablespoons water), and full-fat coconut cream instead of heavy cream. The glaze can be made with coconut oil and plant-based milk.
- Extra Spicy: If you love a strong pumpkin spice flavor, add an extra teaspoon of pumpkin pie spice to the dry ingredients. You can also add a pinch of black pepper for a little warmth.
I once tried a version with dried cranberries and orange zest mixed in. It was a total experiment, and honestly, it was amazing. The tartness of the cranberries cut through the sweetness of the glaze perfectly. Don’t be afraid to play around—scones are forgiving.
Serving & Storage Suggestions
These scones are best served warm, with the glaze still slightly soft. They’re perfect with a hot cup of coffee, chai tea, or even a glass of cold milk. For a more decadent treat, split one in half and toast it lightly, then add a pat of butter. Yes, more butter. It’s worth it.
If you’re serving them for brunch, arrange them on a pretty platter with some fresh apple slices and a bowl of whipped cream. They also pair beautifully with a pumpkin spice latte or a simple vanilla latte.
Storage: Keep the scones in an airtight container at room temperature for up to 3 days. The glaze will stay intact, but the scones will soften slightly over time. If you prefer them crispier, pop them in a 300°F oven for 5 minutes before serving.
Freezing: You can freeze the unbaked scones! Shape them into wedges, place them on a baking sheet, and freeze until solid. Then transfer them to a freezer bag. When you’re ready to bake, just add a couple of extra minutes to the baking time. You can also freeze the baked, unglazed scones for up to 2 months. Thaw at room temperature, then make the glaze fresh.
One thing I love about these scones is that the flavors actually get better after a day. The pumpkin and spices meld together, and the glaze soaks in just a little. So don’t worry if you have leftovers—they’ll still be fantastic tomorrow.
Nutritional Information & Benefits
While these scones are definitely a treat, they do have some redeeming qualities. Here’s a rough estimate per scone (with glaze):
| Nutrient | Amount |
|---|---|
| Calories | 320 |
| Total Fat | 18g |
| Saturated Fat | 11g |
| Carbohydrates | 38g |
| Sugar | 18g |
| Protein | 4g |
| Fiber | 1g |
| Vitamin A | 45% DV |
The pumpkin puree is a great source of Vitamin A and fiber, which supports eye health and digestion. The brown butter adds a little calcium, and the heavy cream provides some healthy fats to keep you full. Of course, these are still an indulgence, but they’re made with real ingredients you can feel good about. I like to think of them as a balanced treat—satisfying enough that one is enough, but not so heavy that you feel guilty.
If you’re watching your sugar intake, you can reduce the sugar in the glaze by using a sugar-free powdered sugar alternative. The scones themselves are not overly sweet, so the glaze is really where the sweetness lives.
Conclusion
These fluffy pumpkin scones with brown butter glaze are proof that some of the best things in the kitchen come from happy accidents. They’re tender, flavorful, and just sweet enough to feel like a real treat without going overboard. Whether you’re making them for a lazy Sunday morning, a holiday brunch, or just because you’re craving something cozy, they deliver every single time.
I love how forgiving this recipe is. Even if you overmix a little or your butter isn’t perfectly cold, they still come out delicious. That’s the kind of recipe I want in my back pocket—and I hope you do too. So go ahead, give them a try. Make a mess, forget an ingredient, or follow the instructions to the letter. However they turn out, I promise they’ll be worth it.
I’d love to hear how yours turn out! Drop a comment below and let me know if you tried any variations, or just share your scone success story. And if you loved them, don’t forget to share this recipe with a friend who needs a little fall comfort in their life. Happy baking!
Frequently Asked Questions
Can I use pumpkin pie filling instead of pumpkin puree?
No, I wouldn’t recommend it. Pumpkin pie filling is already sweetened and spiced, which will throw off the balance of the recipe. Stick with pure pumpkin puree for the best results.
Why did my scones turn out dry?
This usually happens if you overmix the dough or use too much flour. Make sure you’re measuring your flour correctly—spoon it into the measuring cup and level it off, don’t scoop directly. Also, don’t overbake them. Check them at the 15-minute mark.
Can I make the glaze ahead of time?
You can, but it’s best made fresh. The brown butter flavor is most vibrant right after you make it. If you do make it ahead, store it in the fridge and reheat gently, adding a splash of milk to thin it out.
How do I get the scones to rise higher?
Make sure your baking powder is fresh—it loses potency over time. Also, keep the butter cold and don’t twist the knife when cutting the scones. A straight, clean cut helps them rise evenly.
Can I add nuts or dried fruit to the dough?
Absolutely. Fold in ½ cup of chopped pecans, walnuts, or dried cranberries after mixing the wet and dry ingredients. Just be gentle so you don’t overwork the dough.
Pin This Recipe!
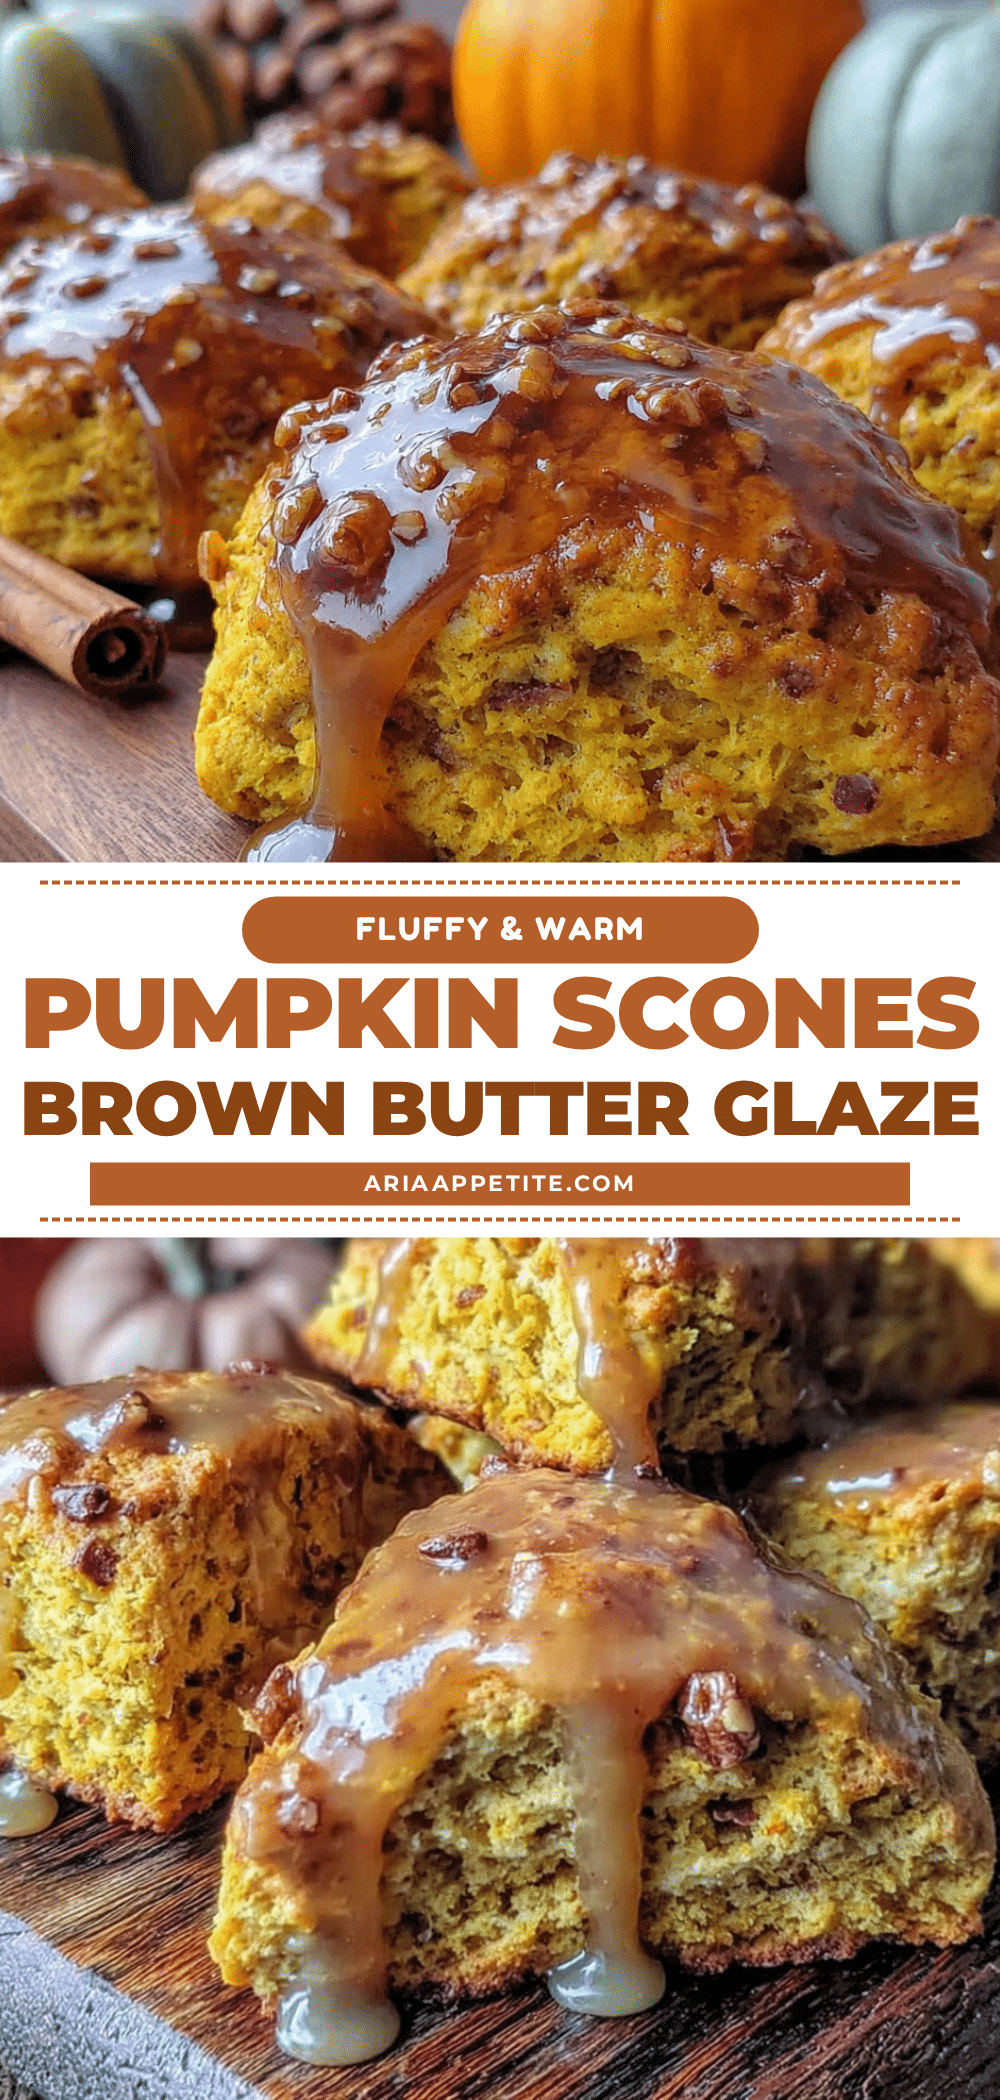
Fluffy Pumpkin Scones with Brown Butter Glaze
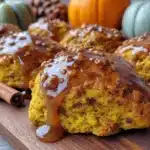
These fluffy pumpkin scones with brown butter glaze are tender, flavorful, and just sweet enough to feel like a real treat without going overboard. Perfect for cozy weekend breakfasts, Thanksgiving brunches, or a quiet afternoon with a cup of coffee.
- Prep Time: 15 minutes
- Cook Time: 18 minutes
- Total Time: 33 minutes
- Yield: 8 servings 1x
- Category: Breakfast
- Cuisine: American
Ingredients
- 2 ½ cups (300g) all-purpose flour
- ⅓ cup (65g) granulated sugar
- 1 tablespoon baking powder
- 1 ½ teaspoons pumpkin pie spice
- ½ teaspoon cinnamon
- ½ teaspoon salt
- ½ cup (113g) cold unsalted butter, cut into small cubes
- ½ cup (120g) pumpkin puree (not pumpkin pie filling)
- ¼ cup (60ml) heavy cream, plus more for brushing
- 1 large egg, lightly beaten
- 1 teaspoon vanilla extract
- For the Brown Butter Glaze:
- ¼ cup (56g) unsalted butter
- 1 cup (120g) powdered sugar, sifted
- ½ teaspoon vanilla extract
- 2–3 tablespoons milk, as needed
Instructions
- Preheat your oven to 400°F (200°C). Line a baking sheet with parchment paper and set aside.
- In a large bowl, whisk together the flour, sugar, baking powder, pumpkin pie spice, cinnamon, and salt.
- Add the cold butter cubes to the flour mixture. Using a pastry cutter or two forks, cut the butter into the flour until the mixture looks like coarse meal with some pea-sized butter pieces remaining.
- In a separate small bowl, whisk together the pumpkin puree, heavy cream, beaten egg, and vanilla extract until smooth.
- Pour the wet ingredients into the dry ingredients. Stir with a spatula or wooden spoon until just combined. The dough will be shaggy and a little sticky. Do not overmix.
- Turn the dough out onto a lightly floured surface. Gently bring it together with your hands, patting it into a ¾-inch thick circle, about 8 inches in diameter.
- Using a sharp knife or bench scraper, cut the circle into 8 equal wedges. Transfer the wedges to the prepared baking sheet, spacing them about 2 inches apart.
- Brush the tops of the scones with a little extra heavy cream.
- Bake for 15-18 minutes, or until the scones are lightly golden on the bottom and the edges look set. Let them cool on the baking sheet for 5 minutes, then transfer to a cooling rack.
- While the scones cool, make the brown butter glaze. In a small saucepan over medium heat, melt the ¼ cup of butter. Swirl the pan occasionally. The butter will start to foam, then turn a golden amber color with a nutty aroma, about 3-5 minutes. Remove from heat immediately once amber.
- Pour the brown butter into a small bowl. Let it cool for 2 minutes. Then whisk in the sifted powdered sugar and vanilla extract. Add milk, one tablespoon at a time, until the glaze is thick but pourable.
- Drizzle the glaze over the cooled scones. Let the glaze set for about 10 minutes before serving.
Notes
Keep all ingredients cold for flaky scones. Do not overmix the dough. Watch the butter carefully when browning to avoid burning. Let scones cool completely before glazing.
Nutrition
- Serving Size: 1 scone
- Calories: 320
- Sugar: 18
- Sodium: 280
- Fat: 18
- Saturated Fat: 11
- Carbohydrates: 38
- Fiber: 1
- Protein: 4
Keywords: pumpkin scones, brown butter glaze, fall breakfast, easy scone recipe, fluffy scones