Love this? Save it for later!
Share the inspiration with your friends
I used to think one-pan meals were a compromise. You know, the kind of dinner you make when you’re too tired to cook but too hungry to order takeout. The summer I turned twenty-eight, I worked sixty-hour weeks at a small marketing firm, and my kitchen became a graveyard of sad frozen pizzas and takeout containers. Then my neighbor, an older woman named Ruth who grew up on a farm in Iowa, knocked on my door holding a cast iron skillet that smelled like pure magic.
“You look like you need this,” she said, pushing the pan into my hands. It was bubbling, golden on top, and smelled like the kind of comfort that makes you forget a bad day. I stood there in my doorway, spatula in one hand and a half-eaten granola bar in the other, and I honestly almost cried. That skillet dinner—ground beef, rice, and a handful of simple ingredients—became my go-to for years after. I tweaked it, tested it, burned it once (okay, twice), and finally landed on a version that feels like a hug in a pan.
Maybe you’ve been there—staring into your fridge at 6 PM with no plan and a grumbling stomach. This easy one-pan ground beef and rice skillet is the answer. It’s forgiving, fast, and somehow tastes better than the sum of its parts. Let me show you how to make it.
Why You’ll Love This Recipe
Let me tell you why this recipe has earned a permanent spot in my weekly rotation. After testing it for friends, picky eaters, and even my brother who claims he “doesn’t do leftovers,” I can confidently say this one delivers every single time.
- Quick & Easy: From start to finish, this meal comes together in about 30 minutes. That’s faster than delivery, and honestly, it tastes way better.
- Simple Ingredients: Ground beef, rice, onions, garlic, and a few pantry staples. No fancy grocery trips required—you probably have most of this in your kitchen right now.
- Perfect for Busy Weeknights: Whether it’s a Tuesday after work or a hectic school night, this skillet dinner saves the day without making a mess of your kitchen.
- Crowd-Pleaser: I’ve served this to kids, adults, and even my uncle who “doesn’t eat casseroles.” Everyone goes back for seconds.
- Unbelievably Delicious: The rice soaks up all the savory flavors from the beef and seasonings, creating this incredibly satisfying texture that makes you close your eyes after the first bite.
What makes this version different from all the other skillet recipes out there? It’s the technique. Instead of cooking the rice separately and mixing it in at the end, you cook everything together in one pan. The rice absorbs the beef drippings and seasonings as it simmers, creating layers of flavor you just can’t get any other way. Plus, the one-pan method means less cleanup—and honestly, that alone is worth the price of admission.
This isn’t just another ground beef recipe. It’s comfort food reimagined—hearty, satisfying, and simple enough to make on your most exhausted nights. Perfect for impressing guests without stress, or turning a regular Wednesday into something memorable.
What Ingredients You Will Need
This recipe uses simple, wholesome ingredients to deliver bold flavor and satisfying texture without the fuss. Most of these are pantry staples, which makes this dish perfect for those nights when you haven’t planned ahead.
- 1 pound ground beef (80/20) – I prefer 80/20 because it has enough fat to keep the meat juicy without being greasy. If you use leaner beef, add a tablespoon of olive oil to prevent dryness.
- 1 medium yellow onion, diced – Adds sweetness and depth. White onion works too, but yellow gives a milder, more caramelized flavor as it cooks.
- 3 cloves garlic, minced – Fresh garlic makes a difference here. I’ve tried jarred minced garlic in a pinch, but fresh adds that sharp, aromatic kick that really wakes up the dish.
- 1 cup long-grain white rice, uncooked – Basmati or jasmine work beautifully. Avoid quick-cooking or minute rice—they turn mushy. I’ve learned this the hard way, trust me.
- 2 cups beef broth – Use low-sodium so you can control the salt. I like Swanson or Kitchen Basics, but any brand works. You can also use chicken broth in a pinch.
- 1 can (14.5 oz) diced tomatoes, undrained – Fire-roasted adds a smoky note, but regular works fine. Look for no-salt-added if you’re watching your sodium.
- 1 teaspoon paprika – Smoked paprika is my secret weapon here. It adds a subtle warmth that makes the dish feel like it’s been simmering for hours.
- 1/2 teaspoon dried oregano – Adds an earthy, slightly sweet note that pairs beautifully with the beef.
- 1/2 teaspoon salt – Start here and adjust at the end. Different broths have different salt levels.
- 1/4 teaspoon black pepper – Freshly ground if you have it. It makes a surprising difference.
- 1 cup frozen peas – Optional, but I love the pop of color and sweetness they add. Thaw them under warm water before adding.
- 2 tablespoons fresh parsley, chopped (for garnish) – Optional but pretty. Adds a fresh, bright finish.
Substitution Notes: For a gluten-free option, use certified gluten-free broth. For a lower-carb version, swap the rice with cauliflower rice (add it in the last 5 minutes of cooking). You can also substitute ground turkey or chicken—just add a tablespoon of olive oil to keep it moist.
Equipment Needed
One of the best things about this recipe is how little equipment it requires. Here’s what you’ll need:
- Large skillet or Dutch oven (12-inch with a lid) – This is non-negotiable. You need a pan that’s wide enough to hold everything and deep enough to prevent splattering. I use my 12-inch cast iron skillet, but a stainless steel or nonstick pan with a tight-fitting lid works beautifully.
- Wooden spoon or spatula – For breaking up the ground beef. A wooden spoon won’t scratch your pan and gives you good leverage.
- Sharp knife and cutting board – For dicing the onion and mincing the garlic. A dull knife makes prep take twice as long.
- Measuring cups and spoons – For the rice, broth, and seasonings. Eyeballing works for some things, but rice-to-liquid ratio matters here.
- Can opener – Unless you’re using boxed diced tomatoes.
Budget-Friendly Tip: If you don’t have a Dutch oven, your largest nonstick skillet with a lid will work perfectly. Just make sure the lid fits snugly to trap steam for the rice to cook properly. I’ve used my grandmother’s old aluminum skillet for years, and it works like a charm.
Preparation Method
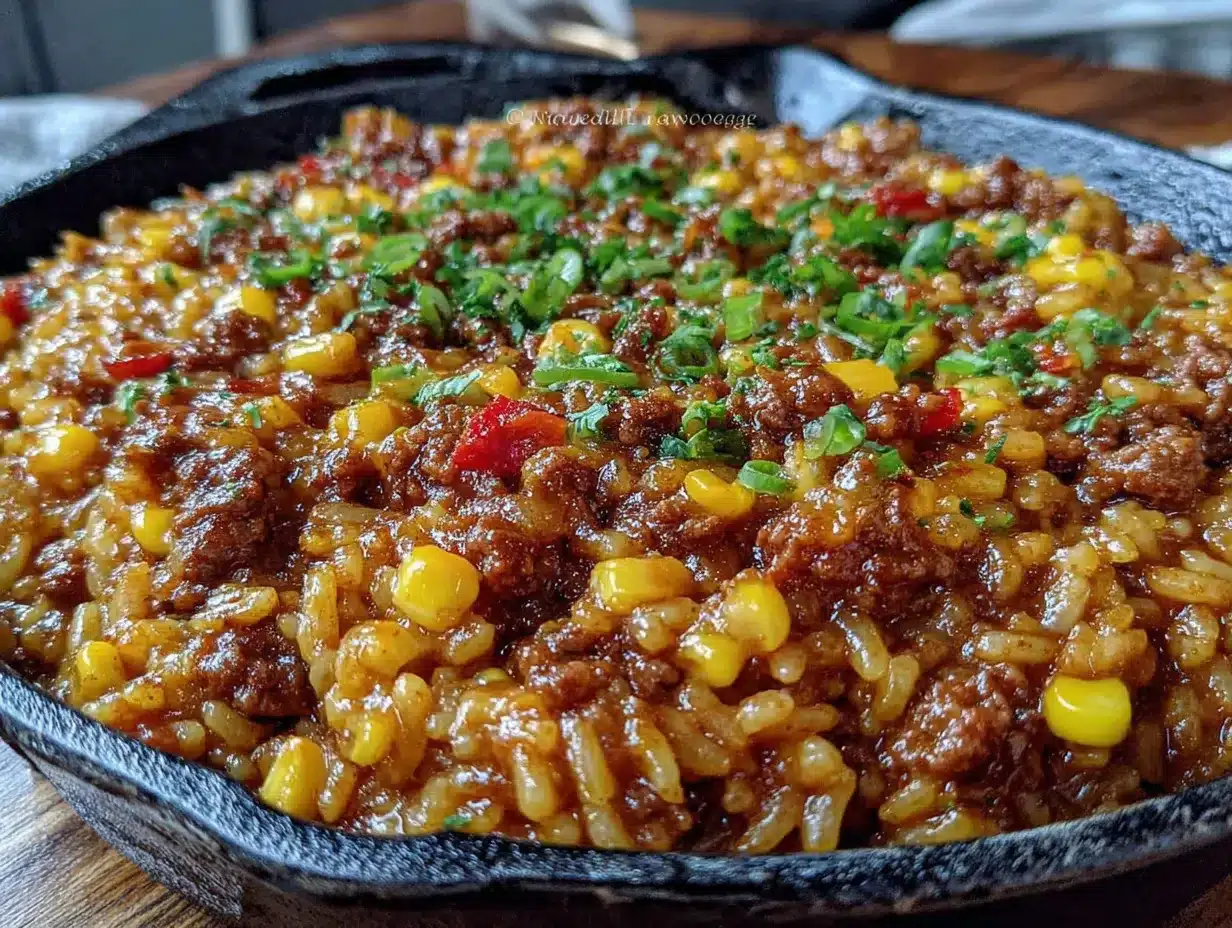
Let’s get cooking. This comes together fast, so have your ingredients prepped and ready before you start. Trust me, it makes everything smoother.
- Heat your skillet over medium-high heat. Add the ground beef and cook, breaking it up with your wooden spoon, until browned—about 5 to 7 minutes. You want some nice browning, not just gray meat. Don’t drain all the fat; leave about a tablespoon for flavor.
- Add the diced onion and cook for 3 minutes, stirring occasionally, until it softens and turns translucent. The sizzle should be steady but not violent. If it’s smoking, turn the heat down slightly.
- Stir in the minced garlic and cook for 30 seconds until fragrant. Garlic burns fast, so keep stirring. You’ll know it’s ready when the kitchen smells amazing.
- Add the uncooked rice and stir for 1 minute. This toasts the rice slightly, which helps it stay separate and fluffy instead of turning into mush. The grains should look slightly translucent at the edges.
- Pour in the beef broth and diced tomatoes (with their juices). Add the paprika, oregano, salt, and pepper. Stir everything together, scraping up any browned bits from the bottom of the pan. Those bits are pure flavor.
- Bring the mixture to a boil, then reduce the heat to low. Cover the skillet with a tight-fitting lid and let it simmer for 18 to 20 minutes. Do not lift the lid during this time—the steam is what cooks the rice.
- After 18 minutes, remove the lid and check the rice. It should be tender and have absorbed most of the liquid. If it’s still crunchy, add 2 tablespoons of water, re-cover, and cook for 3 more minutes. If it’s done, fluff the rice gently with a fork.
- Fold in the frozen peas (if using) and let them warm through for 1 to 2 minutes. They’ll turn bright green and add a lovely pop of sweetness.
- Taste and adjust seasonings. This is your moment. Need more salt? Add a pinch. Want more heat? A dash of red pepper flakes works wonders.
- Remove from heat, garnish with fresh parsley, and serve immediately. The rice will continue to absorb liquid as it sits, so don’t let it hang out too long in the pan.
Pro Tip: If you’re meal-prepping, undercook the rice by 2 minutes. It will finish cooking when you reheat it, preventing that dreaded mushy texture.
Cooking Tips & Techniques
I’ve made this recipe more times than I can count, and I’ve definitely learned a few things along the way. Here are my best tips for getting it right every time.
Don’t rush the browning. I know it’s tempting to crank the heat and move on, but letting the beef develop a deep, caramelized crust adds so much flavor. Let it sit undisturbed for a minute or two before breaking it up. You want those golden-brown bits.
Toast the rice. This step seems small, but it makes a huge difference. Stirring the raw rice in the hot pan with the beef fat coats each grain and helps it cook up fluffy instead of sticky. I skipped this once when I was in a hurry, and the rice turned out clumpy and sad. Never again.
Use the right lid. A loose-fitting lid lets steam escape, which means your rice won’t cook properly. If your lid doesn’t fit tightly, cover the pan with foil before putting the lid on. I’ve done this with a baking sheet in a pinch, and it works.
Resist the urge to stir. Once you cover the pan and lower the heat, leave it alone. Every time you lift the lid, you release steam and extend the cooking time. Set a timer and walk away.
My biggest failure: The first time I made this, I used too much liquid because I didn’t drain the tomatoes properly. The rice turned into porridge. Now I always measure carefully and trust the ratios. Learn from my mistakes!
Variations & Adaptations
This recipe is incredibly flexible. Here are some of my favorite ways to change it up.
Spicy Southwest Version: Swap the paprika for cumin and chili powder. Add a can of drained black beans and a handful of corn kernels. Top with shredded cheddar and a dollop of sour cream. This version is my go-to when I’m craving something with a kick.
Cheesy Broccoli Version: After the rice is cooked, stir in 1 cup of steamed broccoli florets and 1/2 cup of shredded cheddar cheese. Cover for 2 minutes until the cheese melts. My kids devour this version—it’s the only way I can get them to eat broccoli.
Low-Carb Version: Replace the rice with 2 cups of riced cauliflower. Add it in the last 5 minutes of cooking, stir gently, and cover until the cauliflower is tender. It’s not quite the same texture, but the flavor is spot-on.
Italian-Inspired Version: Use Italian seasoning instead of paprika and oregano. Add a can of drained cannellini beans and a handful of fresh spinach at the end. Top with grated Parmesan. Honestly, this might be my favorite variation.
Personal Variation: I once added a tablespoon of Worcestershire sauce and a splash of soy sauce to the broth. It gave the dish this deep, umami richness that made it taste like it had been simmering all day. Now I do it every time.
Serving & Storage Suggestions
This skillet dinner is best served hot, straight from the pan. I like to scoop it into bowls and top it with fresh parsley and a sprinkle of red pepper flakes for a little heat. It pairs beautifully with a simple green salad dressed with lemon vinaigrette or a side of crusty bread to soak up any remaining juices.
Storage: Leftovers keep well in an airtight container in the refrigerator for up to 4 days. The rice will absorb more liquid as it sits, so don’t be alarmed if it looks drier the next day. Add a splash of broth or water when reheating to bring back the moisture.
Freezing: This recipe freezes beautifully. Let it cool completely, then transfer to freezer-safe containers or zip-top bags. It keeps for up to 3 months. Thaw overnight in the refrigerator before reheating.
Reheating: The best way to reheat is in a skillet over medium heat with a splash of broth or water. Stir occasionally until heated through—about 5 to 7 minutes. The microwave works in a pinch, but the stovetop gives you better texture. The flavors actually deepen overnight, so leftovers taste even better the next day.
Nutritional Information & Benefits
Here’s an approximate nutritional breakdown per serving (based on 4 servings):
- Calories: 485
- Protein: 28g
- Carbohydrates: 45g
- Fat: 18g
- Fiber: 4g
- Sodium: 680mg
This meal offers a solid balance of protein, carbs, and healthy fats to keep you full and satisfied. The beef provides iron and B vitamins, while the tomatoes offer a good dose of vitamin C and lycopene, a powerful antioxidant. Adding peas boosts the fiber and vitamin K content.
Dietary Considerations: This recipe is naturally dairy-free and can be made gluten-free by using certified gluten-free broth. For a lower-sodium version, use no-salt-added broth and tomatoes, and reduce the added salt. If you’re watching your fat intake, use lean ground beef (93/7) and drain the fat after browning.
I love that this meal feels indulgent but is actually quite balanced. It’s the kind of dinner that fills you up without weighing you down—perfect for those nights when you need something hearty but not heavy.
Conclusion
This easy one-pan ground beef and rice skillet has saved me on more busy weeknights than I can count. It’s the recipe I turn to when I need something reliable, delicious, and stress-free. The beauty of it is how forgiving it is—you can swap ingredients, adjust seasonings, or add whatever vegetables you have on hand, and it still turns out great.
I love this recipe because it reminds me that cooking doesn’t have to be complicated to be good. Sometimes the simplest meals are the ones that stick with you. Whether you’re feeding a hungry family, meal-prepping for the week, or just need a comforting dinner after a long day, this skillet dish delivers every single time.
I’d love to hear how yours turns out! Did you try a variation? Add a secret ingredient? Burn it and learn something new? Drop a comment below and share your experience. And if you loved this recipe, don’t forget to pin it for later or share it with a friend who needs a weeknight win. Happy cooking!
Frequently Asked Questions
Can I use brown rice instead of white rice?
Yes, but you’ll need to adjust the cooking time and liquid. Brown rice typically requires about 40 to 45 minutes and 2 1/2 cups of liquid per cup of rice. Add an extra 1/2 cup of broth and cook covered for 40 minutes before checking for doneness.
Can I make this recipe in an Instant Pot or pressure cooker?
Absolutely. Use the sauté function to brown the beef and onions, then add the remaining ingredients. Pressure cook on high for 5 minutes with a natural release of 10 minutes. The rice cooks perfectly every time.
How do I prevent the rice from becoming mushy?
Don’t overcook it, and don’t stir it once it’s covered. Use long-grain rice instead of short-grain, and make sure your lid fits tightly so the steam doesn’t escape. If you’re worried, check the rice at 16 minutes instead of 18.
Can I add other vegetables to this dish?
Definitely. Diced bell peppers, zucchini, or mushrooms work well. Add them when you add the onion so they have time to soften. Frozen corn or green beans can be stirred in with the peas at the end.
How can I make this dish spicier?
Add 1/2 teaspoon of red pepper flakes with the paprika, or stir in a diced jalapeño with the onion. A dash of hot sauce at the end works too. My brother adds a whole teaspoon of cayenne—but I don’t recommend that unless you really love heat.
Pin This Recipe!
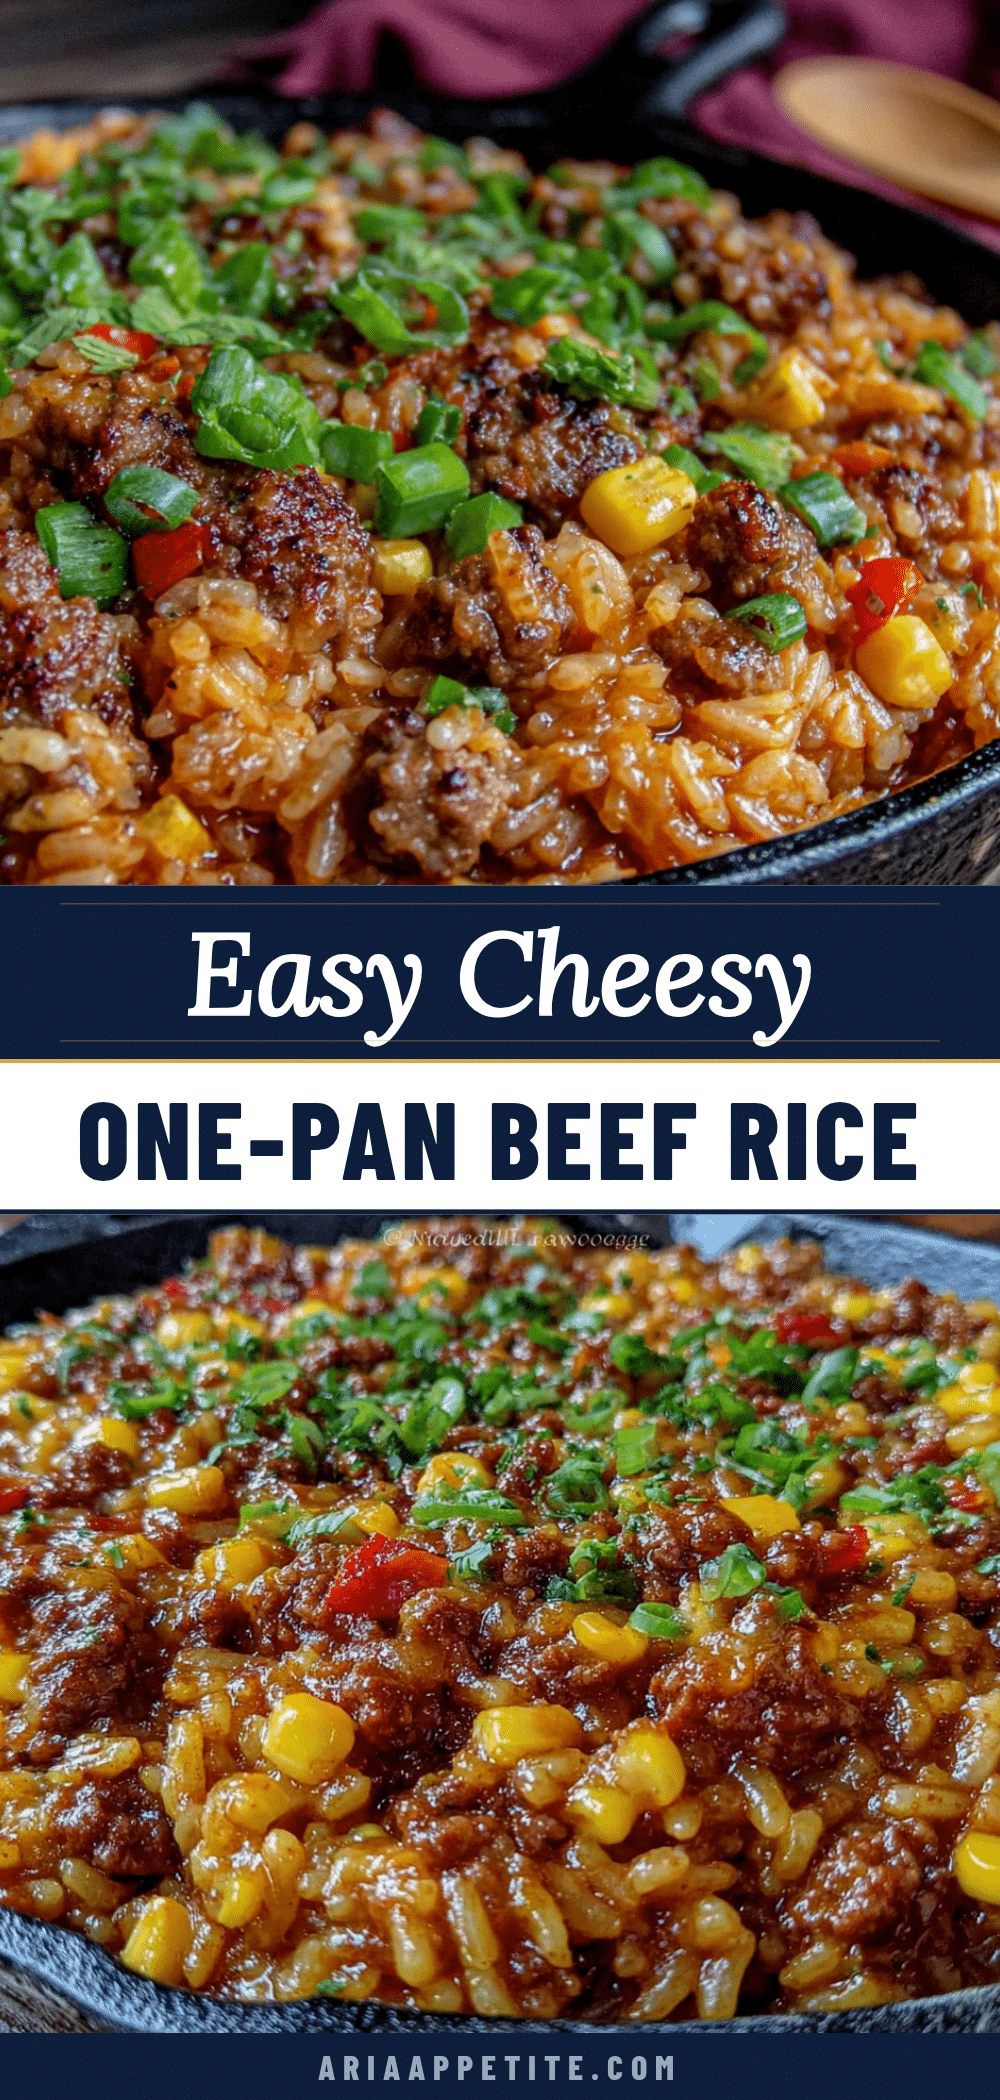
Easy One-Pan Ground Beef and Rice Skillet: Perfect Weeknight Dinner

This easy one-pan ground beef and rice skillet is a forgiving, fast, and delicious weeknight dinner that comes together in about 30 minutes. It’s comfort food reimagined—hearty, satisfying, and simple enough to make on your most exhausted nights.
- Prep Time: 10 minutes
- Cook Time: 20 minutes
- Total Time: 30 minutes
- Yield: 4 servings 1x
- Category: Main Course
- Cuisine: American
Ingredients
- 1 pound ground beef (80/20)
- 1 medium yellow onion, diced
- 3 cloves garlic, minced
- 1 cup long-grain white rice, uncooked
- 2 cups beef broth, low-sodium
- 1 can (14.5 oz) diced tomatoes, undrained
- 1 teaspoon paprika
- 1/2 teaspoon dried oregano
- 1/2 teaspoon salt
- 1/4 teaspoon black pepper
- 1 cup frozen peas (optional)
- 2 tablespoons fresh parsley, chopped (for garnish)
Instructions
- Heat your skillet over medium-high heat. Add the ground beef and cook, breaking it up with your wooden spoon, until browned—about 5 to 7 minutes. Leave about a tablespoon of fat for flavor.
- Add the diced onion and cook for 3 minutes, stirring occasionally, until it softens and turns translucent.
- Stir in the minced garlic and cook for 30 seconds until fragrant.
- Add the uncooked rice and stir for 1 minute to toast slightly.
- Pour in the beef broth and diced tomatoes (with their juices). Add the paprika, oregano, salt, and pepper. Stir together, scraping up any browned bits from the bottom of the pan.
- Bring the mixture to a boil, then reduce the heat to low. Cover the skillet with a tight-fitting lid and let it simmer for 18 to 20 minutes. Do not lift the lid during this time.
- After 18 minutes, remove the lid and check the rice. It should be tender and have absorbed most of the liquid. If still crunchy, add 2 tablespoons of water, re-cover, and cook for 3 more minutes. If done, fluff the rice gently with a fork.
- Fold in the frozen peas (if using) and let them warm through for 1 to 2 minutes.
- Taste and adjust seasonings as needed.
- Remove from heat, garnish with fresh parsley, and serve immediately.
Notes
For meal-prepping, undercook the rice by 2 minutes; it will finish cooking when reheated. To prevent mushy rice, do not stir once covered and use long-grain rice. If lid doesn’t fit tightly, cover pan with foil before putting lid on.
Nutrition
- Serving Size: 1 serving (about 1.5
- Calories: 485
- Sugar: 6
- Sodium: 680
- Fat: 18
- Saturated Fat: 6
- Carbohydrates: 45
- Fiber: 4
- Protein: 28
Keywords: one-pan meal, ground beef, rice skillet, weeknight dinner, easy dinner, comfort food, 30-minute meal


