Love this? Save it for later!
Share the inspiration with your friends
My neighbor asked why I couldn’t just brown the butter first and then mix it into the cookie dough cold. I started to explain why that wouldn’t work — something about the butter needing to be at room temperature for proper creaming, about how the science of baking doesn’t work that way. Then I stopped. Honestly, I had no good reason. I just assumed it wouldn’t work because I’d never seen it done that way.
Three winters ago, standing in my tiny kitchen with a bag of chocolate chips and a stick of butter sizzling in the pan, I decided to try it. I let the butter brown, scraped every last nutty bit into a bowl, and popped it in the fridge. Twenty minutes later, I creamed that solidified brown butter with sugar like it was the most natural thing in the world. The dough came together beautifully — soft, fragrant, and speckled with those gorgeous dark caramel flecks from the browned milk solids.
I pulled the cookies out of the oven and took a bite. That first taste had this unexpected depth — like someone had taken a regular chocolate chip cookie and turned up the volume on every single flavor note. The brown butter added this almost-toasty richness that made the pumpkin puree taste warmer, the cinnamon deeper, the chocolate chips somehow more chocolatey. I mean, I actually sat down on my kitchen floor and ate three of them in a row. No shame.
These Best Brown Butter Pumpkin Chocolate Chip Cookies have become my fall baking go-to, and let me tell you — if you’ve been searching for a pumpkin cookie that actually delivers on flavor instead of just pumpkin-colored disappointment, this is it. Maybe you’ve been there, too, staring at a batch of bland pumpkin cookies wondering where all the flavor went. I promise you, these are different.
Why You’ll Love This Recipe
After testing this recipe more times than I care to admit — including one disastrous batch where I forgot the brown sugar entirely — I can confidently say these cookies are something special. Here is why they work so well:
- Rich, Complex Flavor : The browned butter adds a nutty, caramelized depth that regular butter just cannot match. It transforms the pumpkin and warm spices into something truly unforgettable.
- Perfectly Soft Texture : These cookies stay incredibly soft and tender for days. The pumpkin puree keeps them moist without making them cakey or dense.
- Simple Ingredients : You likely have everything you need already in your pantry. No fancy extracts or hard-to-find flours here.
- Quick & Easy : From start to finish, these come together in under an hour. The brown butter takes just 5 minutes to make.
- Crowd-Pleaser : I brought these to a neighborhood potluck last fall, and three different people asked for the recipe before I even left. Kids and adults both go crazy for them.
- Perfect for Fall Baking : Whether it is a cozy weekend afternoon or a holiday cookie exchange, these cookies fit right in.
What makes this recipe different from the dozens of pumpkin cookie recipes out there? It is the brown butter, honestly. That one extra step changes everything. The nutty, toasty notes from the browned milk solids complement the pumpkin and warm spices in a way that makes each bite feel intentional and complete. This isn’t just another pumpkin cookie — it is the one you will keep coming back to year after year.
There is something about that first bite that makes you close your eyes. The way the brown butter hits your tongue, followed by the soft pumpkin warmth and those melty chocolate chips — it is comfort food reimagined. It feels familiar but somehow better than you remember.
What Ingredients You Will Need
This recipe uses simple, wholesome ingredients to deliver bold flavor and satisfying texture without the fuss. Most of these are pantry staples, which makes these cookies perfect for spontaneous baking cravings.
- Unsalted butter, 1 cup (2 sticks) — you will brown this, so use a light-colored pan to watch the color change. I prefer Kerrygold for its rich flavor, but any good-quality butter works.
- Pumpkin puree, 1/2 cup — not pumpkin pie filling! Make sure you grab 100% pure pumpkin. I like Libby’s for consistent texture and moisture content.
- Granulated sugar, 1/2 cup — adds sweetness and helps with spread.
- Light brown sugar, 1/2 cup, packed — adds molasses notes that pair beautifully with the brown butter and pumpkin.
- All-purpose flour, 1 and 3/4 cups — spoon and level it for accuracy. Too much flour makes dry cookies.
- Baking soda, 1 teaspoon — helps the cookies spread and brown.
- Baking powder, 1/2 teaspoon — gives them a little lift so they are not flat and sad.
- Salt, 1/2 teaspoon — use fine sea salt. It balances the sweetness and enhances the brown butter flavor.
- Ground cinnamon, 1 teaspoon — warm and aromatic, the backbone of the spice blend.
- Ground nutmeg, 1/2 teaspoon — freshly grated if you have it, but pre-ground works fine.
- Ground ginger, 1/4 teaspoon — adds a little warmth without overpowering.
- Ground cloves, 1/8 teaspoon — just a pinch for depth.
- Large egg, 1 — room temperature for better emulsion.
- Vanilla extract, 1 teaspoon — pure vanilla, not imitation. It makes a difference.
- Semi-sweet chocolate chips, 1 cup — I use Guittard for their rich flavor and good melt. You can also chop a dark chocolate bar for rustic puddles of chocolate.
For the brown butter, look for butter that is fresh — older butter can have off flavors that become more pronounced when browned. If you are dairy-free, you can use a plant-based butter stick, but the browning process may look slightly different. Just watch it closely.
Equipment Needed
You do not need a professional bakery setup for these cookies. Here is what you will need:
- Light-colored saucepan or skillet — essential for browning butter. Dark pans make it hard to see the color change, and you risk burning it.
- Mixing bowls — one medium, one large. Glass or stainless steel works best.
- Whisk — for combining dry ingredients and smoothing the wet mixture.
- Rubber spatula — for scraping every last bit of that precious brown butter out of the pan. Do not waste a drop.
- Hand mixer or stand mixer — you can cream the butter and sugar by hand, but a mixer makes it faster and fluffier.
- Baking sheets — two standard half-sheet pans work well. Line them with parchment paper or silicone baking mats.
- Cookie scoop — a 1.5-tablespoon scoop gives you evenly sized cookies. I use my OXO scoop for everything.
- Cooling rack — lets the cookies cool evenly so the bottoms do not get soggy.
If you do not have a cookie scoop, use two spoons to portion the dough. It is less uniform but still works. And if you are using a dark non-stick baking sheet, reduce your oven temperature by 25 degrees to prevent over-browning.
Preparation Method
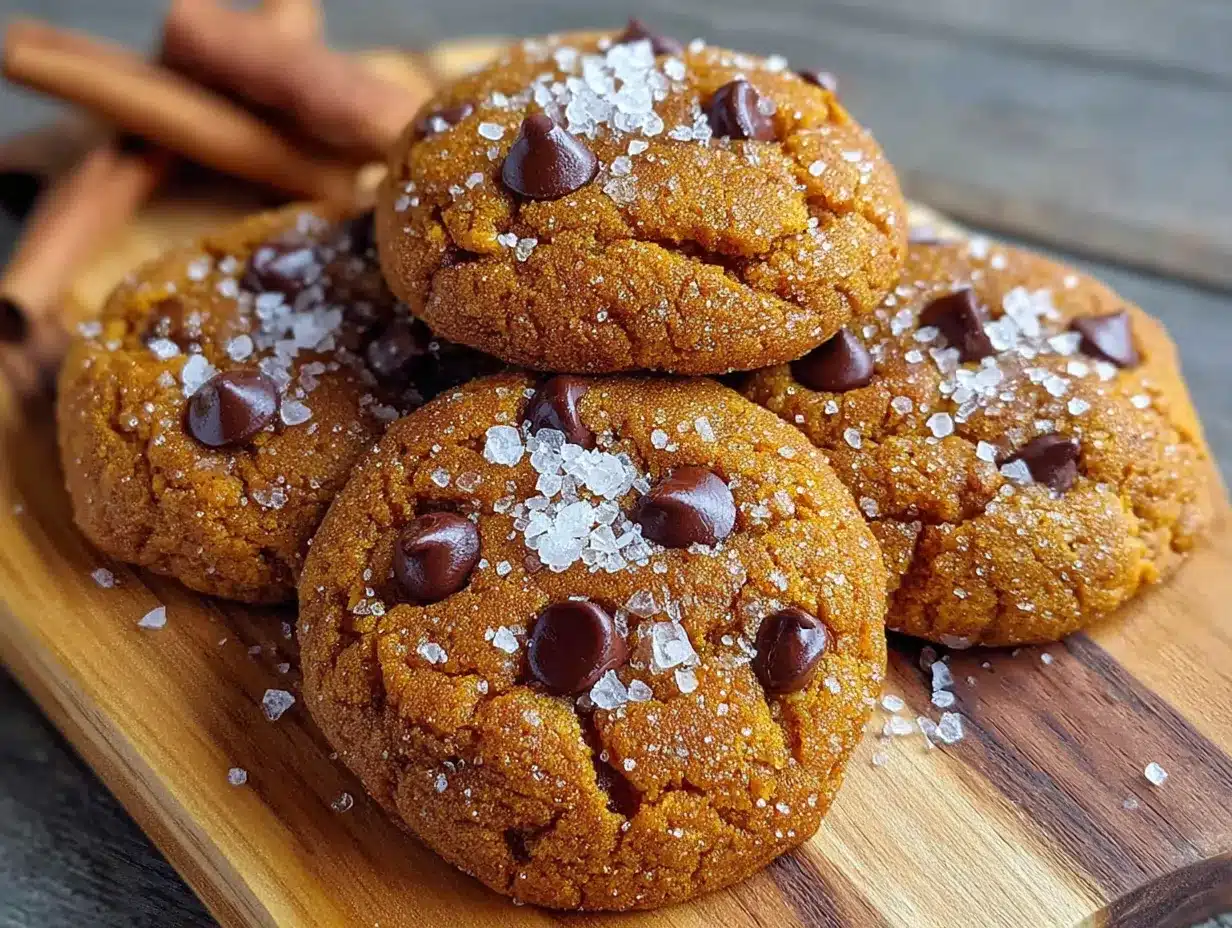
Let us walk through this step by step. I have made this recipe enough times to know exactly where things can go wrong, so I will flag those spots for you.
- Brown the butter. Cut the butter into pieces and place it in a light-colored saucepan over medium heat. Stir frequently with a rubber spatula. The butter will melt, foam, and then start to crackle. After about 4-5 minutes, the foam will subside, and you will see golden brown specks forming at the bottom. The butter will smell nutty and amazing. Remove it from the heat immediately and pour it into a heatproof bowl, scraping every bit of those brown specks. Let it cool for 10 minutes, then refrigerate for 15-20 minutes until it is the consistency of softened butter — firm but spreadable.
- Preheat the oven. Set your oven to 350°F (175°C). Line two baking sheets with parchment paper or silicone mats.
- Mix the dry ingredients. In a medium bowl, whisk together the flour, baking soda, baking powder, salt, cinnamon, nutmeg, ginger, and cloves. Set aside.
- Cream the butter and sugars. In a large bowl, beat the cooled brown butter with the granulated sugar and brown sugar using a hand mixer or stand mixer on medium speed. Beat for 2-3 minutes until the mixture looks light and fluffy. The brown butter will make this smell incredible already.
- Add the wet ingredients. Beat in the egg, pumpkin puree, and vanilla extract until fully combined. The mixture might look slightly curdled at this point — do not panic. That is normal when you add pumpkin to butter. It will come together when you add the flour.
- Combine wet and dry. Gradually add the dry ingredients to the wet mixture, mixing on low speed just until combined. Overmixing will make the cookies tough. Fold in the chocolate chips with a spatula. The dough will be soft and slightly sticky — that is exactly what you want.
- Chill the dough. This step is not optional. Cover the bowl and refrigerate the dough for at least 30 minutes. Chilling prevents the cookies from spreading too much and allows the flavors to meld. I have forgotten this step before, and the cookies turned into flat, greasy puddles. Learn from my mistake.
- Scoop and bake. Scoop rounded tablespoons of dough (about 1.5 tablespoons each) onto the prepared baking sheets, spacing them 2 inches apart. Bake for 10-12 minutes, rotating the pans halfway through. The cookies should look puffed and set around the edges but still soft in the center. They will continue to set as they cool.
- Cool completely. Let the cookies cool on the baking sheets for 5 minutes, then transfer them to a wire rack to cool completely. If you try to move them too soon, they will fall apart. Trust me, I have made that mistake more than once.
Cooking Tips & Techniques
Here are some things I have learned the hard way so you do not have to:
Watch the brown butter like a hawk. It goes from perfectly browned to burnt in about 15 seconds. The moment you see golden specks and smell that nutty aroma, pull it off the heat. I once got distracted by a phone call and ended up with black butter that smelled like burnt popcorn. The whole batch went in the trash.
Do not skip chilling the dough. I know, I know — you want cookies now. But warm brown butter dough is soft and greasy. Chilling it firms up the fat, which means the cookies will spread less and bake up thicker and chewier. Thirty minutes is the minimum. An hour is better. Overnight is amazing if you can wait that long.
Use a cookie scoop for even baking. Uniformly sized cookies bake at the same rate. If some are bigger than others, you will end up with half the batch overdone and half underdone. A simple scoop fixes this instantly.
Rotate your pans halfway through. Every oven has hot spots. I learned this after baking dozens of cookies where the ones in the back were always darker. Rotating the pans front to back and top to bottom ensures even browning.
Let them cool on the pan first. The cookies are fragile right out of the oven. Giving them 5 minutes on the hot baking sheet allows them to set up enough to transfer without breaking. I have lost many a cookie to impatience.
Variations & Adaptations
One of the best things about this recipe is how adaptable it is. Here are some variations I have tried and loved:
Gluten-Free Version : Swap the all-purpose flour with a 1:1 gluten-free baking flour blend. I have used Bob’s Red Mill with great results. The texture will be slightly more tender, but the flavor stays wonderful. Add an extra tablespoon of flour if the dough feels too sticky.
Dairy-Free Version : Use a high-quality plant-based butter stick for the browning process. Just watch it carefully — dairy-free butter browns faster and can burn more easily. The cookies will still be delicious, though slightly less rich.
White Chocolate Cranberry : Swap the semi-sweet chocolate chips for white chocolate chips and add 1/2 cup dried cranberries. The tartness of the cranberries cuts through the sweetness beautifully, and the white chocolate picks up the brown butter notes in a surprising way.
Spiced Pecan : Add 1/2 cup toasted, chopped pecans along with the chocolate chips. The crunch adds a lovely texture contrast, and pecans and pumpkin are a classic pairing for good reason.
Extra Pumpkin : If you want a stronger pumpkin flavor, increase the pumpkin puree to 3/4 cup. Reduce the butter to 3/4 cup (1.5 sticks) to compensate for the extra moisture. The cookies will be softer and more cake-like.
Serving & Storage Suggestions
These cookies are best served slightly warm, when the chocolate chips are still melty and the brown butter aroma is at its peak. Let them cool for about 10 minutes after baking, then grab one and a glass of cold milk. It is a perfect combination.
For a more decadent presentation, serve them with a scoop of vanilla ice cream and a drizzle of caramel sauce. They also make fantastic ice cream sandwiches — just flatten the dough balls slightly before baking so you get thinner, more uniform cookies.
Storage: Keep the cookies in an airtight container at room temperature for up to 5 days. Layer them between sheets of parchment paper to prevent sticking. They actually get even softer and more flavorful on day two as the brown butter flavor continues to develop.
Freezing: You can freeze the baked cookies for up to 3 months. Place them in a single layer in a freezer-safe bag or container. Thaw at room temperature for about 15 minutes, or pop them in a 300°F oven for 5 minutes to warm them up.
Freezing the dough: Scoop the dough into balls, place them on a baking sheet, and freeze until solid. Transfer the frozen dough balls to a freezer bag. You can bake them straight from frozen — just add 2-3 minutes to the baking time. This is my favorite trick for having fresh cookies on demand without making a mess every time.
Nutritional Information & Benefits
Here is the estimated nutritional information per cookie (based on 24 cookies):
- Calories: 185
- Fat: 10g
- Saturated Fat: 6g
- Carbohydrates: 23g
- Sugar: 14g
- Fiber: 1g
- Protein: 2g
- Sodium: 95mg
These cookies offer a few nutritional bright spots. Pumpkin puree is rich in vitamin A, which supports eye health and immune function. The cinnamon and ginger have anti-inflammatory properties, and the dark chocolate provides antioxidants. Plus, the brown butter adds a small amount of vitamin A and healthy fats.
That said, let us be real — these are cookies. They are a treat meant to be enjoyed in moderation. I believe in balance: eat your vegetables, get some exercise, and absolutely have a couple of these cookies when the craving strikes. Life is too short for sad desserts.
Conclusion
These Best Brown Butter Pumpkin Chocolate Chip Cookies have earned a permanent spot in my fall baking rotation, and I think they deserve a spot in yours too. The brown butter adds a depth of flavor that makes every bite feel special, while the pumpkin keeps them soft and tender. They are the kind of cookies that make people stop mid-conversation and say, “Wait, what is in these?”
I encourage you to make them your own. Add extra chocolate chips if that is your thing. Throw in some toasted pecans. Swap the spices to match what you have in your pantry. Baking should feel creative and personal, not like following a strict set of rules.
If you try this recipe, I would love to hear about it. Leave a comment below and let me know how they turned out — did you make any changes? Did the brown butter scare you at first? (It scared me, honestly.) Share a photo if you are feeling proud. And if you loved them, please share this post with a friend who needs a good cookie in their life.
Happy baking, friends. Your kitchen is about to smell incredible.
Frequently Asked Questions
Can I use pumpkin pie filling instead of pumpkin puree?
No, please do not. Pumpkin pie filling has added sugar and spices that will throw off the balance of this recipe. Stick with 100% pure pumpkin puree for the best results.
Why did my cookies turn out flat?
Flat cookies usually mean the dough was too warm when it went into the oven, or the butter was not properly chilled after browning. Make sure you chill the dough for at least 30 minutes, and do not skip the step of cooling the brown butter before creaming it.
Can I make these cookies ahead of time?
Absolutely. You can make the dough up to 3 days in advance and keep it refrigerated. You can also freeze the baked cookies or the unbaked dough balls for up to 3 months.
How do I know when the brown butter is done?
Look for three signs: the butter will smell nutty and toasty, you will see small golden brown specks forming at the bottom of the pan, and the foam will have mostly subsided. Remove it from the heat immediately at this point.
Can I use salted butter instead of unsalted?
You can, but reduce the added salt in the recipe to 1/4 teaspoon. Salted butter varies in salt content between brands, so it is harder to control the final flavor. I recommend unsalted for consistency.
Pin This Recipe!
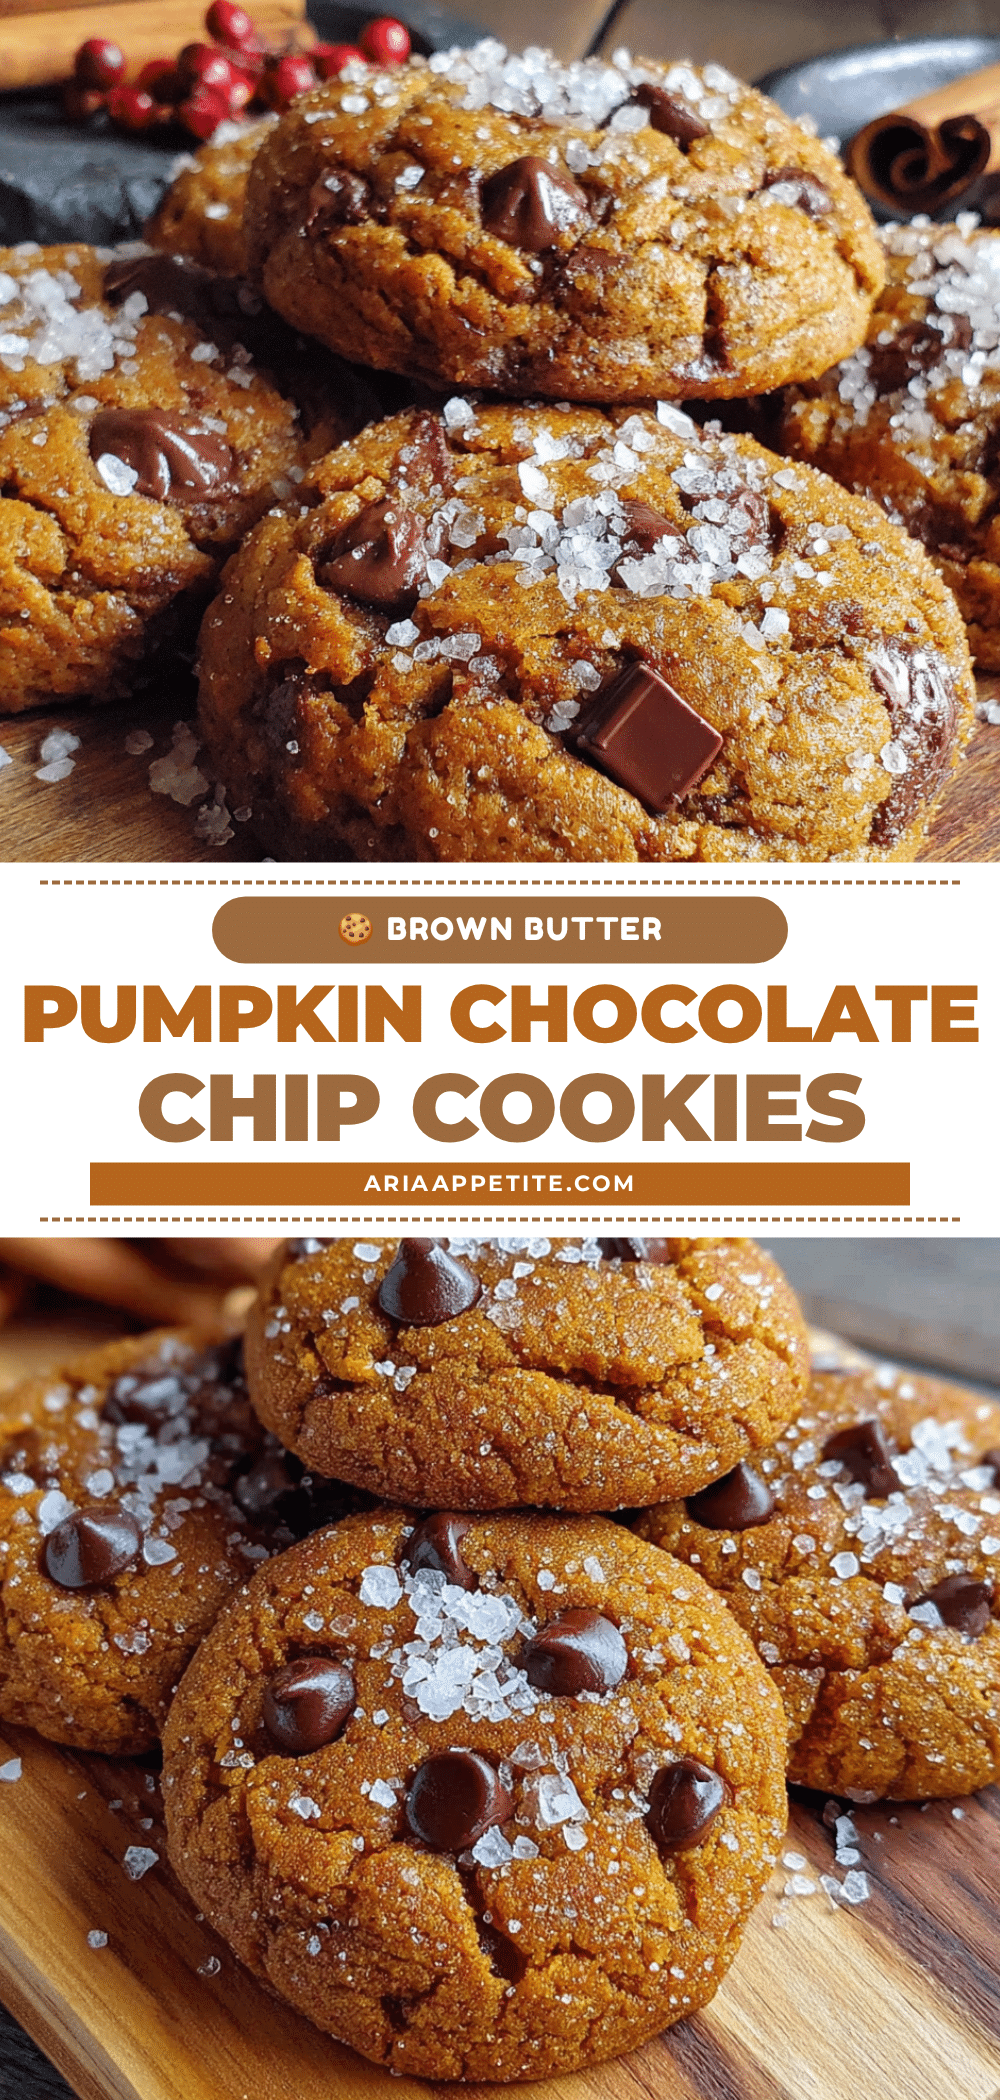
Best Brown Butter Pumpkin Chocolate Chip Cookies
These brown butter pumpkin chocolate chip cookies are incredibly soft, tender, and packed with rich, nutty flavor from browned butter. The pumpkin keeps them moist without being cakey, and the chocolate chips add the perfect sweet contrast.
- Prep Time: 20 minutes
- Cook Time: 12 minutes
- Total Time: 1 hour 2 minutes (includes chilling)
- Yield: 24 cookies 1x
- Category: Dessert
- Cuisine: American
Ingredients
- 1 cup (2 sticks) unsalted butter
- 1/2 cup pumpkin puree (not pumpkin pie filling)
- 1/2 cup granulated sugar
- 1/2 cup light brown sugar, packed
- 1 and 3/4 cups all-purpose flour
- 1 teaspoon baking soda
- 1/2 teaspoon baking powder
- 1/2 teaspoon fine sea salt
- 1 teaspoon ground cinnamon
- 1/2 teaspoon ground nutmeg
- 1/4 teaspoon ground ginger
- 1/8 teaspoon ground cloves
- 1 large egg, room temperature
- 1 teaspoon pure vanilla extract
- 1 cup semi-sweet chocolate chips
Instructions
- Brown the butter: Cut the butter into pieces and place in a light-colored saucepan over medium heat. Stir frequently with a rubber spatula. The butter will melt, foam, and then start to crackle. After about 4-5 minutes, the foam will subside, and you will see golden brown specks forming at the bottom. The butter will smell nutty. Remove from heat immediately and pour into a heatproof bowl, scraping every bit of the brown specks. Let cool for 10 minutes, then refrigerate for 15-20 minutes until i…
- Preheat the oven to 350°F (175°C). Line two baking sheets with parchment paper or silicone mats.
- Mix the dry ingredients: In a medium bowl, whisk together the flour, baking soda, baking powder, salt, cinnamon, nutmeg, ginger, and cloves. Set aside.
- Cream the butter and sugars: In a large bowl, beat the cooled brown butter with the granulated sugar and brown sugar using a hand mixer or stand mixer on medium speed for 2-3 minutes until light and fluffy.
- Add the wet ingredients: Beat in the egg, pumpkin puree, and vanilla extract until fully combined. The mixture may look slightly curdled; this is normal.
- Combine wet and dry: Gradually add the dry ingredients to the wet mixture, mixing on low speed just until combined. Do not overmix. Fold in the chocolate chips with a spatula. The dough will be soft and slightly sticky.
- Chill the dough: Cover the bowl and refrigerate for at least 30 minutes. This step is not optional.
- Scoop and bake: Scoop rounded tablespoons of dough (about 1.5 tablespoons each) onto the prepared baking sheets, spacing them 2 inches apart. Bake for 10-12 minutes, rotating the pans halfway through. The cookies should look puffed and set around the edges but still soft in the center.
- Cool completely: Let the cookies cool on the baking sheets for 5 minutes, then transfer to a wire rack to cool completely.
Notes
Watch the brown butter carefully; it goes from perfect to burnt in about 15 seconds. Do not skip chilling the dough, as it prevents excessive spreading. For best results, use a cookie scoop for even sizing and rotate pans halfway through baking. Cookies can be stored in an airtight container at room temperature for up to 5 days, or frozen for up to 3 months.
Nutrition
- Serving Size: 1 cookie
- Calories: 185
- Sugar: 14
- Sodium: 95
- Fat: 10
- Saturated Fat: 6
- Carbohydrates: 23
- Fiber: 1
- Protein: 2
Keywords: brown butter, pumpkin, chocolate chip, cookies, fall baking, soft cookies, easy recipe