Love this? Save it for later!
Share the inspiration with your friends
I was standing in the frozen food aisle at my local grocery store last Tuesday when it hit me — that specific smell of parmesan and toasted breadcrumbs mixing with the cold air from the open freezer door. And suddenly I was twenty-seven years old in my neighbor Gina’s tiny apartment kitchen, watching her pull a tray of golden zucchini chips out of her ancient toaster oven. She wasn’t even a great cook, honestly. But those chips? They were magic. Crispy, cheesy, salty — the kind of thing you eat standing up over the kitchen counter because they never make it to a plate.
Gina moved away years ago, and I’d forgotten about those zucchini chips until that moment in the grocery store. I grabbed a bag of zucchini (even though I had three at home, because that’s what nostalgia does to you) and practically ran back to my car. Let me tell you, I’ve made a lot of mediocre versions since then. Soggy ones. Burnt ones. Ones that tasted more like grease than zucchini. But this air fryer version? This is the one. The one that finally made me close my eyes after the first bite, just like I did in Gina’s kitchen all those years ago.
Maybe you’ve been there — chasing a taste from your past that you can’t quite describe but you’d know the moment it hits your tongue. That’s what these crispy parmesan zucchini chips are for me. And now, I’m pretty sure they’re about to become that for you too.
Why You’ll Love This Recipe
Let’s be real for a second — I’ve tested this recipe seven times. Seven. My neighbors have been happy taste-testers, my kids have declared it “snack-worthy,” and I’ve finally nailed the exact combination of crunch and flavor that makes these chips disappear in minutes. Here’s why you’ll feel the same way:
- Quick & Easy: From start to finish, these come together in under 20 minutes. Perfect for those afternoons when a snack attack hits out of nowhere.
- Simple Ingredients: You probably have everything in your kitchen right now. Zucchini, parmesan, breadcrumbs, eggs — nothing fancy here.
- Perfect for Snacking: Game day, movie night, or just Tuesday — these chips fit every occasion without any fuss.
- Crowd-Pleaser: I’ve served these to kids who “don’t like vegetables” and adults who asked for the recipe before finishing their first handful.
- Unbelievably Delicious: The texture is what gets you. That perfect crunch on the outside, tender zucchini on the inside — it’s next-level comfort food without the guilt.
What makes this recipe different from all the others out there? It’s the technique. I’m not just tossing zucchini in breadcrumbs and hoping for the best. The secret is in how you prep the zucchini (getting rid of that excess moisture is everything) and how you layer the coating so it actually sticks. No sad, naked zucchini chips here. Every single piece comes out perfectly coated and crispy.
This is the kind of recipe that makes you feel like you’re eating something indulgent, even though it’s basically vegetables with a little cheese. It’s comfort food reimagined — faster, healthier, but with the same soul-soothing satisfaction. Perfect for impressing guests without stress, or turning a simple snack into something memorable.
What Ingredients You Will Need
This recipe uses simple, wholesome ingredients to deliver bold flavor and satisfying crunch without any fuss. Most of these are pantry staples, which makes this recipe perfect for those “I need something good to eat right now” moments.
- Zucchini: 2 medium-sized zucchini (about 8-10 ounces each), sliced into ¼-inch rounds. Look for firm zucchini without soft spots — they’ll hold up better during cooking.
- Parmesan cheese: ½ cup finely grated parmesan (the real stuff, not the green can). I prefer Parmigiano-Reggiano for the best flavor, but a good quality domestic parmesan works fine too.
- Panko breadcrumbs: ½ cup. Panko gives you that extra-crispy texture that regular breadcrumbs just can’t match. I’ve tried both, and panko wins every time.
- Large eggs: 2, beaten. These help the coating stick to the zucchini slices.
- All-purpose flour: ¼ cup. A light dusting of flour helps the egg wash adhere better — this is a game-changer for keeping the coating on.
- Garlic powder: ½ teaspoon. Adds that savory depth without being overwhelming.
- Onion powder: ¼ teaspoon. Just a hint for extra flavor complexity.
- Paprika: ¼ teaspoon (smoked paprika is amazing here if you have it).
- Salt: ½ teaspoon (plus more for drawing moisture out of the zucchini).
- Black pepper: ¼ teaspoon, freshly ground.
- Olive oil spray: For misting the chips before air frying. Avocado oil spray works great too.
- Fresh parsley: 2 tablespoons, chopped (optional, for garnish).
Ingredient Tips: If you can’t find panko, you can substitute with regular breadcrumbs — just know the texture won’t be quite as crispy. For a gluten-free version, use gluten-free panko and substitute the all-purpose flour with almond flour or a gluten-free blend. I’ve tested both and they work beautifully.
For the cheese, please don’t use the pre-shredded stuff in bags. It has anti-caking agents that prevent it from melting properly and sticking to the zucchini. Grate your own — it takes two minutes and makes a huge difference in both flavor and texture.
Equipment Needed
You don’t need a professional kitchen to make these chips, but having the right tools makes the process so much smoother.
- Air fryer: Any model works. I use a 5.8-quart Cosori, but even a smaller basket-style air fryer will do the job. Just work in batches if needed.
- Sharp knife and cutting board: For slicing the zucchini into even rounds. A mandoline slicer works great here if you have one — it ensures uniform thickness for even cooking.
- Three shallow bowls: For the flour, egg wash, and breadcrumb mixture. I use small pie plates — they’re the perfect size and depth.
- Paper towels or clean kitchen towel: For drying the zucchini slices and drawing out moisture.
- Tongs: For dipping and transferring the zucchini without making a mess.
- Cooling rack: If you’re making multiple batches, a cooling rack helps keep the finished chips crispy while you cook the rest.
- Spray bottle with oil: A good mister ensures even coating without drenching the chips.
Budget-Friendly Options: No air fryer? No problem. You can bake these in a conventional oven at 425°F for 12-15 minutes, flipping halfway through. They won’t be quite as crispy as the air fryer version, but they’re still delicious. Just line your baking sheet with parchment paper and give it a light spray of oil.
Preparation Method
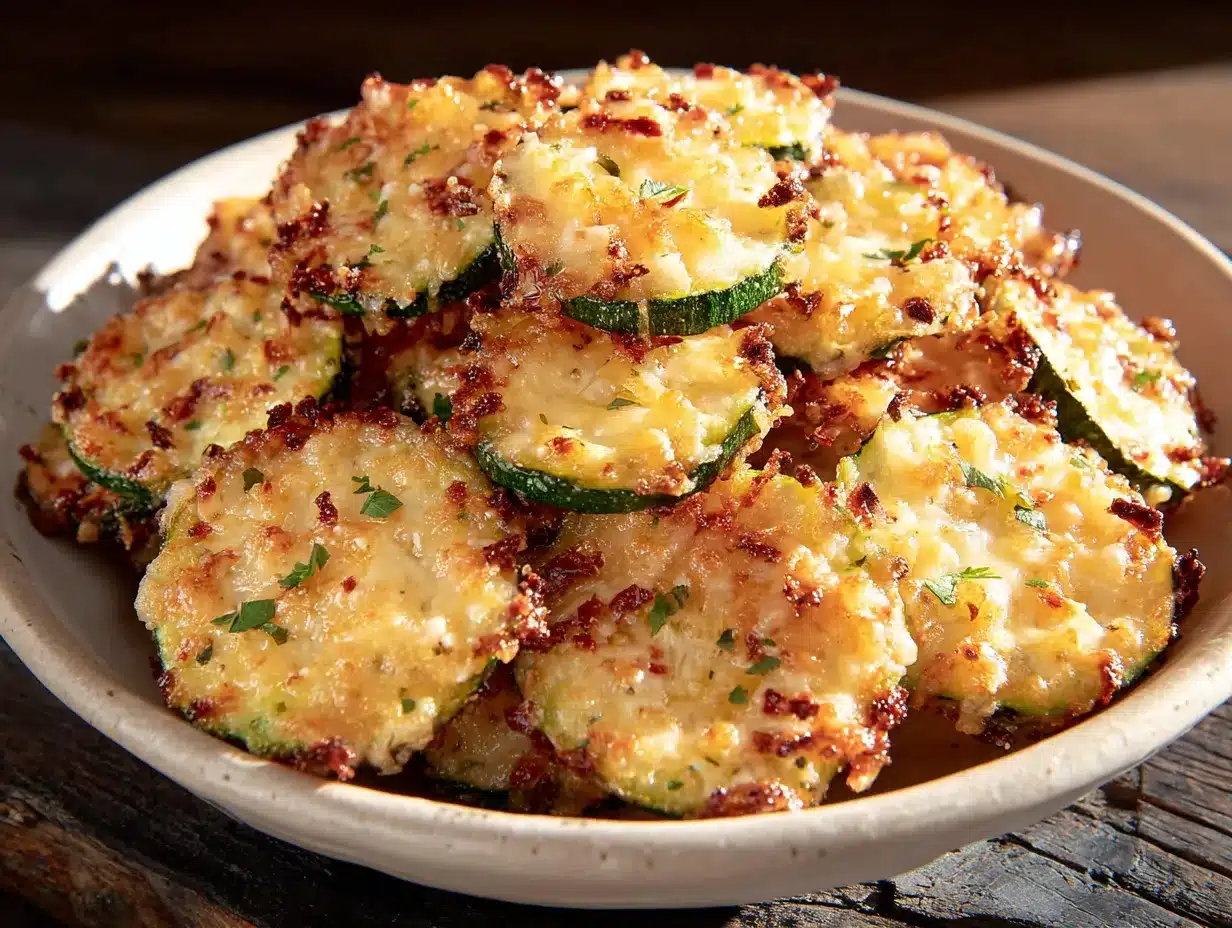
Alright, let’s make some magic happen. Follow these steps carefully, and you’ll have the crispiest parmesan zucchini chips of your life.
- Prep the zucchini: Wash and dry your zucchini. Slice them into ¼-inch rounds — not too thin or they’ll burn, not too thick or they won’t get crispy. Try to keep them as uniform as possible. I aim for about 24-30 slices total from two medium zucchini.
- Draw out the moisture: This step is non-negotiable. Place the zucchini slices in a colander, sprinkle with about ½ teaspoon of salt, and let them sit for 10 minutes. You’ll see beads of water forming on the surface — that’s exactly what we want. Pat them dry thoroughly with paper towels. I mean really dry — press down firmly. This is the difference between crispy chips and sad, soggy ones.
- Set up your breading station: Grab three shallow bowls. In the first bowl, add the ¼ cup of all-purpose flour. In the second, beat the two eggs until smooth. In the third, combine the panko breadcrumbs, grated parmesan, garlic powder, onion powder, paprika, and black pepper. Mix it all together with a fork.
- Bread the zucchini: Working one slice at a time, dredge a zucchini round in the flour, shaking off any excess. Then dip it into the egg wash, letting the excess drip off. Finally, press it into the breadcrumb mixture, coating both sides evenly. I use my fingers to really press the coating on — it helps it stick better. Place the breaded slices on a plate or cutting board while you finish the rest.
- Preheat the air fryer: Set your air fryer to 400°F and let it preheat for 3 minutes. A hot air fryer gives you that immediate sizzle that creates the perfect crust.
- Arrange in the basket: Lightly spray the air fryer basket with olive oil spray. Place the breaded zucchini slices in a single layer — don’t overcrowd them. They need space for the hot air to circulate. Depending on your air fryer size, you’ll probably need to do 2-3 batches. I know it’s tempting to cram them all in, but trust me, overcrowding leads to steaming, not crisping.
- Spray and cook: Lightly spray the tops of the zucchini chips with olive oil. This helps them brown and get that golden crunch. Cook at 400°F for 8-10 minutes, flipping halfway through. At the 5-minute mark, open the basket, flip each chip with tongs, and give them another quick spray. They’re done when they’re golden brown and crispy on the edges.
- Cool and serve: Transfer the cooked chips to a cooling rack or a plate lined with paper towels. Let them cool for 2-3 minutes — they’ll continue crisping up as they cool. Sprinkle with a little extra salt if desired and garnish with fresh parsley.
Pro Tip: If you’re making multiple batches, keep the finished chips warm in a 200°F oven on a baking sheet. Don’t stack them on top of each other or they’ll lose that crunch.
Cooking Tips & Techniques
I’ve made every mistake in the book with this recipe, so you don’t have to. Here’s what I’ve learned the hard way:
Don’t skip the salt step. The first time I made these, I was impatient and skipped salting the zucchini. The result? Soggy chips that tasted more like steamed zucchini than crispy chips. That 10-minute salt rest is absolutely crucial for drawing out moisture. Zucchini is basically a water balloon — if you don’t remove some of that water, it’ll steam instead of crisp.
Use the right breadcrumb-to-cheese ratio. I tried making these with mostly parmesan and just a little breadcrumb, thinking more cheese would mean more flavor. Wrong. The cheese burns faster than the breadcrumbs, so you need enough panko to create structure. My 1:1 ratio (half cup each) is the sweet spot.
Watch the cooking time. Air fryers can vary wildly in temperature. My first batch came out burnt because I trusted the recipe time without checking. Start checking at 7 minutes, especially for thinner slices. You’re looking for deep golden brown with slightly darker edges — that’s the perfect spot.
Work in batches. I know it’s annoying, but crowding the basket is the number one reason these chips fail. Give them room to breathe. I’d rather do three small batches than one big batch of mediocre chips.
Keep the coating on. If you’re finding that your breading falls off during cooking, you’re probably skipping the flour step or not pressing the coating firmly enough. That thin layer of flour acts like glue for the egg wash, which then holds the breadcrumbs. It’s a simple technique that makes all the difference.
Variations & Adaptations
One of the best things about this recipe is how easily it adapts to different tastes and dietary needs. Here are some variations I’ve tried and loved:
Spicy Chipotle Version: Add ½ teaspoon of chipotle powder and a pinch of cayenne to the breadcrumb mixture. The smoky heat pairs beautifully with the parmesan. I made this for a game day party and they disappeared faster than the buffalo wings.
Italian Herb Version: Mix in 1 teaspoon of dried Italian seasoning and ½ teaspoon of dried basil to the breadcrumbs. This gives the chips a pizza-like flavor that’s absolutely addictive. Serve with marinara sauce for dipping — trust me on this one.
Gluten-Free Adaptation: Substitute the all-purpose flour with almond flour or a gluten-free all-purpose blend, and use gluten-free panko. I’ve tested this with both King Arthur Measure for Measure and Bob’s Red Mill gluten-free flour — both worked perfectly. The texture is slightly different but still incredibly crispy.
Keto-Friendly Version: Replace the panko with crushed pork rinds (unflavored) and use almond flour instead of regular flour. This version is surprisingly good — the pork rinds give it a light, airy crunch that’s perfect for low-carb diets.
Cheese Variations: Try using pecorino romano instead of parmesan for a saltier, more tangy flavor. Or mix in 2 tablespoons of nutritional yeast for a dairy-free cheesy taste that vegans will love.
Serving & Storage Suggestions
These chips are best served immediately — that’s when they’re at their crispiest and most delicious. But let’s be real, they rarely last long enough to worry about storage.
Serving Temperature: Serve warm, straight from the air fryer. A light sprinkle of flaky sea salt right before serving really makes the flavors pop. I like to arrange them on a wooden board with a small bowl of marinara sauce or garlic aioli for dipping.
Perfect Pairings: These chips go beautifully with grilled chicken or fish for a light dinner. They’re also fantastic alongside a big green salad with lemon vinaigrette. For a snack spread, serve them with hummus, ranch dip, or a spicy sriracha mayo.
Storage: If you somehow have leftovers (unlikely, but possible), store them in an airtight container at room temperature for up to 2 days. Don’t refrigerate them — the moisture will make them soggy.
Reheating: The air fryer is your best friend here. Reheat at 350°F for 3-4 minutes, and they’ll come back to life. I don’t recommend the microwave — it turns them into sad, chewy discs.
Flavor Development: Honestly, these are best fresh. The coating loses its crunch over time, and the zucchini releases moisture that softens everything. Plan to make only what you’ll eat in one sitting — they’re so quick to make that it’s worth doing a fresh batch.
Nutritional Information & Benefits
Let’s talk numbers. Per serving (about 6-8 chips, assuming 4 servings total):
| Nutrient | Amount |
|---|---|
| Calories | 145 |
| Total Fat | 7g |
| Saturated Fat | 3g |
| Cholesterol | 95mg |
| Sodium | 420mg |
| Total Carbohydrates | 12g |
| Dietary Fiber | 2g |
| Sugars | 3g |
| Protein | 10g |
These chips are a great way to sneak more vegetables into your day. Zucchini is packed with vitamin C, vitamin A, and antioxidants like lutein and zeaxanthin that support eye health. The parmesan adds a good dose of calcium and protein, while the air fryer method keeps the fat content much lower than traditional deep-frying.
Dietary Considerations: This recipe is vegetarian and can easily be made gluten-free or low-carb with the substitutions mentioned above. It contains dairy (parmesan) and eggs, so it’s not suitable for vegan diets without modification. The nutritional values are estimates and will vary based on specific ingredients and portion sizes.
Conclusion
These crispy parmesan zucchini chips have become a staple in my kitchen for good reason. They’re quick, they’re satisfying, and they make vegetables feel like a treat instead of a chore. Every time I make them, I think back to that moment in Gina’s kitchen — and I smile knowing that I’ve finally recreated that magic.
What I love most about this recipe is how forgiving it is. You can tweak the seasonings, swap the cheese, or adjust the cooking time based on your air fryer — and it’ll still turn out delicious. It’s the kind of recipe that builds confidence in the kitchen because it works every single time.
I’d love to hear how these turn out for you. Did you try a variation? Did they disappear as fast at your house as they do at mine? Drop a comment below and let me know — your feedback helps other readers too. And if you loved this recipe, share it with a friend who needs a new go-to snack. Happy cooking, friends!
Frequently Asked Questions
Can I make these in a regular oven instead of an air fryer?
Absolutely! Preheat your oven to 425°F, line a baking sheet with parchment paper, and arrange the breaded zucchini in a single layer. Bake for 12-15 minutes, flipping halfway through, until golden and crispy. They won’t be quite as crunchy as the air fryer version, but they’re still delicious.
Why did my breading fall off during cooking?
This usually happens for one of three reasons: you skipped the flour step, you didn’t press the breadcrumbs firmly enough, or the zucchini wasn’t dry enough before breading. Make sure to pat the zucchini very dry after the salt rest, and really press that coating on with your fingers.
Can I use yellow squash instead of zucchini?
Yes! Yellow squash works beautifully in this recipe. It has a slightly milder flavor and a bit more moisture, so make sure to salt it well and pat it dry. The cooking time should be about the same.
How do I keep the chips crispy if I’m making multiple batches?
Place the finished chips on a cooling rack set over a baking sheet in a 200°F oven. This keeps them warm and allows air to circulate around them, preventing sogginess. Don’t stack them or cover them with foil.
Can I freeze these for later?
I don’t recommend freezing these after cooking — the texture suffers too much. However, you can freeze the breaded, uncooked zucchini slices on a baking sheet, then transfer them to a freezer bag. Cook them straight from frozen, adding 2-3 minutes to the cooking time.
Pin This Recipe!
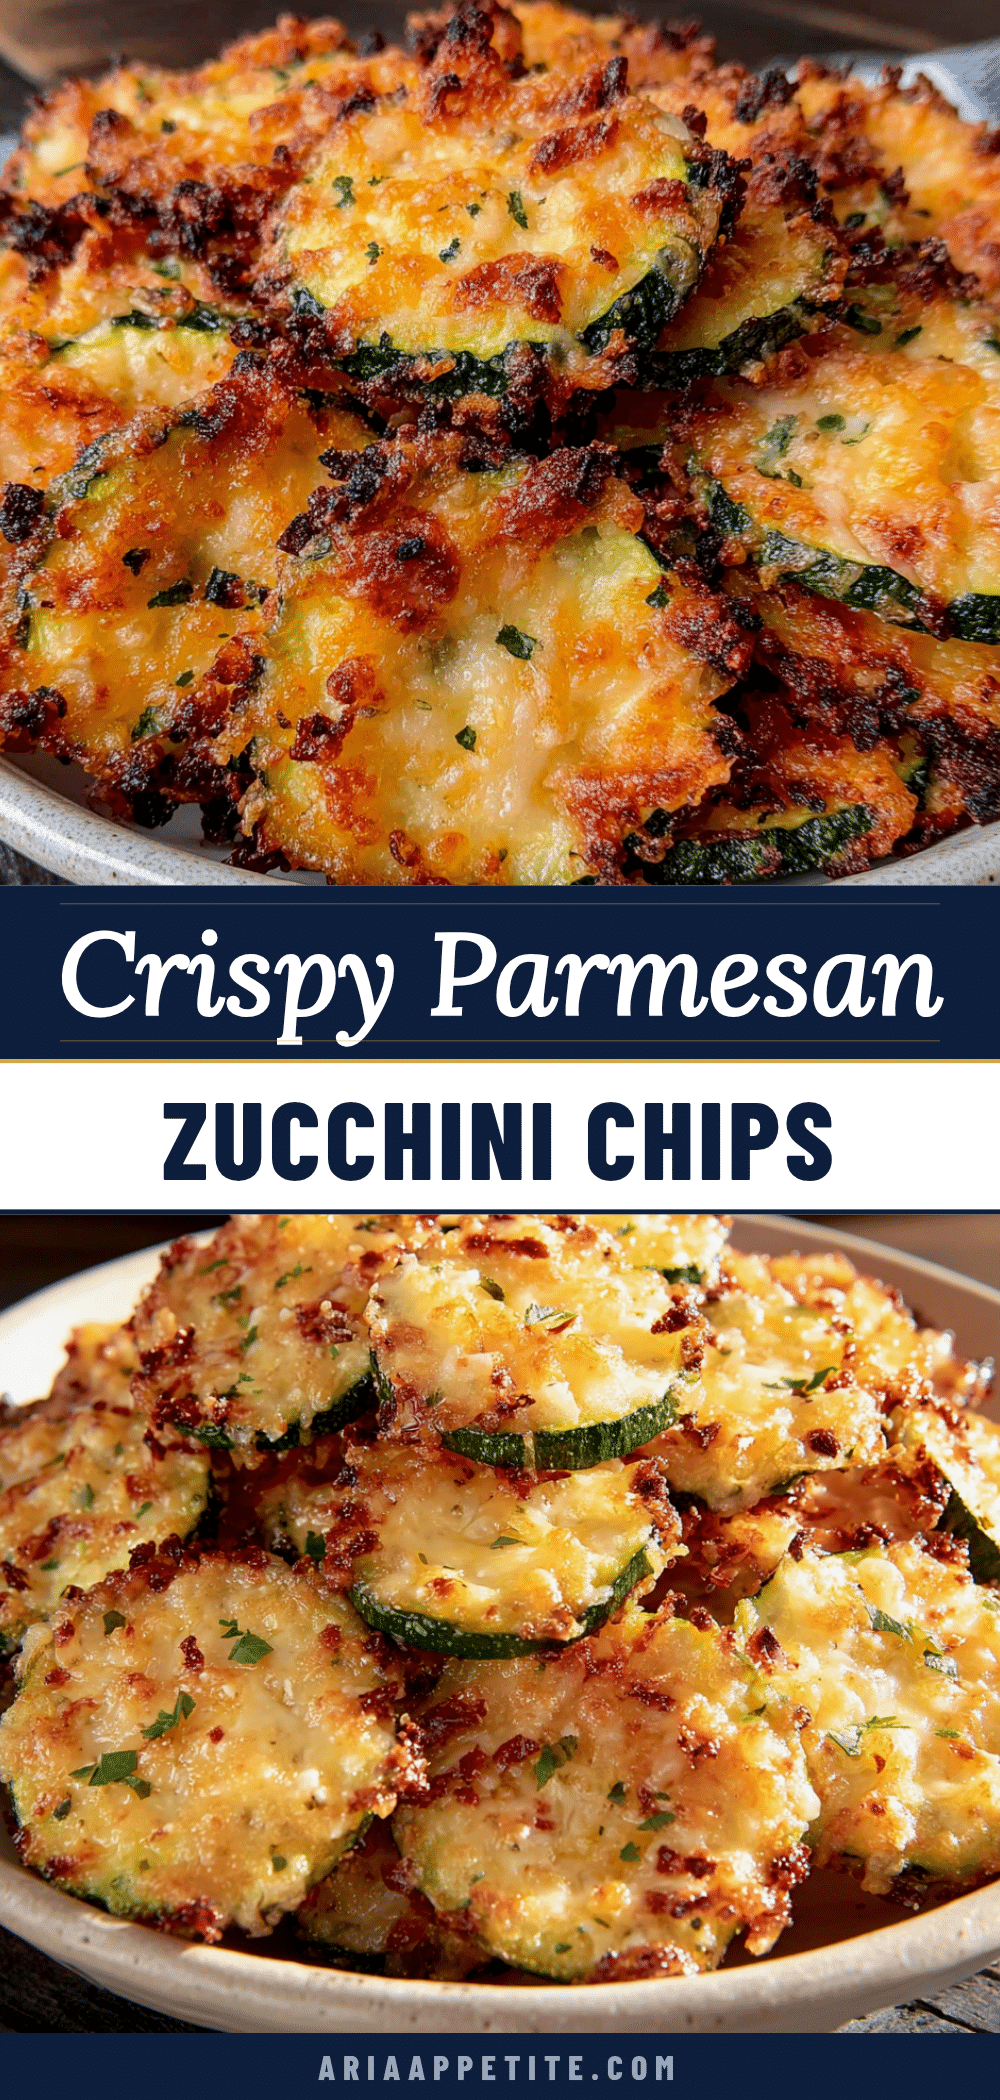
Best Crispy Air Fryer Parmesan Zucchini Chips Recipe

These crispy parmesan zucchini chips are quick, easy, and perfect for snacking. Made in the air fryer, they deliver a satisfying crunch with tender zucchini inside, all without the guilt of deep-frying.
- Prep Time: 15 minutes
- Cook Time: 10 minutes
- Total Time: 25 minutes
- Yield: 4 servings 1x
- Category: Appetizer
- Cuisine: American
Ingredients
- 2 medium zucchini (about 8–10 ounces each), sliced into ¼-inch rounds
- ½ cup finely grated Parmesan cheese (preferably Parmigiano-Reggiano)
- ½ cup panko breadcrumbs
- 2 large eggs, beaten
- ¼ cup all-purpose flour
- ½ teaspoon garlic powder
- ¼ teaspoon onion powder
- ¼ teaspoon paprika (smoked paprika recommended)
- ½ teaspoon salt (plus more for drawing moisture out of zucchini)
- ¼ teaspoon freshly ground black pepper
- Olive oil spray (or avocado oil spray)
- 2 tablespoons fresh parsley, chopped (optional, for garnish)
Instructions
- Prep the zucchini: Wash and dry the zucchini. Slice into ¼-inch rounds, aiming for about 24-30 slices total.
- Draw out the moisture: Place zucchini slices in a colander, sprinkle with about ½ teaspoon salt, and let sit for 10 minutes. Pat dry thoroughly with paper towels.
- Set up breading station: In three shallow bowls, place flour in the first, beaten eggs in the second, and combine panko, Parmesan, garlic powder, onion powder, paprika, and black pepper in the third.
- Bread the zucchini: Working one slice at a time, dredge in flour (shake off excess), dip in egg wash, then press into breadcrumb mixture, coating both sides evenly. Place on a plate.
- Preheat air fryer to 400°F for 3 minutes.
- Lightly spray air fryer basket with olive oil. Arrange breaded zucchini in a single layer without overcrowding (work in batches if needed).
- Lightly spray tops with olive oil. Cook at 400°F for 8-10 minutes, flipping halfway through (at 5 minutes, flip and spray again). Cook until golden brown and crispy.
- Transfer to a cooling rack or paper towel-lined plate. Let cool 2-3 minutes. Sprinkle with extra salt if desired and garnish with parsley.
Notes
Don’t skip salting the zucchini to draw out moisture—it’s crucial for crispiness. Use a 1:1 ratio of panko to Parmesan for best texture. Work in batches to avoid overcrowding. For oven baking, use 425°F for 12-15 minutes, flipping halfway.
Nutrition
- Serving Size: 6-8 chips
- Calories: 145
- Sugar: 3
- Sodium: 420
- Fat: 7
- Saturated Fat: 3
- Carbohydrates: 12
- Fiber: 2
- Protein: 10
Keywords: air fryer zucchini chips, parmesan zucchini chips, crispy zucchini chips, healthy snack, air fryer recipe, zucchini recipe


