Love this? Save it for later!
Share the inspiration with your friends
Last Saturday, my coworker watched me fumble with my usual chocolate chip cookie recipe—trying to get that perfect balance between chewy and gooey without much luck. She didn’t say a word at first, just smiled and casually mentioned, “Try baking them with a little less flour and a touch more brown sugar.” That small tip came with a story about how her grandmother always made cookies that had scrumptiously chewy edges and those irresistible gooey centers. Honestly, I was skeptical at first, but I gave it a shot that same evening.
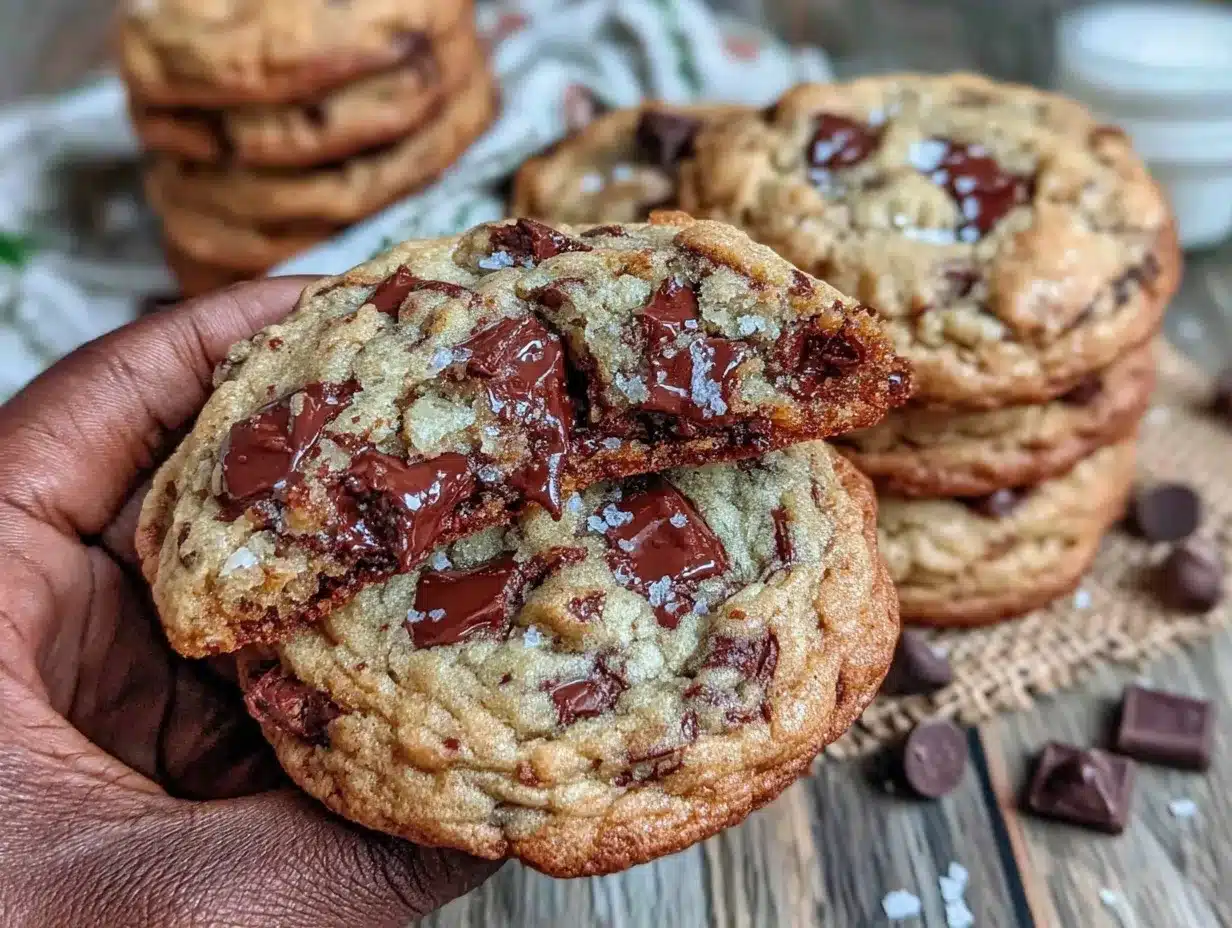
Let me tell you, the way those cookies came out of the oven was like a little warm hug on a plate. The centers were soft, almost molten, while the edges stayed perfectly chewy—something I hadn’t quite mastered before. The memory of that afternoon stuck with me, especially the way the kitchen smelled rich and comforting, like a quiet conversation between flour and chocolate chips. Maybe you’ve been there, chasing that elusive cookie texture that just feels right. This recipe is exactly that—passed along through everyday kitchen talks and then tweaked until it became my go-to for perfect chewy chocolate chip cookies with gooey centers.
And honestly, there’s a tiny imperfection I adore: the first batch I made, I forgot to set the timer and almost overbaked them. The result? A happy accident where some cookies had a slightly crispier edge but still oozy middle, which I now purposely aim for. So, this recipe isn’t just a set of instructions; it’s a story about patience, a few happy mistakes, and the joy of sharing something simple yet unforgettable. Let’s get baking!
Why You’ll Love This Recipe
If you’ve ever struggled to bake cookies that are chewy yet gooey in the center, this recipe is made for you. After many trials and tweaks, I’ve landed on a version that hits all the right notes—trust me, your kitchen will thank you.
- Quick & Easy: Ready in under 30 minutes, perfect for those spontaneous cookie cravings or last-minute gatherings.
- Simple Ingredients: Uses common pantry staples—no fancy or hard-to-find items needed.
- Perfect for Any Occasion: Whether it’s a cozy night in or a casual party, these cookies bring smiles all around.
- Crowd-Pleaser: Kids, adults, picky eaters—everyone asks for seconds.
- Unbelievably Delicious: The texture combo of chewy edges with gooey centers is comfort food at its finest.
This isn’t just another chocolate chip cookie recipe. What makes it stand out is the careful balance of ingredients—especially the use of more brown sugar for moisture and a bit less flour to keep things soft. Plus, the baking time and temperature are just right to lock in that melty center without turning the whole cookie cakey. Honestly, the first bite feels like a warm, chocolatey secret you want to keep but also share with everyone.
It’s the kind of recipe that makes you close your eyes and savor the moment. You can impress guests without the stress of complicated steps, or just treat yourself on a random Tuesday evening. That’s why this recipe has stuck with me—and I’m sure it will with you too.
What Ingredients You Will Need
This recipe uses simple, wholesome ingredients to deliver bold flavor and a perfectly chewy texture with gooey centers. Most of these are pantry staples, but I’ll include a few tips on picking the right versions for the best results.
- All-purpose flour – 2 ¼ cups (280g); sifted to avoid lumps and ensure tenderness
- Baking soda – 1 teaspoon; for that gentle rise and chewiness
- Salt – ½ teaspoon; balances sweetness and enhances flavor
- Unsalted butter – 1 cup (227g), softened but not melted (I prefer Land O’Lakes for texture)
- Brown sugar – 1 ¼ cups (packed, about 250g); gives moisture and that caramel-y depth
- Granulated sugar – ¼ cup (50g); adds slight crispness to edges
- Large eggs – 2, at room temperature; they bind everything nicely
- Pure vanilla extract – 2 teaspoons; choose a high-quality brand for rich aroma
- Chocolate chips – 2 cups (about 340g); semi-sweet or a mix of semi-sweet and milk chocolate works best
- Optional: chopped walnuts or pecans – ½ cup (60g); for a little crunch if you like
If you’re looking to tweak this recipe, you can swap all-purpose flour with almond flour for a gluten-free option, but the texture will be slightly different. Also, if dairy is a concern, substitute butter with a vegan spread and choose dairy-free chocolate chips. In summer, I sometimes add a handful of fresh raspberries for a fruity twist, but they do add moisture, so bake slightly less.
Equipment Needed
- Mixing bowls: One large for wet ingredients, another for dry ingredients
- Electric hand mixer or stand mixer: Makes creaming butter and sugar easier, but a sturdy whisk and some elbow grease work fine too
- Measuring cups and spoons: Accurate measurements mean better cookies
- Baking sheet: A heavy-duty, rimmed cookie sheet prevents spreading and burning
- Parchment paper or silicone baking mat: Keeps cookies from sticking and makes cleanup a breeze
- Cooling rack: Helps cookies cool evenly without getting soggy on the bottom
If you don’t have a mixer, no worries—just mix thoroughly by hand. I’ve also found that a silicone spatula is handy for folding in chocolate chips without breaking them. A digital kitchen timer is a lifesaver for nailing that gooey center without overbaking. For budget-conscious bakers, parchment paper and silicone mats are affordable tools that save time and hassle.
Preparation Method
- Preheat your oven to 350°F (175°C). Line your baking sheet with parchment paper or a silicone mat to prevent sticking. This usually takes about 10 minutes, so it’s good to start here.
- Mix dry ingredients: In a bowl, sift together 2 ¼ cups (280g) of all-purpose flour, 1 teaspoon baking soda, and ½ teaspoon salt. Set this aside; it’s your dry mix. This step usually takes 3-4 minutes and ensures no clumps.
- Cream the butter and sugars: In a large bowl, beat 1 cup (227g) softened unsalted butter with 1 ¼ cups brown sugar and ¼ cup granulated sugar until the mixture is light and fluffy. This can take around 3-5 minutes on medium speed with a mixer—or 7-8 minutes by hand. The texture should be creamy, not greasy.
- Add eggs and vanilla: Beat in 2 room temperature eggs, one at a time, and then add 2 teaspoons vanilla extract. Mix until just combined but don’t overbeat—otherwise, cookies can get cakey.
- Combine wet and dry: Gradually add the dry mixture to the wet ingredients, folding gently with a spatula or mixing on low speed. Stop mixing as soon as the flour disappears to keep the dough tender. This takes about 2-3 minutes.
- Fold in chocolate chips: Gently mix in 2 cups semi-sweet chocolate chips and, if using, ½ cup chopped nuts. Make sure they’re evenly distributed but don’t overwork the dough.
- Portion the dough: Using a cookie scoop or tablespoon, drop rounded balls of dough onto the prepared baking sheet, spacing them about 2 inches apart. This should yield around 24 cookies.
- Bake: Place the tray in the preheated oven and bake for 10-12 minutes. The edges should look set and slightly golden, but the centers will still look soft and slightly underdone—this is key for gooey centers. If you prefer a little more bake, add a minute or two but watch carefully.
- Cool properly: Let the cookies rest on the baking sheet for 5 minutes before transferring them to a cooling rack. This helps them set without losing the gooey middle.
If you notice the cookies are spreading too thin, chill the dough in the fridge for 15-20 minutes before baking. And if your kitchen feels warm, that can also affect the dough consistency—sometimes I pop mine in the fridge just to firm up before scooping.
Cooking Tips & Techniques
Getting the perfect chewy chocolate chip cookies with gooey centers takes a bit of finesse, but once you know a few tricks, it’s a breeze.
- Butter temperature matters: Softened, not melted, butter traps air for fluffiness while keeping the dough moist. Melted butter tends to make cookies flat and crispy.
- Brown sugar is your friend: Its molasses content adds moisture and chewiness. Don’t skimp on it.
- Don’t overmix: Once you add the flour, mix just until combined. Overworking develops gluten, which can make cookies tough.
- Watch your oven: Every oven is different. Start checking cookies at 10 minutes, and pull them out when edges are golden but centers look soft.
- Use parchment or silicone mats: They promote even baking and prevent bottoms from burning.
- Multitasking tip: While cookies bake, prep your cleanup or chill the next batch of dough. The kitchen stays organized, and the process feels smoother.
I once baked a batch with room-temperature butter that was a little too soft, and the cookies spread way too much. Lesson learned: keep butter just soft enough to press in but not feel greasy. Also, timing is everything—set that timer and don’t get distracted (trust me on this).
Variations & Adaptations
This cookie recipe is a great base for a handful of tasty twists.
- Gluten-Free: Swap the all-purpose flour for a 1:1 gluten-free baking blend. The texture will be slightly different but still chewy and delicious.
- Vegan Version: Use vegan butter and flax eggs (1 tablespoon ground flaxseed + 3 tablespoons water per egg). Choose dairy-free chocolate chips.
- Flavor Boost: Add a pinch of cinnamon or espresso powder for depth. You could also swap half the chocolate chips for chunks of dark chocolate or toffee bits for contrast.
- Seasonal Fruits: In fall, toss in dried cranberries or chopped dried apricots. In summer, fresh raspberries can add a tangy surprise.
- Nut-Free: Simply omit nuts or replace with sunflower seeds for crunch.
One variation I love is stirring in a tablespoon of creamy peanut butter with the butter and sugars—it adds a subtle nutty flavor and keeps cookies moist. It’s a fun twist for peanut butter fans!
Serving & Storage Suggestions
These chocolate chip cookies are best enjoyed warm, fresh out of the oven, when the centers are still gooey and the aroma fills your kitchen. Serve them with a cold glass of milk or a cup of coffee for a classic pairing.
If you want to serve later, store cookies in an airtight container at room temperature for up to 4 days. To keep that gooey center, warm them for 10-15 seconds in the microwave before serving. Freezing is also an option—freeze baked cookies for up to 3 months. Thaw at room temperature and warm slightly.
Over time, the cookies will firm up and the gooey center becomes more cake-like, which is nice if you prefer a chewier, less melty texture. For parties, I’ve found that laying cookies out on a pretty platter with some fresh fruit or a dip, like chocolate ganache, makes them look extra special.
For those interested in how to keep cookies soft longer, adding a slice of bread in the container helps keep moisture in—just don’t let the bread get moldy!
Nutritional Information & Benefits
Estimated per cookie (based on 24 cookies): 190 calories, 9g fat, 25g carbohydrates, 2g protein.
This recipe provides energy-boosting carbohydrates and a good dose of antioxidants from dark chocolate chips. Using brown sugar adds trace minerals like calcium and potassium. Choosing quality butter and eggs contributes some vitamins and healthy fats. For those watching gluten intake, the recipe can be adapted easily.
While these cookies are an indulgence, they can be part of a balanced diet when enjoyed in moderation. I find that making them at home gives me control over ingredients and freshness, compared to store-bought options loaded with preservatives.
Conclusion
The perfect chewy chocolate chip cookies with gooey centers are worth every minute of effort. This recipe is simple enough for busy days but special enough to feel like a treat you made just for yourself. Customize it as you like—add nuts, swap flours, or sneak in a favorite spice. What matters is that each cookie brings you that warm, comforting feeling every baker craves.
I keep coming back to this recipe because it feels like sharing a moment—a quiet conversation between ingredients and memories. If you try it, I’d love to hear how you make it your own. Don’t forget to leave a comment or share your tweaks. Happy baking, and may your cookie jar never be empty!
FAQs
How do I keep my chocolate chip cookies soft for longer?
Store cookies in an airtight container with a slice of bread inside; the bread helps keep moisture in. Also, avoid overbaking for maximum softness.
Can I freeze cookie dough?
Yes! Scoop dough onto a tray, freeze until firm, then transfer to a freezer bag. Bake frozen dough adding a couple of extra minutes to the baking time.
Why do my cookies spread too much?
This usually happens if the butter is too soft or melted, or if the dough is too warm. Chill the dough for 15-20 minutes before baking.
Can I use different types of chocolate chips?
Absolutely! Semi-sweet is classic, but mixing in milk, dark, or white chocolate chips adds variety and flavor depth.
How do I achieve gooey centers without underbaking the edges?
Bake at 350°F (175°C) and pull cookies out when edges are golden but centers still look soft. Let them cool on the baking sheet to finish setting.
Pin This Recipe!
Perfect Chewy Chocolate Chip Cookies

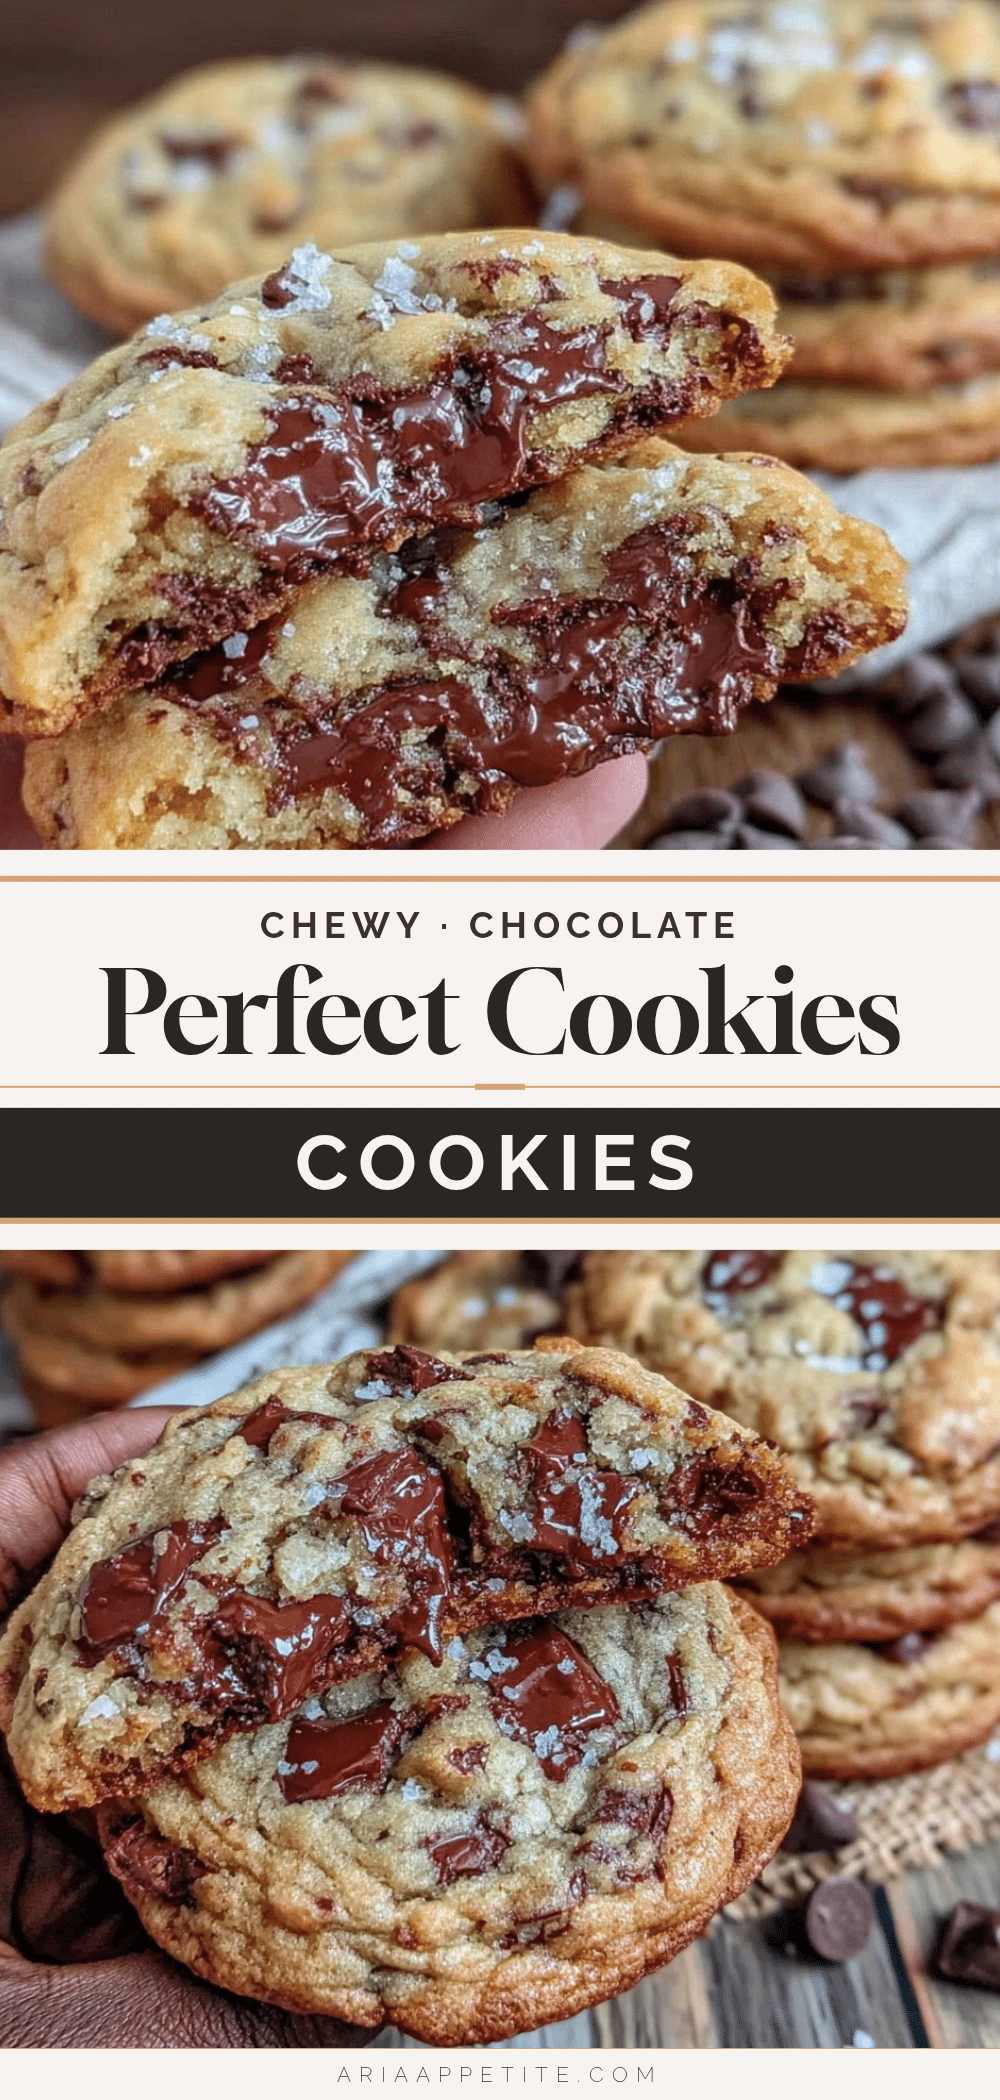
This recipe delivers chocolate chip cookies with perfectly chewy edges and irresistibly gooey centers, balancing moisture and texture for a comforting treat.
- Prep Time: 15 minutes
- Cook Time: 12 minutes
- Total Time: 27 minutes
- Yield: 24 cookies 1x
- Category: Dessert
- Cuisine: American
Ingredients
- 2 ¼ cups (280g) all-purpose flour, sifted
- 1 teaspoon baking soda
- ½ teaspoon salt
- 1 cup (227g) unsalted butter, softened but not melted
- 1 ¼ cups (packed, about 250g) brown sugar
- ¼ cup (50g) granulated sugar
- 2 large eggs, at room temperature
- 2 teaspoons pure vanilla extract
- 2 cups (about 340g) semi-sweet chocolate chips
- Optional: ½ cup (60g) chopped walnuts or pecans
Instructions
- Preheat your oven to 350°F (175°C). Line your baking sheet with parchment paper or a silicone mat to prevent sticking.
- In a bowl, sift together 2 ¼ cups (280g) of all-purpose flour, 1 teaspoon baking soda, and ½ teaspoon salt. Set aside.
- In a large bowl, beat 1 cup (227g) softened unsalted butter with 1 ¼ cups brown sugar and ¼ cup granulated sugar until light and fluffy, about 3-5 minutes with a mixer or 7-8 minutes by hand.
- Beat in 2 room temperature eggs, one at a time, then add 2 teaspoons vanilla extract. Mix until just combined.
- Gradually add the dry mixture to the wet ingredients, folding gently with a spatula or mixing on low speed until flour disappears, about 2-3 minutes.
- Gently fold in 2 cups semi-sweet chocolate chips and, if using, ½ cup chopped nuts.
- Using a cookie scoop or tablespoon, drop rounded balls of dough onto the prepared baking sheet, spacing about 2 inches apart, yielding around 24 cookies.
- Bake for 10-12 minutes until edges are set and slightly golden but centers remain soft and slightly underdone. Add 1-2 minutes if a firmer center is preferred, watching carefully.
- Let cookies rest on the baking sheet for 5 minutes before transferring to a cooling rack to set without losing gooey centers.
Notes
Use softened but not melted butter to trap air and keep dough moist. Do not overmix after adding flour to avoid tough cookies. Watch oven closely to pull cookies when edges are golden but centers remain soft for gooey texture. Chill dough 15-20 minutes if cookies spread too thin. Store cookies with a slice of bread in an airtight container to keep them soft longer.
Nutrition
- Serving Size: 1 cookie
- Calories: 190
- Fat: 9
- Carbohydrates: 25
- Protein: 2
Keywords: chocolate chip cookies, chewy cookies, gooey centers, easy cookie recipe, homemade cookies, baking, dessert