Love this? Save it for later!
Share the inspiration with your friends
Introduction
There used to be a tiny deli tucked away near my office in Portland that made these incredible little turkey and cheese lunchables with house-made crackers. When they closed suddenly one rainy Thursday, I was honestly crushed — those snacks were my go-to mid-afternoon pick-me-up and perfect for my kid’s lunchbox. After about six tries (and way more crumbs than I want to admit), I finally got it down to a recipe that tastes just like those beloved bites, maybe even better. You know that feeling when you’re chasing a flavor memory and it just won’t quit? That was me, surrounded by half-baked crackers and turkey slices, determined to crack the code. Let me tell you, the warmth spreading through my kitchen that day felt like a little victory worth savoring. Maybe you’ve been there—trying to recreate something that just disappeared from your life, only to discover it can be yours again, homemade and fresh. This Easy DIY Lunchable Crackers with Turkey and Cheese recipe is exactly that for me, and I keep making it because it’s simple, fun, and always hits the spot.
Why You’ll Love This Recipe
Honestly, this recipe nails the balance between convenience and homemade goodness. After testing dozens of cracker doughs and turkey slice combos, I’ve landed on a version that’s both quick and satisfying. Here’s why it might just become your new favorite:
- Quick & Easy: Comes together in under 30 minutes, perfect for busy weeknights or last-minute lunch packing.
- Simple Ingredients: No fancy or hard-to-find items—just basics you probably have in your pantry and fridge.
- Perfect for Kids’ Lunches: Fun to assemble and eat, making lunchtime a little more exciting for your little ones.
- Crowd-Pleaser: Both kids and adults love the crisp crackers paired with savory turkey and melty cheese.
- Unbelievably Delicious: The crackers have just the right crunch and seasoning, elevating the turkey and cheese combo to a new level of yum.
This isn’t just a rushed assembly of lunchbox staples—it’s a recipe that’s been fine-tuned to bring out the best in each ingredient. The crackers, for instance, get a little hint of herbs and cheese baked right in for an irresistible flavor boost. I’ve swapped out boring pre-packaged crackers for these easy homemade ones, and honestly, it’s a game changer. Plus, it’s a great way to make lunches feel homemade without spending hours in the kitchen.
What Ingredients You Will Need
This recipe uses simple, wholesome ingredients to deliver bold flavor and satisfying crunch without fuss. Here’s what you’ll need for the crackers, turkey, and cheese components:
- For the Crackers:
- All-purpose flour – 1 1/2 cups (190g), sifted for a tender texture
- Unsalted butter – 1/3 cup (75g), cold and cubed (adds richness and flakiness)
- Sharp cheddar cheese – 1/2 cup (50g), finely shredded (for cheesy flavor inside the crackers)
- Cold water – 4-5 tablespoons (60-75ml), to bring the dough together
- Salt – 1/2 teaspoon, for seasoning
- Dried Italian herbs – 1 teaspoon (optional, but adds a nice herby note)
- For the Turkey and Cheese Filling:
- Thinly sliced deli turkey – about 6 ounces (170g), preferably roasted or smoked
- Cheddar cheese slices – 6 slices (or your kid’s favorite cheese)
- Optional: mustard or mayo for a little extra zing
I like using a sharp cheddar like Tillamook for the crackers because it melts beautifully and adds a punch of flavor. For the turkey, any good-quality deli meat works, but the smoky ones tend to mimic that nostalgic deli taste better. If you’re looking for a gluten-free option, you can swap the all-purpose flour for a gluten-free blend—it works surprisingly well. And if cheddar isn’t your thing, try mozzarella for a milder, melty alternative.
Equipment Needed
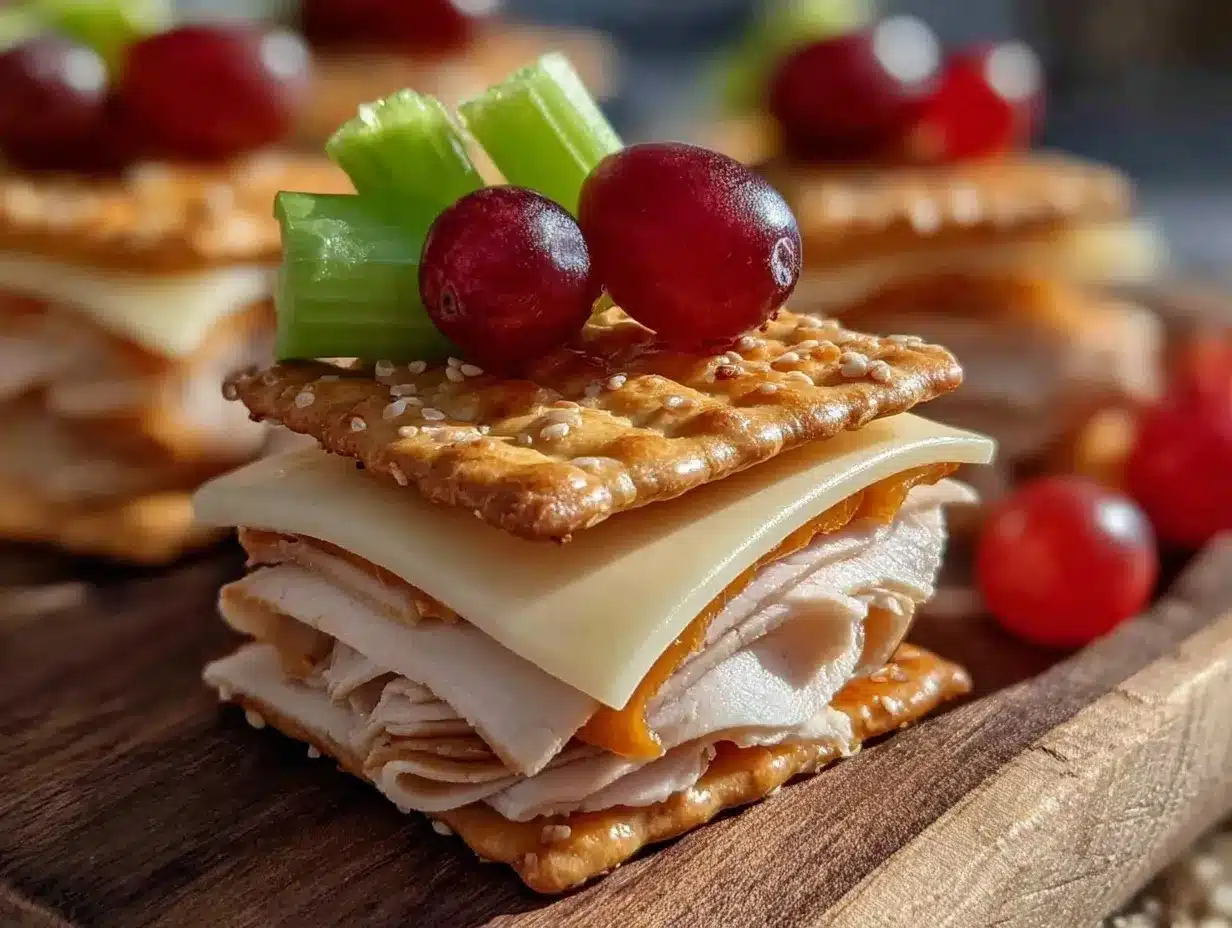
- Mixing bowl – for combining the dough ingredients
- Pastry cutter or fork – to cut butter into the flour (a food processor works too if you have one)
- Rolling pin – to roll the dough evenly (a clean wine bottle can work in a pinch!)
- Baking sheet – lined with parchment paper for easy cleanup
- Sharp knife or pizza cutter – to cut crackers into squares
- Measuring cups and spoons – for precise ingredient amounts
I’ve tried making these crackers with both a food processor and by hand; honestly, hand-mixing gives you better control over the dough texture. Also, I recommend investing in a good rolling pin with handles—it makes rolling smoother and less tiring. If you don’t have parchment paper, silicone baking mats work well for preventing sticking and helping with even baking.
Preparation Method
- Preheat the oven: Set your oven to 350°F (175°C). Line a baking sheet with parchment paper to prevent sticking and for easy cleanup. (5 minutes)
- Make the cracker dough: In a large mixing bowl, combine 1 1/2 cups (190g) sifted all-purpose flour, 1/2 teaspoon salt, and 1 teaspoon dried Italian herbs if using. Add 1/3 cup (75g) cold unsalted butter cut into cubes. Using a pastry cutter or fork, cut the butter into the flour mixture until it resembles coarse crumbs with pea-sized bits of butter. (8 minutes)
- Add cheese and water: Stir in 1/2 cup (50g) shredded sharp cheddar cheese. Gradually add 4 to 5 tablespoons (60-75ml) cold water, mixing gently until the dough just comes together. It should be slightly crumbly but hold when pressed. Avoid overworking the dough to keep crackers tender. (5 minutes)
- Roll out the dough: Lightly flour your work surface and roll the dough out to about 1/8 inch (3mm) thickness. The thinner, the crispier the crackers! Don’t worry if it’s not perfect; rustic shapes add charm. (7 minutes)
- Cut and place crackers: Use a sharp knife or pizza cutter to cut the dough into 1.5-inch (4cm) squares. Transfer carefully onto the prepared baking sheet, spacing them about 1/2 inch (1cm) apart. (5 minutes)
- Dock the crackers: Use a fork to prick each cracker a few times—this prevents puffing during baking and keeps them flat and crisp. (3 minutes)
- Bake: Place the baking sheet in the oven and bake for 15-18 minutes, or until the crackers are golden brown around the edges. Keep an eye on them to avoid burning—every oven is a little different. (15-18 minutes)
- Cool completely: Remove crackers from the oven and let them cool on a wire rack. This helps them crisp up fully. (20 minutes)
- Assemble Lunchables: Layer turkey slices and cheese on the crackers. Add a dab of mustard or mayo if you like. Serve immediately or pack into lunch containers. (5 minutes)
If the dough feels too dry at step 3, add an extra teaspoon of water, but be cautious to avoid a sticky mess. When rolling, flour your pin lightly to stop sticking. The first time I made these, I forgot the herbs and the crackers were good but missing that little something, so don’t skip that optional step if you want the full flavor experience. Also, make sure crackers cool fully before stacking to keep that perfect crunch!
Cooking Tips & Techniques
Getting homemade crackers just right can feel tricky, but here are some tips I picked up after quite a few trial runs:
- Keep ingredients cold: Cold butter and water help create flaky crackers. If your kitchen is warm, pop the dough in the fridge for 15 minutes before rolling.
- Don’t overwork the dough: Mixing too much can develop gluten, making crackers tough instead of crisp.
- Roll thin and even: Uneven thickness leads to some crackers undercooked while others burn. Use light pressure and turn the dough frequently.
- Dock the dough well: Pricking holes prevents puffing and keeps the cracker flat and crispy.
- Watch the baking time: Crackers can go from golden to burnt quickly. Start checking at 15 minutes and adjust accordingly.
- Cool completely: This step is crucial for crispness. Warm crackers might feel soft but harden as they cool.
One time, I got distracted and left the crackers in five minutes too long, and while most were perfect, a few got a bit too toasted—lesson learned! Also, multitasking helps: I prepare the filling while the crackers bake so assembly is quick. Consistency comes with practice, but the dough is forgiving, so even imperfect crackers taste great.
Variations & Adaptations
Feel free to tweak this Easy DIY Lunchable Crackers with Turkey and Cheese recipe to suit your taste or dietary needs:
- Gluten-Free: Swap the all-purpose flour for a gluten-free blend like Bob’s Red Mill 1-to-1 Baking Flour. The texture will be slightly different but still delicious.
- Herb and Spice Variations: Try adding smoked paprika, garlic powder, or rosemary to the dough for new flavor profiles.
- Cheese Alternatives: Use mozzarella, gouda, or pepper jack in the dough and for the filling to mix things up.
- Vegetarian Version: Replace turkey with sliced avocado, cucumber, or hummus for a meatless option.
- Seasonal Twists: In fall, add a pinch of cinnamon and nutmeg to the cracker dough for a cozy touch.
I once swapped turkey for leftover roasted chicken and added a smear of cranberry sauce for a Thanksgiving-inspired lunch—my kids loved it! You can also bake the crackers in fun shapes using cookie cutters to make lunchtime even more exciting for little hands.
Serving & Storage Suggestions
These Easy DIY Lunchable Crackers with Turkey and Cheese are best served fresh and crisp at room temperature. For lunchboxes, pack the crackers and turkey-cheese slices separately to keep crackers crunchy until lunchtime.
- Presentation: Arrange crackers on a plate with turkey and cheese slices for a colorful, inviting snack.
- Pairings: Serve with baby carrots, apple slices, or a small cup of your kid’s favorite dip.
- Storage: Store leftover crackers in an airtight container at room temperature for up to 3 days. Avoid refrigeration which can soften them.
- Reheating: If crackers lose crunch, pop them in a 300°F (150°C) oven for 3-5 minutes to revive crispness.
Flavors develop slightly as crackers rest, getting a touch nuttier from the baked cheese. Just remember to keep turkey and cheese chilled until ready to serve for food safety and best texture.
Nutritional Information & Benefits
This homemade lunchable packs a balanced mix of protein, carbs, and fats, making it a nourishing option for kids and adults alike. Here’s an estimate per serving (about 6 crackers with turkey and cheese):
| Calories | 280 |
|---|---|
| Protein | 18g |
| Carbohydrates | 20g |
| Fat | 12g |
| Fiber | 1.5g |
Key benefits include lean turkey protein for muscle repair and cheddar cheese’s calcium and vitamin A. Using homemade crackers cuts down on preservatives and excess sodium found in many store-bought options. For gluten-free diets, simple flour swaps make this recipe accessible. Just note the dairy and wheat allergens present, and swap accordingly if needed.
Conclusion
This Easy DIY Lunchable Crackers with Turkey and Cheese recipe is truly a little kitchen triumph — simple, tasty, and reminiscent of those deli treats I missed so much. I love how it brings a touch of homemade care to busy days without needing a ton of time or fancy ingredients. You can easily adjust the flavors or ingredients to fit your family’s preferences, making it a recipe that grows with you. Honestly, making these crackers from scratch feels like a small celebration every time, and I hope you find the same joy in them. If you try this recipe, I’d love to hear how you customize it or what memories it brings back for you. Share your thoughts and tips in the comments — let’s keep the lunchable love going!
FAQs
Can I make the crackers ahead of time?
Yes! You can bake the crackers up to 3 days in advance and store them in an airtight container at room temperature. Just keep the turkey and cheese separate until ready to assemble.
What’s the best way to keep crackers crispy in a lunchbox?
Pack the crackers separately from moist ingredients like turkey or cheese and add a small paper towel to absorb any moisture. Assemble just before eating for the best crunch.
Can I freeze the crackers?
Yes, freeze baked crackers in a sealed bag for up to 1 month. Thaw at room temperature and re-crisp in the oven if needed.
Is there a dairy-free version of this recipe?
You can substitute the cheddar cheese in the dough and filling with a dairy-free cheese alternative. Use a dairy-free butter substitute as well to keep the cracker texture right.
Can I use other meats besides turkey?
Absolutely! Sliced chicken, ham, or even roast beef work well with these crackers. Just choose your favorite deli meat or leftovers for variety.
Pin This Recipe!
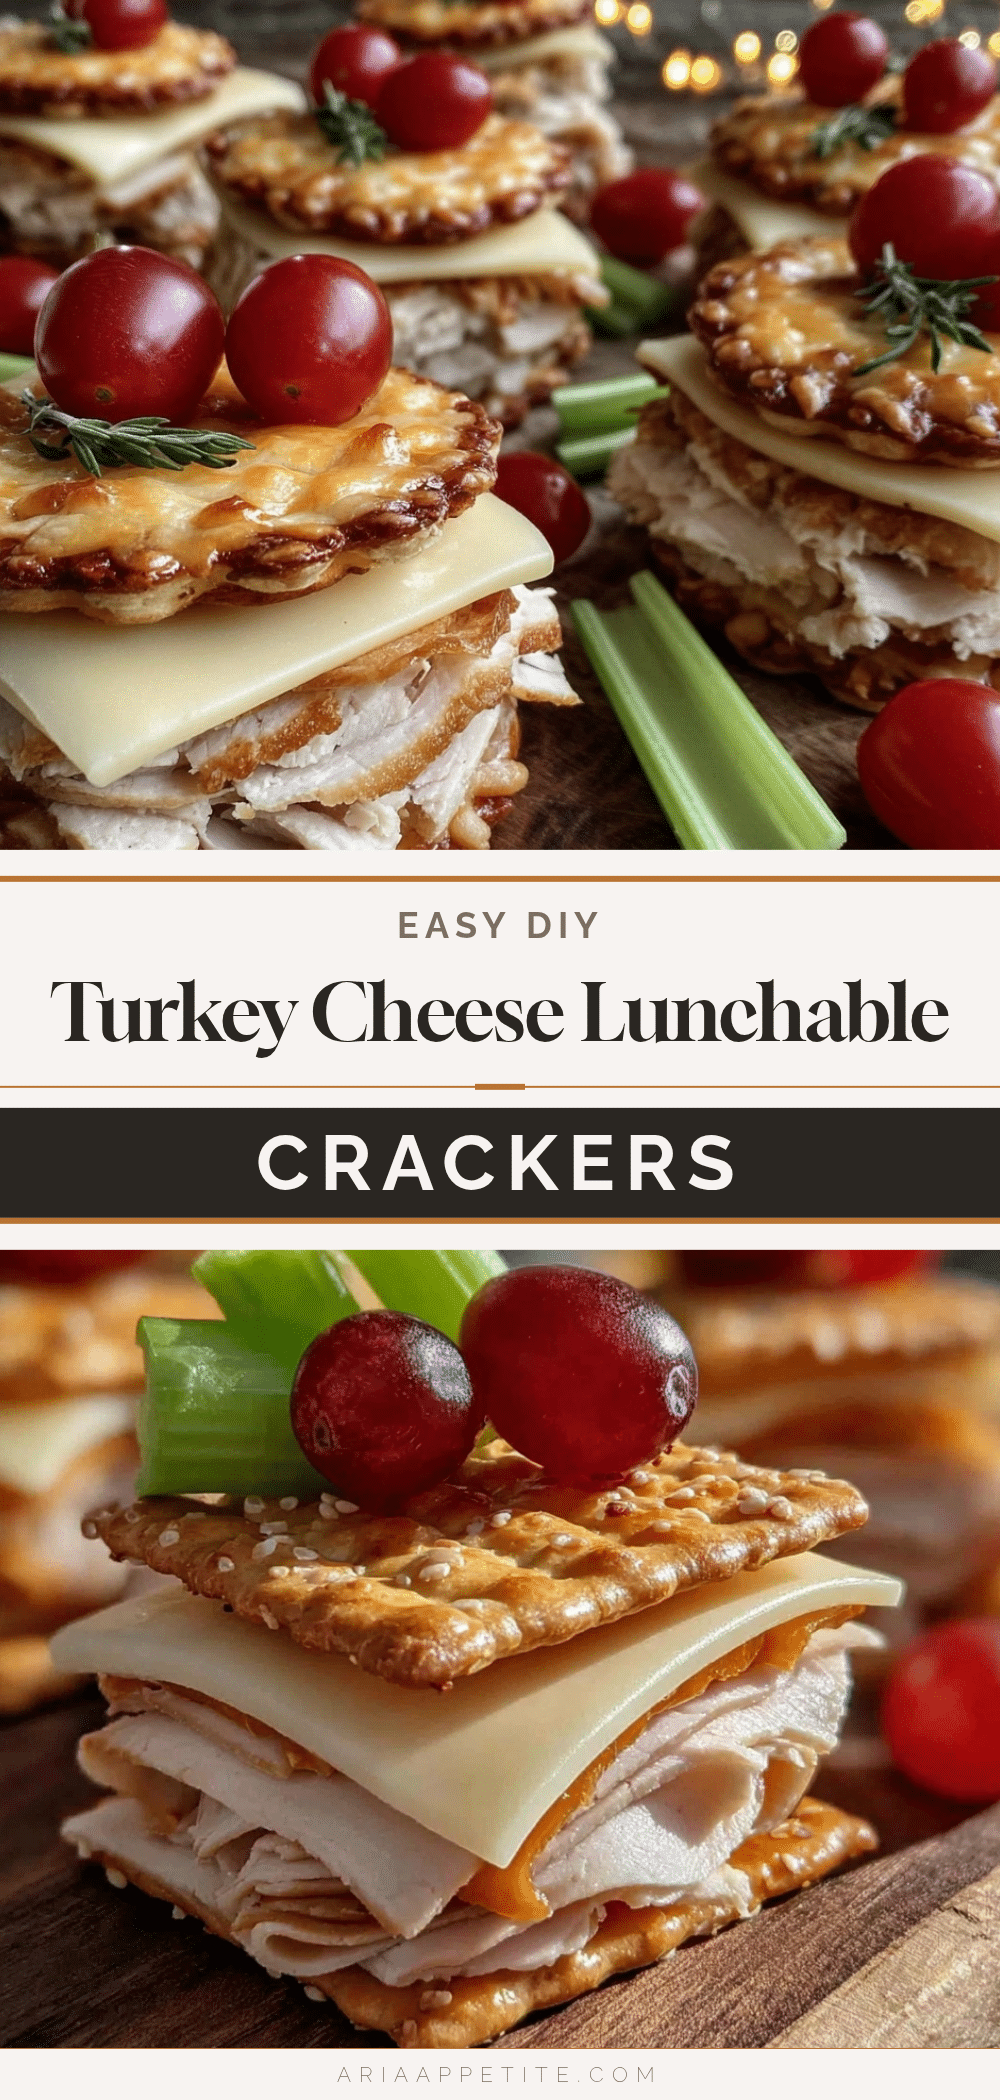
Easy DIY Lunchable Crackers with Turkey and Cheese Recipe for Kids

A simple and quick homemade lunchable recipe featuring crispy herb and cheese crackers paired with savory turkey and melty cheese, perfect for kids’ lunches.
- Prep Time: 20 minutes
- Cook Time: 15-18 minutes
- Total Time: 40-43 minutes
- Yield: 6 servings
- Category: Snack
- Cuisine: American
Ingredients
- All-purpose flour – 1 1/2 cups (190g), sifted
- Unsalted butter – 1/3 cup (75g), cold and cubed
- Sharp cheddar cheese – 1/2 cup (50g), finely shredded
- Cold water – 4-5 tablespoons (60-75ml)
- Salt – 1/2 teaspoon
- Dried Italian herbs – 1 teaspoon (optional)
- Thinly sliced deli turkey – about 6 ounces (170g)
- Cheddar cheese slices – 6 slices
- Optional: mustard or mayo
Instructions
- Preheat the oven to 350°F (175°C). Line a baking sheet with parchment paper.
- In a large mixing bowl, combine sifted flour, salt, and dried Italian herbs if using. Add cold cubed butter and cut into the flour mixture until it resembles coarse crumbs with pea-sized bits of butter.
- Stir in shredded sharp cheddar cheese. Gradually add cold water, mixing gently until the dough just comes together. Avoid overworking the dough.
- Lightly flour your work surface and roll the dough out to about 1/8 inch (3mm) thickness.
- Cut the dough into 1.5-inch (4cm) squares and transfer to the prepared baking sheet, spacing about 1/2 inch (1cm) apart.
- Use a fork to prick each cracker a few times to prevent puffing.
- Bake for 15-18 minutes until golden brown around the edges. Watch closely to avoid burning.
- Remove crackers from oven and cool completely on a wire rack.
- Assemble lunchables by layering turkey slices and cheese on the crackers. Add mustard or mayo if desired. Serve immediately or pack for lunch.
Notes
Keep ingredients cold for flaky crackers. Don’t overwork dough to avoid toughness. Roll dough thin and even for crispiness. Dock crackers well to prevent puffing. Cool crackers completely before assembling to maintain crunch. Store crackers separately from turkey and cheese to keep them crisp. Reheat crackers at 300°F for 3-5 minutes to restore crispness if needed.
Nutrition
- Serving Size: About 6 crackers wit
- Calories: 280
- Fat: 12
- Carbohydrates: 20
- Fiber: 1.5
- Protein: 18
Keywords: DIY lunchables, homemade crackers, turkey and cheese, kids lunch, easy snack, homemade lunchables, quick lunch recipe


