Love this? Save it for later!
Share the inspiration with your friends
“Why can’t we just skip the baking and mix the raspberries right in?” my friend Jenna asked one humid Saturday afternoon while we were prepping for a backyard party. I started to explain why that wouldn’t work—then stopped. Honestly, her idea stuck because I was already dreading the heat of the oven kicking on. So, we took a deep breath, tossed out the traditional cheesecake rules, and gave it a shot without baking. The result? Completely delicious and surprisingly refreshing.
I mean, I’ve made my fair share of cheesecakes, and usually, I’m that person preaching about the perfect crust bake time or the water bath technique. But that day, I learned something valuable—sometimes the simplest route is the best one. The creamy lemon tang married with the burst of fresh raspberries was so good it honestly made me question all those hours spent fussing over the oven’s temperature. Maybe you’ve been there, caught between craving cheesecake and not wanting to warm up your whole kitchen in the middle of summer.
Since that humid afternoon, these Easy No-Bake Raspberry Lemon Cheesecake Bars have become my go-to for every warm-weather gathering. They’re quick, fuss-free, and deliver that perfect balance of creamy and fruity with zero oven stress. Let me tell you, the cracked ceramic bowl from my clumsy hand and the stray raspberry seeds stuck to the counter only add to the charm of this recipe’s story. It’s a little imperfect, a lot tasty, and honestly, it’s the kind of dessert that sticks with you.
Why You’ll Love This Recipe
Having tested and tasted this recipe multiple times—with friends, neighbors, and a very discerning cat nearby—I can say it’s a keeper for good reasons. This isn’t just a quick fix; it’s a thoughtfully balanced dessert that’s as easy as stirring a bowl but tastes like you spent hours fussing over it.
- Quick & Easy: Comes together in under 30 minutes, perfect for busy weeknights or last-minute summer parties.
- Simple Ingredients: You likely already have most of these in your pantry or fridge—no specialty store trips required.
- Perfect for Summer Gatherings: The no-bake method keeps your kitchen cool, and the raspberry-lemon combo is bright and refreshing.
- Crowd-Pleaser: Kids love the sweet-tart flavor, and adults appreciate the sophisticated balance of creamy and fruity.
- Unbelievably Delicious: The texture is smooth, creamy, and just the right firmness, with bursts of raspberry that feel like sunshine in every bite.
What sets this recipe apart is the harmony between tart lemon zest and fresh raspberries blended into a velvety cream cheese base, all resting on a buttery graham cracker crust that doesn’t crumble under the gentle chill. Plus, no oven means less fuss and more time to enjoy the company—trust me, that’s a win.
This recipe has a kind of magic that makes you close your eyes after the first bite and smile, promising yourself you’ll make it again soon. It’s comfort food reimagined—lighter, faster, but with all the soul-soothing satisfaction you want from a classic cheesecake bar.
What Ingredients You Will Need
This recipe uses simple, wholesome ingredients to deliver bold flavor and satisfying texture without the fuss. Most are pantry staples or easy to find at any grocery store, and there’s room for substitutions if you prefer.
- For the Crust:
- 1 ½ cups graham cracker crumbs (about 12 full sheets; I prefer Honey Maid for a rich flavor)
- 5 tablespoons unsalted butter, melted (adds richness and helps bind the crust)
- 2 tablespoons granulated sugar (balances the buttery crust)
- For the Filling:
- 16 ounces (450g) cream cheese, softened (full-fat for best creaminess; Philadelphia brand works great)
- ¾ cup powdered sugar (for smooth sweetness)
- 1 teaspoon pure vanilla extract
- Zest of 1 lemon (adds bright citrus aroma)
- 2 tablespoons fresh lemon juice (fresh is key for vibrant flavor)
- 1 cup heavy cream, cold (whipped for fluffy texture)
- For the Raspberry Swirl:
- 1 ½ cups fresh raspberries (frozen works in a pinch—just thaw and drain excess liquid)
- 2 tablespoons granulated sugar (to macerate the berries)
- 1 teaspoon lemon juice (optional, to brighten the raspberry flavor)
If you want a gluten-free crust, swap graham crackers with almond flour or gluten-free cookie crumbs. For a dairy-free version, you can try coconut cream instead of heavy cream and a dairy-free cream cheese alternative—though I haven’t personally tested that combo with raspberries yet.
Equipment Needed
- 8×8-inch (20×20 cm) square baking pan — I like using a glass one for even chilling and easy serving.
- Mixing bowls — one large for the filling, one small for the raspberry swirl.
- Electric mixer or stand mixer with whisk attachment — whipping the cream is much easier with one.
- Rubber spatula — for folding and scraping the bowl thoroughly.
- Food processor or rolling pin and zip-top bag — to crush the graham crackers finely.
If you don’t own an electric mixer, a sturdy whisk and a bit of elbow grease will do, but plan for extra time. For budget-friendly options, a hand mixer is perfectly fine and easier to store. I once whipped the cream by hand during a camping trip (talk about arm workout!), so it’s doable but patience is key.
Preparation Method
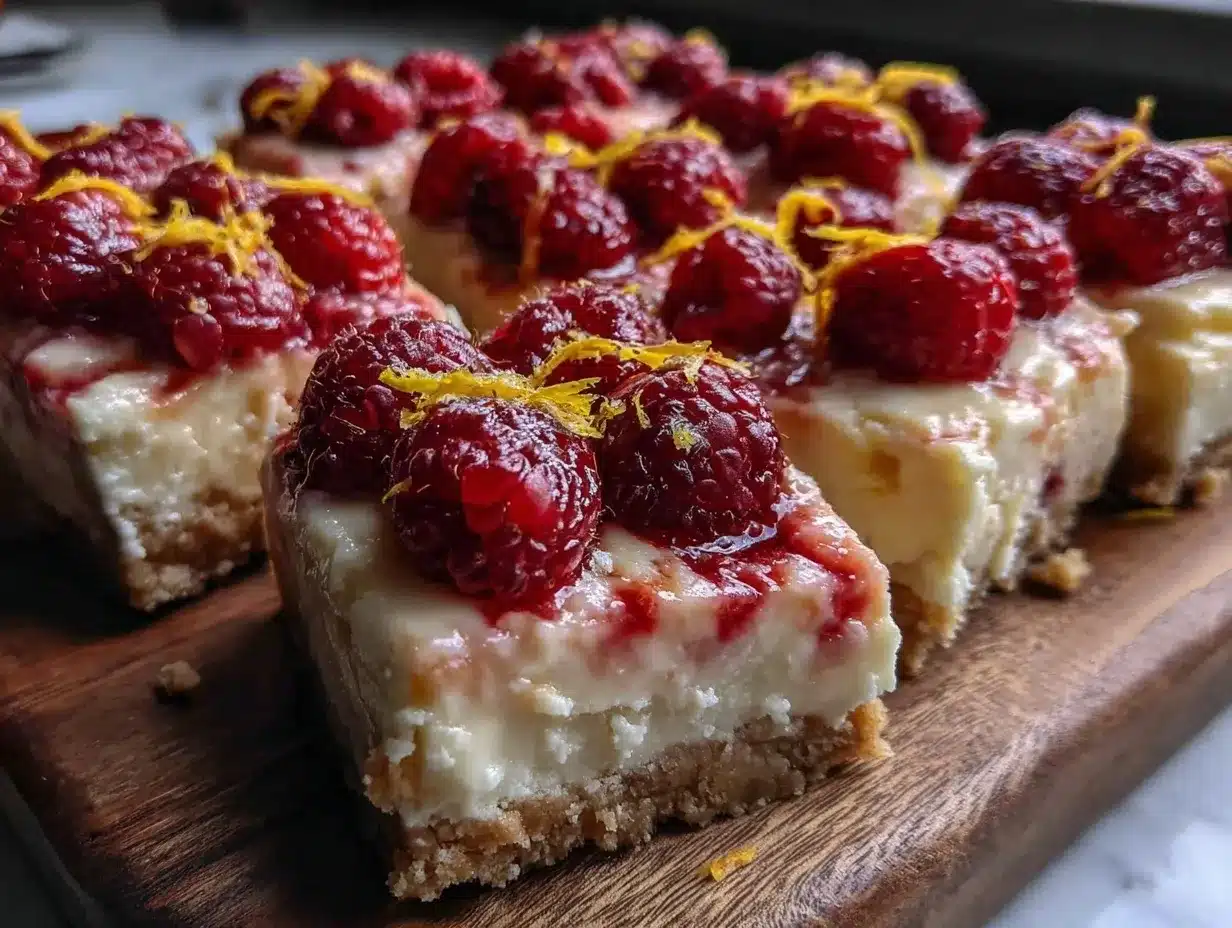
- Prepare the Crust:
- Crush 1 ½ cups graham crackers into fine crumbs using a food processor or by placing them in a zip-top bag and crushing with a rolling pin.
- In a medium bowl, combine the graham cracker crumbs, 5 tablespoons melted butter, and 2 tablespoons sugar. Mix until the crumbs are evenly coated and hold together when pressed.
- Press the mixture firmly into the bottom of the 8×8-inch pan, creating an even layer. Use the bottom of a glass or measuring cup to compact it tightly.
- Place the crust in the refrigerator to chill while you prepare the filling (about 10-15 minutes).
- Make the Raspberry Swirl:
- In a small bowl, gently mash 1 ½ cups fresh raspberries with 2 tablespoons sugar and 1 teaspoon lemon juice.
- Set aside to macerate for at least 10 minutes; this helps release the juices and sweetens the berries.
- Prepare the Filling:
- In a large bowl, beat 16 ounces softened cream cheese with ¾ cup powdered sugar and 1 teaspoon vanilla extract until smooth and creamy (about 2-3 minutes).
- Add lemon zest and 2 tablespoons fresh lemon juice, mixing gently to combine.
- In a separate chilled bowl, whip 1 cup cold heavy cream until stiff peaks form.
- Fold the whipped cream gently into the cream cheese mixture, preserving the fluffy texture.
- Assemble the Bars:
- Spread half of the cream cheese filling evenly over the chilled crust.
- Drop spoonfuls of the raspberry mixture over the filling layer.
- Use a butter knife or skewer to swirl the raspberries gently into the cream layer, creating a marbled effect.
- Spread the remaining cream cheese filling on top, smoothing the surface.
- Chill and Set:
- Cover the pan with plastic wrap and refrigerate for at least 4 hours, preferably overnight, to allow the bars to firm up.
- Once set, cut into 9 or 12 squares using a sharp knife warmed under hot water for cleaner slices.
Watch out for the filling being too soft if your cream cheese isn’t fully softened or if the heavy cream isn’t whipped stiff enough. Those little things can throw off the set time, so patience is part of the process here. The aroma of lemon zest and the sight of raspberry swirls always make me eager to dig in.
Cooking Tips & Techniques
One thing I learned the hard way is that room temperature cream cheese is non-negotiable for smooth filling. If you skip this step, you’ll end up with lumps that no amount of mixing can fix easily. Also, whipping the heavy cream to stiff peaks is crucial—underwhipped cream won’t hold the filling’s airy texture, while overwhipped cream can turn grainy.
Swirling the raspberry is an art in itself—use a light hand. Too vigorous, and the filling colors will blend into a soggy pink mess. I like to drop small dollops and then gently twirl with a skewer just enough to create pretty streaks.
Timing-wise, plan ahead. This cheesecake needs at least 4 hours to chill, so it’s perfect to make the day before. I often multitask by prepping the crust and filling while catching up on a podcast or chatting with friends.
For consistency, measure your powdered sugar carefully. Too much can make the filling overly sweet, masking the delicate lemon and raspberry flavors. And don’t rush the chilling; it’s the secret to those clean, firm bars you want to serve.
Variations & Adaptations
- Seasonal Berry Swap: Substitute raspberries with fresh blueberries or sliced strawberries for a different fruity twist.
- Vegan Version: Use dairy-free cream cheese alternatives and coconut cream whipped to stiff peaks. Swap the graham cracker crust for a nut and date crust to keep it plant-based.
- Gluten-Free Crust: Replace graham crackers with almond flour or gluten-free cookie crumbs. Add a touch more melted butter to help it bind well.
- Mint-Infused: Add finely chopped fresh mint to the filling for a refreshing herbal note.
- I once made a version with a drizzle of white chocolate ganache on top before chilling—totally decadent and a hit at a holiday potluck.
Serving & Storage Suggestions
These bars are best served chilled, straight from the fridge. For a pretty presentation, garnish with a few whole raspberries and a light dusting of powdered sugar. They pair wonderfully with a cup of iced tea or a crisp glass of sauvignon blanc if you’re feeling fancy.
Store leftover bars in an airtight container in the refrigerator for up to 4 days. They tend to get even better after a day as the flavors meld beautifully. For longer storage, freeze them wrapped tightly in plastic wrap and foil for up to 2 months. Thaw overnight in the fridge before serving.
Reheating isn’t necessary here—these bars are meant to be enjoyed cool, especially on warm days. But if you want to soften them slightly, you can let them sit at room temperature for 10-15 minutes before slicing.
Nutritional Information & Benefits
Each serving of these bars packs a balanced mix of creamy fats from the cream cheese and heavy cream, plus natural sweetness and vitamin C from the fresh raspberries and lemon. The graham cracker crust adds a modest amount of carbohydrates and fiber.
This recipe can fit nicely into a moderate dessert portion, especially when shared. Using fresh berries boosts antioxidant intake, and the lemon zest adds a little extra vitamin C punch. If you need a gluten-free or dairy-free option, the substitutions keep the dessert accessible for different dietary needs.
From a wellness standpoint, these bars are a satisfying treat that doesn’t rely on overly processed ingredients or refined sugars, making them a better choice when you want to indulge without guilt.
Conclusion
These Easy No-Bake Raspberry Lemon Cheesecake Bars are a summer dessert dream come true—simple to make, delightfully fresh, and endlessly versatile. Honestly, once you try this no-bake approach, you might find yourself skipping the oven more often, especially on hot days when you want something light but indulgent.
Feel free to tweak the fruit, play with crusts, or add your own swirl of flavor. After all, the best recipes are the ones that reflect your kitchen’s personality and your taste buds’ cravings. This one’s stuck with me because it’s forgiving, flavorful, and always impresses without the fuss.
If you make these bars, I’d love to hear how you customized them—leave a comment or share your favorite twist. Now, go ahead and make yourself some sunshine in a bar—you deserve it.
FAQs
- Can I use frozen raspberries for this recipe?
Yes, but thaw and drain them well to avoid excess moisture that can make the bars soggy. - How long do these cheesecake bars keep in the fridge?
They stay fresh for up to 4 days when stored in an airtight container. - Can I make these bars ahead of time?
Absolutely! They actually taste better after chilling overnight. - Is there a way to make this recipe dairy-free?
Yes, use dairy-free cream cheese and coconut cream whipped to stiff peaks, and substitute the crust accordingly. - What’s the best way to cut the bars cleanly?
Use a sharp knife warmed under hot water and wiped dry between cuts for neat slices.
Pin This Recipe!
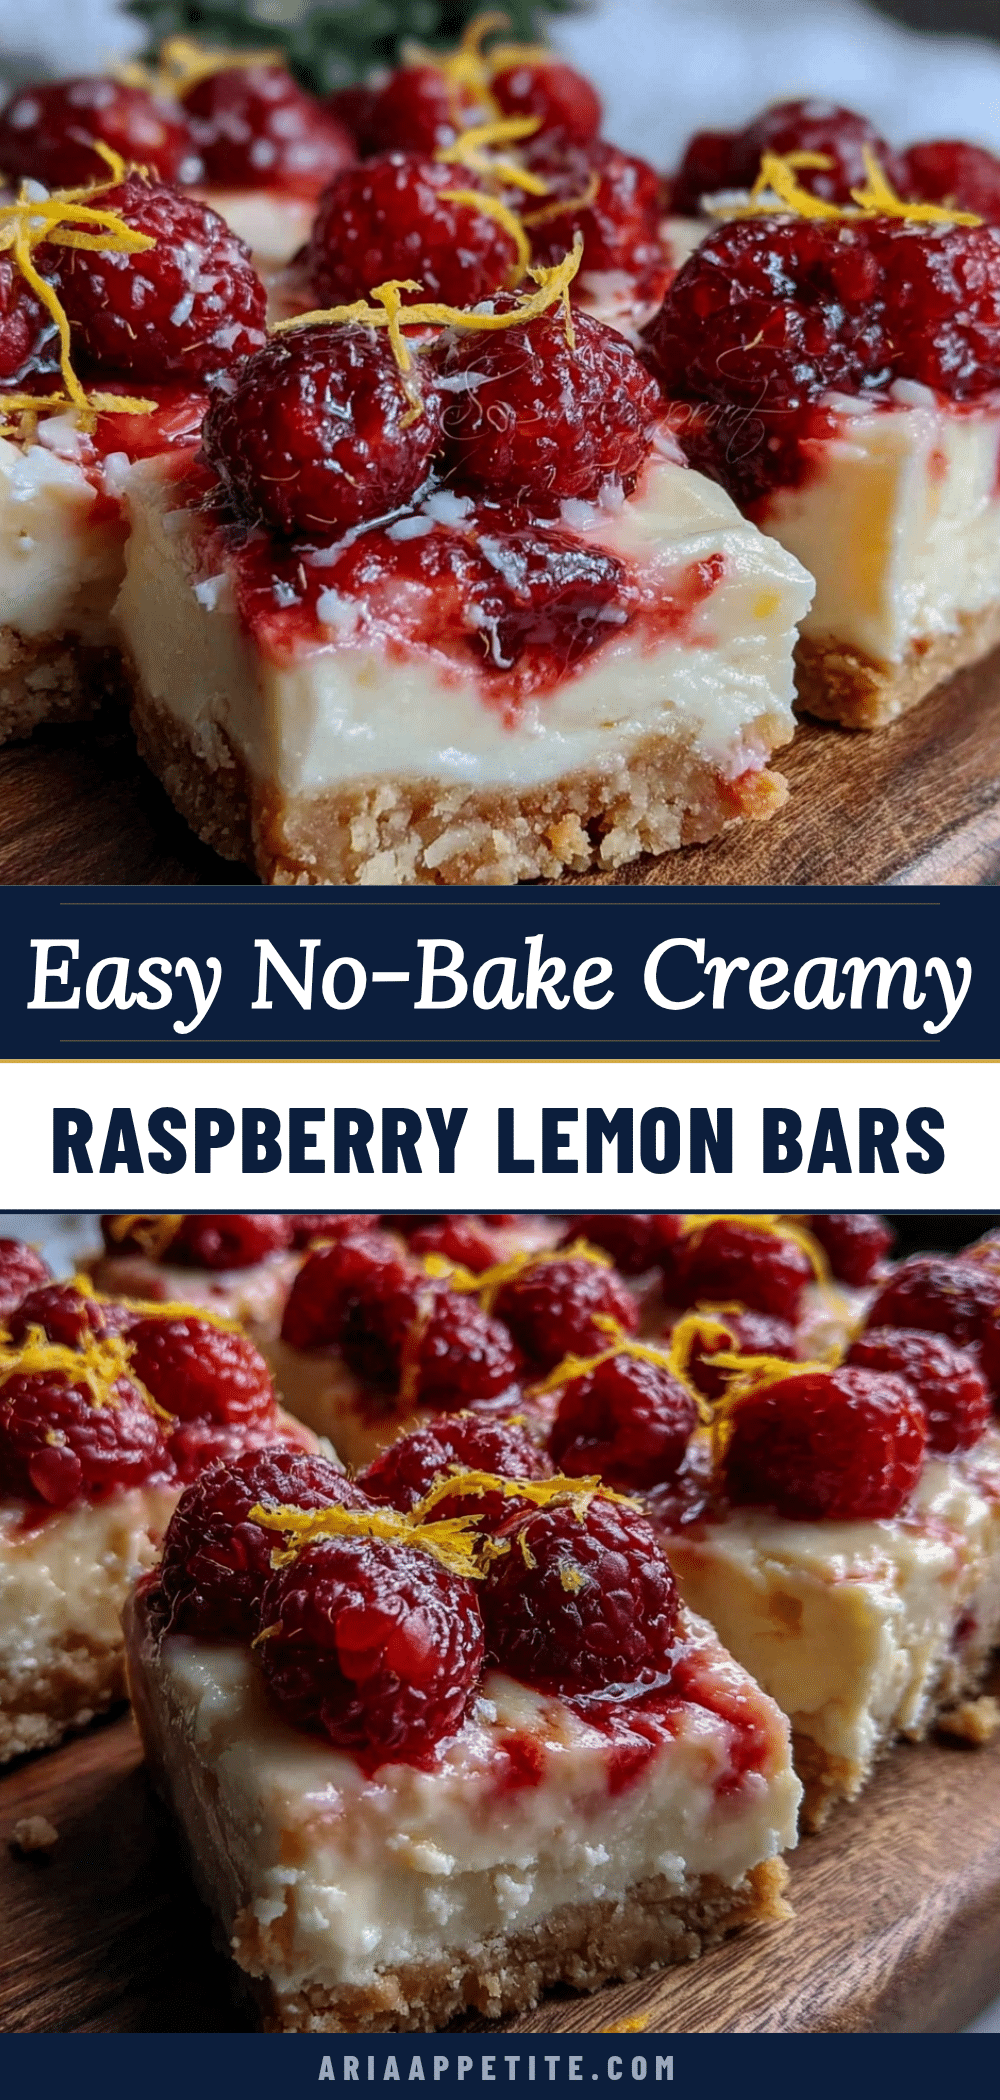
Easy No-Bake Raspberry Lemon Cheesecake Bars

A quick and refreshing no-bake cheesecake bar featuring a creamy lemon filling with fresh raspberry swirls on a buttery graham cracker crust, perfect for summer gatherings.
- Prep Time: 20 minutes
- Cook Time: 0 minutes
- Total Time: 4 hours 20 minutes
- Yield: 9 to 12 bars 1x
- Category: Dessert
- Cuisine: American
Ingredients
- 1 ½ cups graham cracker crumbs (about 12 full sheets)
- 5 tablespoons unsalted butter, melted
- 2 tablespoons granulated sugar
- 16 ounces cream cheese, softened
- ¾ cup powdered sugar
- 1 teaspoon pure vanilla extract
- Zest of 1 lemon
- 2 tablespoons fresh lemon juice
- 1 cup heavy cream, cold
- 1 ½ cups fresh raspberries
- 2 tablespoons granulated sugar
- 1 teaspoon lemon juice (optional)
Instructions
- Crush 1 ½ cups graham crackers into fine crumbs using a food processor or by placing them in a zip-top bag and crushing with a rolling pin.
- In a medium bowl, combine the graham cracker crumbs, 5 tablespoons melted butter, and 2 tablespoons sugar. Mix until the crumbs are evenly coated and hold together when pressed.
- Press the mixture firmly into the bottom of an 8×8-inch pan, creating an even layer. Use the bottom of a glass or measuring cup to compact it tightly.
- Place the crust in the refrigerator to chill for about 10-15 minutes.
- In a small bowl, gently mash 1 ½ cups fresh raspberries with 2 tablespoons sugar and 1 teaspoon lemon juice. Set aside to macerate for at least 10 minutes.
- In a large bowl, beat 16 ounces softened cream cheese with ¾ cup powdered sugar and 1 teaspoon vanilla extract until smooth and creamy (about 2-3 minutes).
- Add lemon zest and 2 tablespoons fresh lemon juice, mixing gently to combine.
- In a separate chilled bowl, whip 1 cup cold heavy cream until stiff peaks form.
- Fold the whipped cream gently into the cream cheese mixture, preserving the fluffy texture.
- Spread half of the cream cheese filling evenly over the chilled crust.
- Drop spoonfuls of the raspberry mixture over the filling layer.
- Use a butter knife or skewer to swirl the raspberries gently into the cream layer, creating a marbled effect.
- Spread the remaining cream cheese filling on top, smoothing the surface.
- Cover the pan with plastic wrap and refrigerate for at least 4 hours, preferably overnight, to allow the bars to firm up.
- Once set, cut into 9 or 12 squares using a sharp knife warmed under hot water for cleaner slices.
Notes
Ensure cream cheese is fully softened and heavy cream is whipped to stiff peaks for best texture. Use a sharp knife warmed under hot water for clean slices. Macerate raspberries to release juices and sweeten. Chill bars at least 4 hours or overnight for best firmness.
Nutrition
- Serving Size: 1 bar (if cut into 1
- Calories: 320
- Sugar: 15
- Sodium: 180
- Fat: 24
- Saturated Fat: 15
- Carbohydrates: 20
- Fiber: 2
- Protein: 5
Keywords: no-bake cheesecake, raspberry lemon bars, summer dessert, easy cheesecake bars, no oven dessert, quick dessert, creamy cheesecake