Love this? Save it for later!
Share the inspiration with your friends
Last summer, while juggling a dozen things at once in my tiny kitchen, my neighbor watched me struggle with a jar of pickles that just wouldn’t open. She didn’t say a word at first — just smiled and pulled out a jar of her own, filled with perfect, crunchy dill pickles. “You don’t need all that fuss with canning,” she said, almost offhandedly. “Try making these refrigerator dill pickles instead.”
That day, between the hum of the fan and the occasional clatter of utensils, she shared the recipe—not as a formal lesson, but more like a friendly exchange between two cooks who understood the little wins of simple kitchen hacks. Honestly, I forgot one of the key spices the first time I tried making them, and the jar almost spilled all over the counter, but that didn’t stop me. I knew this easy crispy refrigerator dill pickles recipe was worth the mess.
Maybe you’ve been there too — craving that satisfying crunch and tang of fresh pickles but without the intimidating process of hot water baths and sterilizing jars. This recipe stays with me because it’s straightforward, quick, and honestly, it tastes like summer in a jar. Let me tell you, it turns out crisp, tangy, and just right every time, no canning needed.
Why You’ll Love This Recipe
- Quick & Easy: Comes together in about 15 minutes of prep, then just refrigerate for a few days—perfect for busy weeknights or spontaneous snack cravings.
- Simple Ingredients: Uses everyday pantry staples and fresh cucumbers, so no need for specialty stores or complicated shopping lists.
- Perfect for Summer Gatherings: Great for barbecues, picnics, or just adding a crisp bite to sandwiches.
- Crowd-Pleaser: Kids and adults alike can’t get enough of the satisfying crunch and bright dill flavor.
- Unbelievably Delicious: The combo of garlic, dill, and vinegar hits just the right balance for that classic pickle taste with a crisp texture that stays true.
- What makes this recipe stand out is the no-canning approach—no boiling water or pressure canners. Plus, the pickles keep their texture better than many traditional recipes I’ve tried, thanks to a few little tricks I’ll share below.
- This recipe feels like a secret handshake among cooks who appreciate good food without fuss. It’s the kind of pickles you’ll find yourself making again and again, whether you’re a seasoned pro or a kitchen newbie.
What Ingredients You Will Need
This recipe uses simple, wholesome ingredients to deliver bold flavor and satisfying crunch without a complicated process. Most are pantry staples, and if you don’t have something, there’s usually a straightforward substitute.
- Fresh cucumbers (about 2 pounds / 900 grams) – I prefer Kirby cucumbers for their firm texture, but regular pickling cucumbers work well too.
- Fresh dill (4-5 sprigs) – The star herb here; if unavailable, dried dill weed can be used, but fresh is best for aroma.
- Garlic cloves (3-4, smashed) – Adds a punchy depth; you can adjust to taste.
- White vinegar (2 cups / 475 ml) – Provides the classic tang; apple cider vinegar is a nice alternative for a milder flavor.
- Water (2 cups / 475 ml) – Balances the vinegar’s strength.
- Pickling salt (2 tablespoons) – Essential for crispness and preserving flavor; regular kosher salt can be a substitute but avoid iodized table salt.
- Granulated sugar (1 tablespoon) – Balances acidity for a rounded flavor.
- Black peppercorns (1 teaspoon) – Adds subtle spice and complexity.
- Red pepper flakes (optional, 1/2 teaspoon) – For a gentle heat kick if you like a little spice.
- Bay leaf (1) – Adds aromatic depth.
If you want to customize, you can add mustard seeds or coriander seeds for a slightly different flavor profile. For a gluten-free version, all these ingredients are naturally safe.
Equipment Needed
- Large glass jars or containers with airtight lids – Mason jars work great, but any clean jar you can seal will do.
- Sharp knife and cutting board – For slicing the cucumbers evenly.
- Mixing bowl – To combine the brine ingredients.
- Measuring cups and spoons – Precision helps with flavor balance.
- Small saucepan (optional) – To warm the brine slightly if you want the salt and sugar to dissolve faster, though cold brine works fine too.
I used to fumble around with plastic containers, but glass jars keep the pickles tasting fresh without any off-flavors. Plus, they look nicer in the fridge! For those on a budget, thrift stores often have perfectly good glass jars, just give them a good scrub before use.
Preparation Method
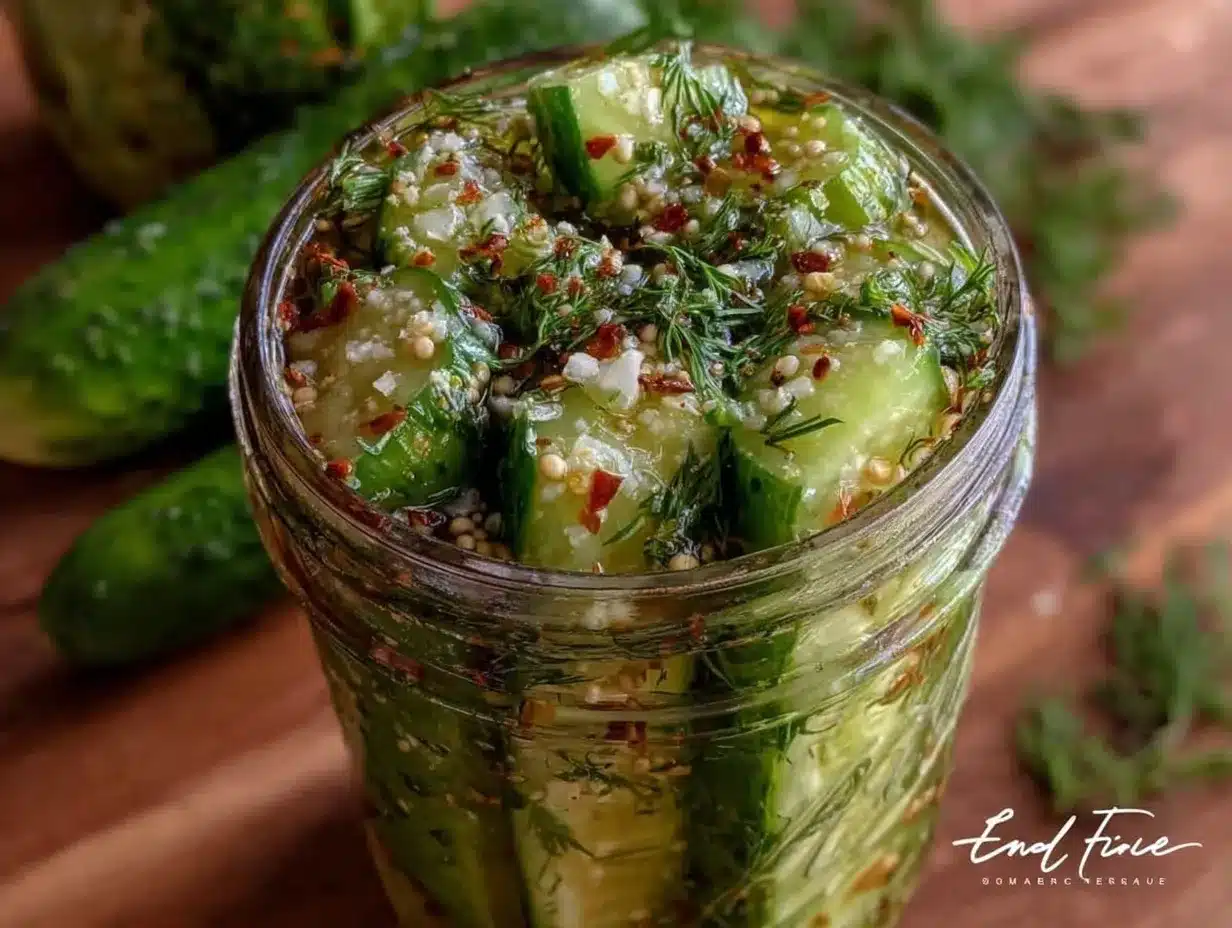
- Wash and slice the cucumbers. Rinse about 2 pounds (900 grams) of fresh cucumbers under cold water. You can slice them into spears or rounds, about 1/4 inch (6 mm) thick. I usually go for spears because they’re easier to grab, but rounds work if that’s your preference. (Time estimate: 10 minutes)
- Prepare the brine. In a mixing bowl, combine 2 cups (475 ml) white vinegar, 2 cups (475 ml) water, 2 tablespoons pickling salt, and 1 tablespoon granulated sugar. Stir until the salt and sugar are mostly dissolved. If you want, warm it slightly in a saucepan to speed this up, but room temperature works fine. (Time estimate: 5 minutes)
- Pack the jars. Place 4-5 sprigs of fresh dill, 3-4 smashed garlic cloves, 1 teaspoon black peppercorns, 1 bay leaf, and optional 1/2 teaspoon red pepper flakes into each jar. Then tightly pack the sliced cucumbers on top, leaving about 1/2 inch (1.2 cm) headspace.
- Pour the brine. Carefully pour the brine over the cucumbers, making sure they’re fully submerged. Use a clean utensil to press them down gently if needed to avoid air pockets.
- Seal and refrigerate. Close the jars with airtight lids and place them in the refrigerator. Let them sit for at least 48 hours before tasting, though the flavor deepens after 4-5 days. (Time estimate: 5 minutes)
- Check and enjoy. After a couple of days, test a pickle spear for crunch and flavor. If you like, you can add fresh dill or garlic halfway through the process for a stronger aroma.
- Troubleshooting tip: If your pickles turn out soft, make sure you used pickling salt and fresh cucumbers. Overripe cucumbers or table salt often result in mushy pickles.
Cooking Tips & Techniques
Honestly, the key to these easy crispy refrigerator dill pickles is in the salt and the freshness of the cucumbers. I learned the hard way that using regular table salt can throw off the texture and flavor. Pickling salt doesn’t have additives, which helps keep your pickles crunchy.
Also, don’t skip smashing the garlic cloves — it releases more flavor than just chopping. I usually leave the skins on when smashing to avoid garlic bits in the brine, but it’s up to you.
When packing the cucumbers, press them down firmly, so they’re fully submerged. Air exposure can cause uneven pickling or soft spots.
Start tasting after two days, but if you’re patient and wait 4-5 days, the flavor really rounds out. I often make these on a Friday, so they’re perfectly tangy by Sunday afternoon.
One mistake I made once was using cucumbers that were too large and seedy — the pickles were soggy. Smaller, firm cucumbers are the way to go. And if you want to speed up crispness, soak the cucumbers in ice water for about an hour before slicing.
Variations & Adaptations
- Spicy Dill Pickles: Add extra red pepper flakes or a sliced jalapeño to the jar for a fiery kick.
- Garlic Lover’s Pickles: Double the garlic cloves and toss in some roasted garlic for a mellow, sweet garlic flavor.
- Low-Sodium Version: Reduce the pickling salt to 1 tablespoon and increase the fermentation time slightly for flavor.
- Vegan & Allergy-Friendly: This recipe is naturally vegan and gluten-free. Just make sure your spices don’t have cross-contamination risks.
- Seasonal Twist: In autumn, try adding a few slices of fresh ginger or a cinnamon stick for warmth.
I once swapped out dill for fresh tarragon just to see what would happen — the pickles were surprisingly bright and herbaceous but still crispy. It’s fun to experiment!
Serving & Storage Suggestions
These pickles are best served chilled straight from the fridge. They add a fantastic crunch to sandwiches, burgers, or even alongside grilled meats like smoked ribs or crispy garlic chicken. I like to plate them on a colorful charcuterie board for a pop of tangy freshness.
Store pickles in the refrigerator for up to 3 weeks. Over time, the flavor intensifies and the cucumbers soften slightly but remain delicious. Always use a clean utensil when removing pickles to avoid contamination.
To re-crisp slightly if they soften, soak in ice water for 20 minutes before serving.
Nutritional Information & Benefits
Per serving (about 3 spears): approximately 10 calories, 0 grams fat, 2 grams carbohydrates, and negligible protein. Low in calories and fat, these pickles are a flavorful way to add crunch without guilt.
Dill is rich in antioxidants, and garlic has well-known immune-supporting compounds. Plus, the vinegar in the brine can aid digestion and help regulate blood sugar levels.
This recipe fits nicely into gluten-free, vegan, and low-carb diets, making it a versatile choice for many eating plans.
Conclusion
If you’ve been hesitant about pickling because of the canning process, this easy crispy refrigerator dill pickles recipe is a game-changer. It’s approachable, quick, and reliably tasty. You can tweak the flavors to suit your mood or pantry, and I promise you’ll find yourself grabbing these pickles for snacks or meals more often than you expect.
I love how this recipe feels like a little gift from a neighbor who just wanted to share something good without making it a big deal. Now it’s part of my kitchen rhythm — and I hope it becomes part of yours too.
Give it a try, share your variations, and let me know how your pickles turn out. Here’s to crunchy, tangy bites made easy!
FAQs
How long do refrigerator dill pickles last?
They typically last about 3 weeks in the fridge when stored in an airtight container.
Can I use regular cucumbers instead of pickling cucumbers?
Yes, but pickling cucumbers are firmer and hold their crunch better. Regular cucumbers can work if you eat the pickles quickly.
Do I need to boil the brine?
Nope! This recipe uses a cold or slightly warmed brine, so no boiling or canning required.
Can I make these pickles spicy?
Absolutely! Add red pepper flakes or sliced jalapeños to the jar for a spicy twist.
Why are my pickles soft?
Soft pickles usually mean too much water in the cucumbers, overripe fruit, or using table salt instead of pickling salt. Using fresh, firm cucumbers and pickling salt helps keep them crisp.
Pin This Recipe!
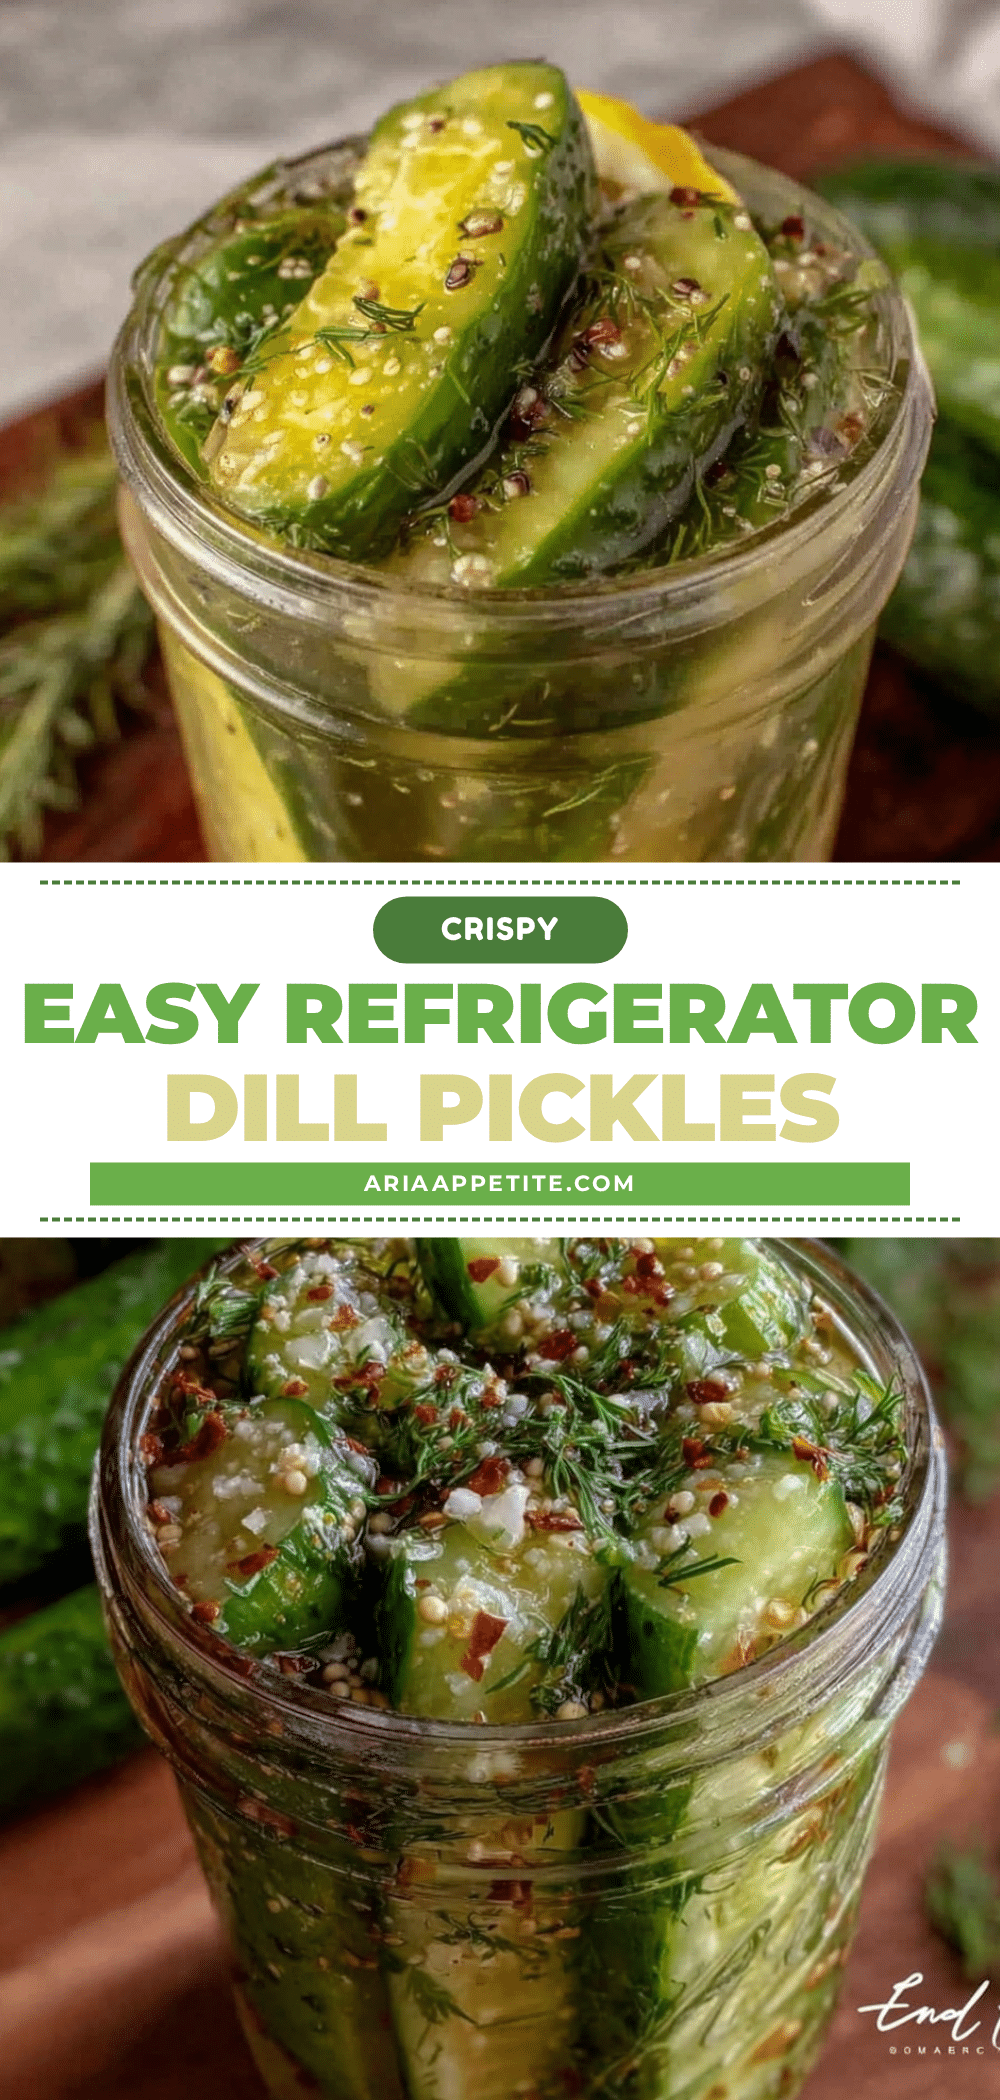
Easy Crispy Refrigerator Dill Pickles Recipe No Canning Needed
A quick and easy refrigerator dill pickles recipe that delivers crisp, tangy pickles without the need for canning. Perfect for summer gatherings and simple snacking.
- Prep Time: 15 minutes
- Cook Time: 0 minutes
- Total Time: 2 days (minimum refrigeration time)
- Yield: 4-5 servings 1x
- Category: Condiment
- Cuisine: American
Ingredients
- 2 pounds (900 grams) fresh cucumbers (Kirby or pickling cucumbers preferred)
- 4–5 sprigs fresh dill (or dried dill weed as substitute)
- 3–4 garlic cloves, smashed
- 2 cups (475 ml) white vinegar (apple cider vinegar as alternative)
- 2 cups (475 ml) water
- 2 tablespoons pickling salt (kosher salt as substitute, avoid iodized table salt)
- 1 tablespoon granulated sugar
- 1 teaspoon black peppercorns
- 1/2 teaspoon red pepper flakes (optional)
- 1 bay leaf
Instructions
- Wash and slice the cucumbers into spears or rounds about 1/4 inch (6 mm) thick.
- In a mixing bowl, combine white vinegar, water, pickling salt, and granulated sugar. Stir until mostly dissolved. Optionally warm slightly to dissolve faster.
- Place dill sprigs, smashed garlic cloves, black peppercorns, bay leaf, and optional red pepper flakes into each jar.
- Pack the sliced cucumbers tightly into the jars, leaving about 1/2 inch (1.2 cm) headspace.
- Pour the brine over the cucumbers, ensuring they are fully submerged. Press down gently to remove air pockets.
- Seal jars with airtight lids and refrigerate for at least 48 hours before tasting; flavor improves after 4-5 days.
- Check pickles for crunch and flavor; optionally add fresh dill or garlic halfway through for stronger aroma.
Notes
Use pickling salt to maintain crispness; avoid iodized table salt. Smash garlic cloves to release more flavor. Press cucumbers down to keep them submerged and avoid air pockets. Smaller, firm cucumbers yield better texture. Soaking cucumbers in ice water for an hour before slicing can increase crispness. Store pickles in the fridge up to 3 weeks. To re-crisp softened pickles, soak in ice water for 20 minutes before serving.
Nutrition
- Serving Size: About 3 pickle spear
- Calories: 10
- Carbohydrates: 2
Keywords: refrigerator pickles, dill pickles, no canning pickles, easy pickles, quick pickles, crispy pickles, summer pickles, vegan pickles, gluten-free pickles